Page 2
How To Grow Lavender
On Location
Choose a location out in the open, not up against the house or where other perennials or shrubs will compete with your lavender.
If you want to include a few plants in an existing perennial garden, use locations where their neighbors will not interfere with air circulation around the lavender. Other plants too close to lavender will keep the humidity high, and might cause problems with moldy leaves in wet weather.
Light
Whether grown in pots or in gardens, lavender must have full sun. Four or five hours of sun simply will not work! Eight hours or more of direct sunlight is the recommended amount. Less than full sun will result in a plant that leans toward the light. Few, if any, flowers develop in less than ideal light. And the plant will lack dense foliage.
Lower leaves and stems will turn grayish-brown or black as they die off. But they don’t really drop off; they just cling. In regions with high humidity and lots of rain, the plants suffer and usually succumb to root rot. Abundant sunshine helps dry the soil and the foliage, preventing diseases.
Plants that have gray or silvery leaves generally need a great deal of sun, and many evolved in hot, dry climates. Dusty miller (Senecio), yarrow, Artemisia, certain cacti, and Caryopteris are more examples of silvery sun-loving plants. Their fine hairs reflect some of the harsh sun while holding a bit more humidity next to the leaf, in what’s called the boundary layer.
Soil
Another must for successful lavender gardens is soil that drains very well. These plants need a gravelly, gritty medium. Even if you’re stuck with heavy clay, you can improve it to keep your plants growing well for a decade or so.
Before beginning any landscape project, call your municipality (“8-1-1”, in the U.S.) to have underground utilities marked.
How To Improve Drainage
Gravelly soil is good for lavender and other plants that require perfect drainage.
Dig up the top 12″ to 16″ of existing soil, and break up the clods. Add a thick layer (several inches) of pine fines, coarse or builders’ sand, PermaTill, and/or horticultural grit. Smooth sand (play sand) and round gravel don’t work as well as material with angular edges.
Now, incorporate all the added materials into the loosened clay. Don’t keep the amendments in distinct layers. You want the finished bed to have literally 1/3 of the volume in drainage materials.
I often read recommendations to add a thick layer of gravel under the root ball, when planting, for “drainage”. Well, unfortunately, water will collect there instead of drain away. Large air pore spaces between pieces of gravel draw water into the space. If the soil below doesn’t drain quickly, water will just sit there and rot the roots nearby. Soil with large air pore spaces throughout the entire soil profile will drain faster.
Add a small amount of compost or planting mix to very poor soil. Incorporate 1-2″ of these amendments into the top 6″ of the bed. Avoid adding too much nutrient-rich material.
Drainage Around the Bed
Fluffing up the soil creates a raised mound, which is perfect for lavender. This allows oxygen to freely enter the soil near the crown of the plant. Just be sure that rainwater or drainage from uphill doesn’t collect behind the berm, keeping the soil wet. Wet feet, especially in winter, is death to lavender. Dig a swale, if necessary, to divert excess water around the bed.
Lime and Gypsum
If you haven’t limed the area for a few years, you might need to add some ground agricultural lime. It’s best to get a soil test to find out how much will be needed to raise the pH to 6.5 to 7.5, around neutral. Lime (calcium carbonate) can slowly improve the soil’s tilth.
Gypsum (calcium sulfate) also improves tilth over time by flocculating tiny clay particles into larger particles, improving drainage without altering the pH. It could take 1 or 2 applications of gypsum each year for a few to several years to make a difference. I’ve used it in very heavy clay soils, and saw improvement after 4 years. But this product is not a substitute for doing the hard work of digging and incorporating amendments in heavy soils.
If the mound is too high, remove some of the soil to another garden. Or spread out the soil to make a wider, but lower, bed. A heavy rainstorm could wash away some of the soil, exposing the plants’ roots. Erosion is quite noticeable on a tall mound. This problem is further addressed under the “Mulch…” section, below.
Rake the surface of the bed so it’s smooth and prepared for planting.
Shopping For Lavender
You’ll find many varieties of lavender at your local garden center or farmers’ market. Spring is the time of year for garden festivals, where vendors sell specialty categories of plants (for example, herbs, Japanese maples, bonsai, perennials for shade). Even our local warehouse club had potted lavender topiaries last week, but they weren’t the English lavender I prefer for topiary.
If you’re planting a small bed around the mailbox at the end of the driveway, bring the dimensions with you while you shop for plants. Plants look awfully small in those pint-size pots, but they do grow.
Frequently, plants are placed too close to the road or the sidewalk, where they soon get in the way. Find out how large each variety grows, both height and width. Choose a dwarf variety for a narrow spot instead of awkwardly pruning back a larger one. This will allow the lavender to achieve its lovely natural outline.
It’s a beautiful day to work in the garden, and the soil has been improved. Now it’s time to plant!
How To Plant
First, scoop out a hole at the top of the mound for the plant. It should be deep enough to hold almost the full depth of the root ball. Turn the pot upside-down and remove the plant.
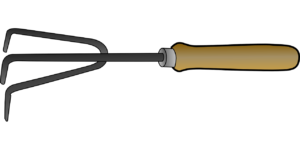
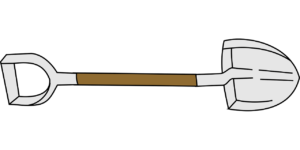
A cultivator.
Score the outside of the root ball, 1/4″ deep, with a rock or a knife, a few times top to bottom. This slightly injures the pericycle, a layer of cells inside the root. That will stimulate the plant to quickly send out new roots. Use a cultivator or a fork to loosen some of the outer roots if the plant is tightly potbound.
Now, set the plant into the hole. Firm the soil against the roots, but don’t use your full weight. Eliminate air pockets. If new soil was piled on top of the root ball, remove it or replant the lavender higher in the soil. When the plant is settled in, you should be able to see the original surface of the root ball.
Air Circulation
There should never be any new soil placed against the stem of the plant. That could cause the stem to rot. Roots need oxygen as much as they need water; planting too low reduces access to air. Planting as little as 1/2″ or 1″ too deep could cause the plant to fail.
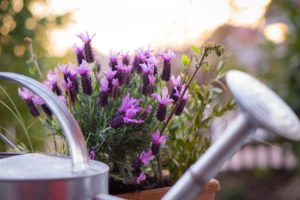
Don’t crowd the young plants. They need good air circulation to prevent foliage diseases and for even lighting. Space them properly, according to the expected mature size of the plant. Lavender is beautiful as a single specimen, when grown in a cluster, or as a hedge.
Watering
If the roots are moist, and the garden soil is moist, just firm in the root ball. Don’t water yet. Check the plant every day, and listen to the weather forecast. Sunny, warm, and breezy conditions will quickly dry out the limited root ball.
Stick your finger in the soil near the roots. If it feels dry, add enough water to moisten the roots and some of the surrounding soil. You don’t want to soak the entire bed, and then get an inch of rain the same day.
Water often enough to prevent wilt. But be careful; overwatering that rots the roots will also show up as wilt. That’s because wet soil kills the tiny root hairs that absorb water. If the roots can’t take up water, the foliage can’t stay turgid, and then it collapses. Sometimes it’s hard to tell if lavender is wilting. The tips of new growth will fall over, so that’s a clue that the soil is too dry…or too wet.
As new roots spread out and grow deeper into the soil, you’ll have to water less often. If in doubt, don’t water lavender. Once it is fully established, let the soil run quite dry. Water thoroughly, but infrequently, during times of drought.
To Mulch Or Not To Mulch
Organic mulches, such as shredded hardwood, hold too much moisture in the soil and humidity around the foliage. Lavender is best left unmulched, at least under the canopy of the plant.
Many gardeners use gravel, but that also holds water in the soil, and “gravel travels” down the mound. In a dry climate, mulching with neutral-colored gravel is appropriate, but maintain air space around the stem.
A 1″ layer of small pine bark nuggets might work well under lavender.
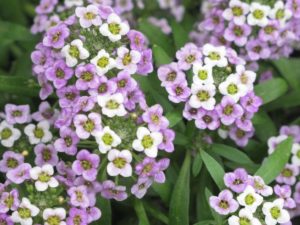
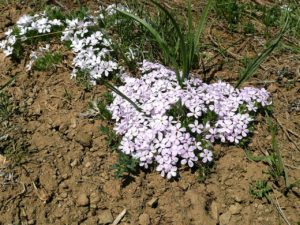
Sweet alyssum.
If erosion is a potential problem, use a thin layer of shredded hardwood between the plants. Or sow a pack of sweet alyssum between or below the lavender. You also can find young plants in cell-packs at garden centers. Alyssum is an easily grown annual, fast-germinating and staying only a few inches tall. It’s also fragrant.
Fortunately, white or purple flowering cultivars harmonize with the colors of lavender. Its roots will help stabilize the soil and break the force of a hard rain while the bed is becoming established.
Fertilizer
Don’t try to push lavender growth by overfertilizing. This plant displays better color and habit of growth when growing in a somewhat nutrient-poor soil. Fertilizing in spring and early summer should suffice. Use a low analysis product, such as 10-10-10 or 5-10-10, with little or no “ammoniacal” nitrogen. Look for the “nitrate” form instead. That information is on the label. Use less fertilizer than you would for other perennials.
Pruning
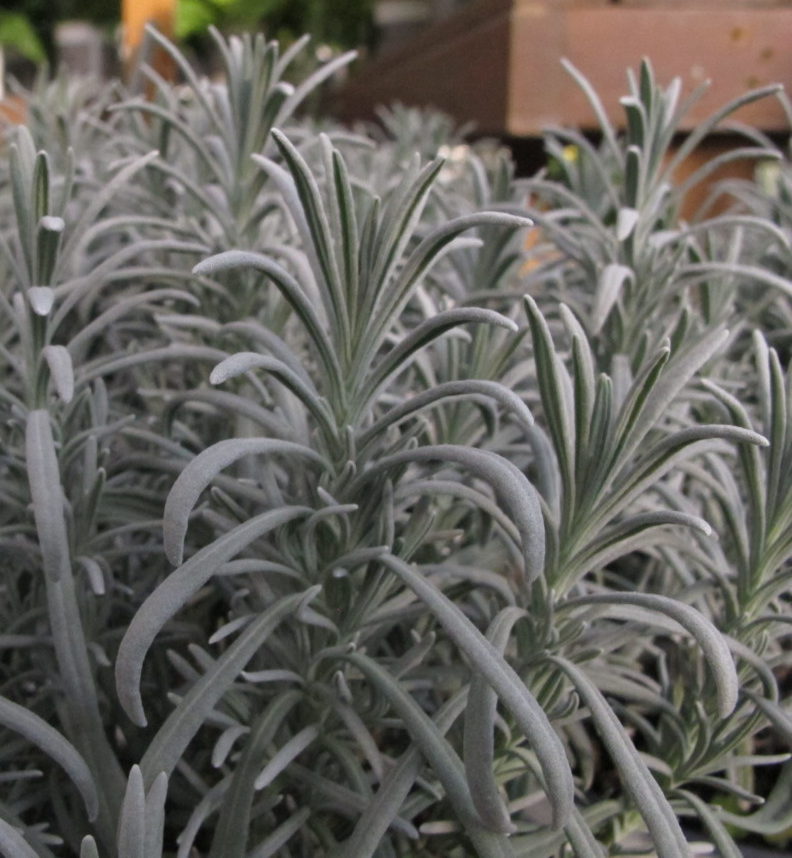
-

- Lavender before flowering.
-
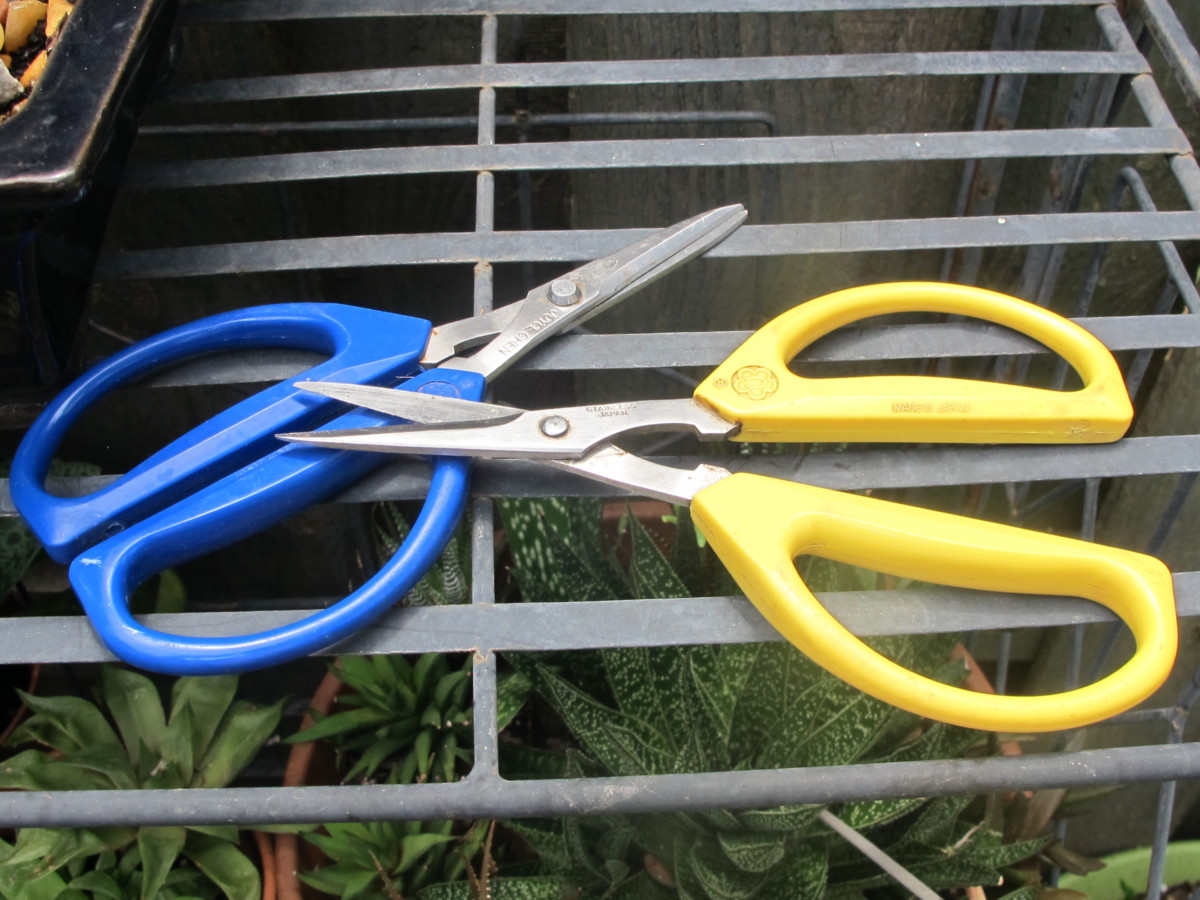
- Joyce Chen scissors.
An annual pruning, in late winter or early spring, before new growth starts, will keep new shoots growing low on the plant. Remove 1/3 to 1/2 of the length of each stem. That’s how you can maintain a bushy plant and prevent one that gets leggy after a few years.
Cutting back large woody stems leaning over the sidewalk could kill the plant. Stems growing that thick don’t have dormant buds that can emerge through the bark.
I prefer to use pruners or Joyce Chen scissors to cut the stems instead of shearing the plants. That way, I can make a clean cut right above a node (where leaves join the stem) and avoid cutting leaves in half.
Pruning faded flowers improves the appearance of the plant, encouraging more stems to grow. Simply reach into the plant, and cut out the entire flower stem, down into the leaves.
Removing dead leaves will tidy up the plant and improve air circulation. When the foliage is dry, give the interior of the plant a vigorous massage so the crispy dead leaves will fall away from the stems. These are chores best saved for late in the day, instead of right before work or the children’s school play. (Did you read the section, “…But let me tell you a little story”, above?)
Growing Lavender In Pots
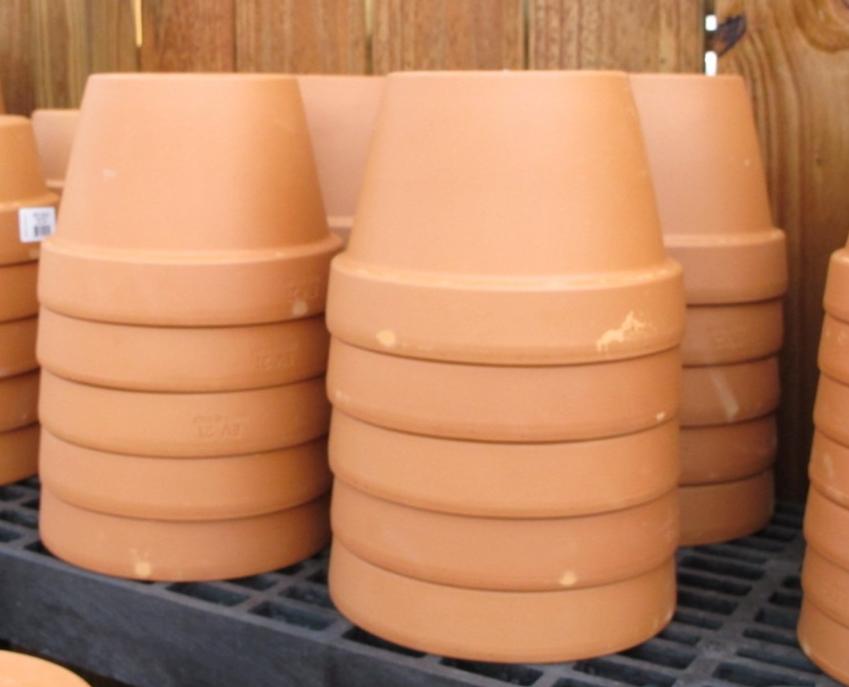
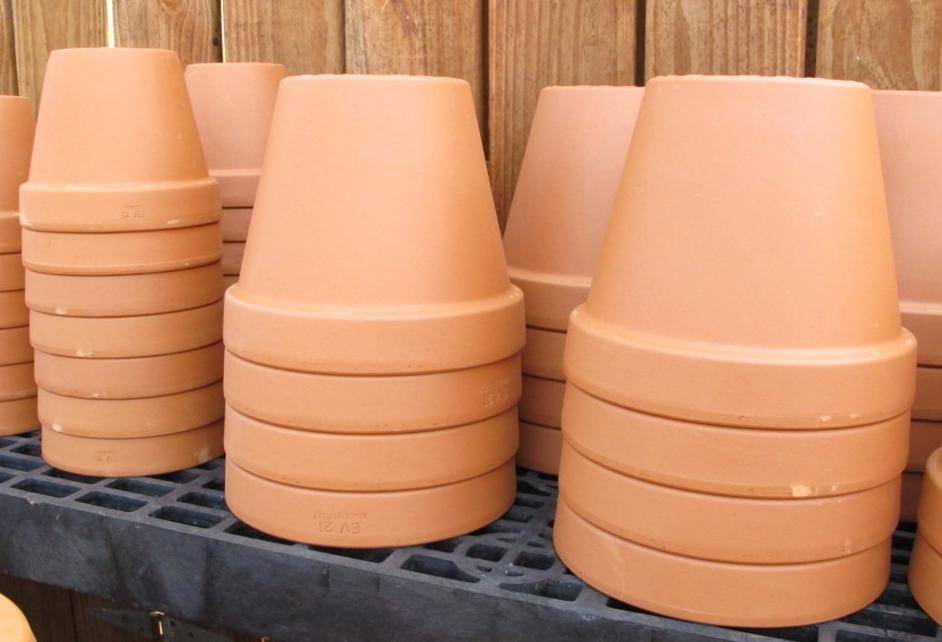
Porous clay pots allow soil to dry faster than a ceramic or plastic pot. If you want to use a non-porous ceramic pot, use a small one that will keep the lavender tightly potbound. Too much loose soil in a roomy pot will retain a large amount of moisture, and consequently cause root rot in sensitive plants. Use the same drainage material in a pot that you would use in the garden.
For a ceramic pot that’s too large for lavender, first plant the lavender in a smaller clay pot. Place that inside the pretty pot, propped up on a stack of bricks or rocks, but make sure water can drain from the double-potted lavender.
Clay pots can “breathe”; water vapor and air pass through the side of the pot, helping to dry the soil. Another benefit in a hot summer is the fact that water evaporating this way helps, in a small way, to cool the pot. “Evaporation is a cooling process,” a high school biology teacher used to say.
Dark ceramic pots in hot summer sun transfer heat to the roots. In a cold winter, however, dark pots are an advantage. So, as trivial as it may sound, the color of the pot can contribute to the plant’s comfort.
-
- Azalea pots, height = 3/4 width.
-
- Standard pots, height = width.
Azalea and Standard Pots
After spending many years potting up plants, I do prefer azalea pots over standard pots. The diameter of the opening in a standard pot equals the height, but in a shorter azalea pot, the height is 3/4 the diameter.
To me, plants display better in shorter pots. But I do use tall terra cotta planters with decorative details. And, of course, well-placed, sleek, modern planters are stunning. A well-grown lavender, even one without flowers, looks good in anything.
Freezing Temperatures
Because the roots are above ground in winter, and not insulated by surrounding soil, look for the hardier varieties of lavender. Placing the plant under an overhang to keep it dryer is all that you might have to do in a moderate climate.
Protect the plant by placing it next to the south side of a building, in winter sun, or look for another warmer winter microclimate. Another option is to build a cool greenhouse or a lean-to to protect your potted lavenders in cold winter regions.
Or keep it in the garage at night when temperatures dip far below those preferred by lavender. It can stay there for a few days of extremely cold weather, but, without light, it will begin to deteriorate. Yes, it still needs sun even though it’s not actively growing. Maintaining lavender in pots outdoors all year necessitates using pots that are “frost proof”.
Generally, plants in pots should be 2 zones more cold hardy than your region is rated. For example, here in zone 7b, I would look for a variety that is hardy to the colder zone 5. But weather conditions in any particular season could be way off the averages.
Heeling In
Another way to offer some protection is to place the pot close to a south-facing wall, heeled into the soil. “Heeling in” is the practice of placing the plant and its pot part or all the way into the soil, where the roots are insulated from colder air temperatures. Keep the pot’s soil surface level with or above that of the garden soil, because placing it lower could cause water to collect in the pot. And too much winter water will be a problem.
Growing Lavender Indoors
Most homes don’t have enough sunlight indoors to successfully grow lavender. But if you have a large unobstructed south-facing window (northern hemisphere) or a sunny sunroom, small lavender topiaries look charming. Keep indoor lavender tightly potbound in a clay pot so the soil can dry quickly, and give it as much direct sunlight as possible.
During overcast weather or in the evenings, place lavender under a 4′ long shop light fitted with 2 “daylight” LED or fluorescent tubes. Keep the lights on for 16-18 hours per day, and place the lavender only 2″ to 3″ below the tubes.
New growth stretching toward the light indicates that the plant needs more hours of direct sunlight. Cut back the elongated stems, and move the plant to a sunnier spot.
* * * * * * * * *
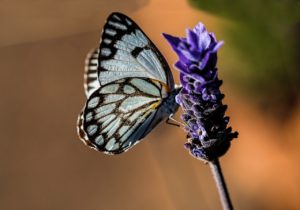
In conclusion…I think I just talked myself into planting at least one lavender in our small garden. Let’s see, maybe there are some empty clay pots around here. Oh, and did I mention that deer and rabbits don’t eat lavender? And that bees and butterflies love the flowers?
(***Update***: I bought a 3 1/2″ pot of ‘Phenomenal’ lavender 2 years ago, and have since propagated it and given one to my young neighbor, Mia, who planted it in her garden. I’m keeping the original plant in a pretty clay pot. July 2021)
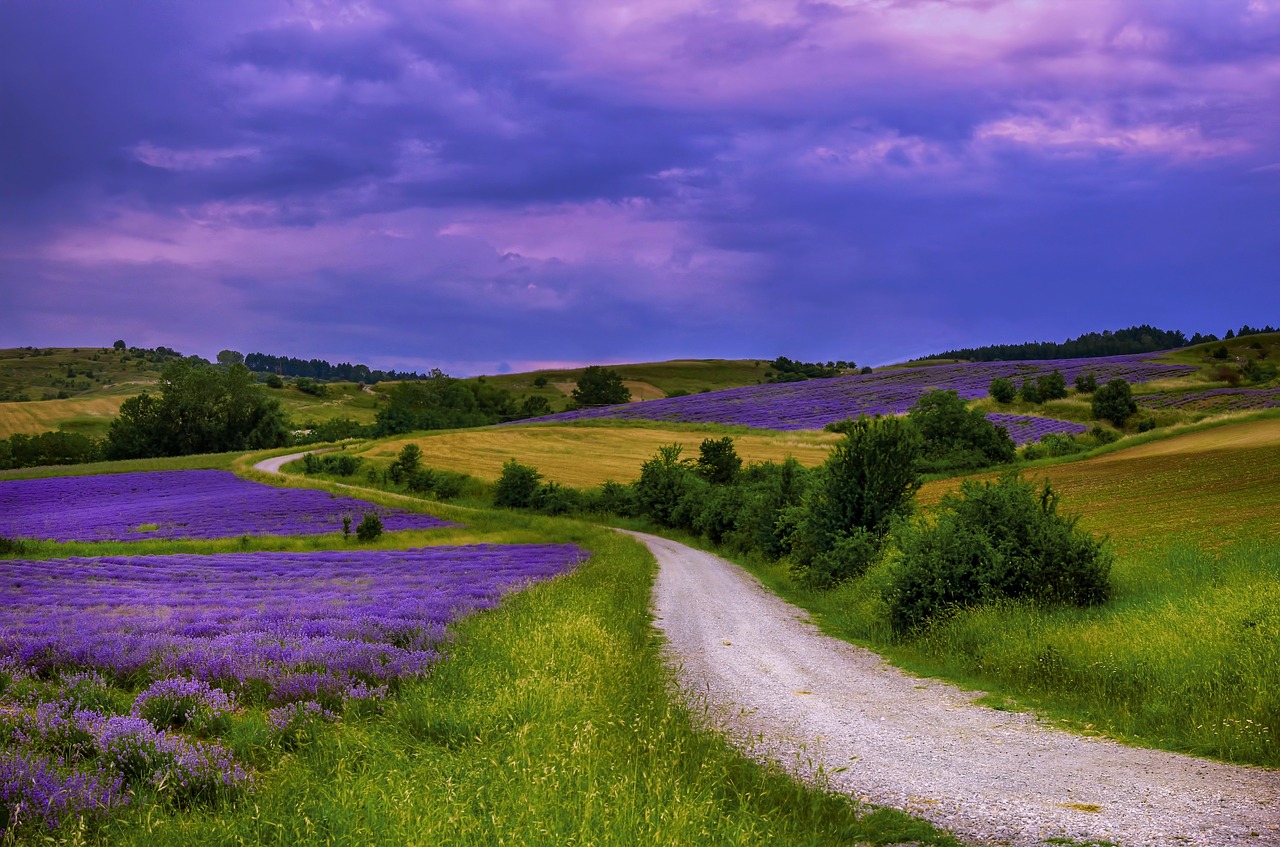
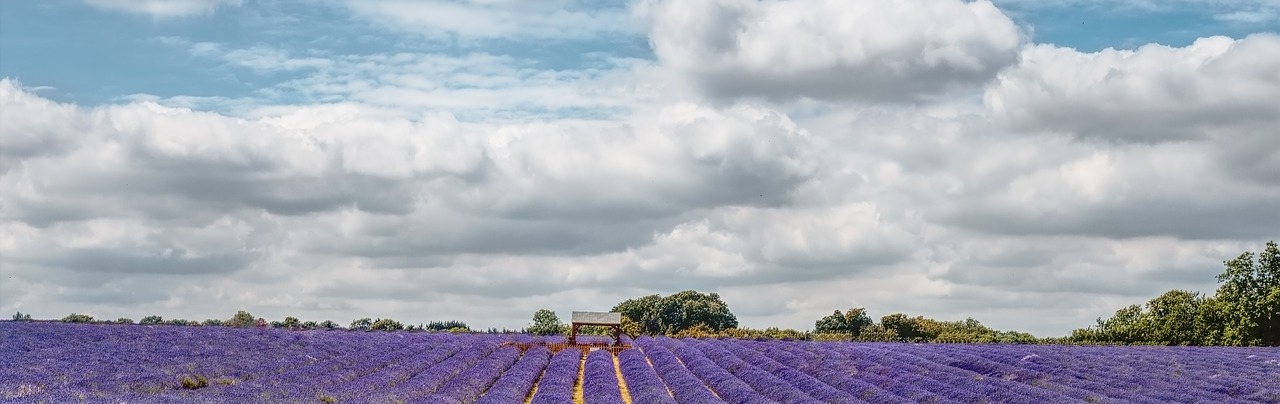
Field of dreams?
Headings
Page 1: Lavender’s Long History, B.C., Early A.D., From the Middle Ages Forward, From the Renaissance (Fit For a Queen or a King, And For the Rest of Us, Lavender Makes Good Business Scents), The Victorian Era, Too Much Lavender?, In the Medical Establishment (Caution!, …But let me tell you a little story), Edible Lavender, The Lavender Genus (Lavender From Seed), and Perennial Species (L. angustifolia, L. x intermedia, L. dentata, L. stoechas, L. pedunculata)
Page 2: How To Grow Lavender (On Location, Light, Soil, How To Improve Drainage, Lime and Gypsum, Shopping for Lavender, How To Plant, Watering, To Mulch Or Not To Mulch, Fertilizer, Pruning, Growing Lavender In Pots, Azalea and Standard Pots, Freezing Temperatures, Heeling In, Growing Lavender Indoors)