2024
Updated 3/25/2026
Potted Peppers for Growing—in the Winter?
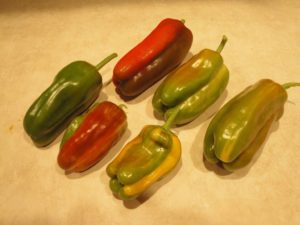
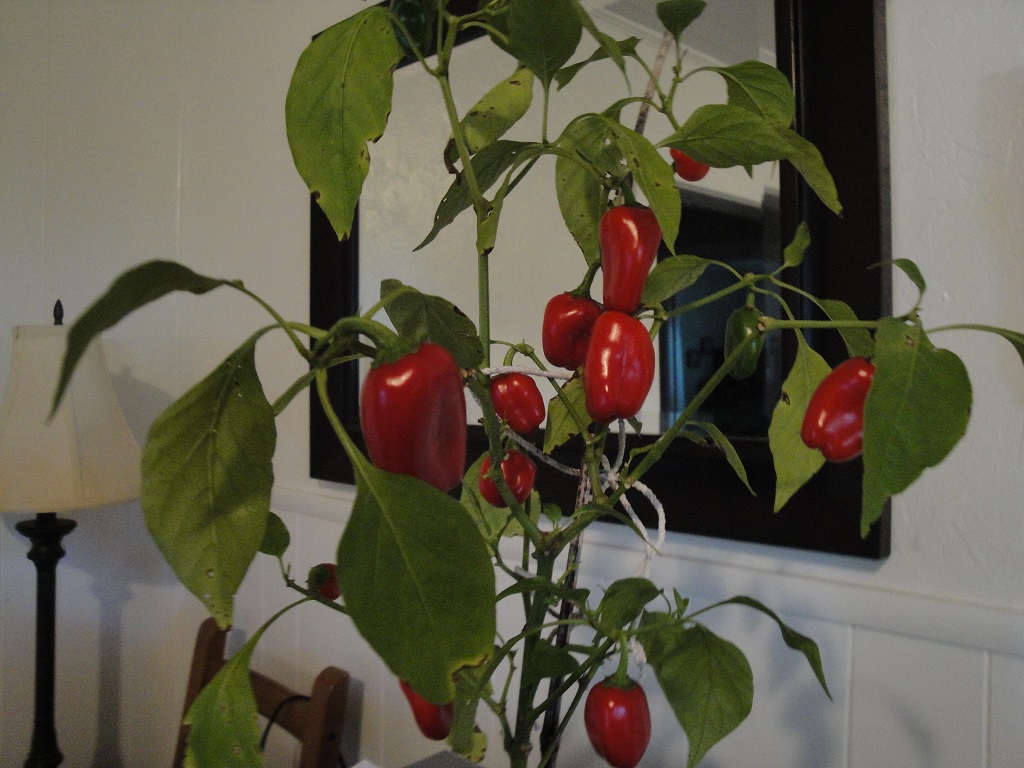
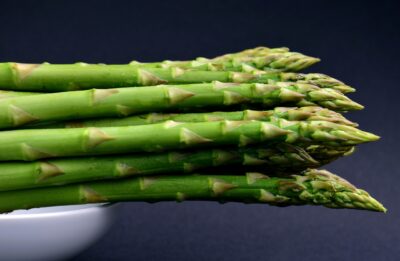
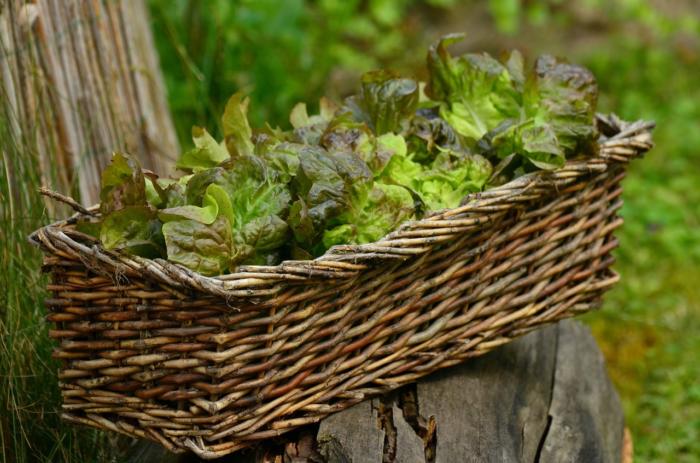
‘Candy Cane’ sweet peppers.
As Autumn Approaches
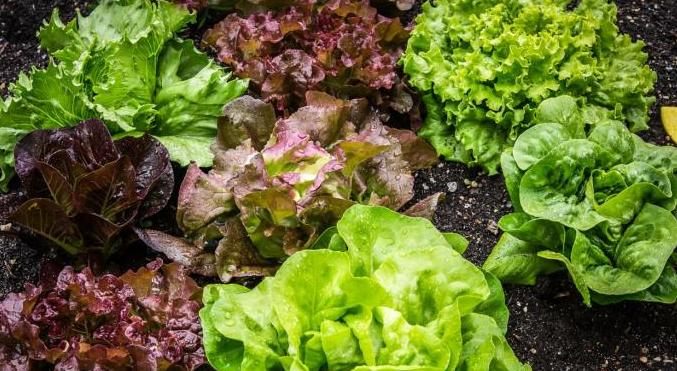
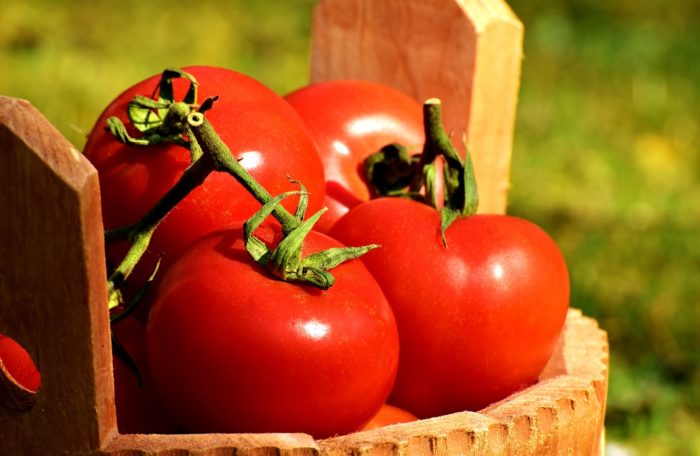
With cooler weather approaching, our attention shifts from harvesting heirloom tomatoes to preparing our gardens for winter. Some gardeners clean the shed, weed the beds, and pile fallen leaves onto bare soil or dig them into the ground. Others continue growing greens and vegetables outdoors. In this article, I’ll show you why and how to grow potted peppers through the winter!
Why would we grow potted peppers in winter?
Peppers are warm-climate perennials that, with proper care, can live for a few years. Here’s the key: these frost-tender plants must stay indoors through the colder seasons. Left outdoors, they’ll die with the first freeze of early autumn.
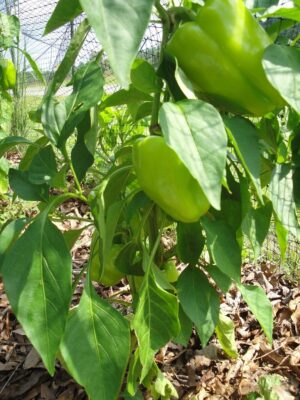
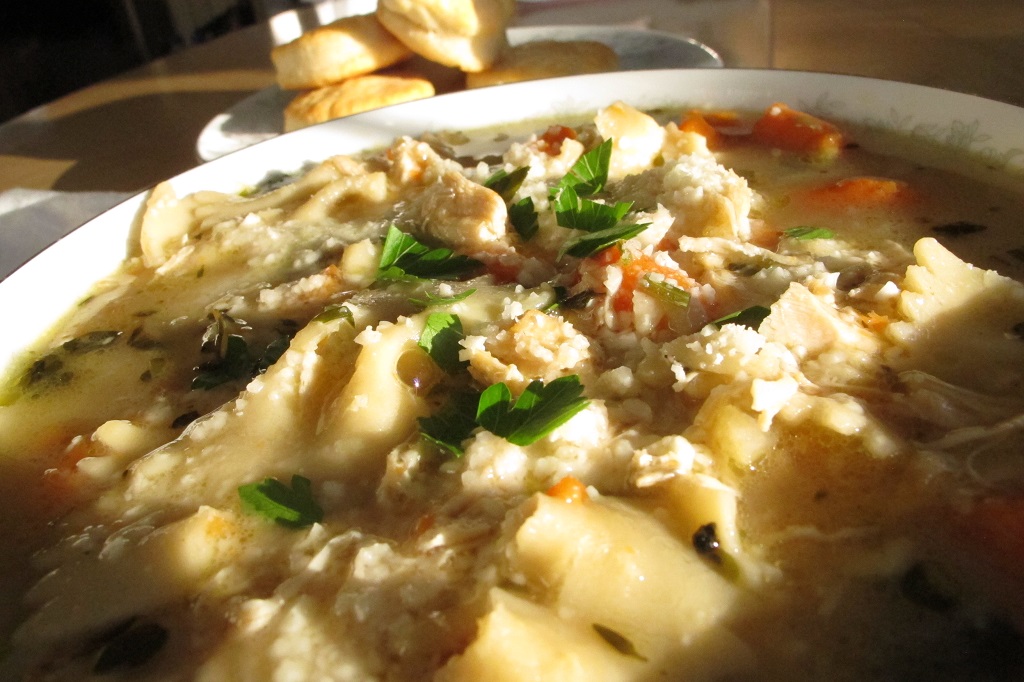
For the coming months, you’ll be able to enjoy moderate harvests for salads, frying, stir-fries, dips, and veggie omelets. They’ll bear fruit over most of the cool season, from mid-autumn through spring, although not as heavily as they would in summer.
During the short days of January and into February, the plants might stop flowering, although fruits that have already set will continue developing. As days lengthen, the plants begin blooming and fruiting again.
After 3 years, I retire the potted peppers I had been growing. But several others fruiting in pots this current season will take their place indoors for the winter.
With good sunlight and proper temperatures, I’ll harvest dozens of peppers from a few moderately sized plants. I’ve been doing this for years at other residences, but now the sunny enclosed porch makes it much easier.
As the temperature drops, warm season crops outdoors will succumb to seasonal changes. Pepper plants begin to decline when temperatures dip below 50°F. If you decide to proceed with this project, you’ll need to watch the weather very carefully.
Early Fruits Next Summer
Peppers take quite a while to grow and mature. Most cultivars of peppers require around 2 months of growing time after transplanting into the garden for fruits to form. Since they must have warm soil and air temperatures, they can’t be planted too early. Even if frosts are over, the ground might still be too cold—from a few days of rain or cloudy weather—to plant sensitive crops, such as peppers and basil. They sulk or die in cold, wet soil.
If your last spring frost date is May 1, for example, you’ll pick your first bell pepper from a new transplant around early July. For a colorful ripe fruit, you’ll need to wait another 3 weeks. In contrast, potted peppers begin bearing fruits months earlier than new transplants set in the spring garden. You’ll enjoy a significant head start by overwintering these plants indoors. For that reason alone, you might decide to give this a try.
Many of my farmers’ market customers complained of poor flowering and fruit set due to extreme heat and drought in the summer of 2024. Each variety of pepper and tomato has a temperature threshold above which the pollen denatures, or dies. No living pollen = no pollination = no fruits. Some gardeners harvested no peppers at all!
Overwintering potted pepper plants indoors could be the solution to poor harvests. Because they’ll be in flower and fruiting by the time they go outdoors for the summer, you’ll have harvested several peppers before the hottest months settle in. Covering tomato and pepper plants with shade fabric can prevent non-fruiting during the hottest weeks of summer.
Are you ready to expand your horticultural experience? If so, here are the 5 tips describing how to grow potted peppers:
Tip #1: Start with Healthy Transplants
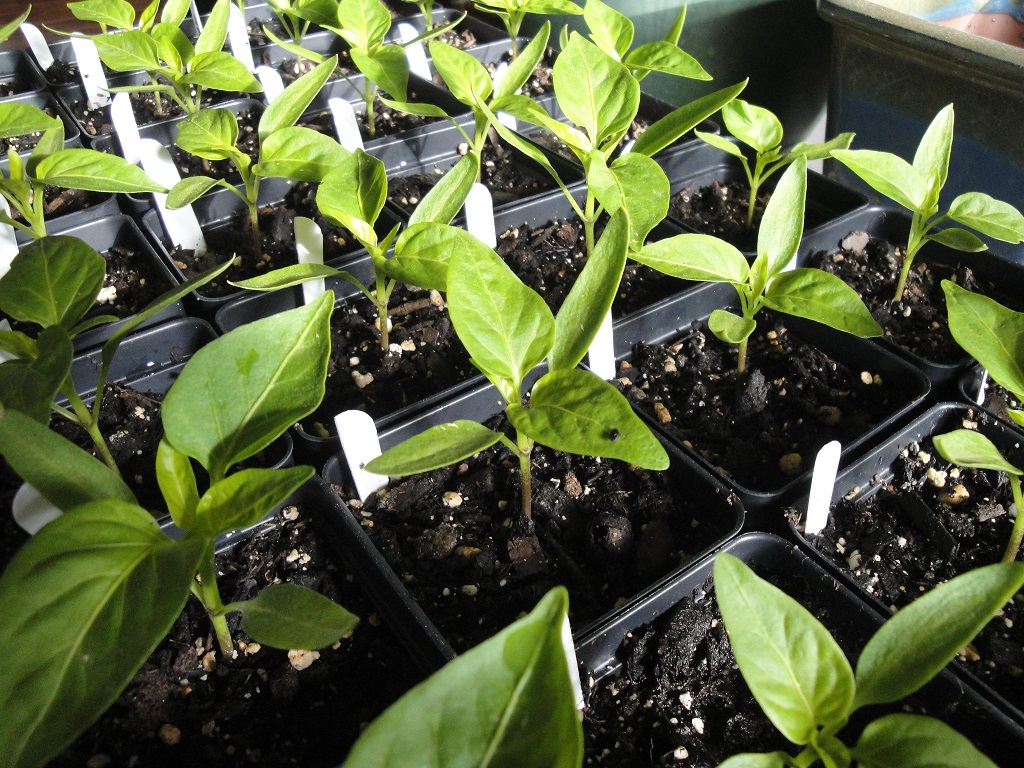
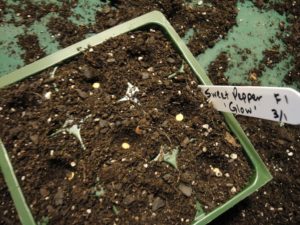
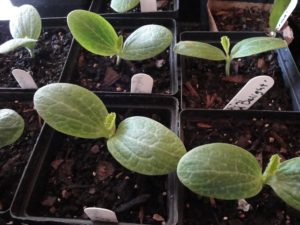
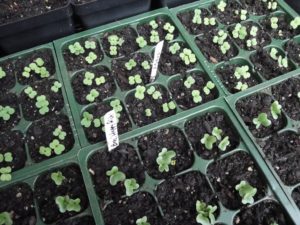
Young pepper seedlings in spring.
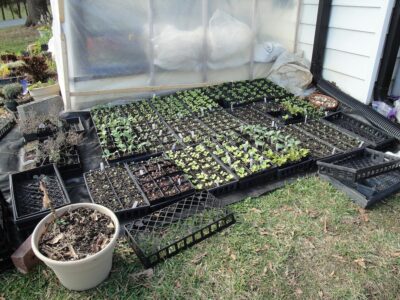
When planning your summer garden, consider keeping one or a few vegetable plants in pots. Keep in mind that some pepper varieties grow large while others attain only half that size. This information is often found in the catalog. Because roots are restricted, potted vegetables normally won’t grow as large as healthy plants in the garden.
A grower in your area might have kept some pepper plants from an early sowing. I ordinarily grow more than I can sell during the busy spring months, so I keep a few dozen potted peppers well into the summer for customers who regretted not planting them earlier.
Another option is to start seeds in early summer. Raised in containers all season and properly fertilized, these plants grow fruits from late summer and continue as long as outdoor conditions favor growth. It helps to let the plants root into garden soil under the pots. This way, their roots can explore the soil for moisture and nutrients.
Later, you’ll sever the roots from each of the drainage holes, one at a time, giving the plant time to adjust before autumn arrives. The leaves probably will wilt somewhat as you cut the roots at the drainage holes, but less severely if you remove some of the foliage. For vigorously growing plants, it would be a good idea to cut back some of the stems by mid to late summer.
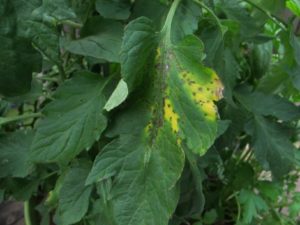
Look for plants without symptoms of disease, including wilt and heavily spotted or discolored leaves. Remove old pale or insect-eaten foliage. Potted peppers in winter might not have perfect foliage, but if the leaves are green and photosynthetic, they can remain on the plant.
Inadvertently, a few small peppers hang around here in their market packs, undernourished and barely alive, with some reduced to just a few leaves. Plants often can be restored to a healthier state with proper potting and pampering, as long as the roots have not been severely compromised.
Tip #2: Transplanting Potted Peppers
Orange and red ‘Lunchbox’ peppers.
The Pots
I transplant plants that prefer warmer conditions, particularly sweet or hot peppers, into black nursery pots. You can buy them or ask a landscaper or a local nursery if they can spare a few pots that they might otherwise discard or recycle. Black pots absorb more of the sun’s energy, helping to warm up the soil in cooler months.
Conversely, try to shade the pot so the soil doesn’t overheat in the summer. In hot climates, the sun bakes the soil on the sunny side and damages the roots. I either shade the black pots with other plants or drop them into larger white nursery pots. All pots must have drainage holes.
Avoid planting a young seedling directly into a 2-gallon pot. Instead, transplant the small plant into a 6″ pot and let it thoroughly root into that pot. A few weeks later, move it into the larger pot. This helps the plant develop roots with a more extensive branching structure.
Moisture in a pot behaves differently than moisture in the ground. New soil (with no roots growing through it) in a large pot stays saturated after a day of rain and could suffocate the roots. Even though much of the excess water drains through the holes, a layer of wetter soil remains in the bottom of the pot before it is absorbed by the roots. But in the ground, water is continually pulled through the soil by gravity and capillary action. As water drains, air is pulled into the soil. Roots need oxygen in the soil as much as they need water.
The Potting Soil
Potting soil should drain well, but it also should be able to hold some moisture and nutrients. Most potting soils today contain large amounts of wood products (bark, wood), which cause them to quickly drain and dry out. A few brands offer excellent soils, but they’re quite expensive.
I tailor the potting soil for each plant species by amending it with ingredients that improve either drainage or moisture retention. Clean garden loam, peat moss, compost, finely ground coir, and aged cow manure have smaller particles and, therefore, help hold water in the air pore spaces.
On the other hand, perlite, pine fines, pieces of wood, coarse coir, and expanded rock products introduce larger air pores spaces, facilitating drainage and drying the soil.
Information on the bag of soil usually indicates whether it’s best used in pots (“potting soil”, “raised beds”, or “container gardening”) or for planting in the garden (“planting mix”, “garden beds”, or “in-ground gardening”). Potting soils tend to have a finer texture than planting mixes.
Amend potting soil that seems coarse (has lots of large particles) with some of the components that hold moisture, as mentioned above. If you’re using more than a small amount of peat moss, which is very acidic, mix in a teaspoon or two of pulverized limestone. The soil pH should be around 6.5 for peppers, which is slightly acidic.
If in doubt, have the soil tested for pH and nutrients through your local cooperative extension service. Lime can take a while to work on the pH, so test your soil before adding lime. Most potting soils have been pH adjusted into an acceptable range.
The Process
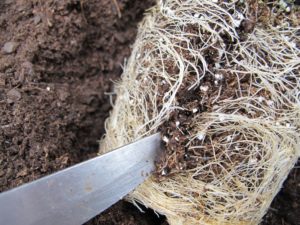
Scoring the root ball encourages rapid re-rooting.
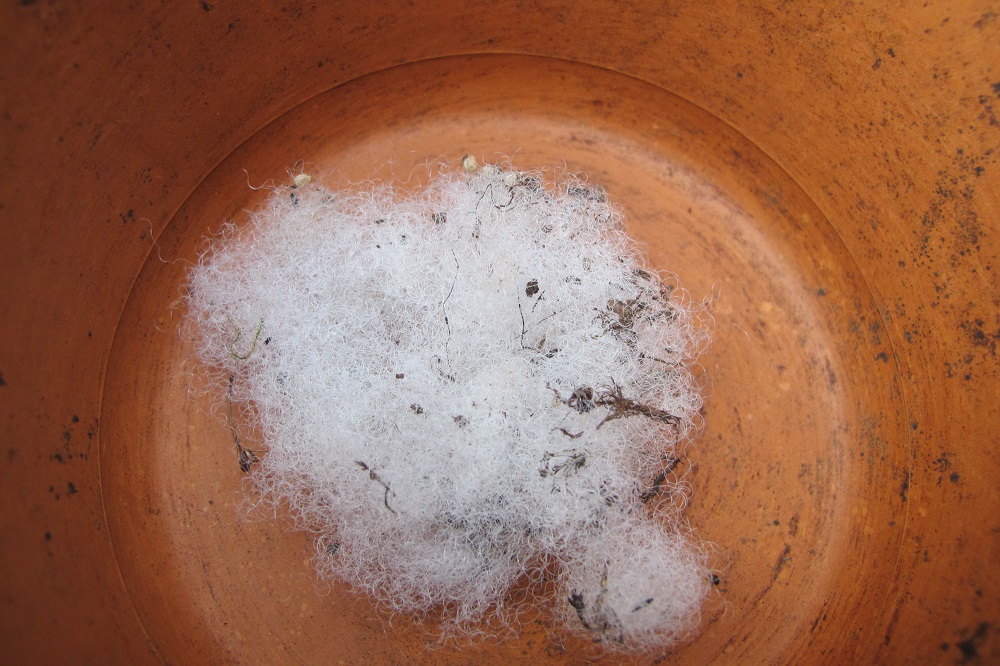
Nursery pots with large drainage holes can cause erosion of the soil. To prevent loss of soil, line the pot on the bottom and partway up the sides with a piece of landscape fabric, polyester fiberfill, or similar material. Water can still drain from the pot, but soil particles won’t wash though the holes. This, however, compromises the plant’s ability to root into the ground beneath the pot, so you’ll need to carefully monitor soil moisture levels.
Fill the new pot almost to the rim with lightly dampened potting soil, firming gently. Before setting the plant into the new soil, score the outside of the root ball or use a fork to tease some of the roots out from the root ball. This slight damage stimulates the root system to branch out, helping new roots establish quickly.
Set the transplant into a hole in the center, and firm the soil around the root ball. Don’t bury the stem with new potting soil when transplanting peppers. If space is a consideration, 2 plants might comfortably fit into a pot that’s a bit larger than you’d use for just one plant. This works better for cultivars that normally grow into small or medium-sized pepper plants.
The finished soil surface should be 1-2″ below the rim of the pot. A pot completely filled with soil can be quite messy when applying a thorough watering.
After planting the pepper, insert a stake (2-3′ long bamboo, a tomato cage, vinyl-clad metal, or a twig) all the way to the bottom of the pot. Secure the stem with twine, but not tightly, to keep the stem upright. The main stem or side branches heavy with fruits will slump over and might need additional support as the plant grows.
The First Watering
High yielding ‘Flavorburst’ pepper in the summer garden.
Water the plant. Apply enough water to soak the original root ball and some of the soil surrounding it. Thoroughly watering a new transplant needlessly leaches nutrients out through the drainage holes.
As roots grow into the soil, you’ll need to moisten more of the soil volume. If you begin this process by midsummer, the pot will have filled with roots by late summer to early autumn.
Plants slow their growth as days shorten, so they might struggle to fully root into their pots if you delay transplanting until autumn. If you transplant them at that time, be very careful not to overwater.
Keep the potted peppers outdoors in full sun (7-8+ hours/day) through the summer and early fall, or until nighttime temperatures drop below 50-55°F. While pepper plants can tolerate colder conditions than that once in a while—but not close to freezing—exposing them to low temperatures on consecutive nights weakens them.
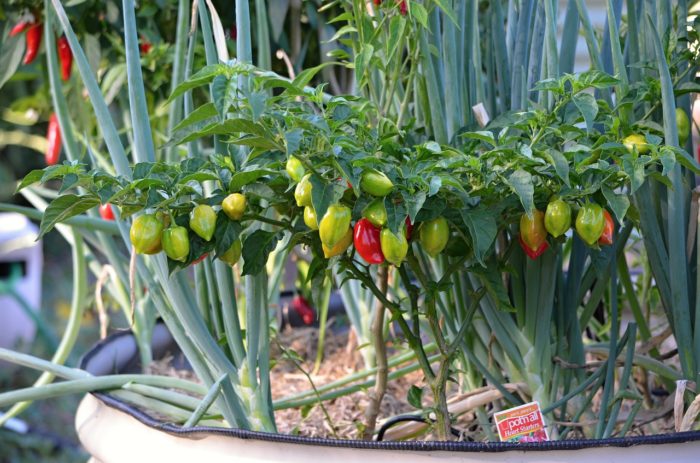
Varieties of Potted Peppers Often Grown Indoors
‘Flavorburst’ is a medium-large sweet bell pepper (photo, above) that starts out lime green and matures to a golden orange color. The flavor is milder than the deep green bells. The plant is a medium-large grower, so it’s in a 3-gallon pot.
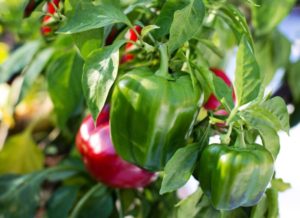
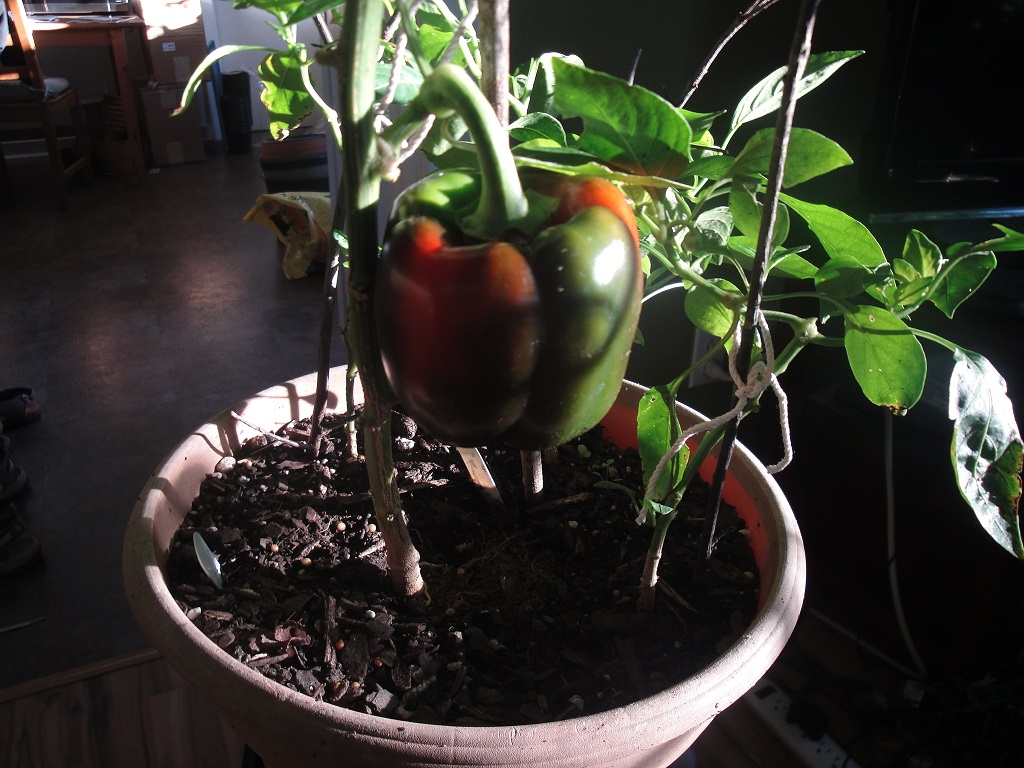
‘Olympus’ is a medium-sized plant growing in a 2-gallon pot. This large, deep green bell pepper turns red when fully ripe (photo, bottom of this page). I’ll harvest most ‘Olympus’ peppers, however, in the mature green stage when preparing curried tuna or sweet-and-sour chicken.
‘Lunchbox’ peppers are medium-sized plants. They grow very well in 1-2-gallon pots over the winter. The red fruits on some plants are a bit smaller, so most of the ones I’m saving ripen to orange. Each plant develops fruits that start green and ripen to just one color: red, orange, or yellow. (Photo, bottom of this page.)
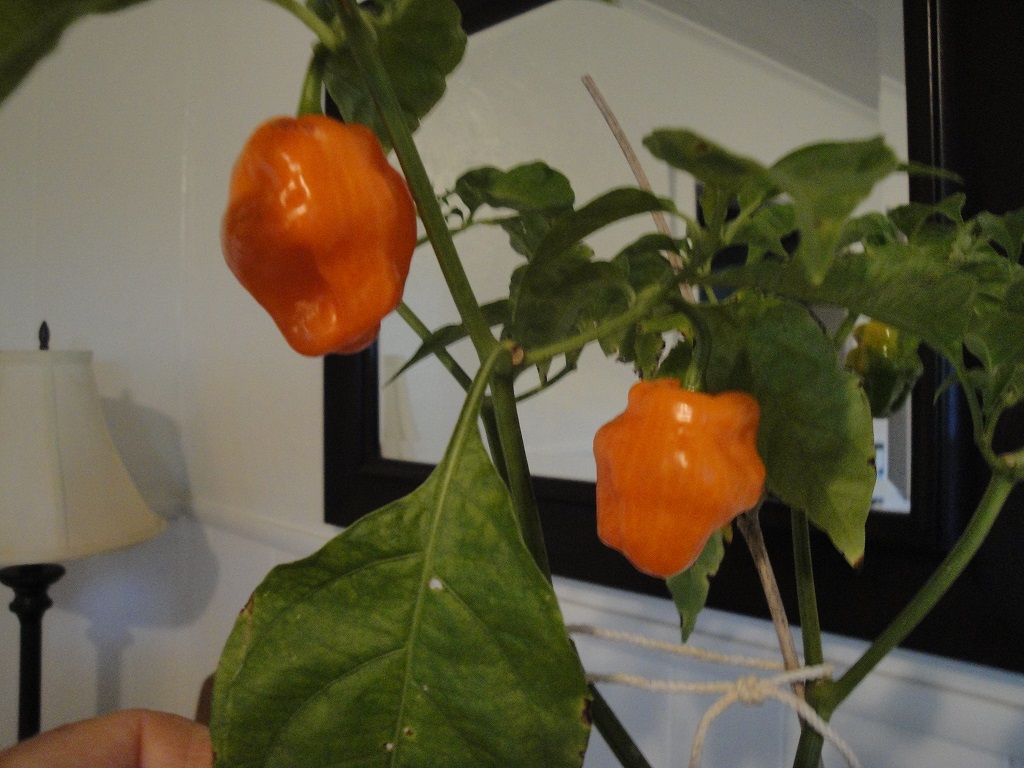
‘Aura’ and ‘Gourmet’, in 1- or 2-gallon pots, are orange-when-ripe bell peppers on small plants. Sweet bell peppers that ripen to orange contain extremely high levels of zeaxanthin—10 times more than ripe red peppers. The antioxidants zeaxanthin and lutein help preserve eyesight. (Spinach, pistachios, goji berries, and egg yolks also boast high levels of these antioxidants.) If I need bell peppers when my plants aren’t producing, I usually buy orange bells. I’ve read that orange hot peppers do not contain those elevated levels of zeaxanthin.
‘Delirio’ is a bell pepper that ripens to a gorgeous deep orange color. After growing it for only one year, this cultivar has become a favorite. A small plant was dug from the ground and placed in a 1-gallon pot.
‘Candy Cane’ variegated pepper.
‘Candy Cane’, a sweet pepper with green and white variegated leaves, is among the potted peppers I grow every year. The thin-walled fruits grow irregularly striped green and creamy-yellow, ripening to bright red (photos, top of article and above). This cultivar needs full direct sun to maintain good variegation in both the foliage and the fruits. Even if it loses its white splotches, it will yield good peppers.
‘Jimmy Nardello’, an heirloom Italian frying pepper, has long, curved, red, sweet fruits when mature (photo, next page). At the last minute, before cool weather moved in (2024), I yanked a few young plants out of the ground and potted them into 6-8″ pots. Sometimes sweet peppers can be quite hot instead. Test a sample before using it in cooking or salads. The problem is often caused by pollen from a hot pepper landing on the sweet pepper’s stigma. Keep hot peppers separated from the sweets. (***Update***: This happened as I prepared a Sunday morning veggie omelet and tasted the ripe ‘Jimmy Nardello’ pepper—way too hot! January 2025)
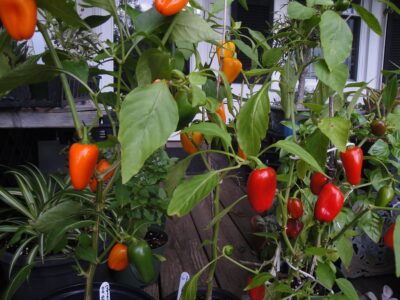
I don’t eat hot peppers, but sell the potted habaneros, cayennes, hot wax, and jalapeños at farmers’ markets. ‘Helios’ habanero is so cute with its bright orange lanterns (photo, below) hanging on small glossy-leaved plants. It’s ornamental qualities merit keeping it around during the autumn holidays.
Dig it
You can dig up peppers that aren’t very big but try to keep the root system intact. Removing half of the foliage (by cutting back the stems) and lightly shading them for a couple of days prevents severe wilt. Misting a few times a day for a few days should help.
Feel the soil 2″ into the pot to see if the plant needs water. If you feel any dampness, don’t water yet.
Then, with good sunlight and careful watering, they’ll recover. After the plant has adapted, stop misting the foliage to help prevent bacterial spot diseases.
-
- ‘Olympus’ sweet bell pepper.
-
- Red ‘Lunchbox’ pepper.
-
- Habanero ‘Helios’ hot pepper.
Headings
Page 1: As Autumn Approaches (Why would we grow potted peppers in winter?, Early Fruits Next Summer), Tip #1: Start with Healthy Transplants, Tip #2: Transplanting Potted Peppers (The Pots, The Potting Soil, The Process, The First Watering, Varieties of Potted Peppers Often Grown Indoors, Dig It)
Page 2: Tip #3: Caring for Your Potted Peppers (Direct Sunlight and Temperature, Artificial Light, Water for Potted Peppers, Fertilizer, Timed Release Fertilizer, “Should I use organic fertilizer?”, Insects and Spider Mites, The Tobacco Hornworm, Beneficial Insects)
Page 3: Tip #4: Pollinating Your Potted Peppers, Tip #5: Fruits from Your Potted Peppers (No New Fruits?)


 In 1977, the Consumer Product Safety Commission banned the use of lead paint in residential properties. If you live near an industrial region, a busy highway, or where lead paint might be a concern, I strongly advise testing for lead before you prepare the soil. Local zoning authorities should have records on past property use. For more information, contact the National Lead Information Center at 800 424-5323.