How To Grow Plants In a Strawberry Jar
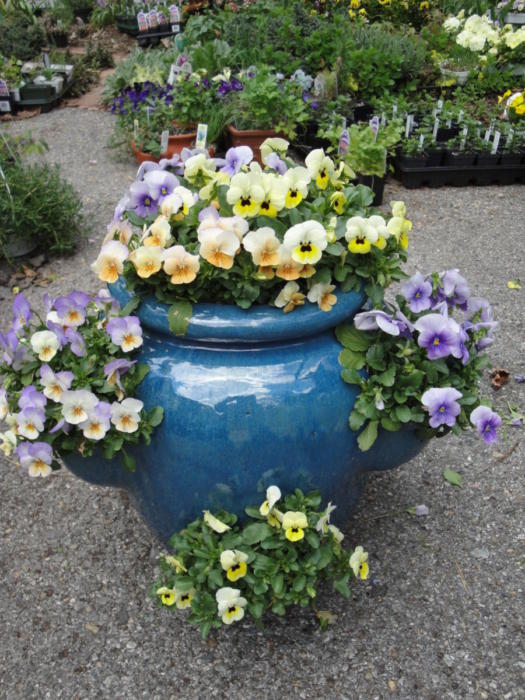
A glazed strawberry jar planted with violas.
Have you ever wanted to plant a strawberry jar but just weren’t sure how to do it? In this article, I’ll provide lots of tips that will ensure a successful outcome.
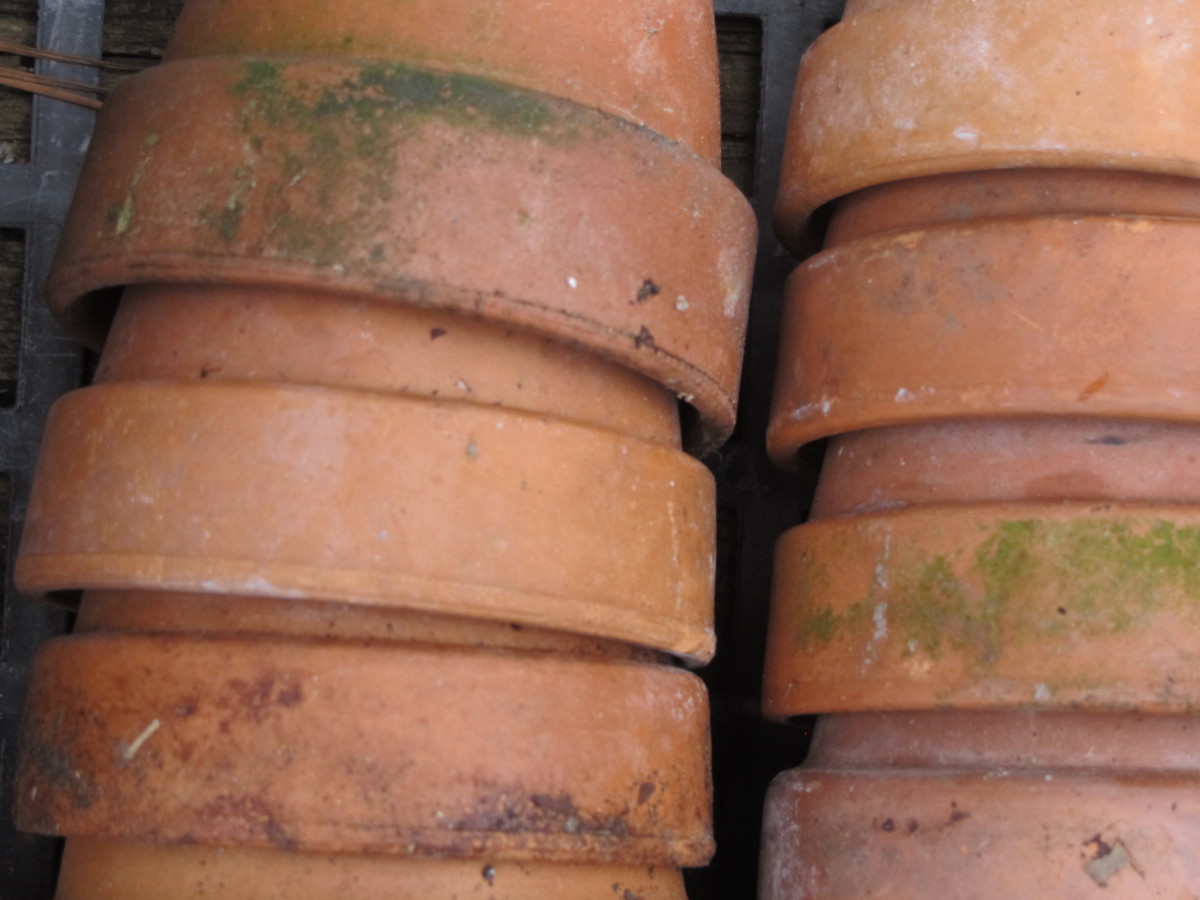
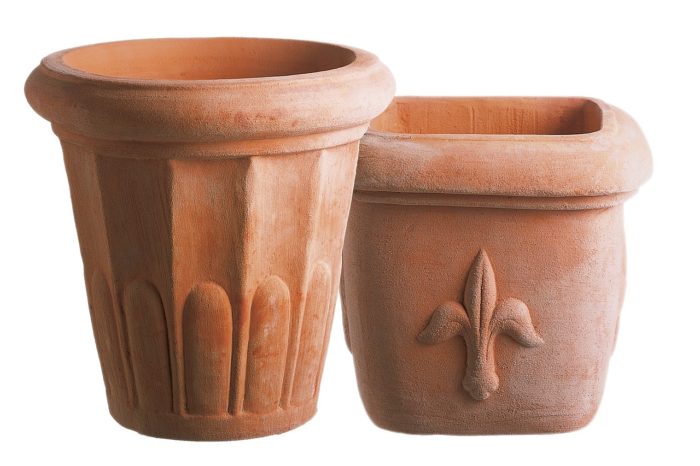
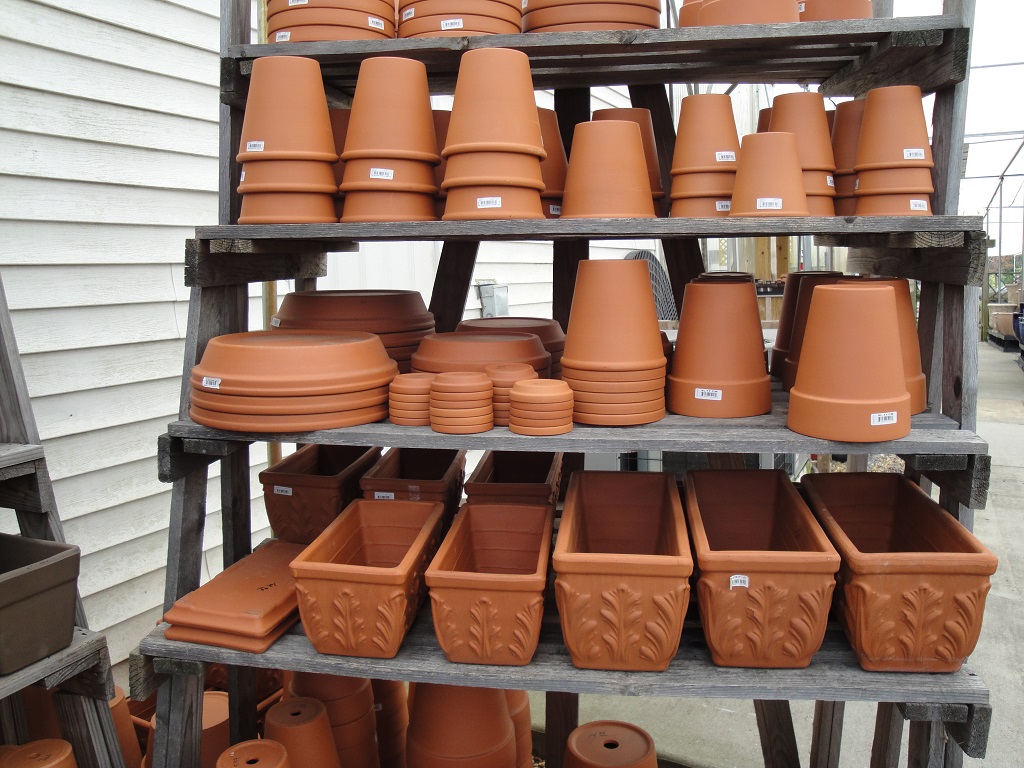
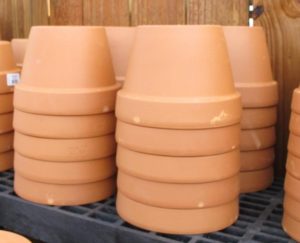
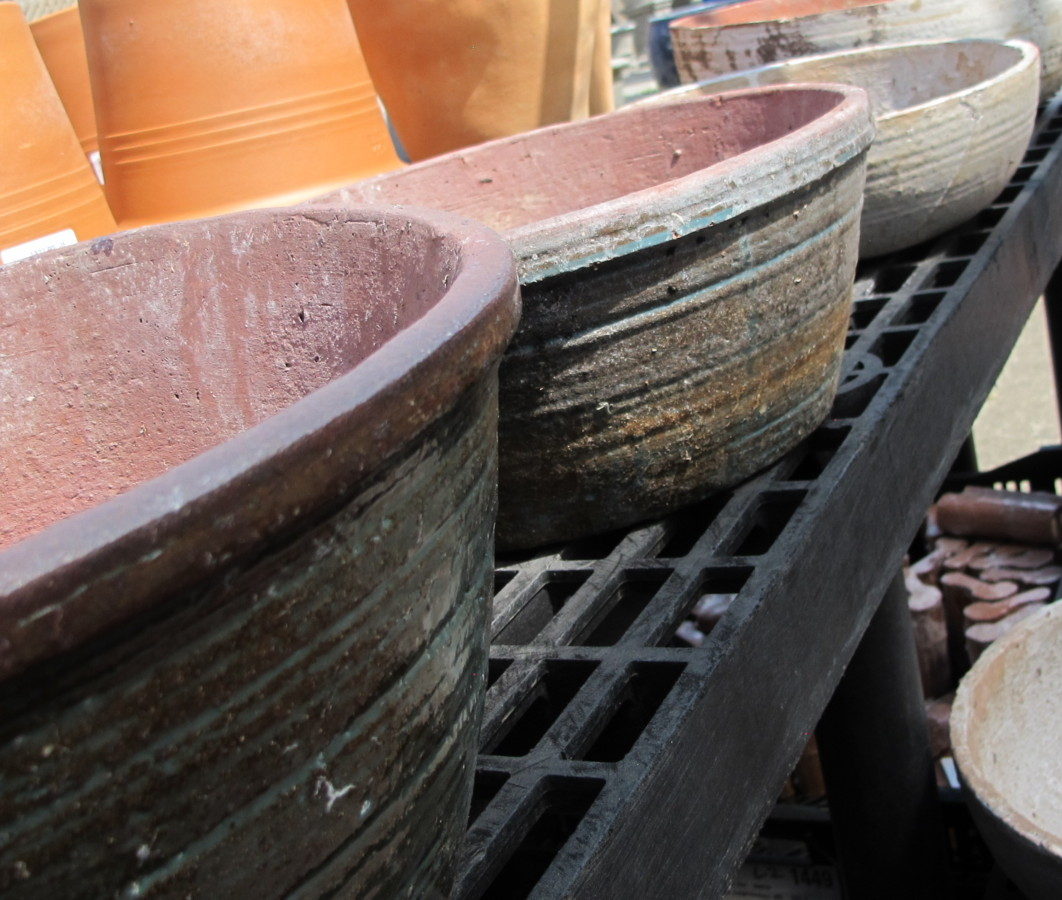
Strawberry jars (or strawberry pots), those with pockets on the sides, make fascinating container gardens. You can find jars made of terra cotta or plastic, and ceramics with beautiful glazed finishes.
Over the past several years, the stackable plastic sorts have become popular. They are less expensive, true, but it’s hard to walk away from that ceramic strawberry jar that caught your eye (and your heart) at the garden show.
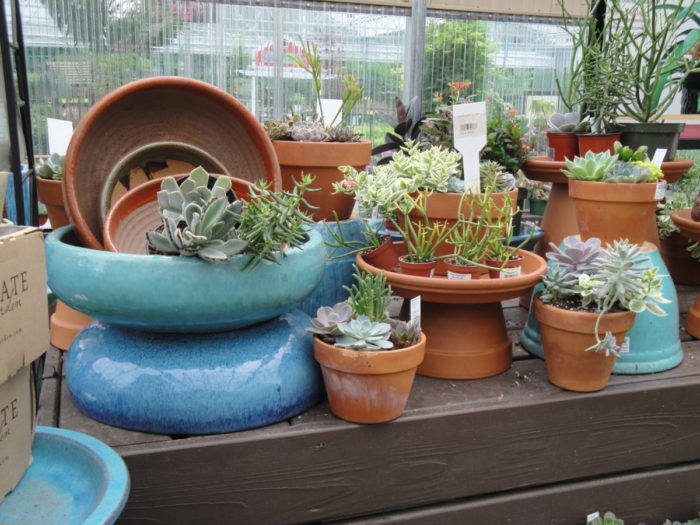
Yes, strawberry plants can be grown in strawberry jars. But, there are many other options, including succulents, herbs, annuals, and even houseplants.
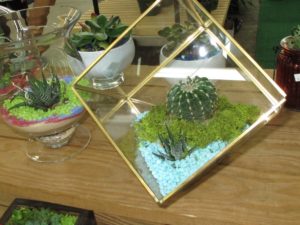
Planting Succulents In a Strawberry Jar
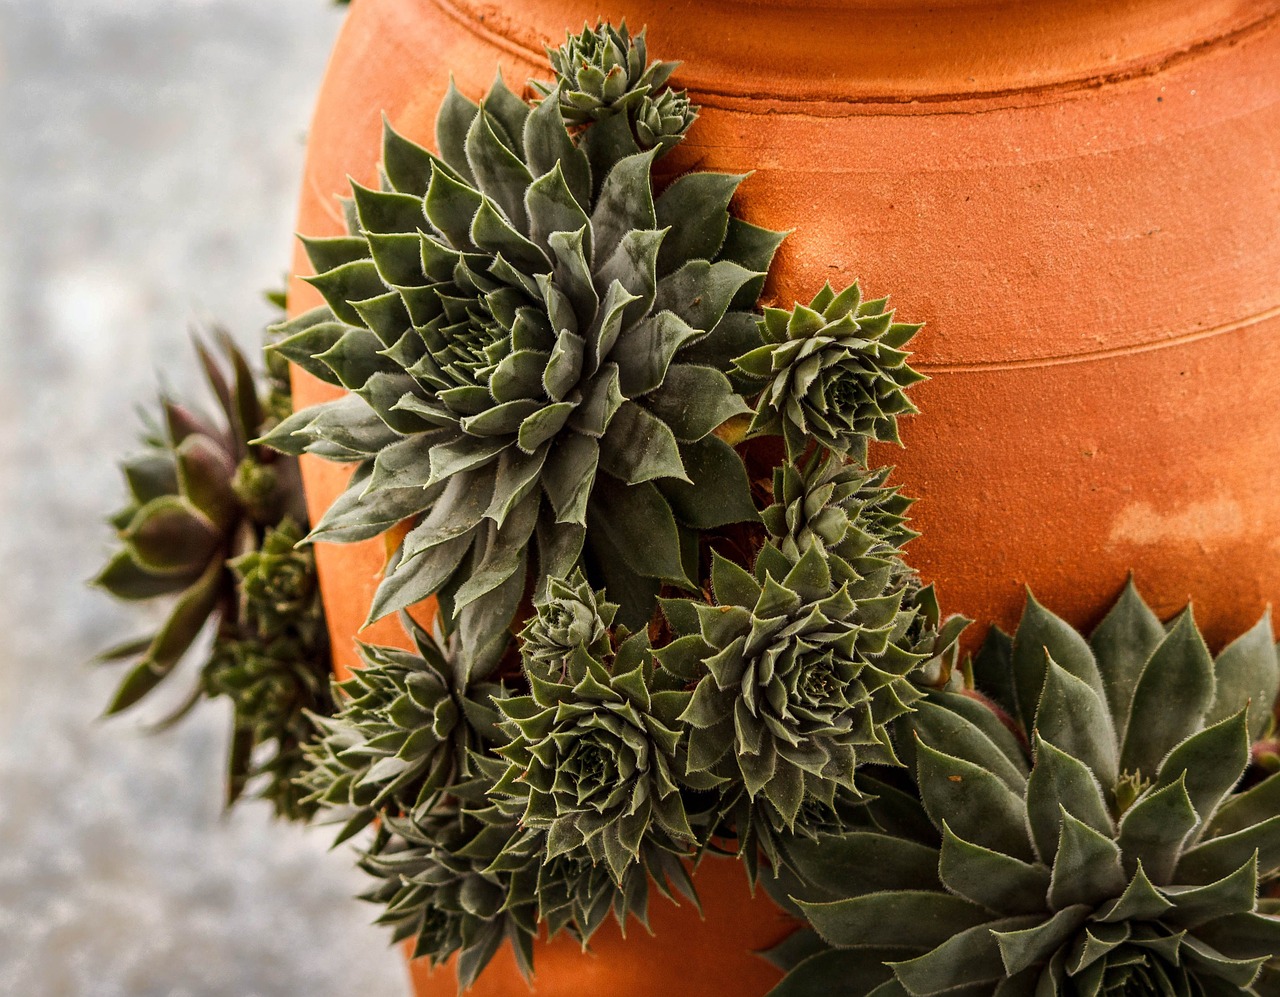
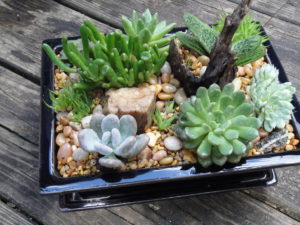
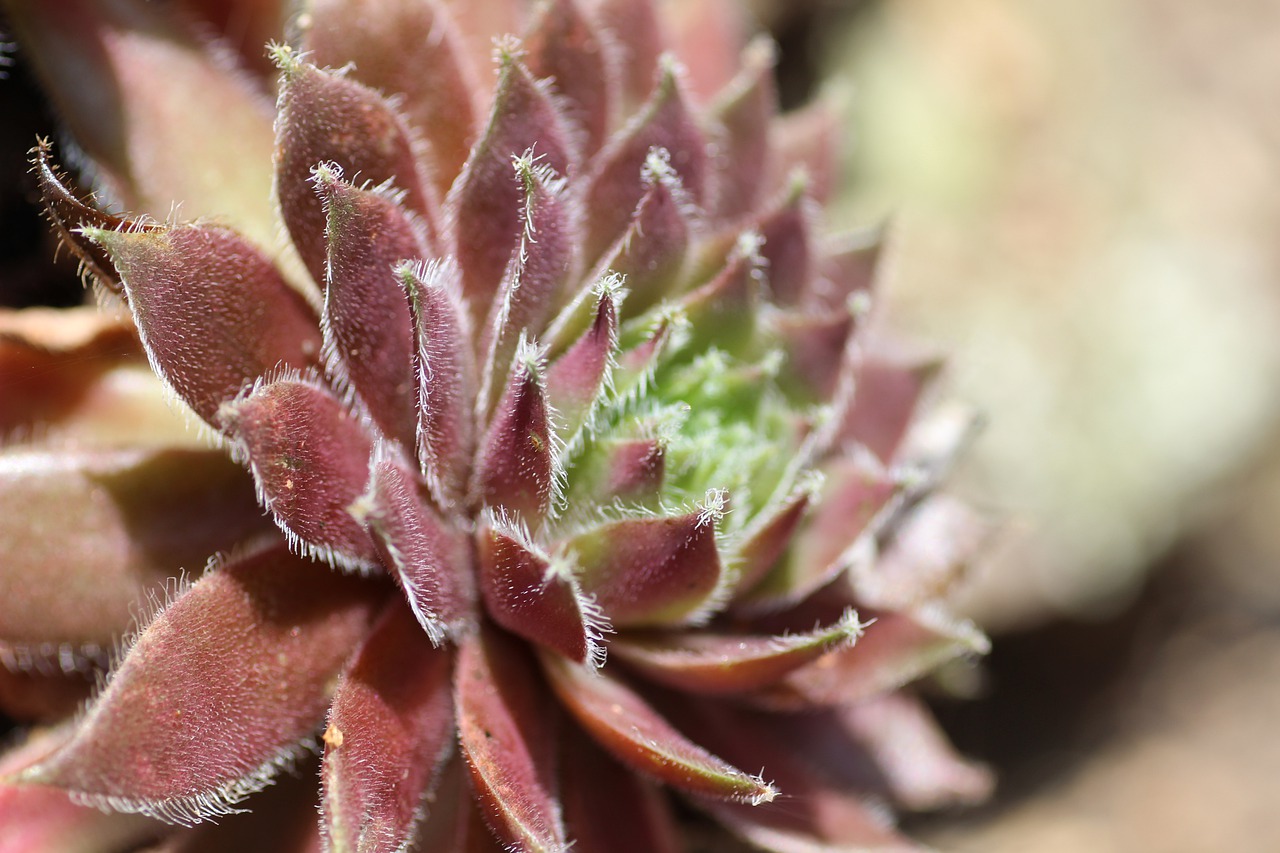
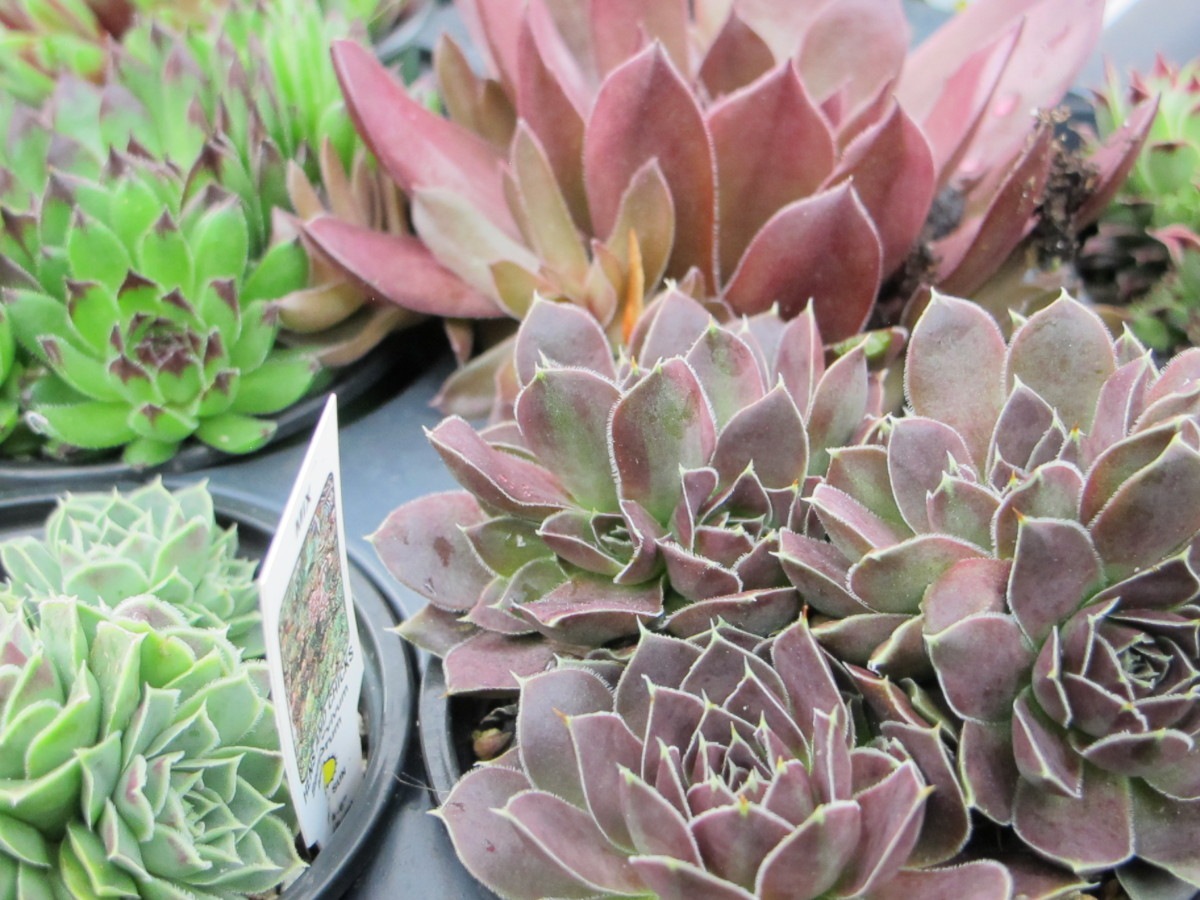
A clay strawberry jar with hens and chicks.
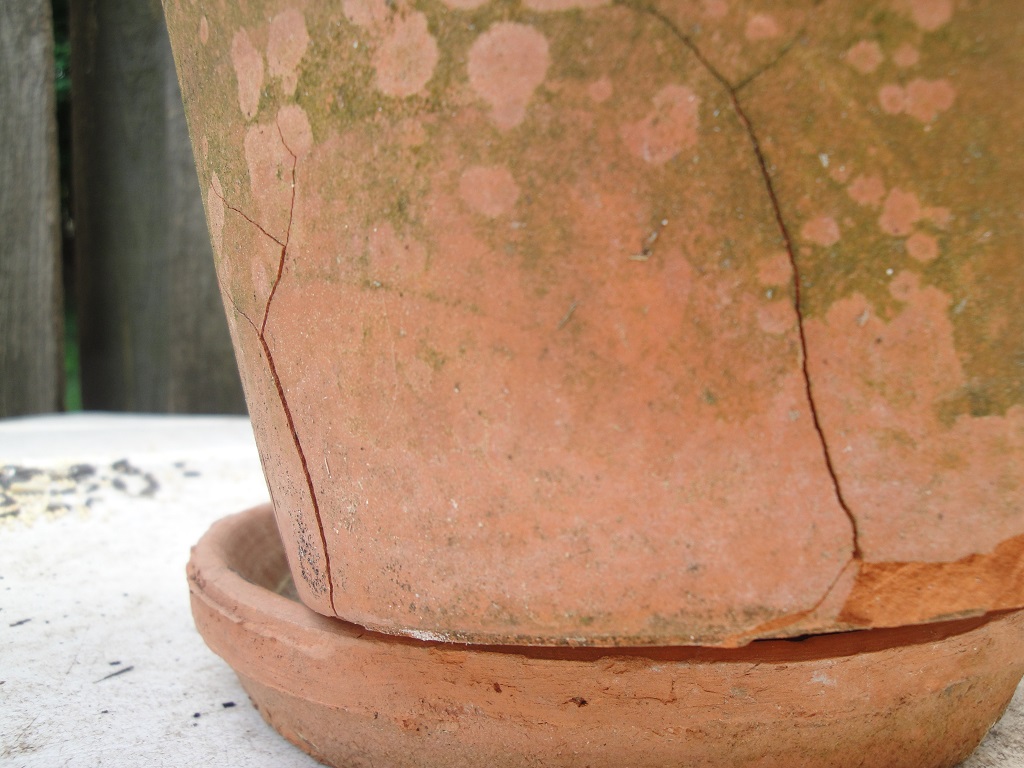
Terra cotta jars dry out fast because the material is porous, so we must manage them carefully. The succulents, however, love terra cotta!
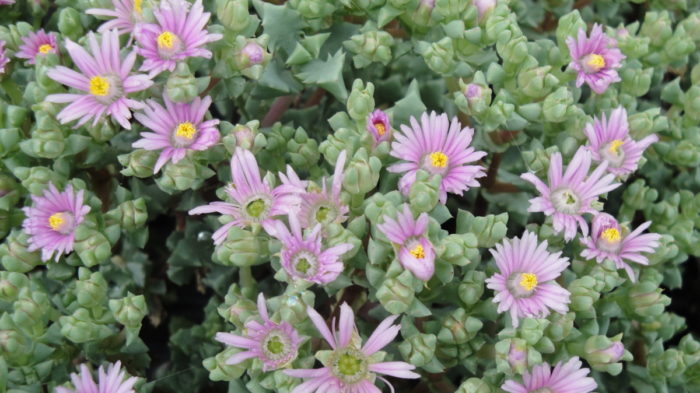
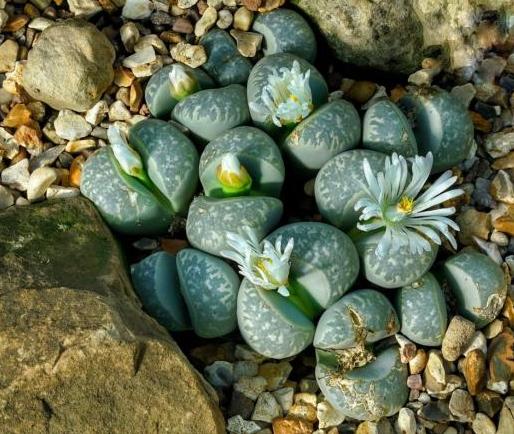
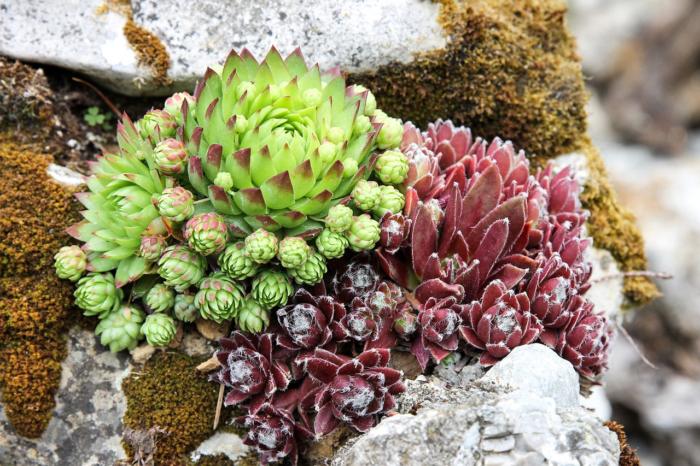
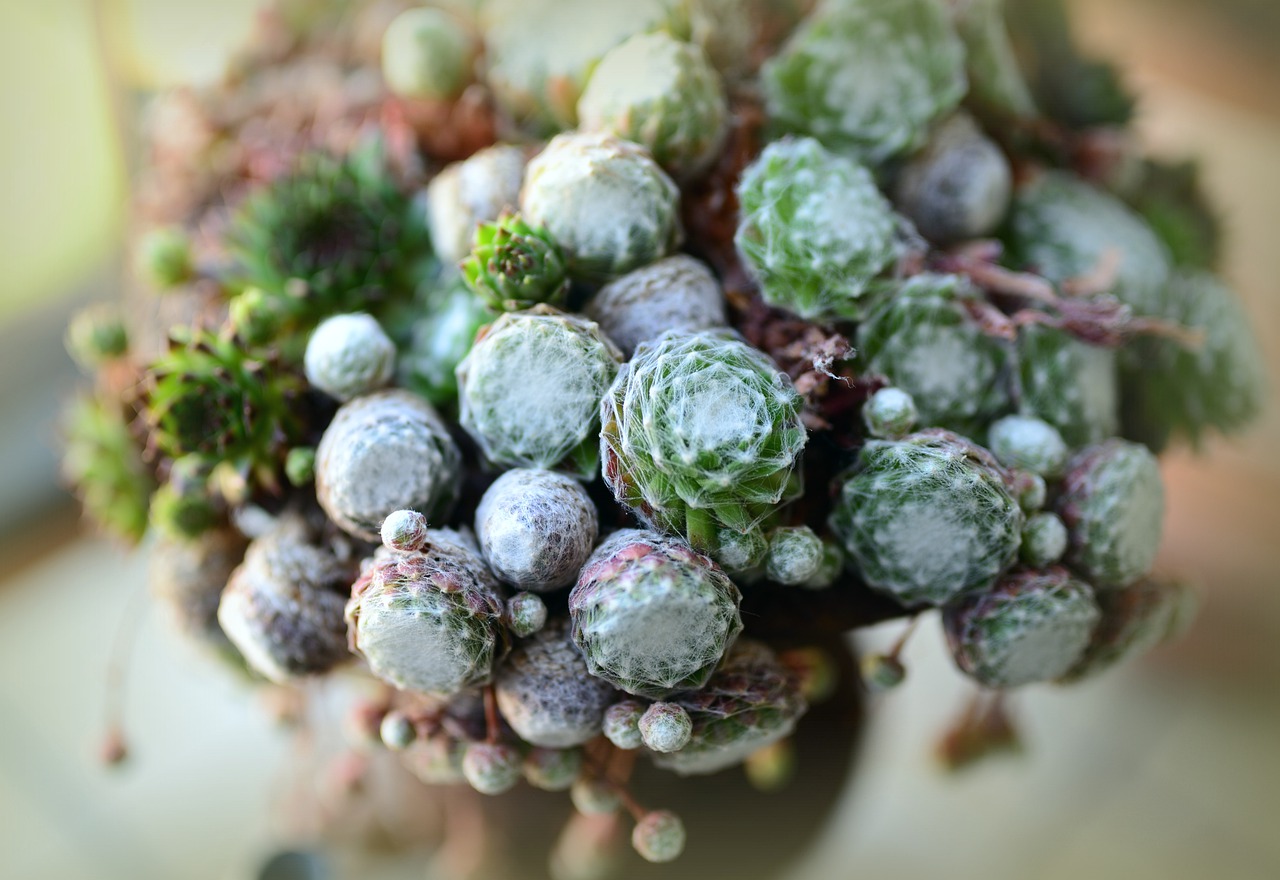
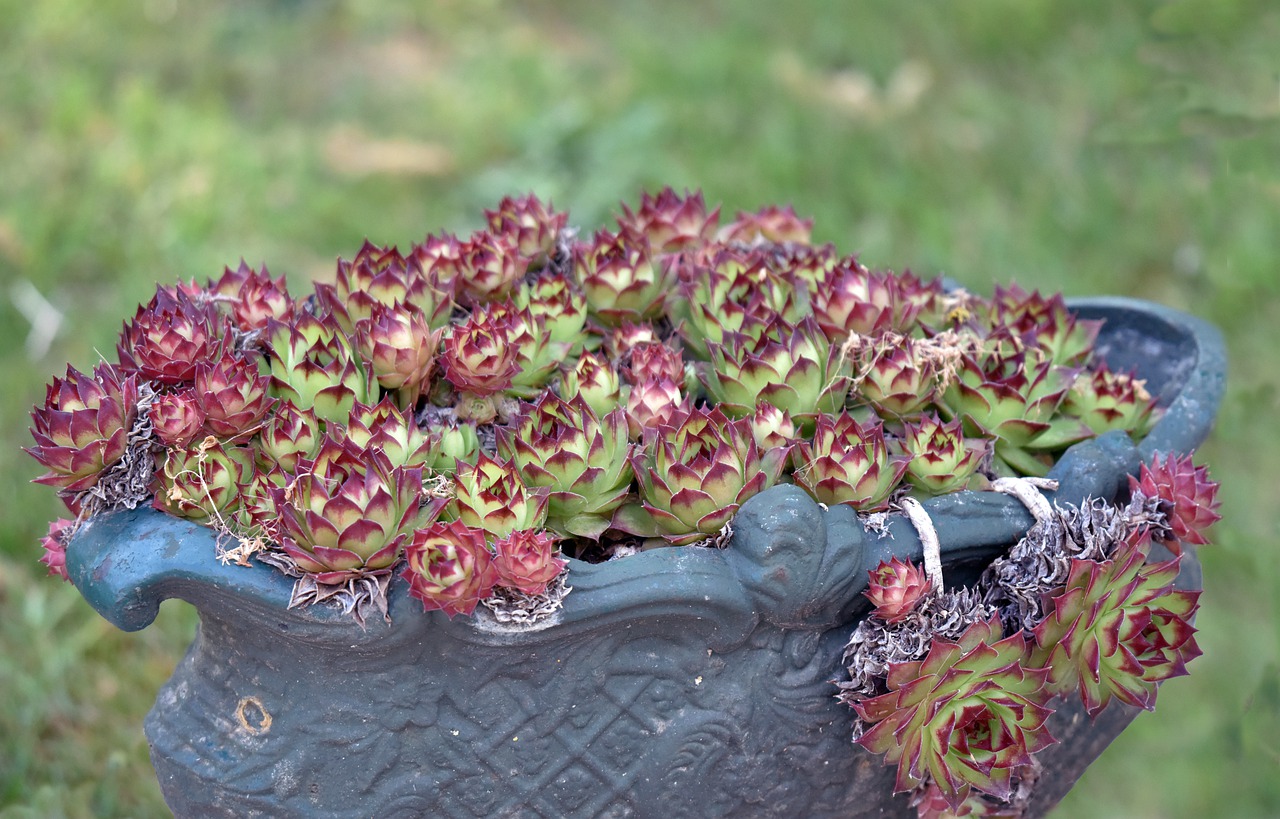
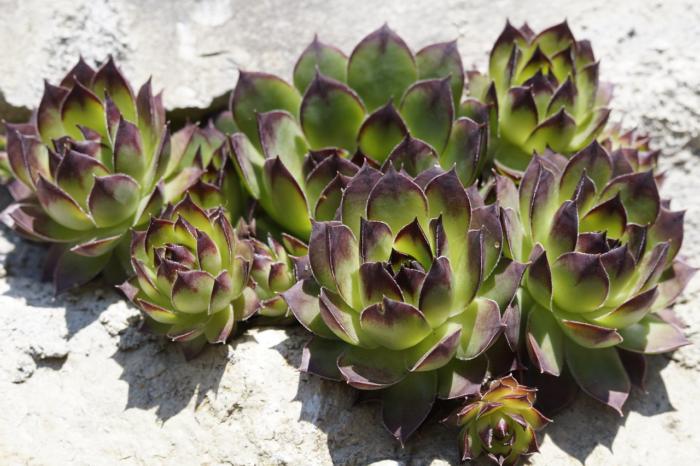
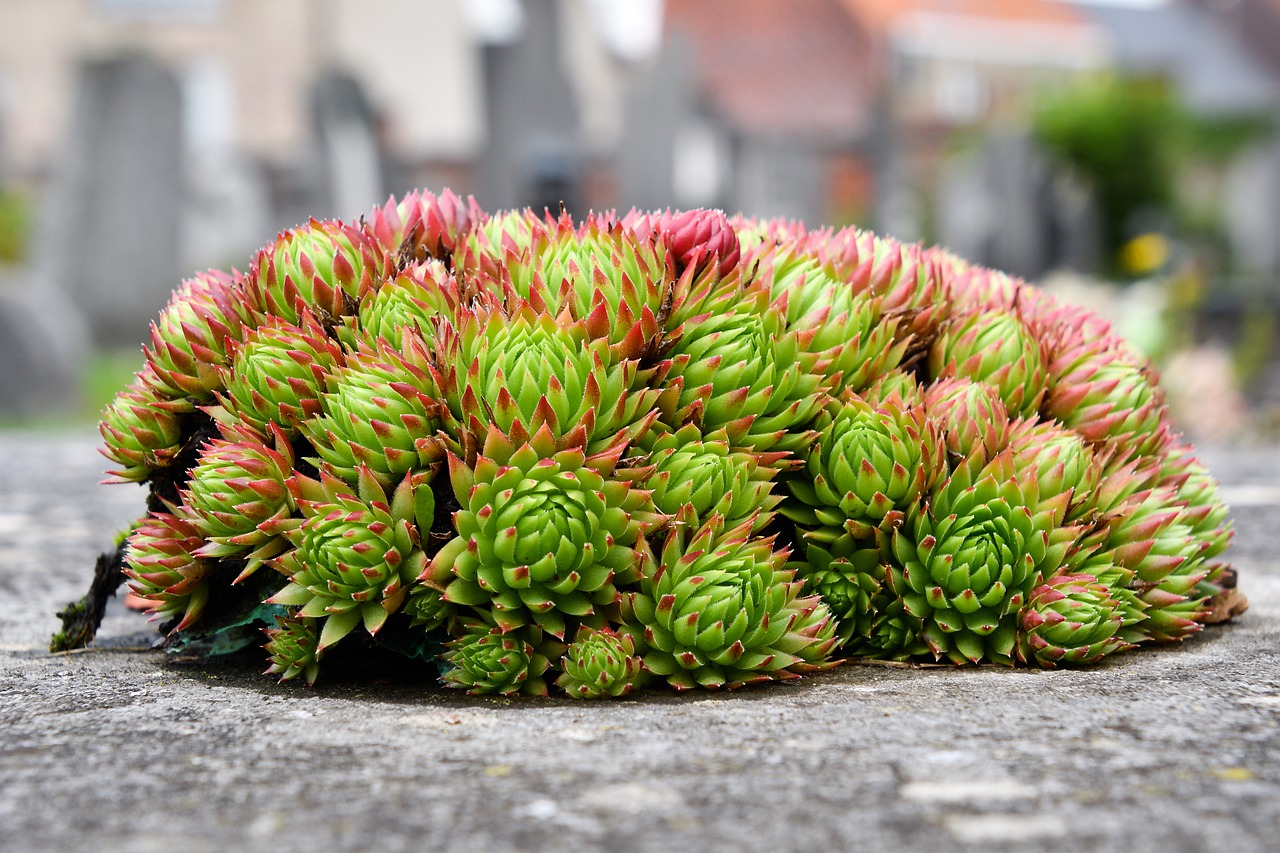
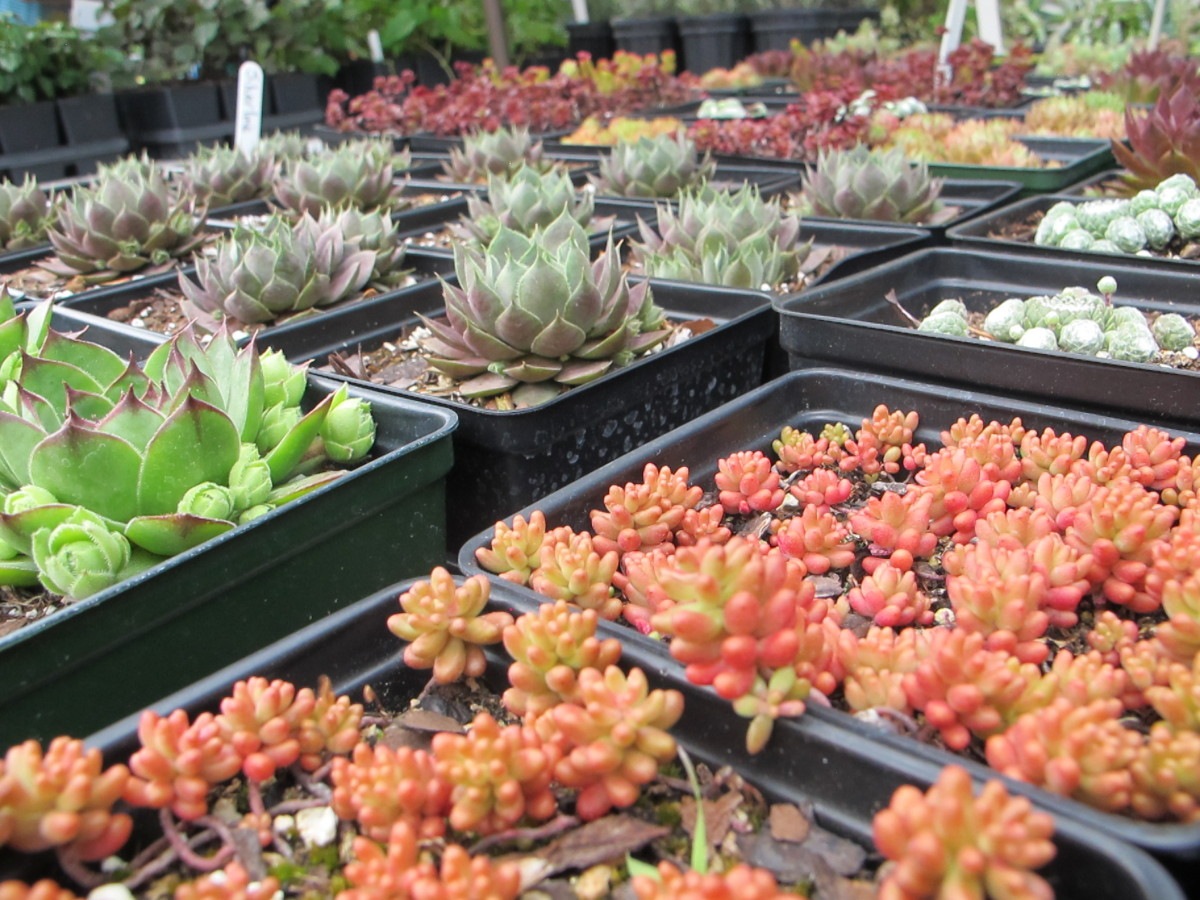
Dwarf succulents, such as hens and chicks (Sempervivum tectorum, S. arachnoideum), are perfect candidates for strawberry pots. A related genus, Jovibarba, grows in a similar fashion. Both need full sun and don’t mind drying out now and then. Excess growth is easily plucked off and planted elsewhere. The little “chicks”—offsets growing from stolons—cluster close to the “hen”.
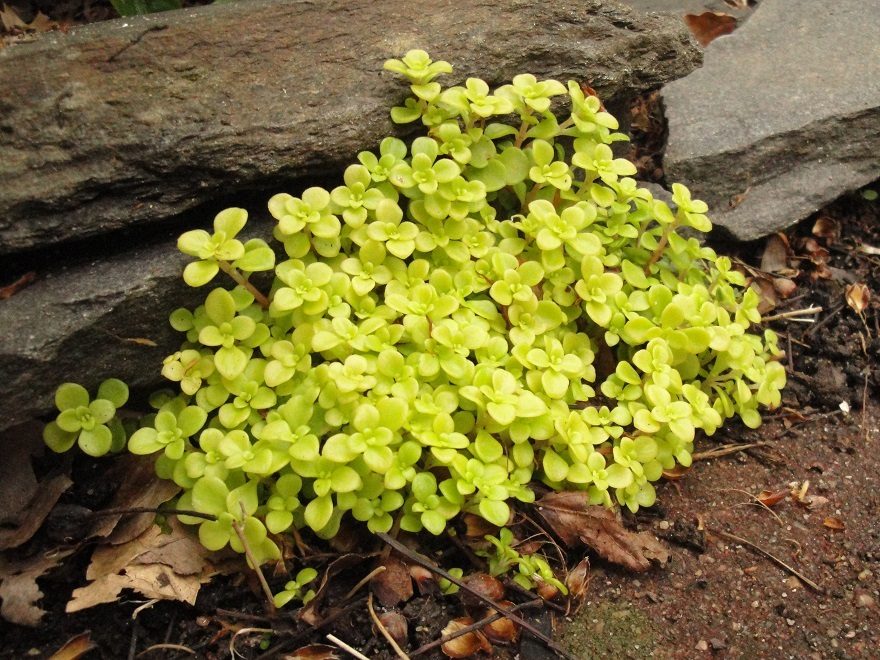
To add a little variety to the hens and chicks, include other hardy succulents, such as the small growing Sedum dasyphyllum, S. makinoi ‘Ogon’, S. spurium, and S. ‘Angelina’. Plant Sedum ‘Ogon’ on the north side to avoid sun scald. Most of these sedums are less winter hardy than the hens and chicks, so check their hardiness zones.
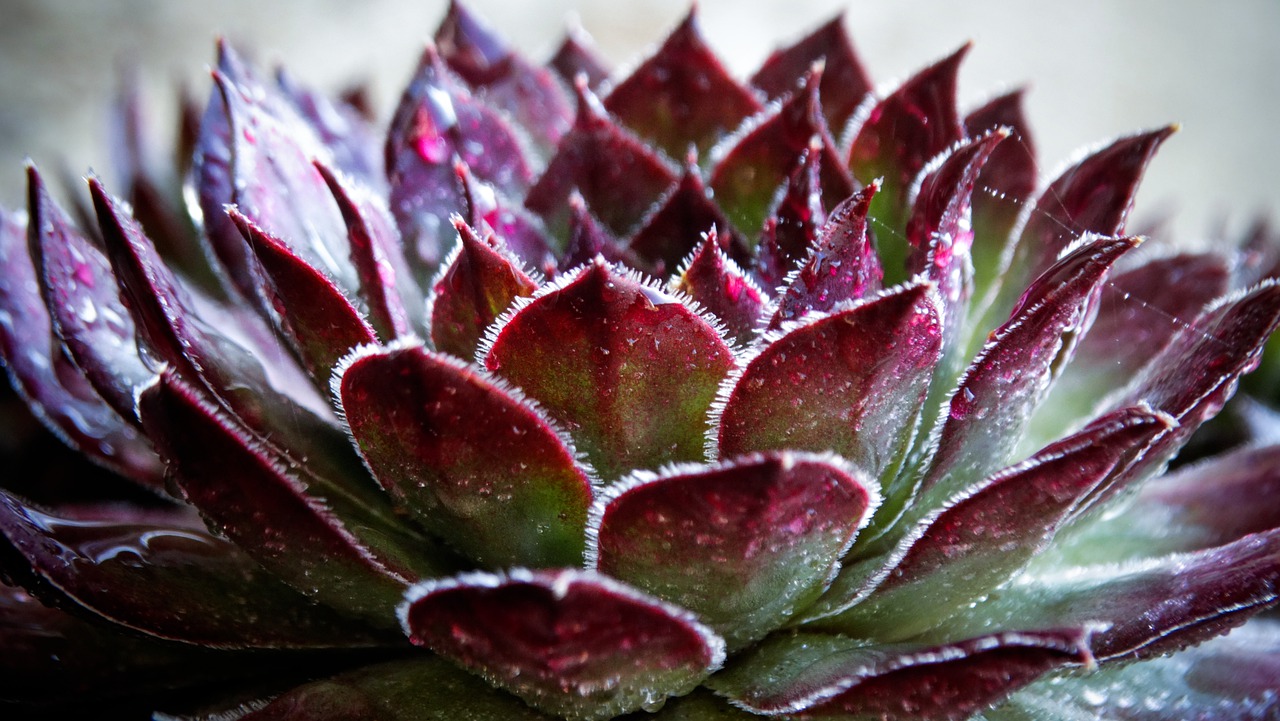
Sempervivum varieties grow rosettes of foliage (photo, above) and are available in many colors and bicolors, including green, gray, red, and burgundy. More recent introductions include colors of the sunset in their leaves (‘Gold Nugget’, ‘Orange Glow’). Some varieties have spider webbing, with fine white hairs connecting one leaf tip to another. The leaves of a variety called ‘Oddity from Albidum’ look as though they’ve been rolled into tubes.
When It Gets Cold
Hens and chicks are hardy to USDA zone 3 or 4 when they’re planted in the ground. Because roots are exposed to colder air temperatures, however, potted hens and chicks are hardy probably up to the warmer zone 5 or 6.
I’ve seen clay strawberry pots filled with hens and chicks that had been left out all winter in zone 6 Maryland. Because hens and chicks are hardy perennials, they normally survive winter weather. To avoid damaging the pot, though, it’s best to prevent it from repeatedly freezing and thawing. Clay absorbs water, and water expands when it freezes, so, eventually clay pots will weaken.
Keeping the pot quite dry or protected in a sunny shed during freezing weather will help it last longer. Another option is to remove plants from the strawberry jar and heel them into the garden for the winter. Then you can clean the pot, store it dry over the winter, and replant the same plants, or parts of them, in spring.
Gardeners living where winters are moderate to mild can leave hardy succulents outdoors, but others living in cold regions risk losing their terra cotta strawberry pots. You can use plastic strawberry pots instead. Ceramic pots labeled “frost resistant” probably will survive winter weather.
For non-porous pots (plastic and ceramic) that will be planted with succulents, mix a large quantity of extra pine fines, coarse sand, and/or perlite into the soil for faster drainage. Because clay strawberry jars dry out much faster than non-porous pots, they’re the better choice for succulents. However, with enough drainage material, succulents should do well in any pot.
-

- Several varieties of Sempervivum, or hens and chicks…
-
- …and Sedum makinoi ‘Ogon’.
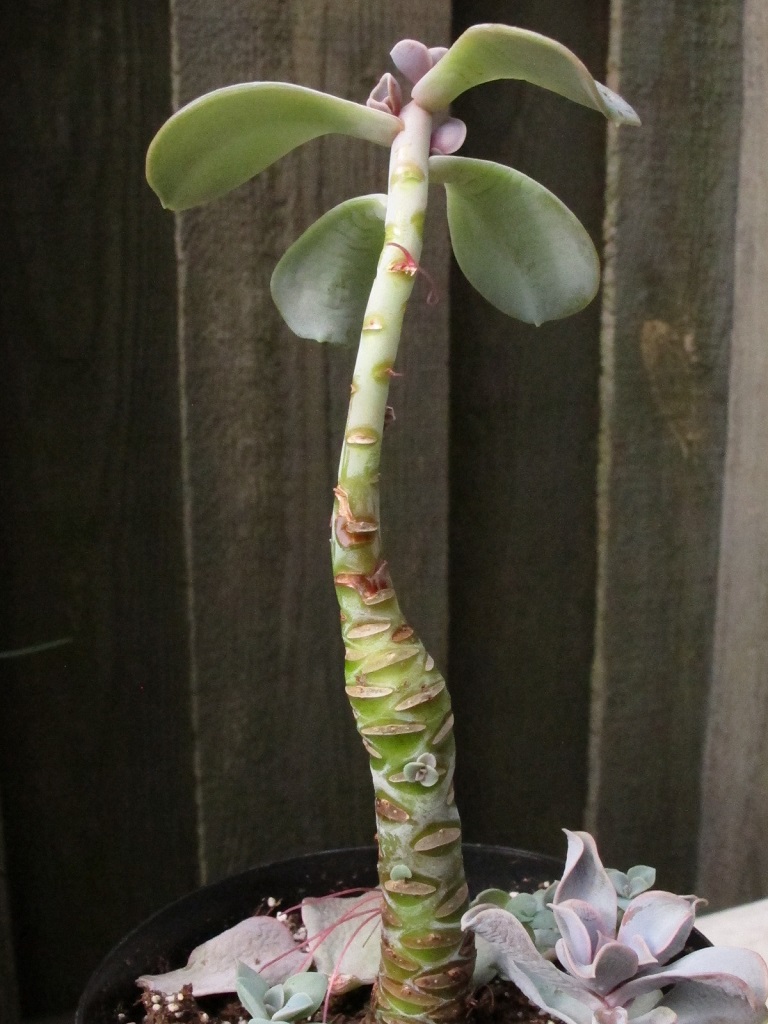
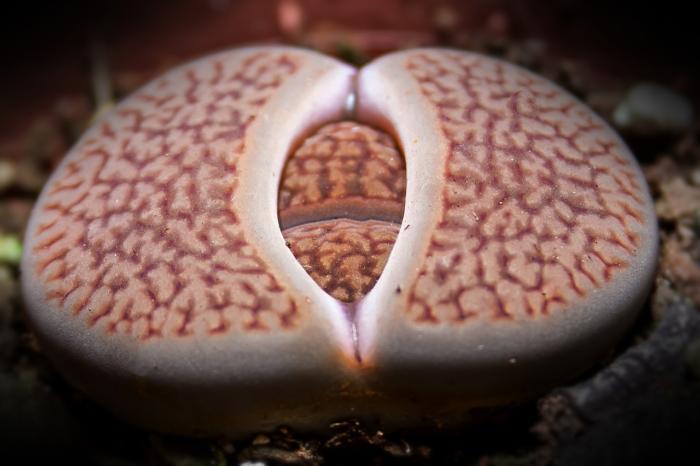
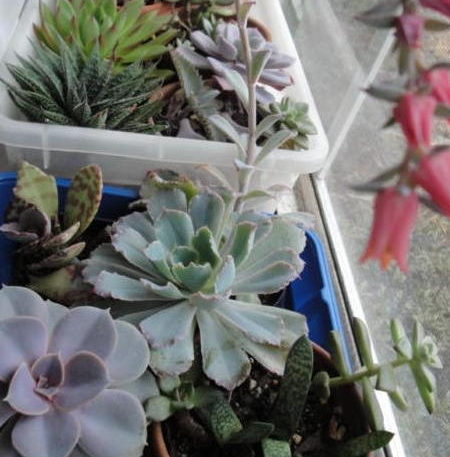
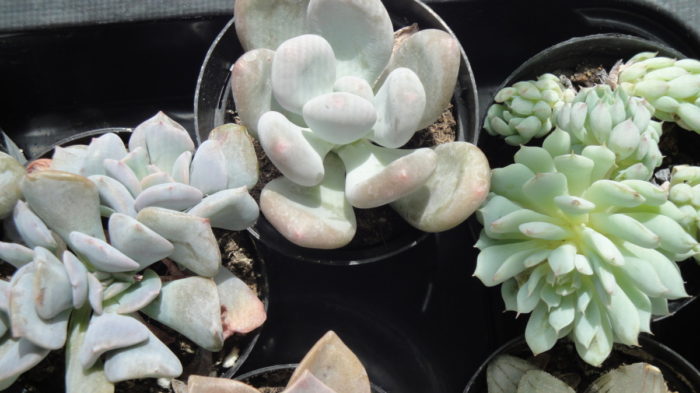
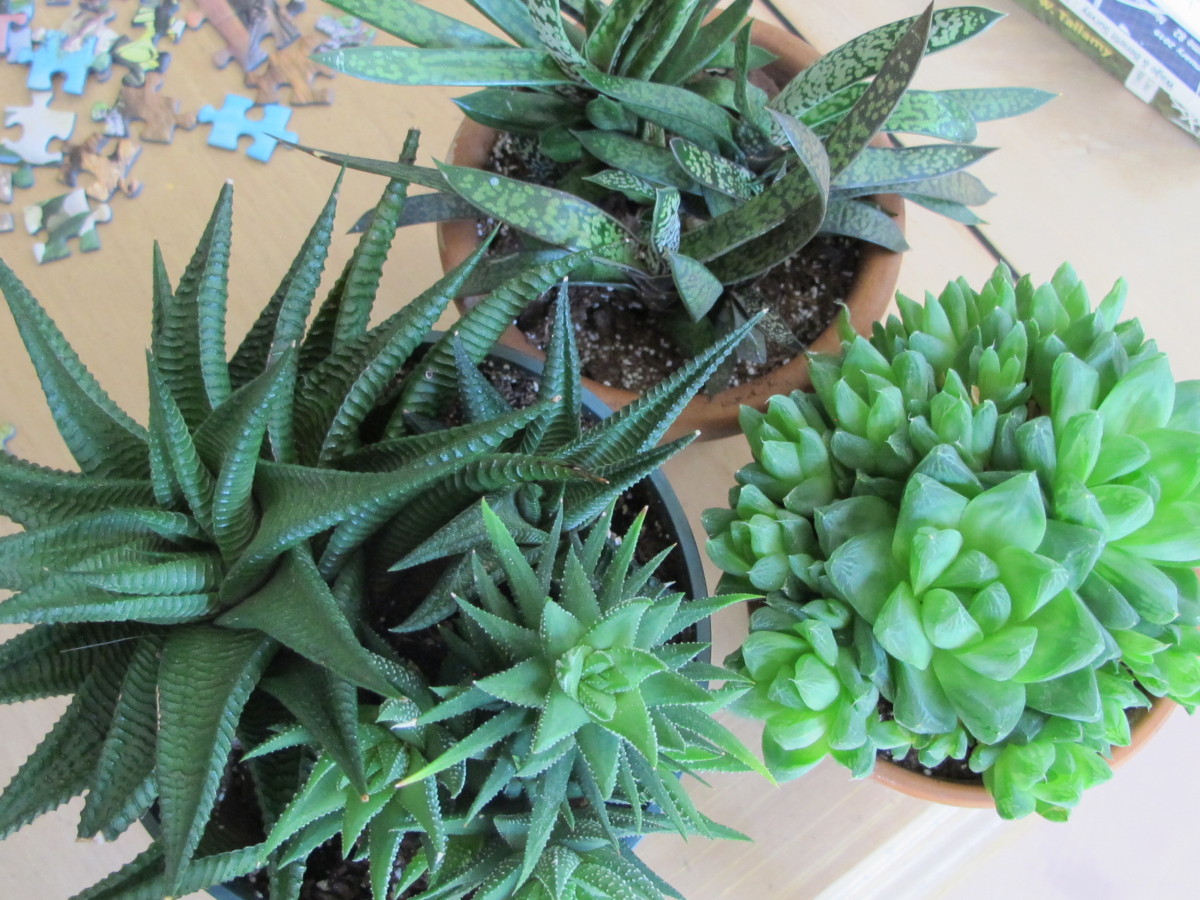
The Tender Succulents
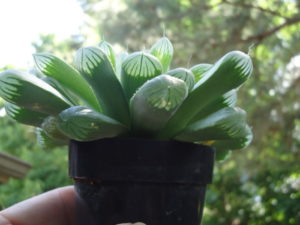
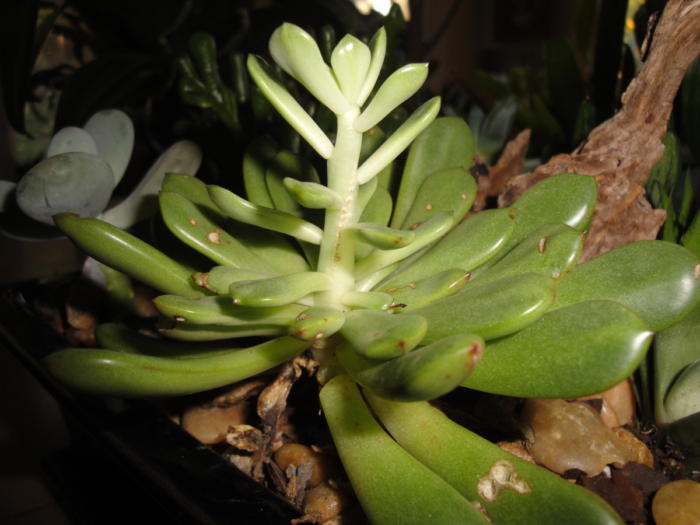
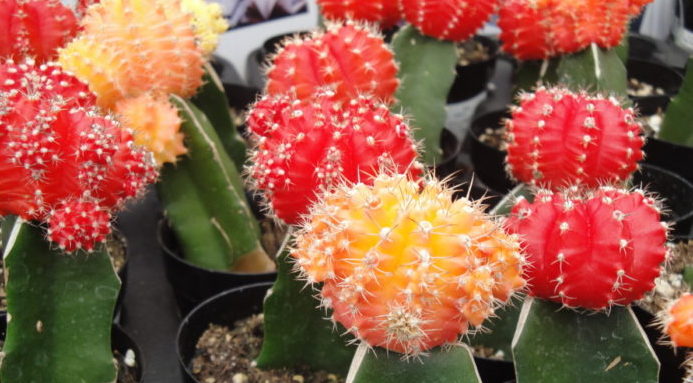
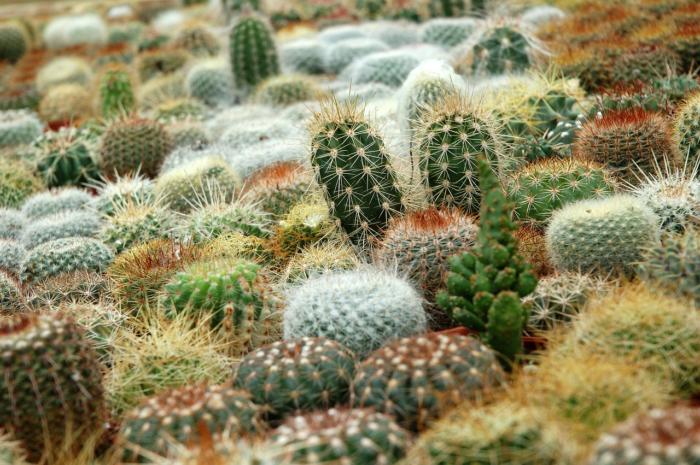
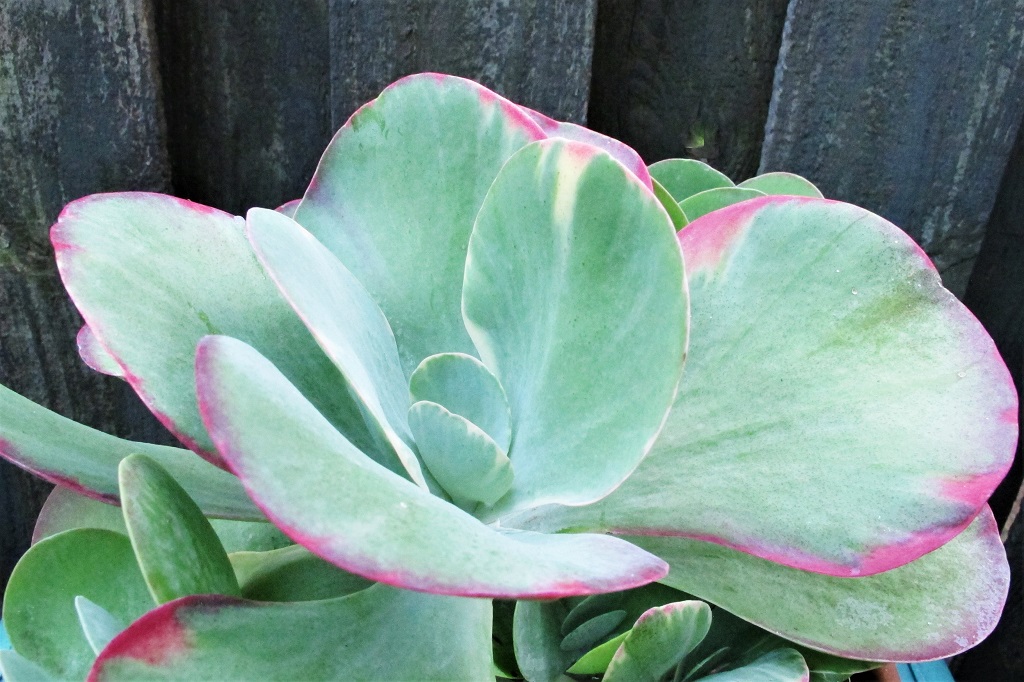
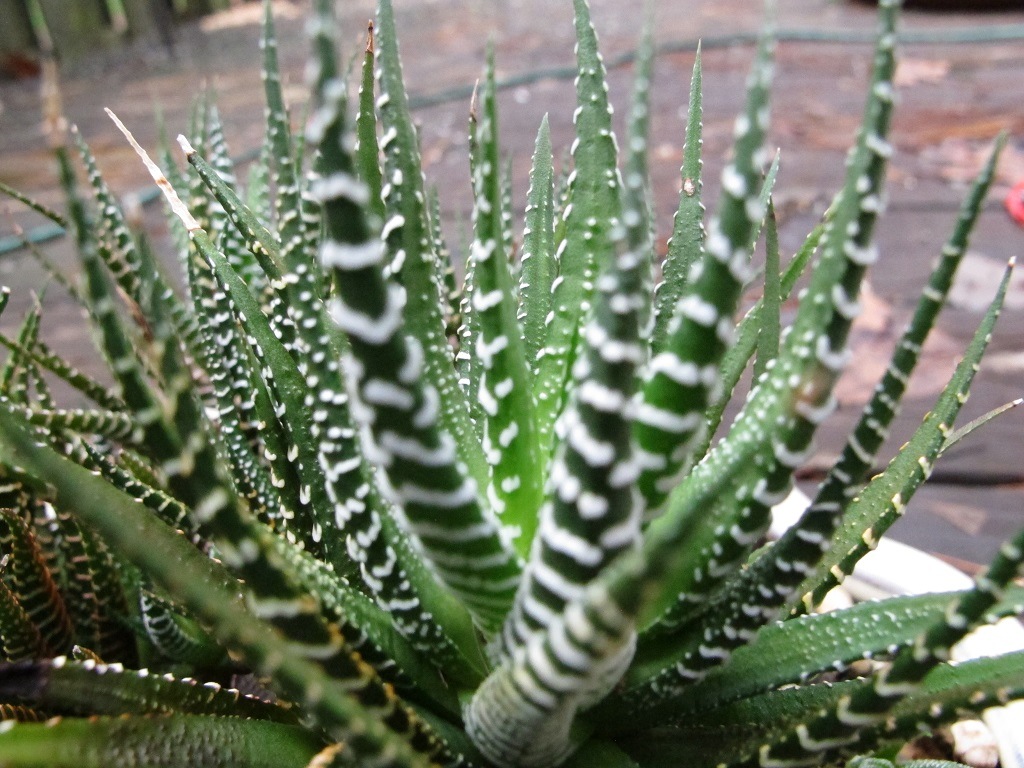
For the summer growing season, add rooted cuttings from tender (non-hardy) succulents (Echeveria, Haworthia, Gasteria, miniature burro’s tail, dwarf aloe, small cacti, etc.) for their unique coloring and form. Use small, clustering types of plants in the side pockets. Plant a few larger or taller types in the top of the pot. Avoid plants that grow too large because they’ll make the pot appear top-heavy.
All the tender succulents will perish if left outside to freeze. If you want to save them, place the pot in a sunny greenhouse. If you don’t have one, transplant the plants into clay pots at the end of the summer. You could also take cuttings in mid- to late summer so they’ll be rooted by early autumn. Keep tender succulents in sunny windows indoors.
-
- Haworthia fasciata.
-
- A variety of succulents, including an Echeveria in bloom.
-
- Orange-red “Jelly Beans”, Sedum rubrotinctum.
-
- Haworthia liliputana.
-
- Pachyphytum oviferum in the middle.
-
- Gasteria, at top, and Haworthias.
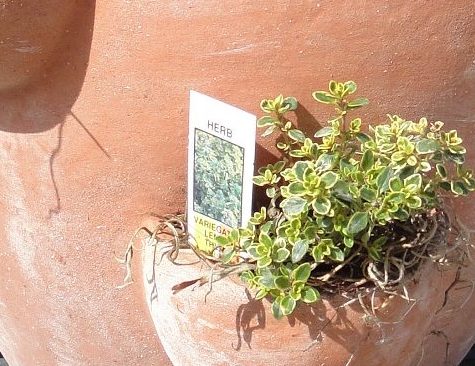
Planting Herbs In a Strawberry Jar

Herbs newly planted in a clay strawberry jar (waiting for basil for the top.)
Strawberry jars planted with flavorful herbs were sure sellers at the garden shows. When using ceramic containers, check to see if they have non-toxic glazes. Sometimes you’ll see a sticker indicating that the pot is “not suitable for contact with food”, so I would not use those pots for herbs.
Violas planted in the glazed strawberry jar (photo, top of article) sold years ago, in late winter, at the Maryland Home and Garden Show. The manufacturer guaranteed that their pots were resistant to cracking in freezing weather and safe for edible plants. Win-win!
If the root ball doesn’t quite fit the shape of the pocket, a little molding will be necessary. Smaller divisions, younger seedlings, and rooted cuttings fit better into tight pockets. Look for plants in 2-2½” pots or cell packs, or grow your own from seed.
Planting mint with other herbs in a strawberry jar will result in mint growing from every opening! Therefore, it’s best to leave mint and lemon balm to themselves or construct an iced tea pot for the current season.
All plants will get adequate sunlight when growing outdoors in summer, especially if you turn the pot periodically. However, with limited sun indoors, it’s very difficult for all plants in a strawberry pot to get enough sun. This kind of pot will grow well in a sunny lean-to or a greenhouse. But, for growing herbs indoors in winter, choose a pot with a single growing plane. A window box planted with herbs or a simple pot will work better.
-
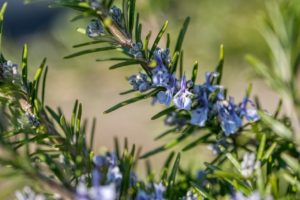
- Rosemary.
-
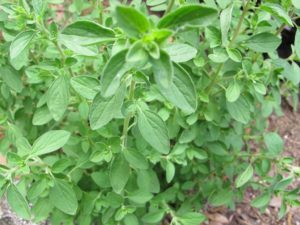
- Italian oregano.
-
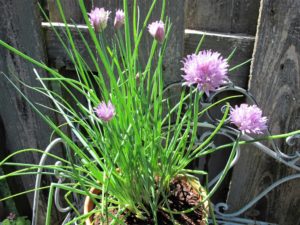
- Chives in bloom.
-
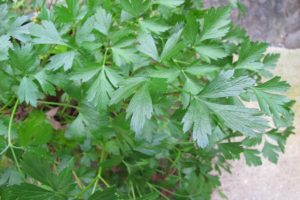
- Italian (flat-leaf) parsley.
-
- Dwarf ‘Boxwood’ basil.

-
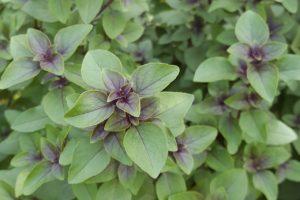
- Miniature purple basil.
-
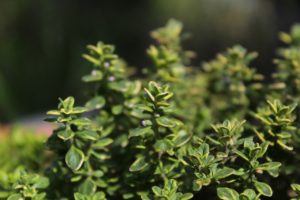
- Variegated lemon thyme.
-
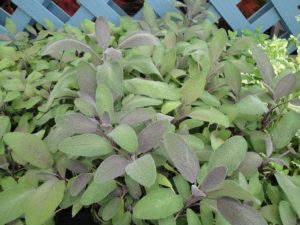
- Purple sage.
Which Herbs?
Dwarf and creeping varieties of herbs do well in strawberry jars. Use what you like, but trim the larger varieties more often to keep them in scale and for new foliage. Potted plants generally grow to a more restrained size compared to those planted in the garden. Look for herbs at local garden centers or farmers’ markets.
Here’s a sampling, with habit of growth:
- Basil—small growing ‘Boxwood’, ‘Fino Verde’, ‘Marseillais Dwarf’, miniature purple, ‘Yevani’, ‘Spicy Globe’; the larger ‘Genovese Compact’, ‘Mrs. Burns’ Lemon’, ‘Obsession’ (or other basil downy mildew resistant varieties), ‘Siam Queen’ Thai. Upright, shrubby.
- Chives—look for the finer-leaved variety ‘Dolores’, but any will work. Upright, tufted.
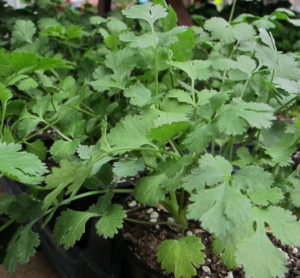
- Cilantro—‘Calypso’ and ‘Cruiser’ seem to be the sturdiest, but all are short-lived. Clumping, tufted.
- Dill—use small varieties, such as ‘Fernleaf’, ‘Teddy’. Upright.
- Oregano—Greek, ‘Hot ‘n’ Spicy’, Italian. Clumping when young, then trailing.
- Parsley—curly or flat-leaf varieties, try to find the dwarf flat-leaf ‘Titan’. Upright, tufted.
- Roman chamomile—fragrant foliage but few flowers. Clumping, creeping.
- Rosemary—‘Blue Boy’ (dwarf), ‘Chef’s Choice’ (intermediate), ‘Irene’ and ‘Mrs. Howard’s Creeping’ (prostrate varieties), ‘Golden Rain’ (variegated), ‘Hill Hardy’, ‘Salem’. Upright shrubby or trailing.
- Sage—‘Berggarten’, dwarf silver sage, ‘Icterina’ (gold-variegated), purple, ‘Tricolor’ (mildest flavor). Upright, shrubby.
- Savory—creeping dwarf savory. Clumping, spreading.
- Sweet marjoram—‘Compactum’ (my favorite) and others, similar to oregano. Upright shrubby or trailing.
- Thyme—‘Caraway’, French, ‘Golden Variegated’ (variegated lemon), ‘Hi Ho Silver’ (variegated), ‘Lemonade’, ‘Silver Edge’, ‘Transparent Yellow’, ‘Wedgewood’, and many others. Plant pots with several kinds of thyme for an “All Thyme High”. Clumping, trailing.
- Viola—a smaller cousin of the pansy, edible flowers and leaves, needs cool weather. Clumping.
Herbs have different life cycles. The annuals (basil, cilantro, dill) need to be replaced once or twice each year. Parsley and viola are biennials. The rest of the listed plants are perennials, but check their USDA hardiness zone ratings to see how much cold they’ll tolerate.
Other Plants For a Strawberry Jar
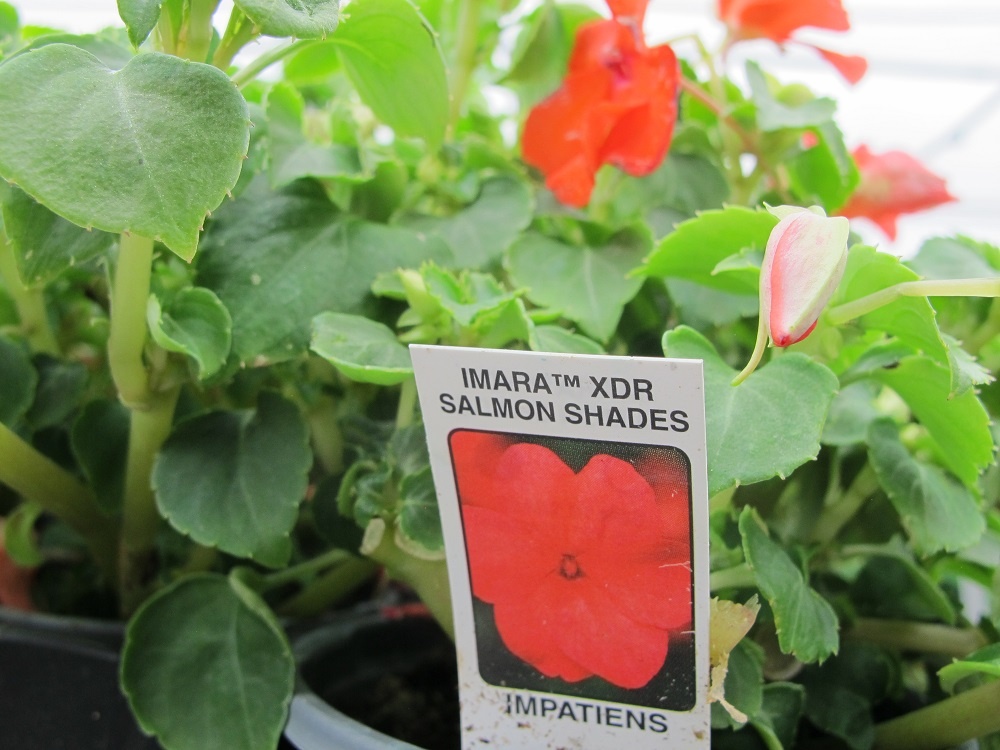
Colorful annuals spilling out of a large strawberry pot is a lovely sight. For a garden that gets shade or dappled shade, look for the newer ‘Imara’ impatiens, which is impatiens downy mildew resistant. Wax begonias and miniature fuchsias are more possibilities for morning sun or dappled shade.
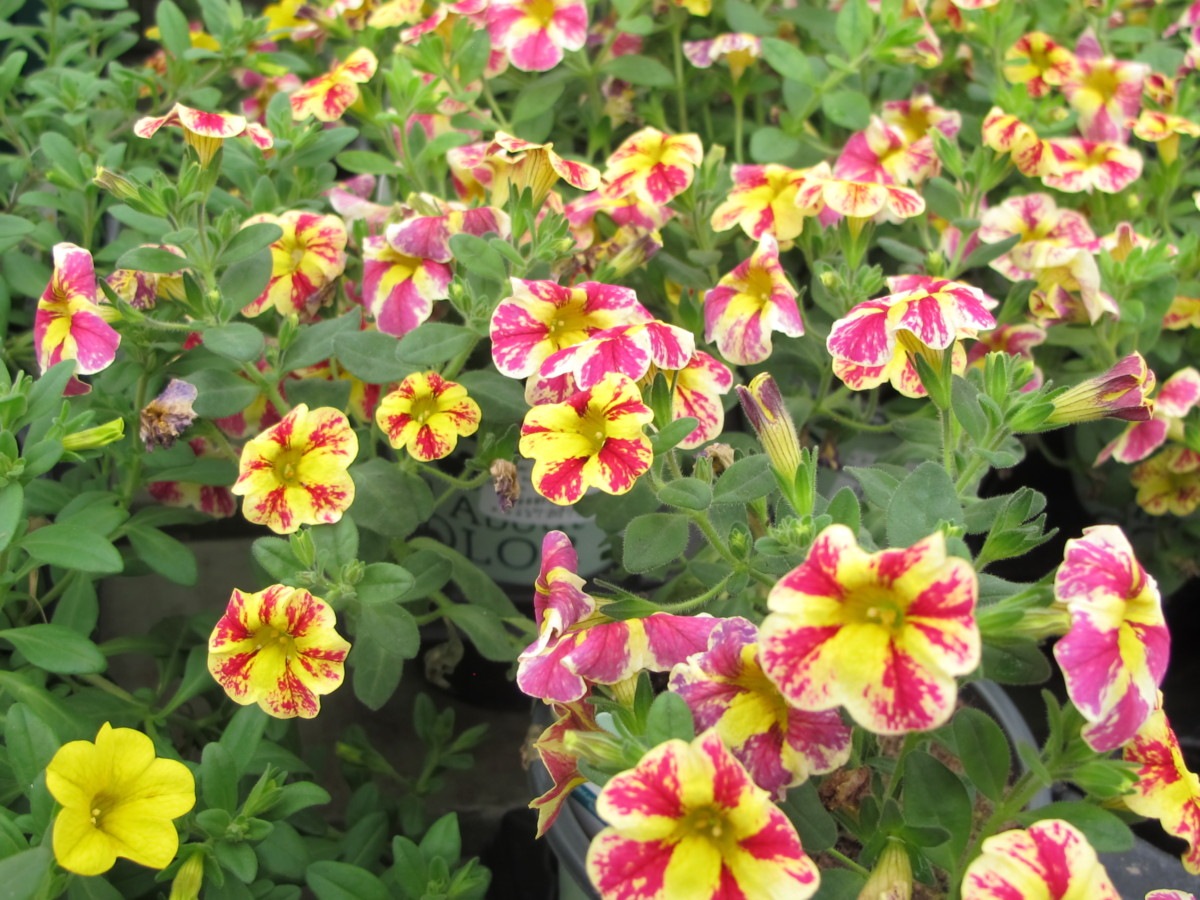
Dwarf vinca (annual and perennials varieties), bacopa, fanflower (Scaevola), calibrachoa, miniature petunia, diascia, nemesia, alyssum, small varieties of coleus, and plants used in miniature gardens brighten sunny spots. Grow small varieties of scented geraniums for their wonderful fragrances.
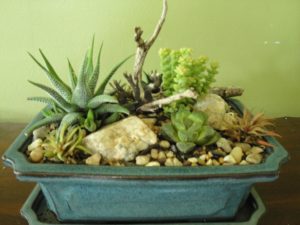
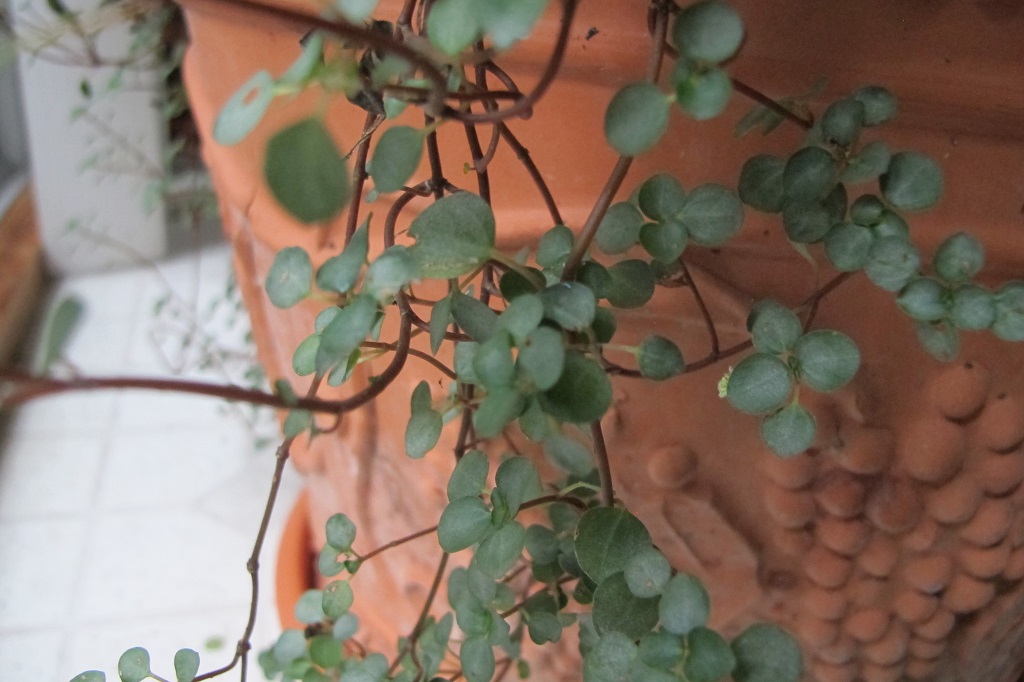
Try planting a strawberry pot with houseplants, such as Ceropegia (string of hearts), wandering Jew (Tradescantia spp.), Pilea ‘Aquamarine’, creeping Charlie (Pilea depressa), Peperomia, baby tears (Helxine), moses-in-the-boat (Rhoeo), and dwarf ferns. Small-leaved cultivars of variegated English ivy and rex or rhizomatous begonias add foliage color. Summering outdoors results in vigorous growth, so cut back overgrown plants.
Use plants that need the same conditions, either moist or somewhat dry, sunny or shady. I’ve included photographs of a few candidates, but there are many more worth considering:
-
- Impatiens ‘Imara’.
-
- Pilea ‘Aquamarine’.
-
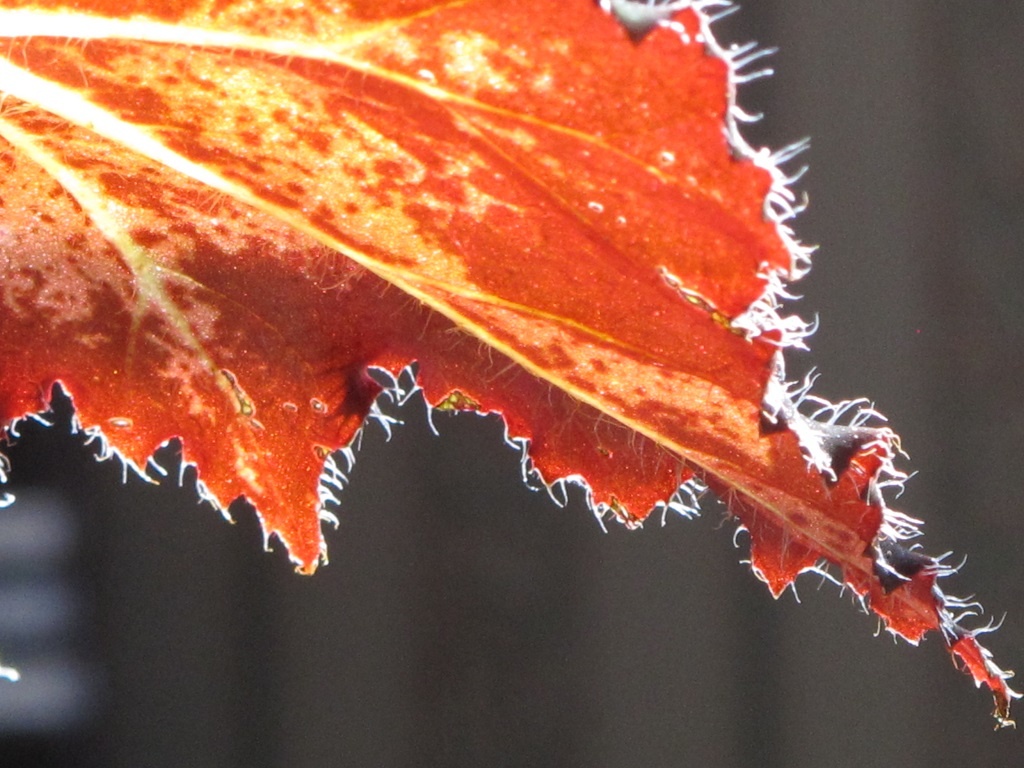
- Rex begonia leaf.
-
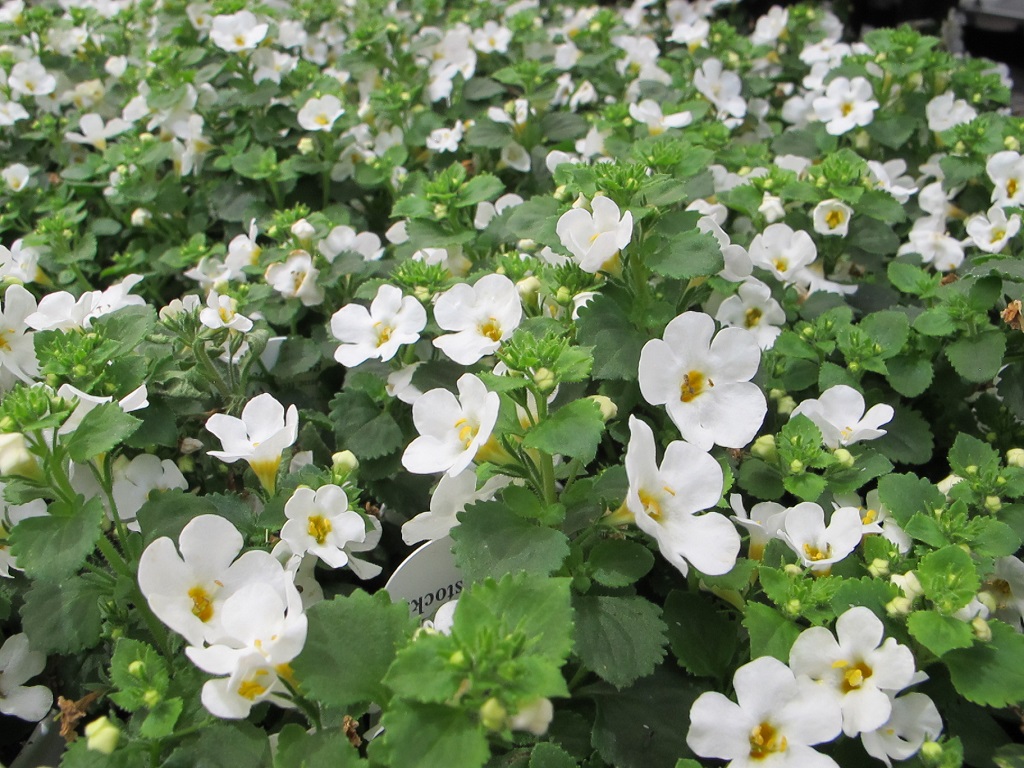
- Trailing bacopa.
-
- Calibrachoa.
-
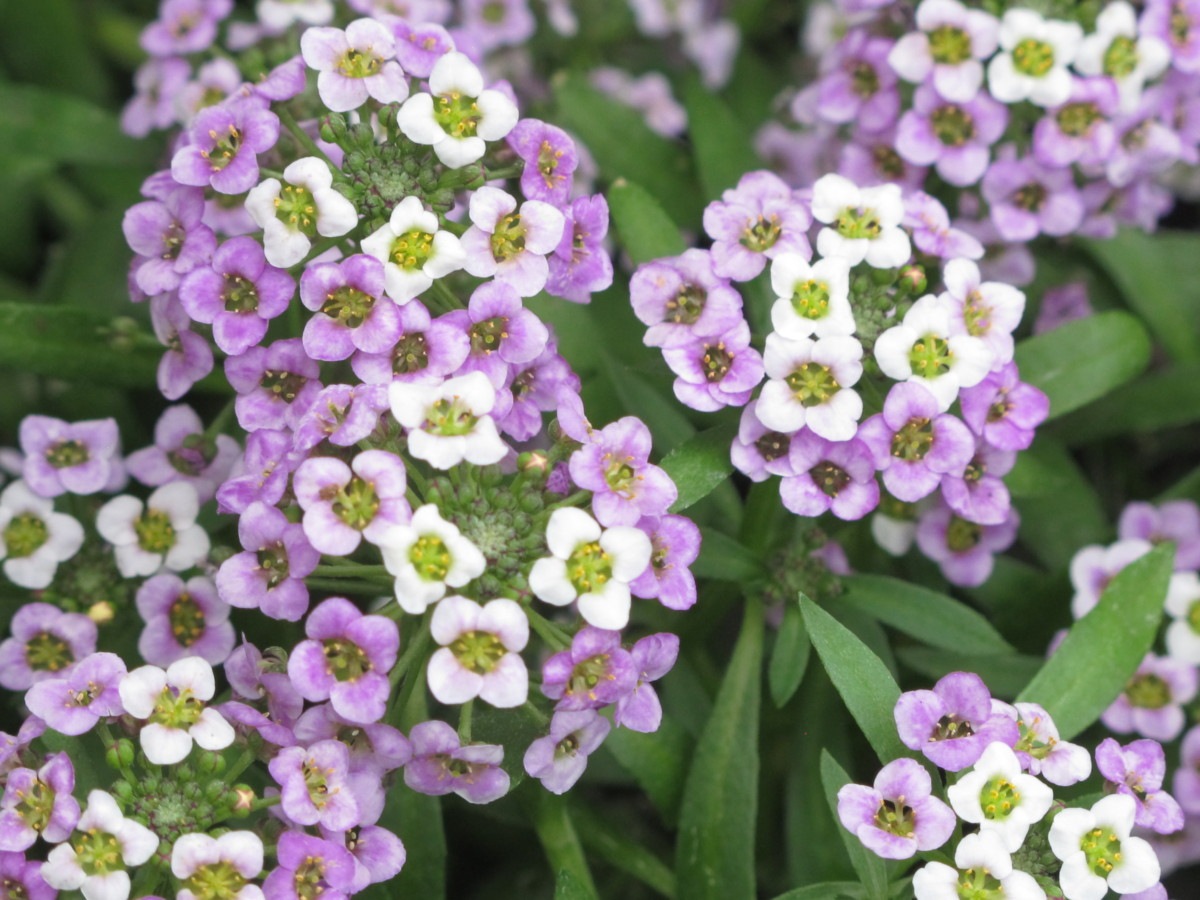
- Sweet alyssum.
Headings
Page 1: How To Grow Plants In a Strawberry Jar, Planting Succulents In a Strawberry Jar (When It Gets Cold, The Tender Succulents), Planting Herbs In a Strawberry Jar (Which Herbs?), and Other Plants for a Strawberry Jar
Page 2: Planting a Strawberry Jar (The Process), and Maintaining the Strawberry Jar (Light, Water, Fertilizer, Pruning)

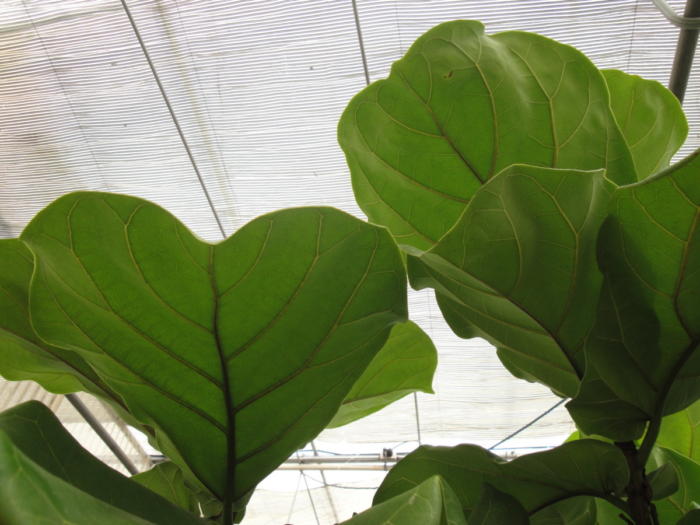
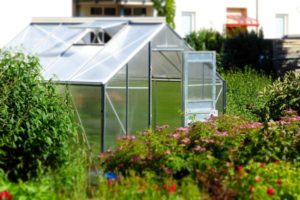 Providing a greenhouse atmosphere—warm, humid, and sunny—keeps your houseplants in much better condition, even through the shortest days of winter. Optimal light levels increase rates of photosynthesis, respiration, and transpiration. As a result, they might grow almost as fast as they did in June.