Updated 4/12/2026
Today, In the Garden
My gardening year never ends, transitioning without a hiccup from one season to the next. One crop finishes up, and a new one takes its place in any of several garden spaces on my property. That’s one advantage of living where winters normally are moderate, here in the Piedmont of North Carolina (USDA zone 7b). In this article, I’ll describe how to get the most out of your summer garden, and I’ll offer many tips on growing greens into the colder seasons.
Although an occasional cold blast might drop nighttime temperatures into the single digits F, those extremes don’t happen every year. Cool season gardening still can be a very satisfying project…and might be a bit of a learning curve for new gardeners.
While some gardeners lament the end of the growing season, I welcome autumn as the beginning of new crops of edibles. Pleasant fall weather and clear blue skies make outdoor activity an absolute joy as cool season gardens become established. As a bonus, these are the months without weeds and insect pests, or fewer of them.
Dealing with Frost
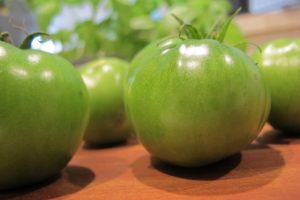
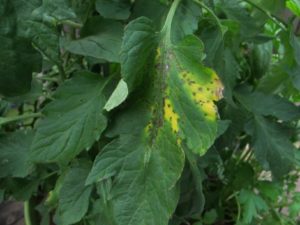
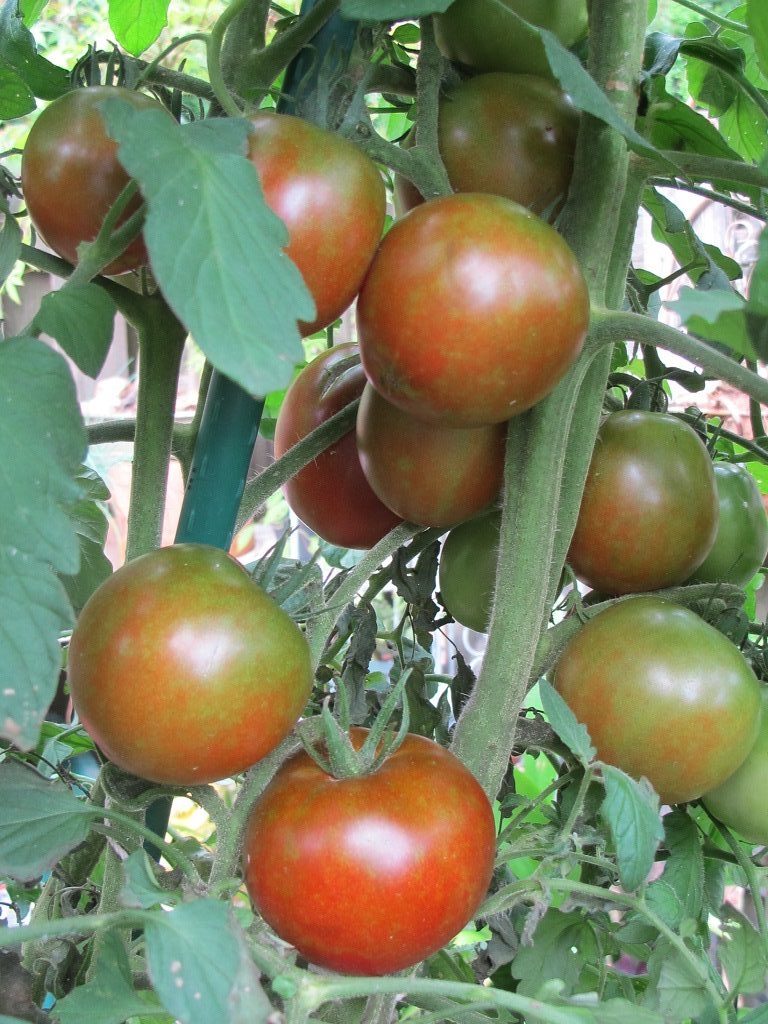
These green tomatoes will ripen on the kitchen counter.
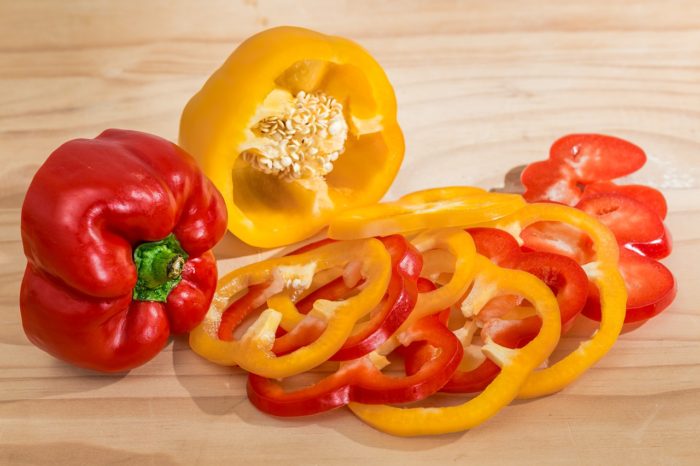
Weather is a constant consideration for us gardeners. Ordinarily, the first autumn frost arrives here around the third week in October. But it can occur weeks before that or weeks later, in November. With warm days and moderately cool nights, the last of the tomatoes and peppers ripen in the gardens.
Sometimes, one or two more weeks of mild temperatures follow the first fall frost. That’s a good reason for not removing summer vegetables right away, assuming they survived the first chill and retain some younger fruits. Covering the plants protects them from cold nights, as described in the next section.
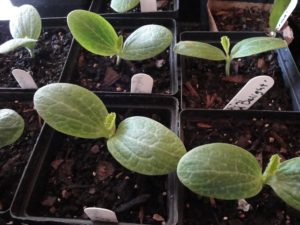
Right before an expected frost, I pick green tomatoes that are mature or almost mature in size. They’ll ripen indoors, in bright light and average indoor temperatures. Any fruits remaining on the vine not protected by a canopy of foliage will be damaged by the chill. Cucumbers, peppers, zucchini, and other tender crops also should be harvested before the first frost.
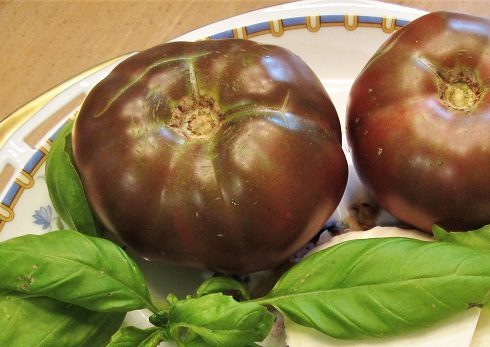
Consume cracked, bruised, or blemished vegetables first since they deteriorate quickly. In some years, the last tomato is eaten weeks after New Year’s Day. High humidity in my home—from two fish tanks and plants everywhere—helps keep the tomatoes in good condition.
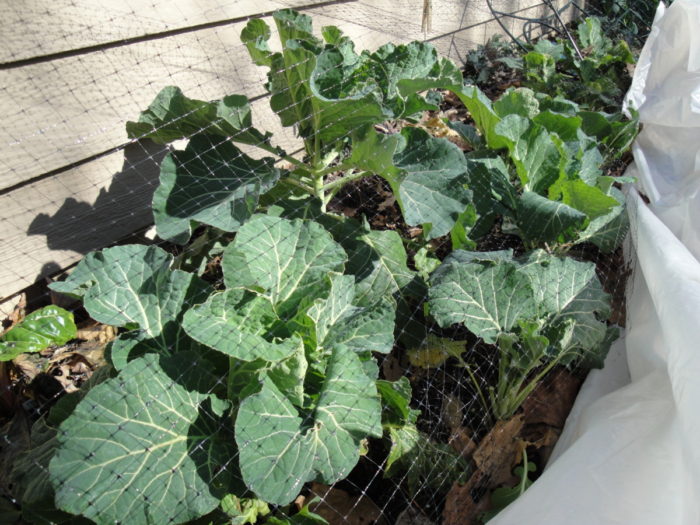
Covering Crops with Plastic or Old Sheets

Clear plastic and mini incandescent Christmas lights.
Few of us want to see garden production come to an end, especially with younger fruits still clinging to the stems. In the meantime, though, we can do a few things to maintain slightly warmer conditions while those last fruits ripen. And consider cool season gardening, after the tomatoes are removed, which opens up a whole world of possibilities!
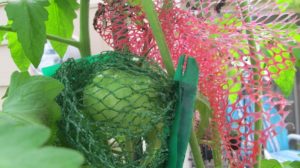
Covering the plants with large sheets of plastic, a tarp, or old sheets at night holds in the warmth. Some gardeners use heat cables or strings of incandescent miniature Christmas lights to provide a bit of warmth at night. The goal is not to create a tropical atmosphere, but rather to increase the temperature several degrees to prevent frost damage and to help ripen the last fruits. (Photo, above: plastic film, an old towel, and lights prevent cold from reaching these potted vegetables in Charlotte NC, several years ago.)
Avoid letting the plastic covering touch the plants. At night, the cold transfers directly to the leaves and can damage or freeze them. Prop the coverings on taller stakes or place a layer of cloth (an old cotton sheet or light blanket) between the plastic and the plants. You could go a step further and place large containers of hot water near but not touching the plants. Weigh down the sides of the covering to confine the warmth and to prevent the whole thing from blowing away in the wind.
For all plants protected from frost, remove the coverings when morning sunlight warms the area. Heat builds up very quickly under clear plastic, roasting the plants.
Next spring, I might use a large tarp and hot water bottles under the small peach tree. In April 2025, we had an unexpected freeze, which ruined several dozen peaches that had grown 1/2″ long. They would have been the tree’s first harvest. The forecast predicted 35-37°F at night, but only one fruit survived the 27° night.
(***Update***: Happened again! A few April nights predicted to fall below freezing prompted me to affix some old sheets and a tent canopy to the lower part of the peach tree. The tree was just too large to protect all the fruits. No tiny peaches survived in the top half of the tree, but about 20 fruits that were protected will continue to grow. Fingers crossed. 4/12/2026)
On cold, overcast days in autumn, the protection can remain in place during the daytime if any summer crops are worth saving at that point. A wide footprint provides an opportunity to warm a larger area of ground, which releases that warmth to the plants at night. But don’t expect a significant turnaround in the summer vegetables’ vigor. Vent the covering if the space overheats in the daytime.
Keep those materials handy, as they might be needed to protect cool season gardens as the temperature plummets. While many consider these procedures going too far, let me remind you that only fairly flavorless store-bought tomatoes will be available after this point, if you choose to buy them at all. No thanks; I can wait until next year’s new crop. Each ripe tomato in autumn is treasure.
Potted Plants for Growing Indoors
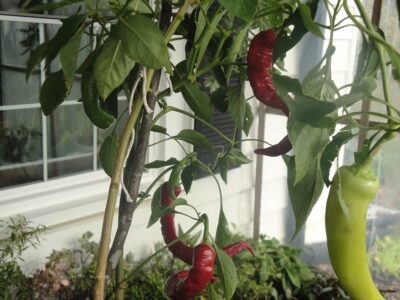
Heirloom ‘Jimmy Nardello’ pepper.
Because they’re tender perennials, peppers can be potted for indoor growing. (A “tender perennial” can live two years or more, but it can’t tolerate frost.) Keeping a few pepper plants potted through the summer makes the transition to the indoors easier than digging plants at the last minute. To increase your odds of success when digging up plants, remove more than half of a large plant. Choose small to medium sized pepper plants, if you can, for keeping indoors over the winter. You’ll need to hand-pollinate the flowers to set fruits, and scout daily for aphids. Peppers need 6+ hours of direct sunlight to survive.
Potted herbs can grow indoors in a sunny window. Divide a clump of chives growing in the garden, take a small division of thyme, and prepare a pot of parsley a few weeks before frost. Or you can start seeds of your favorite herbs in mid to late summer, and keep some of them potted.
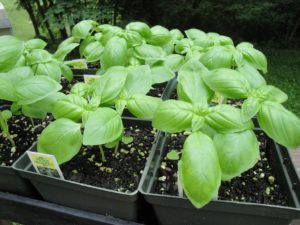
Basil ‘Genovese Compact’, ready for the farmers’ market.
At the farmers’ market, you might find a vendor who sells potted herbs in late summer or early autumn for indoor growing, as I do. For basil, starting with young basil plants ensures they will last all winter, if growing conditions favor growth. An older basil by late summer wants to flower, becoming “woody” and tired. Because it’s an annual, it won’t last much longer in good condition. (Annuals grow for one season, starting from seed, growing and maturing, flowering and setting seed, and then dying.) So, either start seeds or purchase young plants in late summer. Basil must be protected from chilly temperatures, so start moving healthy plants indoors before nighttime temperatures drop below 55°F.
Tropical houseplants also need to come indoors as temperatures decrease. Pothos, philodendron, alocasia, aglaonema, African violet, orchids, and spathiphyllum are among those that are very sensitive to cool temperatures. They’re the first species to come indoors, at 60°, after inspecting them for insects, slugs, and spider mites. Before temperatures drop below 50°, return ficus, palm, dracaena, schefflera, aralia, and other tropical plants indoors.
Houseplants that benefit from cool temperatures include cyclamen, Christmas cactus and other orchid cacti, many other succulents, and English ivy. Some develop new flower buds after being exposed to a few weeks of cool temperatures, in the high 40’s and 50’s. But they and all remaining tender houseplants should come indoors before they’re damaged by frost.
Shopping Your Local Farmers’ Market
I’ve been selling herbs, cool season greens, and vegetables—as transplants—at our county farmers’ markets since 2022. Lots of these vegetables are planted in my own gardens for cool season harvests, with some freshly cut produce sold at the markets.
A weekly visit to your local farmers’ market demonstrates what can be grown in your region at that time. Ask the grower if her produce was grown in the open or in a protected space, such as a greenhouse.
Try some new greens and vegetables to broaden your family’s exposure to different foods. This is a good way to determine which varieties of edibles you like and might try growing in your own garden. Most vendors are happy to spend a minute or two answering your questions about variety selection. And they might offer tips for successful growing and kitchen preparation.
Growers offer a wide variety of vegetables, herbs, greens, and fruits at busy farmers’ markets. You might see greens or varieties of basil not sold in grocery stores or garden centers. And you can’t beat the freshness of the produce—unless you grow it yourself, of course.
The number of choices offered by seed suppliers is phenomenal! Each year presents opportunities to sample new cultivars. Favorites will be reordered for my horticultural business and others that did not live up to the hype won’t be purchased again.
Consuming freshly picked greens and vegetables gives you the full complement of nutrients. Vitamin and phytonutrient content begins to decline within 1-2 days after harvesting, so picking veggies from your own garden (or purchasing them from the farmers’ market) and using them the same day delivers the most nutrients. Their flavor, naturally, is superb.
Supporting Your Local Economy
My small company, Wellspring Gardens, has participated in farmers’ markets and garden shows for decades in Maryland, around Washington, D.C., and now in northwestern North Carolina. I love the concept of supporting our local economy. Growers, artists, and crafters offer unique home-grown and hand-crafted items; these are our friends, neighbors, and fellow townsfolk!
A few vendors, through grit and determination, have realized their dream and succeeded in marketing their products throughout the country. Joe’s hot sauce and a popular coffee company both got their start at the local farmers’ markets in Montgomery County MD, where I lived before moving to Charlotte in 2013. (I moved here, to Wilkes County NC, in 2021.)
Farming has become a particularly difficult endeavor in recent decades, with hundreds of thousands of farms across America shutting down. Local growers getting retail prices for their crops at farmers’ markets, however, might eliminate the agonizing decision to sell valuable farmland for development. Small-scale farms can adopt organic and sustainable methods that would not be feasible for large corporate farming. As a result, supporting your local farmers’ markets keeps farmland producing nutritious crops on well-tended land.
As mentioned earlier, you’ll find a huge assortment of plants and produce to try. When I suggest certain cultivars for customers to grow in their home gardens, it’s especially rewarding to see them come back the next year, asking for those same cultivars.
I encourage year-round gardening, when allowed by a favorable climate. But, there are ways of getting around frigid temperatures! If this is your first attempt at cool season gardening, read through all the related posts and links here at The Farm In My Yard. In the search bar, enter the particular crops that interest you, or check the tag cloud.
For crops grown at this time of the year, continue to Page 2.
Headings
Page 1: Today, In the Garden (Dealing with Frost, Covering Crops with Plastic or Old Sheets, Potted Plants for Growing Indoors), Shopping Your Local Farmers’ Market (Supporting Your Local Economy)
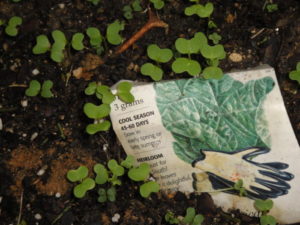
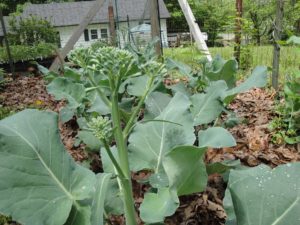
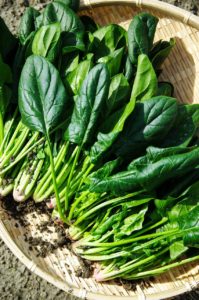
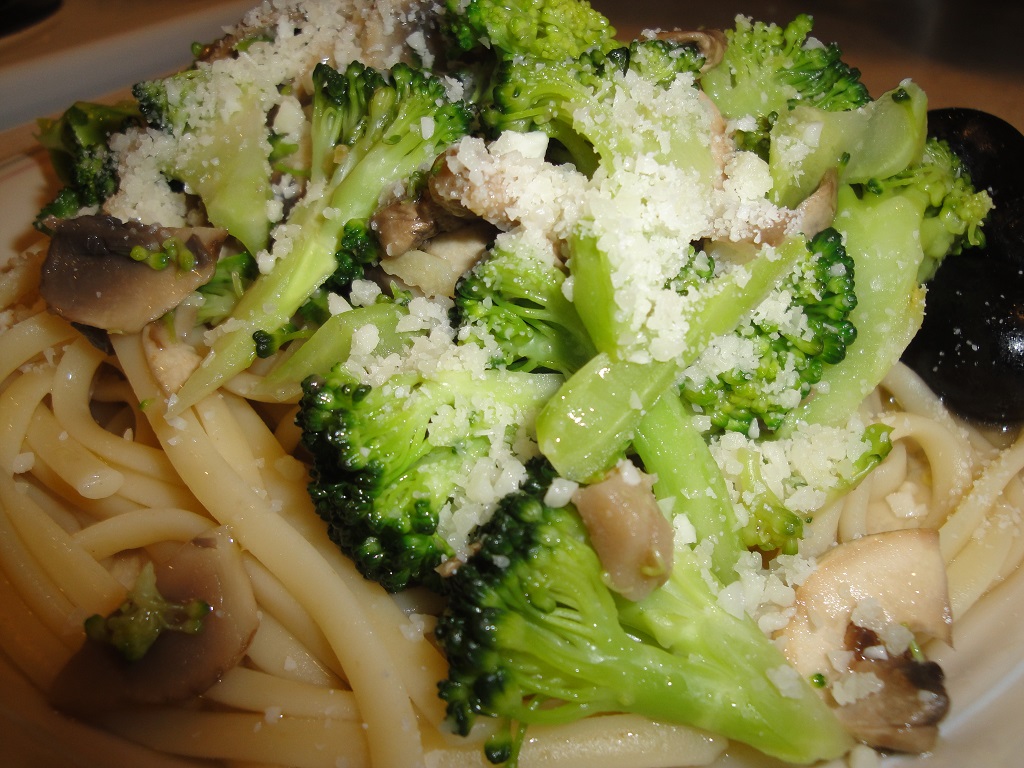
Page 2: What can we grow in a cool season garden? (Herbs and Vegetables, Herbs That Tolerate Cool to Cold Weather, Basil, Cool Season Gardening in the Enclosed Porch, More Herbs, Succulents and Young Tomatoes, The Brassicas for Cool Season Gardening, Broccoli, Variety or Cultivar?, Green Onions and Bunching Onions, For Sustainable Bunching Onions, Spinach)
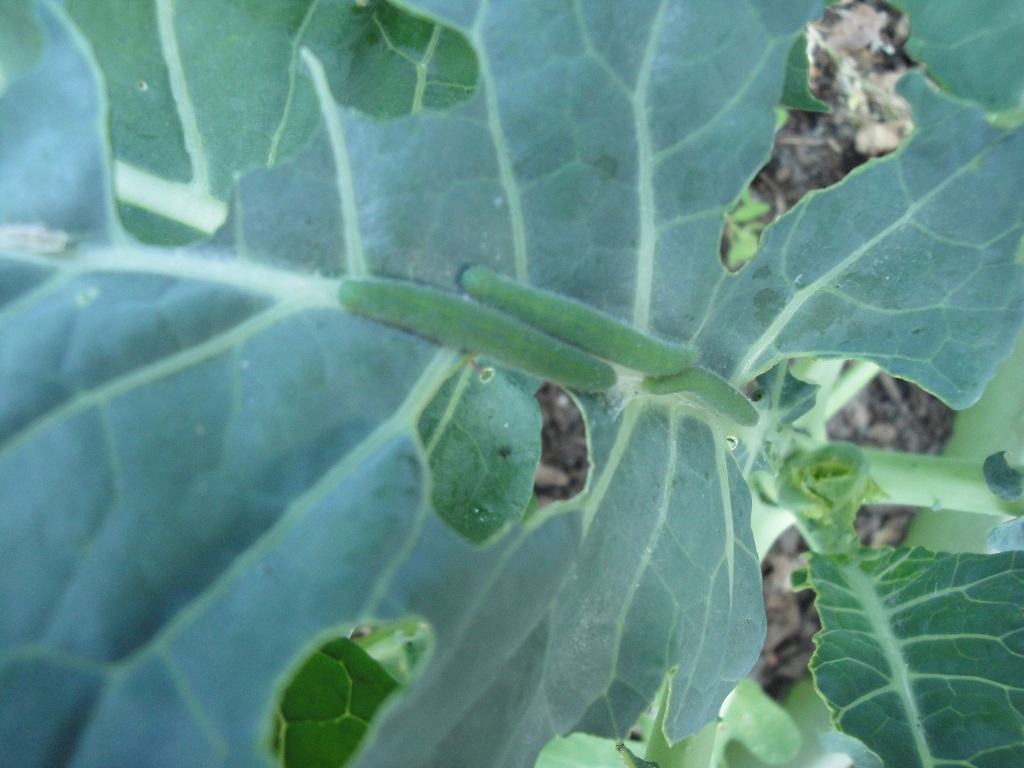
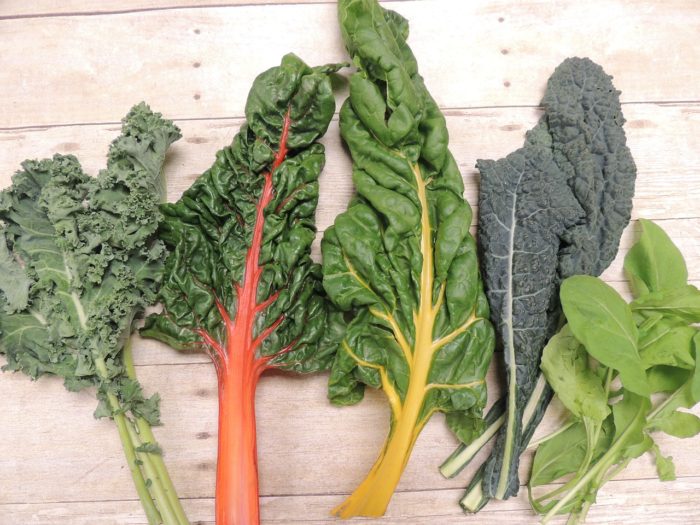
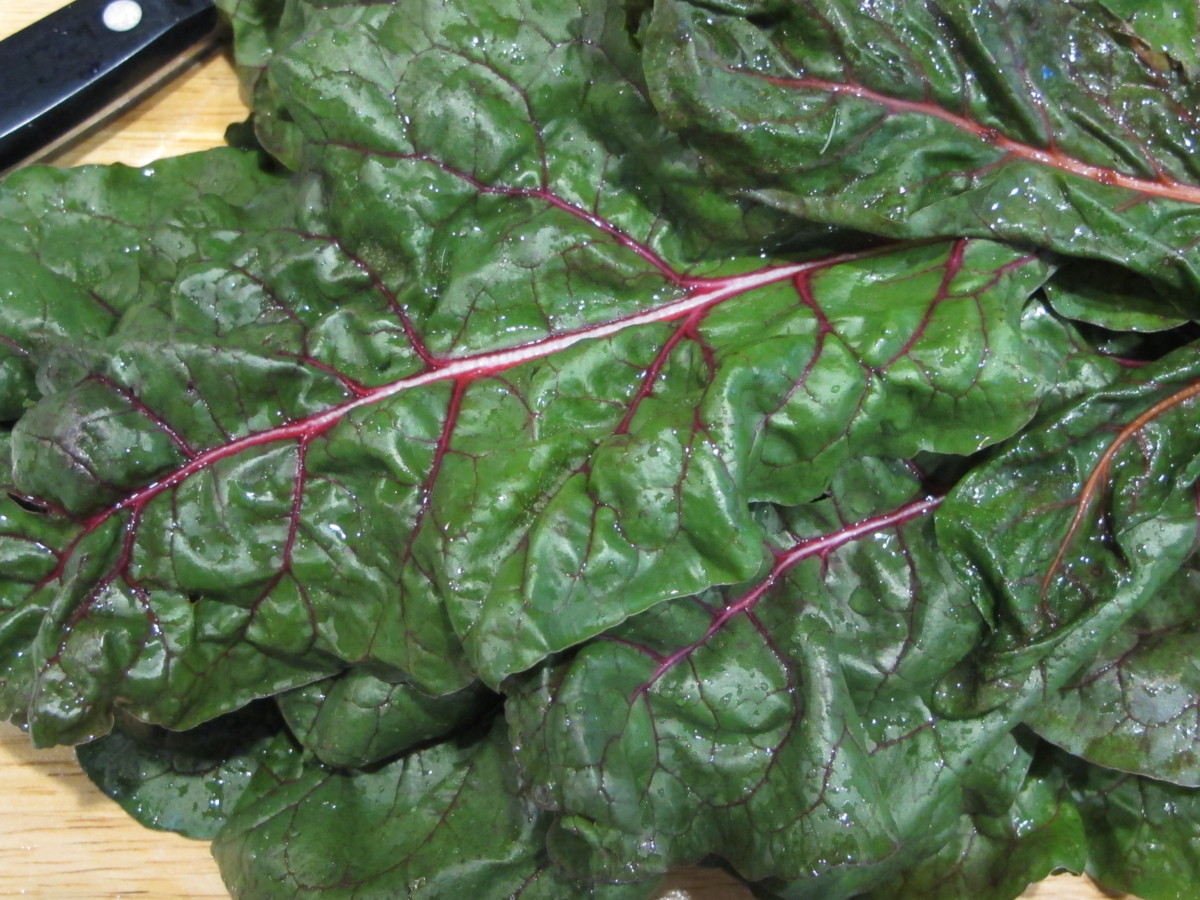
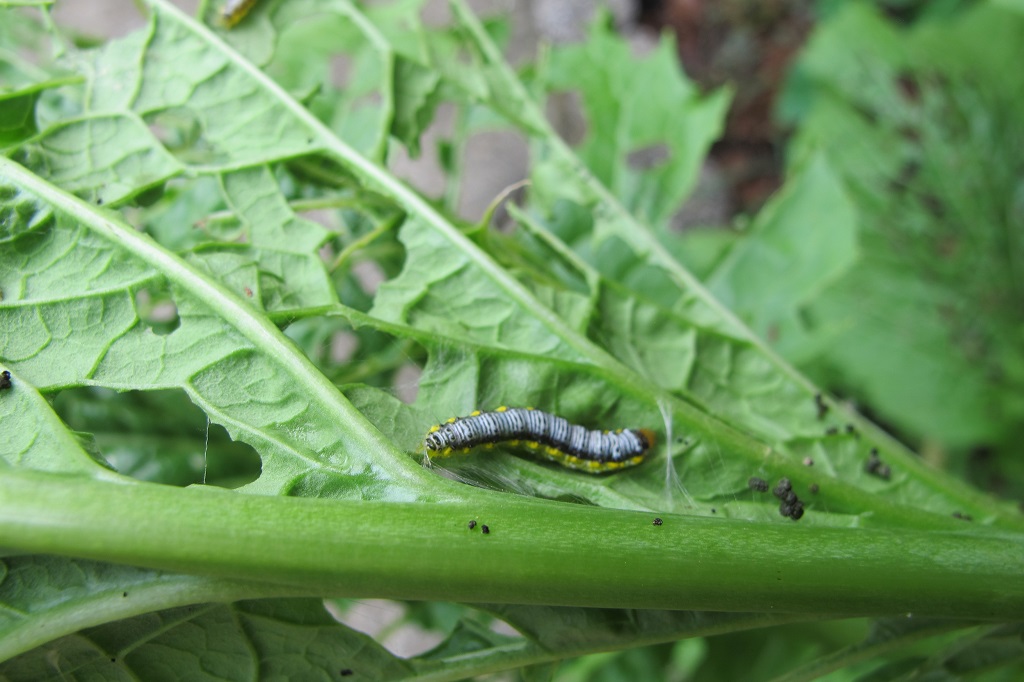
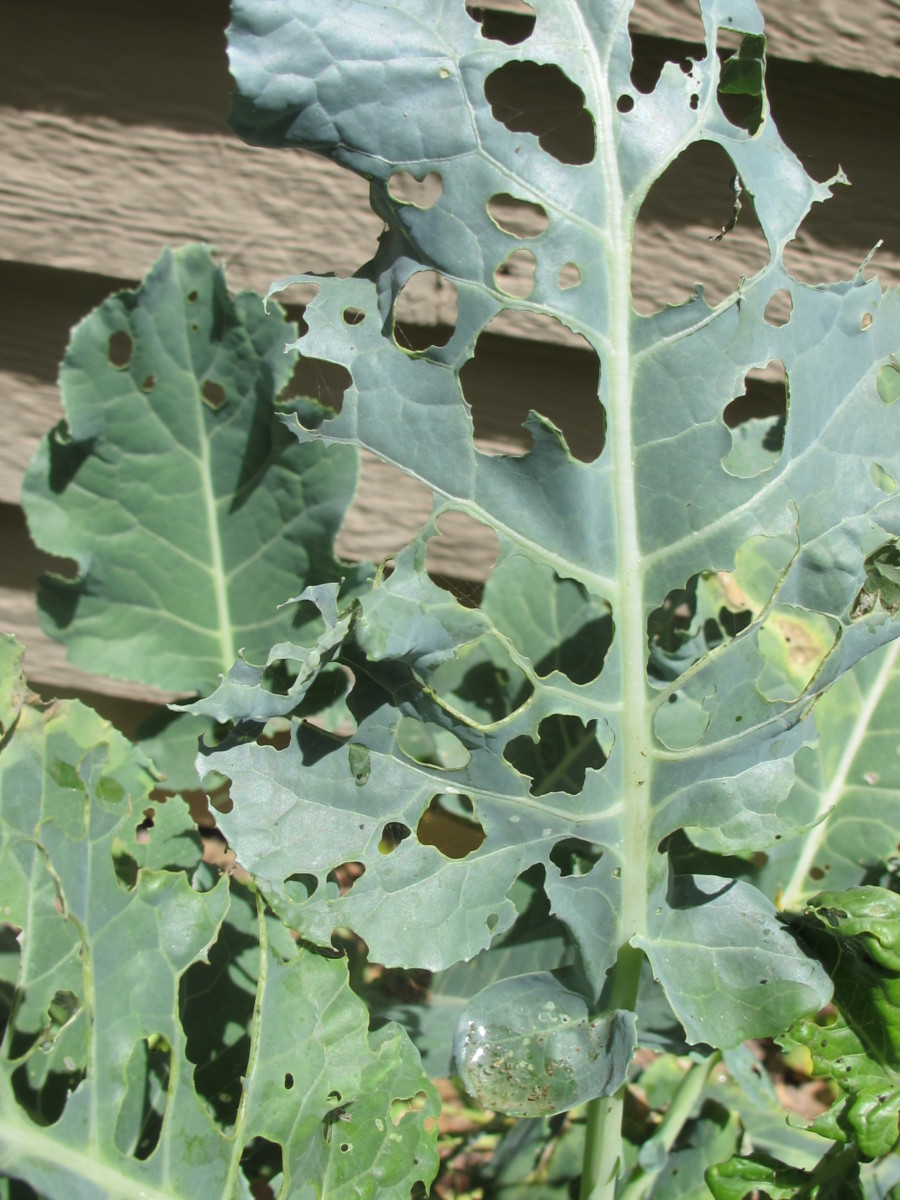
Page 3: More Greens for Cool Season Gardening (The Lettuces, My Lettuce Favorites, Swiss Chard, What else can we expect from cool season gardening?, Soil Prep, Caterpillars and Aphids), Structures for Cool Season Gardening (The Greenhouse), A Note About Brassicas and Their Antioxidants


 In a medium frying pan, add about 3 Tbsp. thinly sliced onion and 1 or 2 Tbsp. olive oil. On medium heat, cook and turn until onion is transparent to a light golden color.