2022
Updated 8/26/2025
Patches For Pollinators
In this article, I’ll describe how new garden spaces and “Patches for Pollinators” have decreased mowing time, while providing nectar and pollen for pollinators and seeds for songbirds. Also included is information about several insects found in the gardens this summer.
A common theme running through The Farm In My Yard is my goal of replacing much of the lawn with layered gardens, including trees, shrubs, perennials, bulbs, and annuals. Flowers and more natural surroundings attract bees and butterflies, toads and birds.
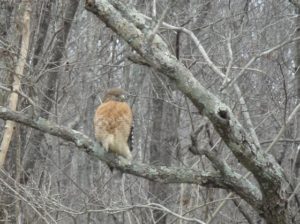
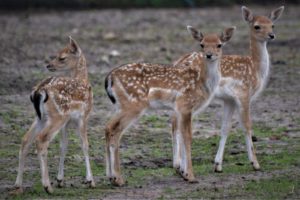
All the rest of the animal kingdom are showing up as well. Mice, moles and voles… snakes and rabbits… foxes and deer. Lots of praying mantises, five-lined skinks, ladybugs, fireflies, and many insects I’ve never seen before. Occasionally, a cat sits patiently under the bird feeder until he’s shooed off. And some pests, too, such as…
…Japanese Beetles
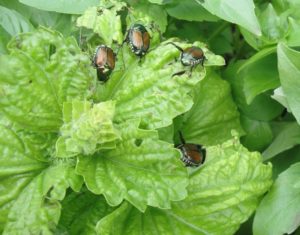
Lettuce-leaf basil ‘Tuscany’, with Japanese beetles.
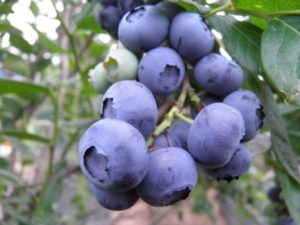
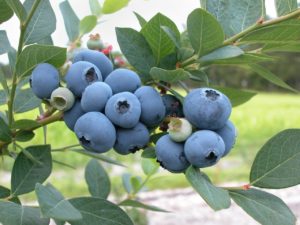
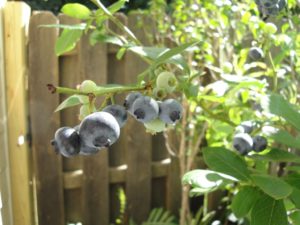
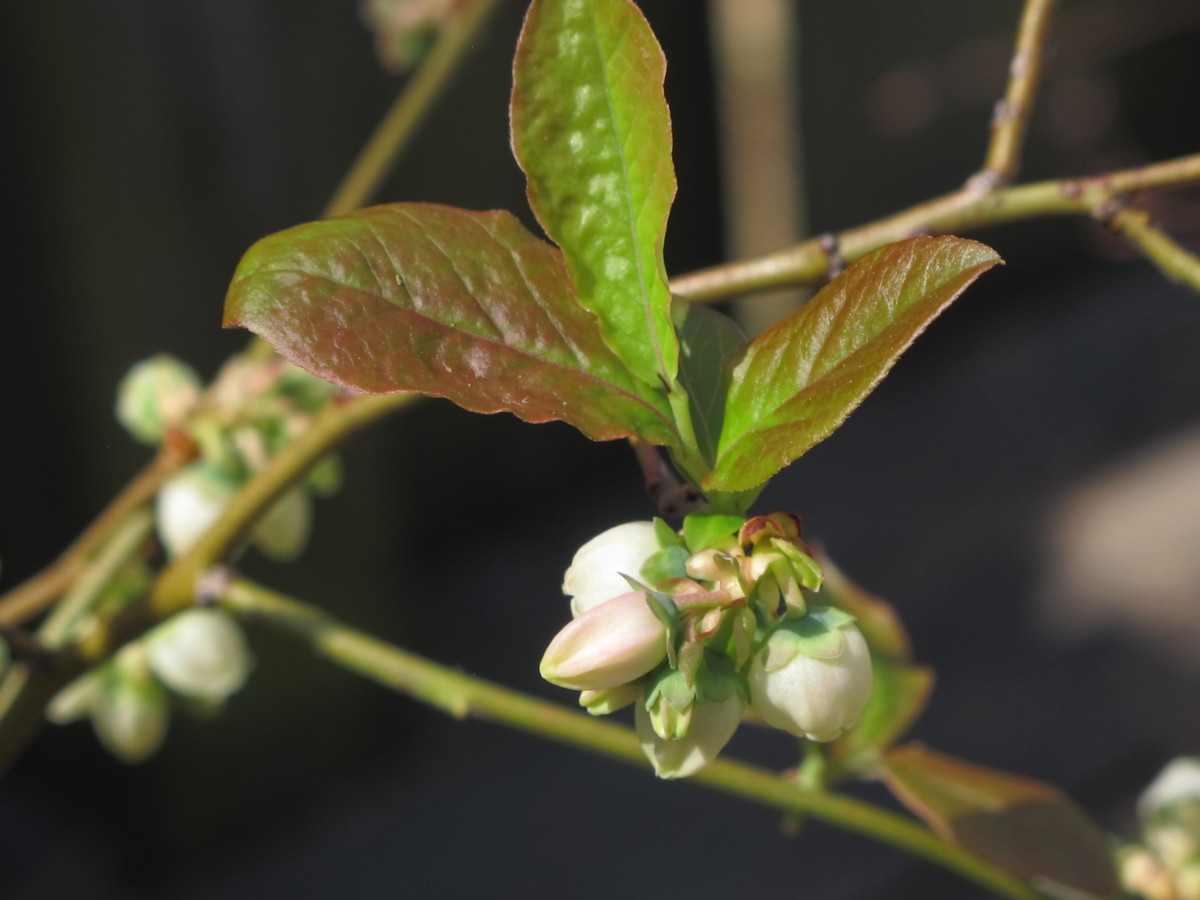
Japanese beetles (Popillia japonica), accidentally imported into the U.S., were first spotted in New Jersey in 1916. They’re present here (northern NC) in enormous numbers this year and demonstrate a particular fondness for my lettuce-leaf basil, marigolds, blueberries, and raspberries. But they feed on hundreds of other species as well, including linden, cherry, plum, birch, rose, grape, and hollyhock.
To prevent skeletonized foliage on farmers’-market-bound basil, I cover the plants with an old sheer curtain to exclude the beetles. Future plans include growing berries and other susceptible plants under insect screening, with allowances made for bees to pollinate the flowers.
Although a few birds eat them, the damage these beetles do to the landscape and to my inventory far outweighs their benefit.
Japanese Beetle Life Cycle
With regular rainstorms, soil stays softer, allowing female beetles to lay eggs deeper into the soil in July and August. There, the eggs and young grubs are not stressed by hot, dry soil. White C-shaped grubs feed voraciously on healthy roots, particularly those of lawn grasses. In autumn, the grubs descend deeper into the ground, protected from severe cold.
As spring begins to warm the soil, grubs rise closer to the surface to continue feeding. In late spring, well-fed larvae pupate in the ground, and adult beetles emerge in early summer. Moist soil—from rain or irrigation—contributes to this beetle’s success. Where the ground is soft and moist in summer and fall, and the following spring, you can count on large populations of Japanese beetles in the next season.
Incidentally, chewed plant tissues emit certain scents which attract even more beetles. That’s why we find them congregating in large numbers in the tops of blueberry bushes or in rose flowers.
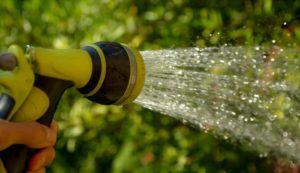
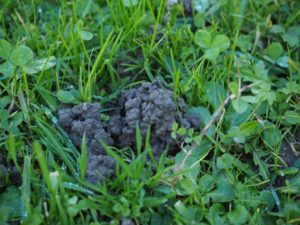
Applying Milky Spore powder, a bacterium, to the property (grass and gardens) in early autumn kills grubs feeding on roots. This remedy isn’t 100% effective because beetles fly in from quite a distance—miles, in fact. At the very least, there will be fewer grubs devouring roots in your landscape. If you can encourage the entire neighborhood to apply Milky Spore, everyone will benefit. Except Japanese beetles. Moles, by the way, feed on these grubs. Plenty of those around, as well. Root-eating voles travel in mole tunnels, so getting rid of moles usually rids the garden of voles.
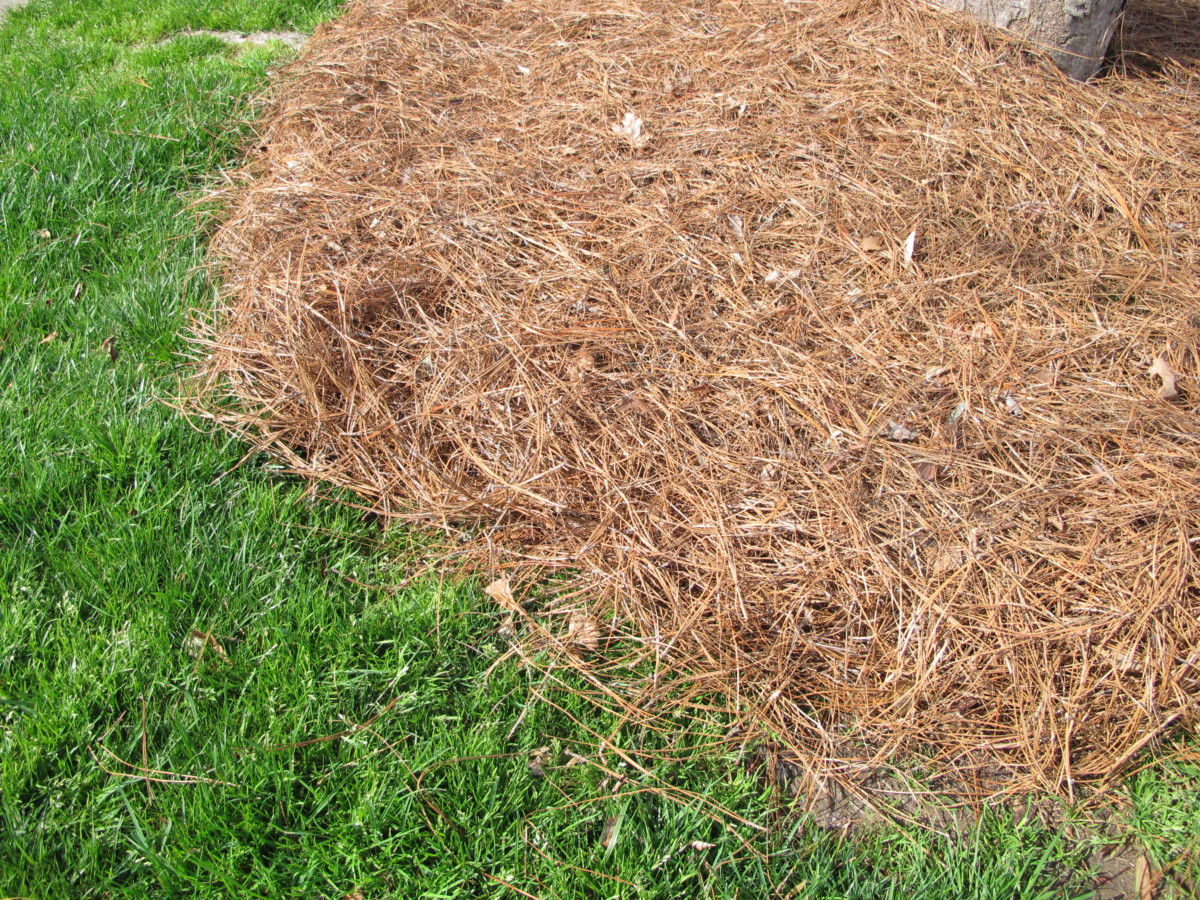
For now, I’m not fertilizing the lawn, applying any chemicals, or reseeding. In the future, I might work on a limited amount of presentable lawn close to the house. Since the lawn comprises about 75% weeds and undesirable grasses, I’m just cutting it. Besides, much of that ground will be turned over, amended, and planted with something other than grass.
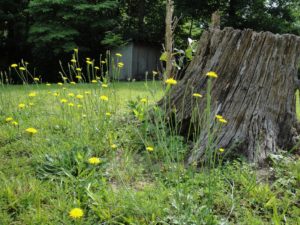
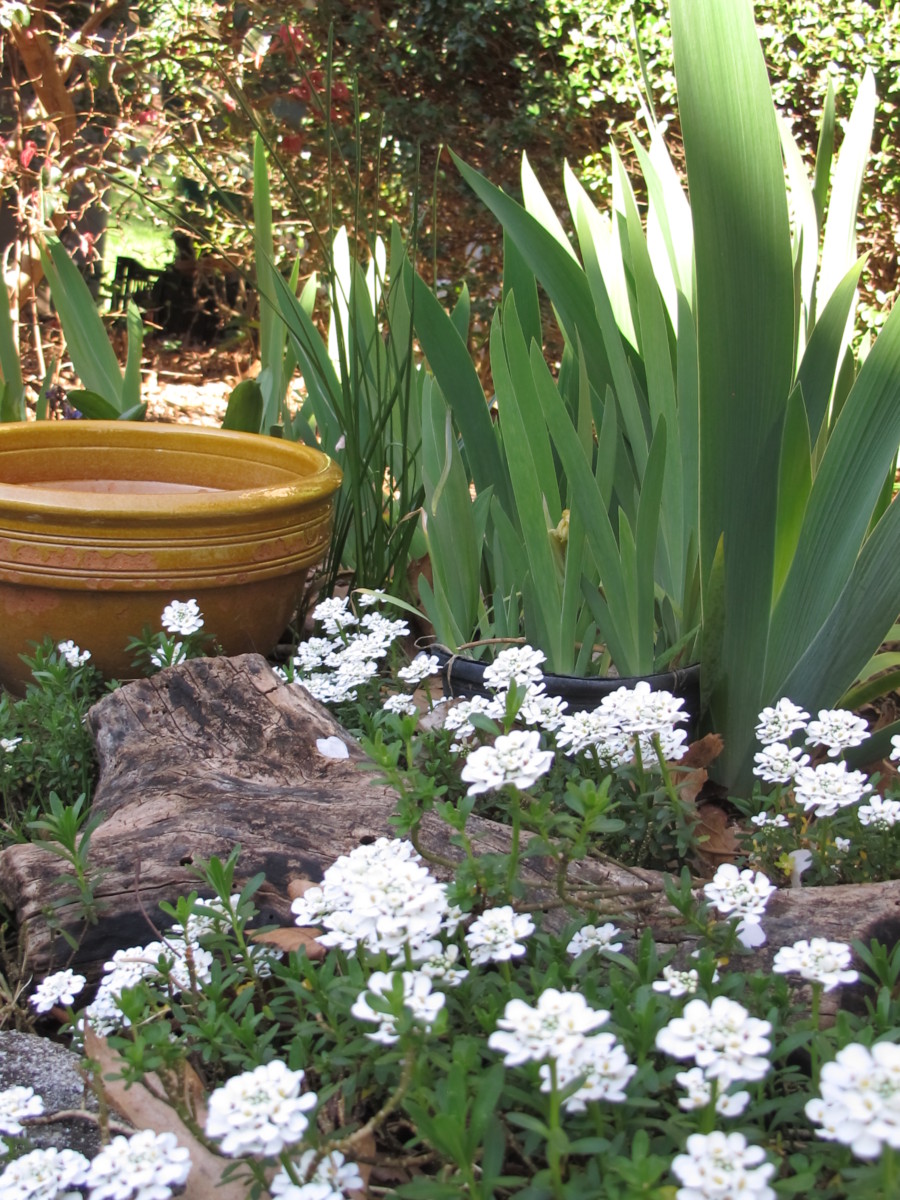
Less Grass To Mow With Patches For Pollinators
New Gardens
When I bought the house in late 2021, the lawn covered about half the property, taking 6 hours to cut with a walk-behind self-propelled mulching mower.
Part of the lawn’s square footage has been taken up by the many plants installed last fall and winter. They’re the beginnings of new gardens, which will expand as I propagate perennials, seed the annuals, and plant drifts of new shrubs and wildflowers. Space taken up by low-maintenance gardens will decrease the time required to cut grass.
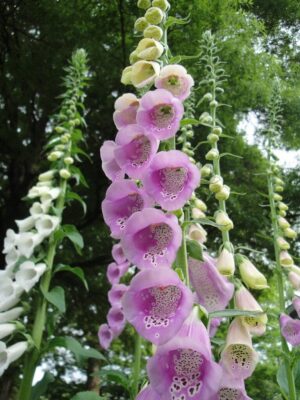
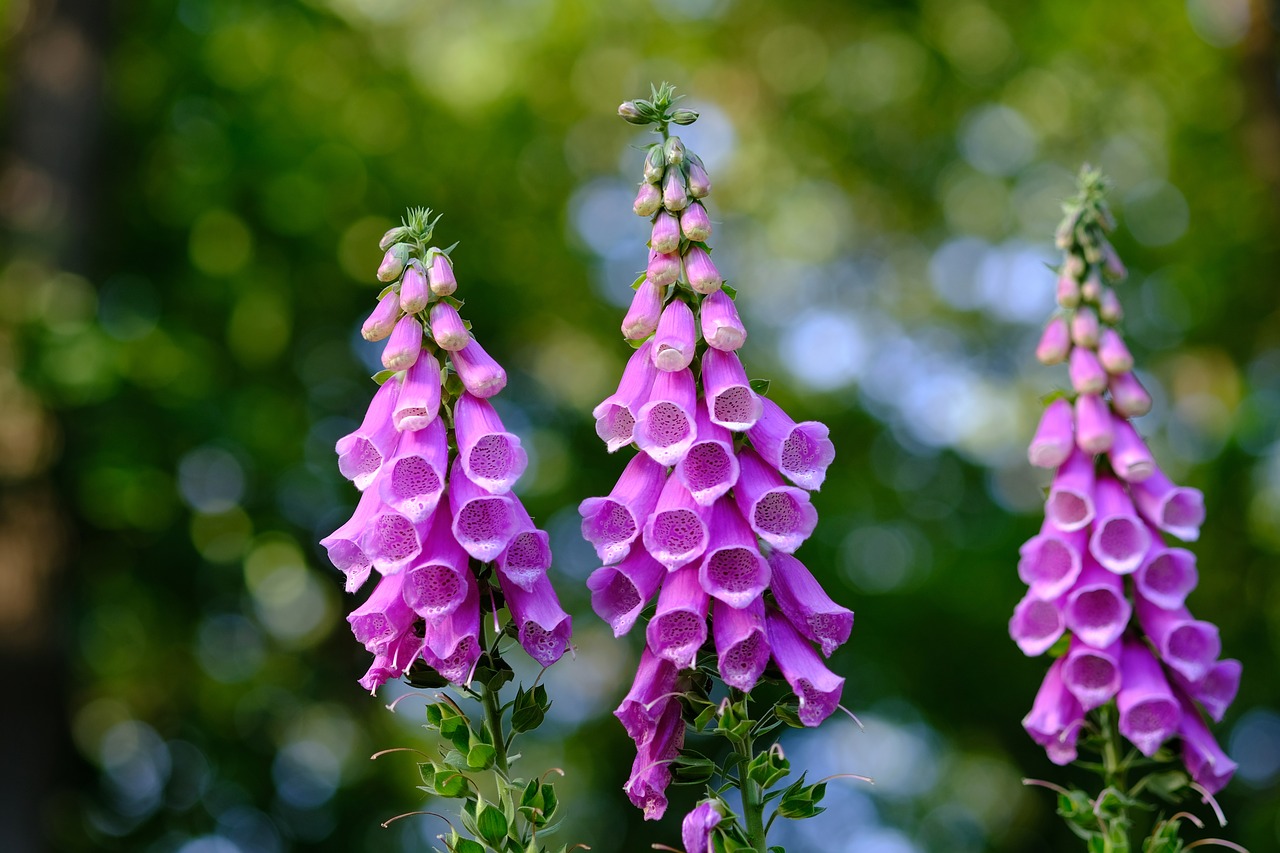
These foxgloves grew 7′ tall.
Foxglove
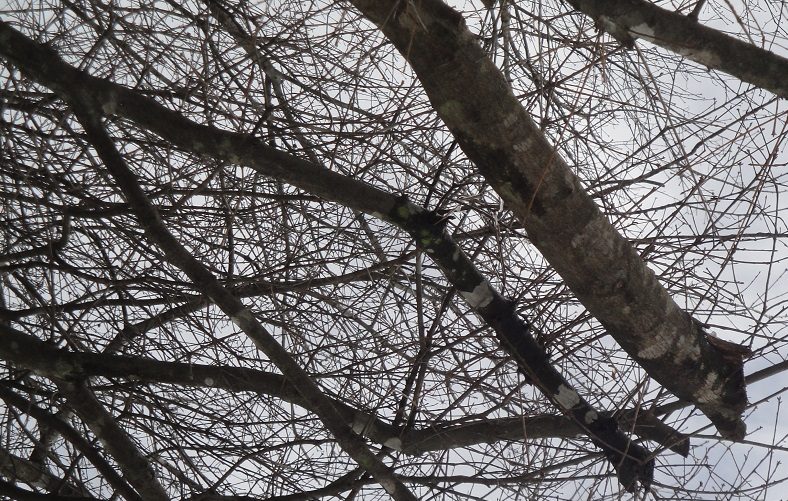
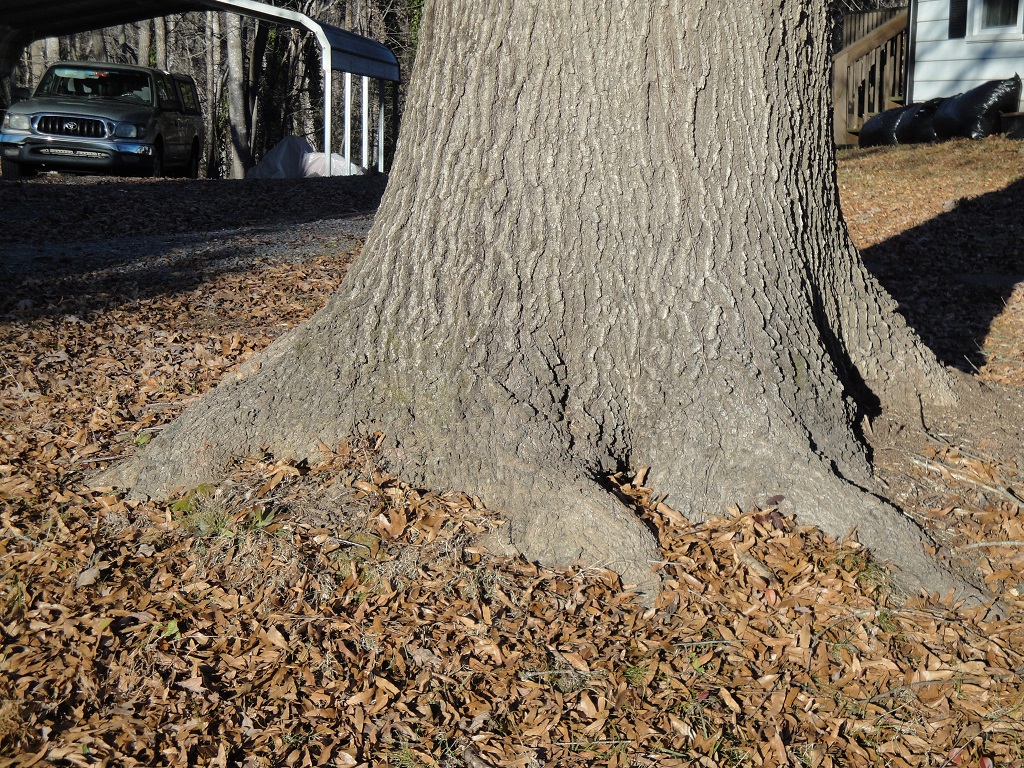
Several white oaks (Quercus alba) tower over the property, providing a high canopy for proposed shady gardens underneath. About 200 tiny foxgloves (Digitalis purpurea) just began germinating from seeds sown in a pot. Most will be sold at the market, and the rest will be planted in morning sun or under the trees’ dappled shade.
Foxglove is toxic to most warm-blooded animals, including rabbits and deer. They never touch it! (Warning: Strong pharmaceuticals are found in this species. Never eat or let others, including pets, eat the foliage or other parts of this plant.) The greatest risk to these plants is from dead twigs falling from the old oak trees.
Foxglove is a biennial, and, if happy, drops seeds at the end of its growth cycle. Where seeds fall on damp unmulched earth, they can create a self-sustaining colony of plants. After those tiny seeds germinate in summer, small plants remain dormant in winter. They’ll bloom the following spring to early summer, thus repeating the cycle, with stately flower spikes from white, cream, and pink, to rose and purple, spotted and unspotted.
Clumps of this plant often come back for another season, but the common foxglove is not considered a long-term perennial.
If the first foxglove flower stems are cut back before they set seed, new but smaller spikes will grow from the plant. With good weather (periodic rainfall, moderate sunlight) and composted soil, those secondary spikes might bloom all summer.
Flowers provide sustenance for insects and hummingbirds. And they make dramatic additions to large floral arrangements. A few strains with different color options can be purchased from seed suppliers.
From Crape Myrtle To Virginia Sweetspire
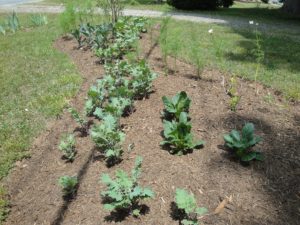
‘Red Russian’ kale, komatsuna, and tiny itea, foreground; plus kales, collards, cosmos, and crape myrtle, toward the back, after planting and mulching.
Growing plants from seed is one way to economically fill a large garden bed. I started a new garden last fall, close to the street. Here, I planted a pink crape myrtle (Lagerstroemia indica; volunteered in the Charlotte garden) and 2 Virginia sweetspires (Itea virginica ‘Henry’s Garnet’; brought many years earlier from Maryland).
Early this year, I turned over the ground to a depth of 10″ between the shrubs and beyond, and added leaf mold and black topsoil from the woods. Also incorporated into the soil was a generous portion of chopped oak leaves stored in trash bags since the previous autumn.
All this loosening of the soil and the additional materials created a raised bed about 22′ long and 6-8′ wide. It’s an irregular shape with a curved outline. And, naturally, it will be enlarged over the years.
Purslane and ‘Red Russian’ kale.
This garden is where I’d planned to have a mass of large light pink cosmos. So, I grew ‘Cupcakes Blush’ from seed and planted about 40 of them in 2 groups.
Between them, I added dozens of blue-gray ‘Lacinato’ kale, the similar but more purple ‘Dazzling Blue’ dinosaur kale, and the frilly ‘Red Russian’ kale. Behind the crape myrtle, I planted 10 collards, with large, round, grayish-green leaves. Near the itea, I added a few clumps of komatsuna ‘Green Giant’, with broadly rounded dark green leaves. These plants complement each other in both color and form, and all the greens (kale, collards, komatsuna) are edible.
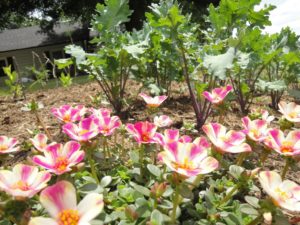
I picked up a purslane at a local roadside stand. It had solid deep pink flowers on a low, spreading plant. But new flowers opened pink and white striped. So, I stuck that into the “pink garden”, and planted a few rooted cuttings near it.
Not In the Pink
I won’t grow ‘Cupcakes Blush’ cosmos again because it took too long to grow and fill out. It didn’t have the number of flowers hyped in the catalog, and fewer than half were light pink!
The fast-growing greens are winners in both vegetable and flower gardens. They’ll look even better when paired with blooming violas in fall and winter. The fact that they survived at all during this overheated summer is a marvel. Adding ‘Scarlet Frills’ mustard greens (edible) will echo the burgundy fall color of the iteas and crape myrtle.
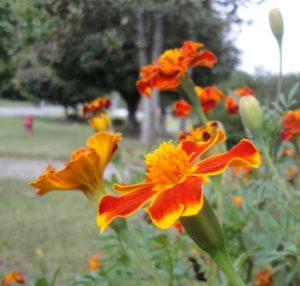
Marigolds.
***Update***: Close to 2½-3 months of frost-free weather is just too long to put up with plants that aren’t delivering. So, all the “pink” cosmos were taken out in early August, and replaced with dwarf marigolds (photo, above), dwarf ‘Cosmic Orange’ cosmos, and coppery-leaved coleus. Much better. But the pink purslane will have to move. The crape myrtle bloomed very lightly this first season in the garden. 8/6/2022
Vegetable Gardens
This property includes a sizable fenced garden, partially shaded by the oaks on the east side of the yard. As the sun’s arc shifts through the year, the garden receives more or less sun than it did the previous month.
Last autumn, I stuffed oak leaves into large trash bags, and stored them next to the foundation over the winter. In early February, I incorporated a few of those bags of leaves into the top 12″ of part of this garden’s soil, along with aged cow manure. After planting the greens, a thick layer of oak leaves was applied as a mulch, keeping soil moist, cooler, and weed-free. By late spring, the greatly improved soil was well-populated by earthworms, and the organic matter will continue to break down for months to come.
I’ll dig and amend more of this garden and add cool season greens, such as spinach, Swiss chard, green onions, and leeks. And peas, of course—the edible-podded ‘Sugar Snap’ and a variety of snow pea called ‘Oregon Giant’. It’ll receive more hours of sun after the trees defoliate. The brassicas (arugula, broccoli, miniature broccoli ‘Happy Rich’, Brussels sprouts, cabbage, cauliflower, collards, kale, mustard greens, pac choi, and others), also called cruciferous crops, figure prominently in autumn and winter gardens and in the kitchen.
Hostas brought from Maryland a decade ago grow plump in the composted soil on the shadiest end of the garden. I’ll add more varieties of hostas here, safe from deer, until it’s time to pot them up for the market.
Miniature Broccoli ‘Happy Rich’
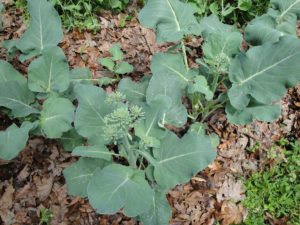
Miniature broccoli ‘Happy Rich’ planted 14-16″ apart, with peas behind them.
Brassicas (plants in the Brassicaceae family) thrive in moist, well-composted soil with generous portions of aged cow manure and a neutral pH. Here in USDA zone 7b, many types of greens can grow in cold weather, even through the winter. (***Update***: The 2023 edition of the USDA plant hardiness zone map changed this location from zone 7a to 7b.)
I plant several kinds of brassicas every fall. During severely cold periods, a loose covering of clear plastic keeps the foliage in good condition.
Late last winter and in spring, I set out about 30 plants of miniature broccoli ‘Happy Rich’ on the north end of the fenced garden, farthest from the oaks. While the trees were leafless, the plants grew in full sun. Now, in summer, these brassicas enjoy a few hours of mid-day shade from the hot sun. That worked out perfectly.
This is one of my all-time favorite vegetables. Maybe even the favorite. I eat this versatile broccoli a few times a week, sell some at the Elkin Farmers’ Market, and donate a bunch when the market hosts cooking demonstrations. Great sweet flavor, and super healthy!
(***Update***: These same plants produced small harvests into mid-November. With cooler weather at that time, leaves grew larger. Unusually cold fall weather—up to 20 degrees colder than average—has caused them to decline earlier than expected. However, after the oaks had dropped their leaves, the broccoli received more sunlight and grew more vigorously, almost until Christmas, 2022. That’s why ‘Happy Rich’ is my favorite vegetable—9 months of harvests!)
‘Happy Rich’ and Insects
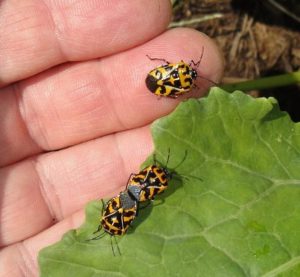
Harlequin bugs on cabbage.
‘Happy Rich’ branches out after each cut, producing more stems, leaves, and small heads to harvest. Four species of caterpillars (from 3 species of moths and 1 butterfly) prove quite troublesome all season long, even beyond the first frosts. To prevent them from ruining the brassicas, I spray every 5-10 days with organic Bt (Bacillus thuringiensis). This isn’t a chemical, but a naturally occurring bacterium that kills only larvae of moths and butterflies.
Bright orange and black harlequin bugs (photo, above) also feed on brassicas, spotting and distorting the heads and leaves. I squish them when I see them.
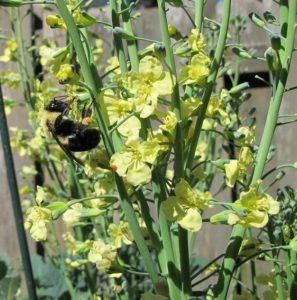
Broccoli ‘Arcadia’ and a bumble bee in spring.
As the plants finish up their last harvests now and in spring, some of the stems of these biennials will bloom. Beneficial insects, especially bumble bees, honey bees, sweat bees, and tiny braconid wasps, collect nectar and pollen from the flowers. Heading broccoli has yellow flowers, but ‘Happy Rich’ has pure white flowers on stems up to 5′ tall.
Tomatoes
After warm weather had settled into the area, I planted several tomatoes and peppers among the mini broccoli plants.
A small garden for cherry tomatoes.
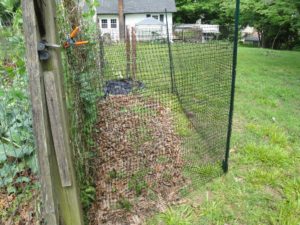
Another small section, north of the garden, gets sunlight longer into the season. There, I secured posts and strung deer netting between them (photo, above). A few cherry tomatoes grow here. Edible-podded peas grew from late winter to early summer; you can see the pea vines growing through the fence.
Tobacco Hornworms
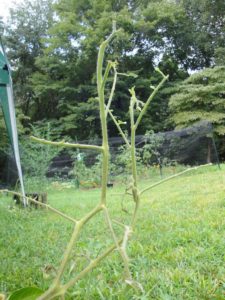
Tomato plant denuded by a tobacco hornworm.
If one of your tomato plants seems a lot less leafy than it did yesterday, it might have a tobacco hornworm (slash markings) or a tomato hornworm (V-shaped markings) munching on the foliage. This very hungry caterpillar is the larval stage of a hawkmoth. A few weeks after a ‘German Johnson’ tomato went into the garden, it suddenly lost all its foliage. I’ve seen this before and knew to search for a 4″-long green caterpillar.
I found several hornworms on the tomatoes this season, usually one per garden plot. Most were carrying the pupae of a parasitic wasp and had stopped feeding. These pupae look like small grains of white rice. A female wasp lays eggs on or in the caterpillar. The eggs soon hatch into tiny larvae, which eat the inner tissues of the caterpillar, weakening or killing their host. Those should be left alone.
The few that hadn’t been parasitized lived out their lives on old tomato plants tossed behind the gardens. Birds or other animals might eat them. Sometimes, I cut them in half and toss them close to the bird feeder.
Two dozen tomato plants that weren’t good enough to sell found homes in a few other areas around the property. Most are surrounded by posts and deer netting, although the deer did find—and destroy—90% of the unfenced big sunflowers meant for the winter songbirds… …
-
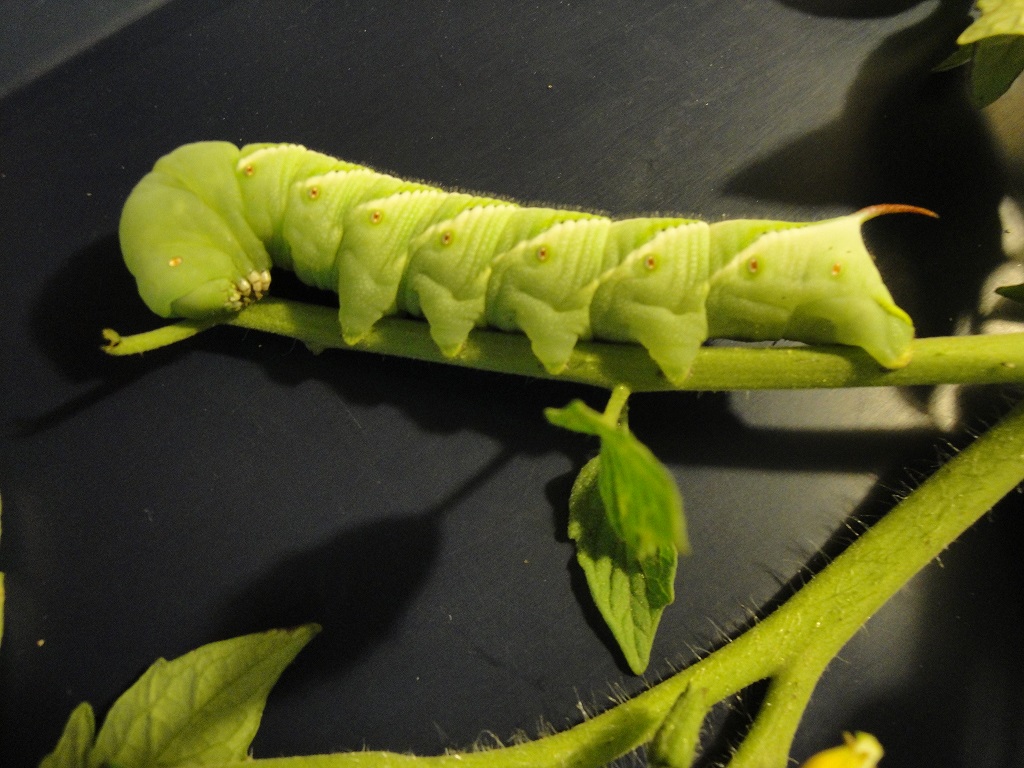
- Tobacco hornworm.
-
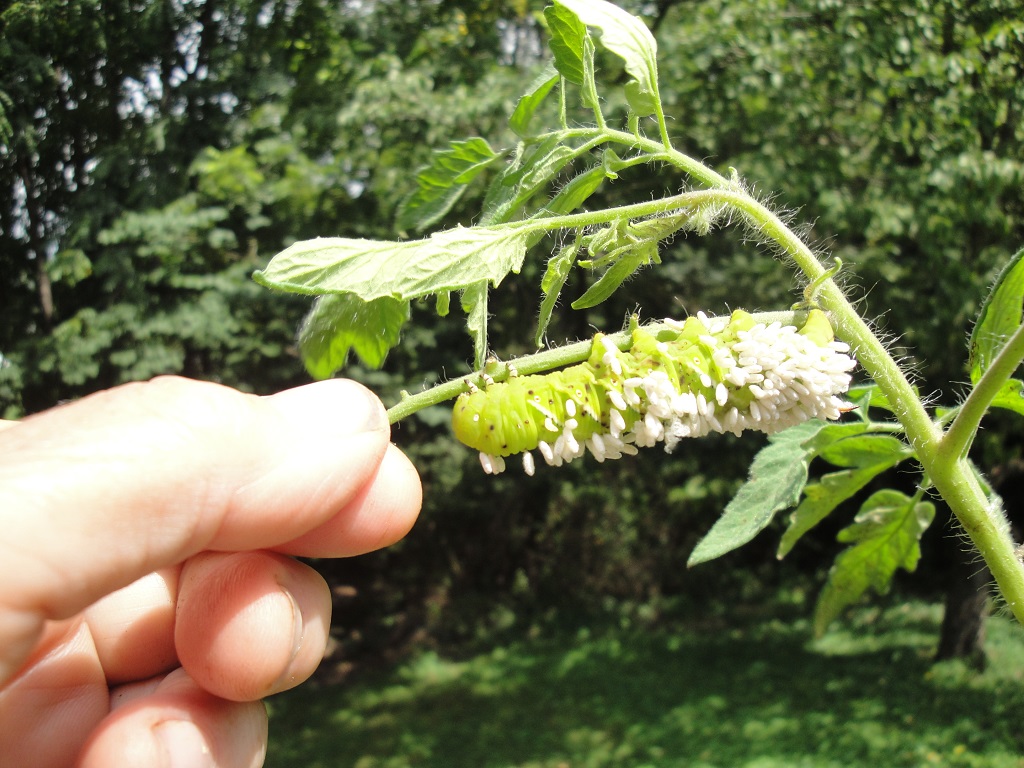
- Hornworm with wasp pupae.
***Tomato Update***:
(This section added 9/4/2022.)
Tomatoes generally are underproducing. Those getting just an hour more sun are yielding fairly well, but not abundantly. Gardeners in this region experienced devastating blights on tomatoes from frequent rainstorms and persistent high humidity.
After planting not-quite-dead tomato plants, I sprayed them with a solution of dissolved aspirin. Here’s another link. They recovered better than I had any hope of expecting. Although not receiving the recommended biweekly spraying, they’re still producing fruits.
Later in the season, tomatoes had sun scald due to the sparse foliage, so I shaded new fruits with mesh bags, old peat pots, or large cucumber or broccoli leaves. Sun scald causes tomatoes to rot.
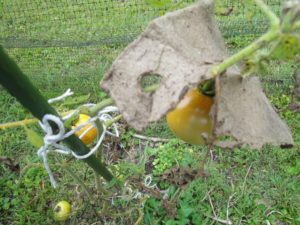
Tomato shaded by old peat pot.
Headings
Page 1: Patches For Pollinators (Japanese Beetles, Japanese Beetle Life Cycle), Less Grass To Mow With Patches For Pollinators (New Gardens, Foxglove, From Crape Myrtle To Virginia Sweetspire, Not In the Pink, Vegetable Gardens, Miniature Broccoli ‘Happy Rich’, ‘Happy Rich’ and Insects, Tomatoes, Tobacco Hornworms, Tomato Update)
Page 2: Long Vines That Might Smother the Grass (Next To the Tree Stumps), Patches For Pollinators: Don’t Mow Here (Weeds To Watch, Early Patches For Pollinators, Late Spring and Summer Patches For Pollinators, Patches For Pollinators: Living Proof, The Saddleback Caterpillar), The Pretty Moths and Butterflies


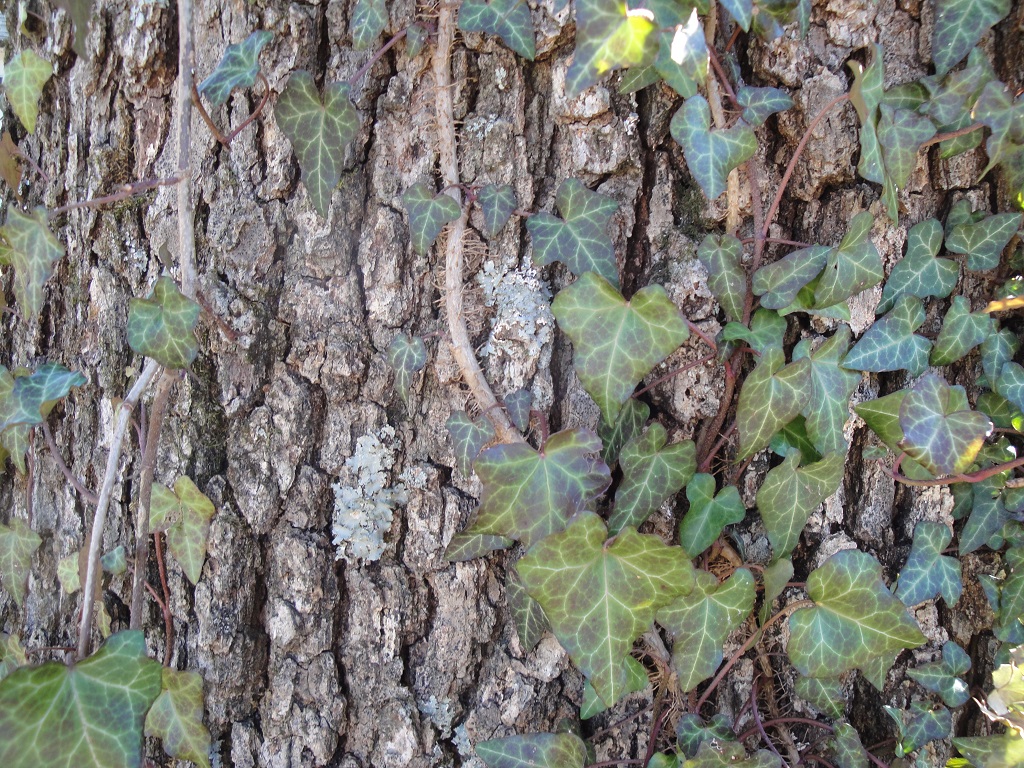
 First, English ivy is a woody vine, so its stems will grow in girth just as a tree branch does. As they wrap around the tree trunk or the limbs and thicken over the years, the ivy stems will constrict tree growth, killing limbs and possibly the tree.


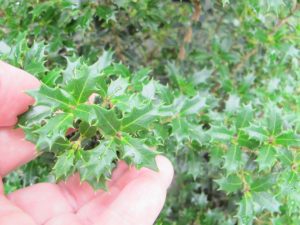
 The hollies (Ilex spp.) are another genus of primarily dioecious (Latin for “two houses”) plants that fruit on female plants. They ordinarily require a male plant, or pollenizer, to set fruit, although holly pollenizers (the males) themselves do not set fruit. Modern breeding techniques have yielded several cultivars that can make berries without pollination.


 In 1977, the Consumer Product Safety Commission banned the use of lead paint in residential properties. If you live near an industrial region, a busy highway, or where lead paint might be a concern, I strongly advise testing for lead before you prepare the soil. Local zoning authorities should have records on past property use. For more information, contact the National Lead Information Center at 800 424-5323.