Page 2
Sunlight For Daffodil Bulbs

Sunlight is the engine that drives photosynthesis. In the presence of light, a plant takes carbon from carbon dioxide in the atmosphere, and hydrogen and oxygen from water, and magically transforms these elements into carbohydrates. All this takes place within chloroplasts, chlorophyll-containing organelles that give leaves their green color. Plants use minerals and sugars to form proteins, fats, and other compounds that fuel cellular activities.
Since spring-flowering bulbs are ephemeral, lasting only a few months, they need to make all the food they can in that short window of time. This is why we recommend letting the leaves wither naturally and not cutting them off when they’re still green.
Removing green leaves robs the plants of their kitchen privileges. If they can’t photosynthesize, daffodils won’t be able to replenish their stored reserves, and will lose vigor. After another few cycles of managing daffodils like this, the bulbs will starve to death.
Daffodil leaves compete for sunlight as shrubs grow larger and the tree canopy thickens. Struggling in dense shade, the plants grow thin and weak and can’t absorb enough energy from the sun to get them through another year. Eventually, they just disappear.
Daffodil Bulbs Under the Trees
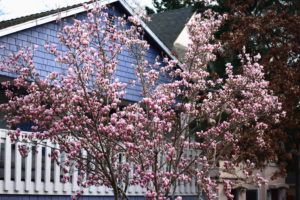
Saucer magnolia in spring.
Deciduous trees (such as oak, cherry, birch, maple, and saucer magnolia) don’t begin to leaf out in spring until bulb season is well underway. There’s usually enough sunlight reaching the bulbs’ foliage through the branches and twigs before the trees green up.
As trees grow, consider “limbing them up”, or removing the lowest branches where they join the trunk. Bulbs and flowers planted under trees are more visible when there’s open space above them. This also allows more light to reach the understory. Thinning the high canopy is a short-term solution (never top your trees!) unless some of the plants are entirely removed.
Many bulb species have early, mid, and late season varieties. Early blooming bulbs derive the greatest benefit from late winter and early spring sun without having to compete with trees. The flip side is that early risers are more susceptible to winter’s last blast of icy cold.
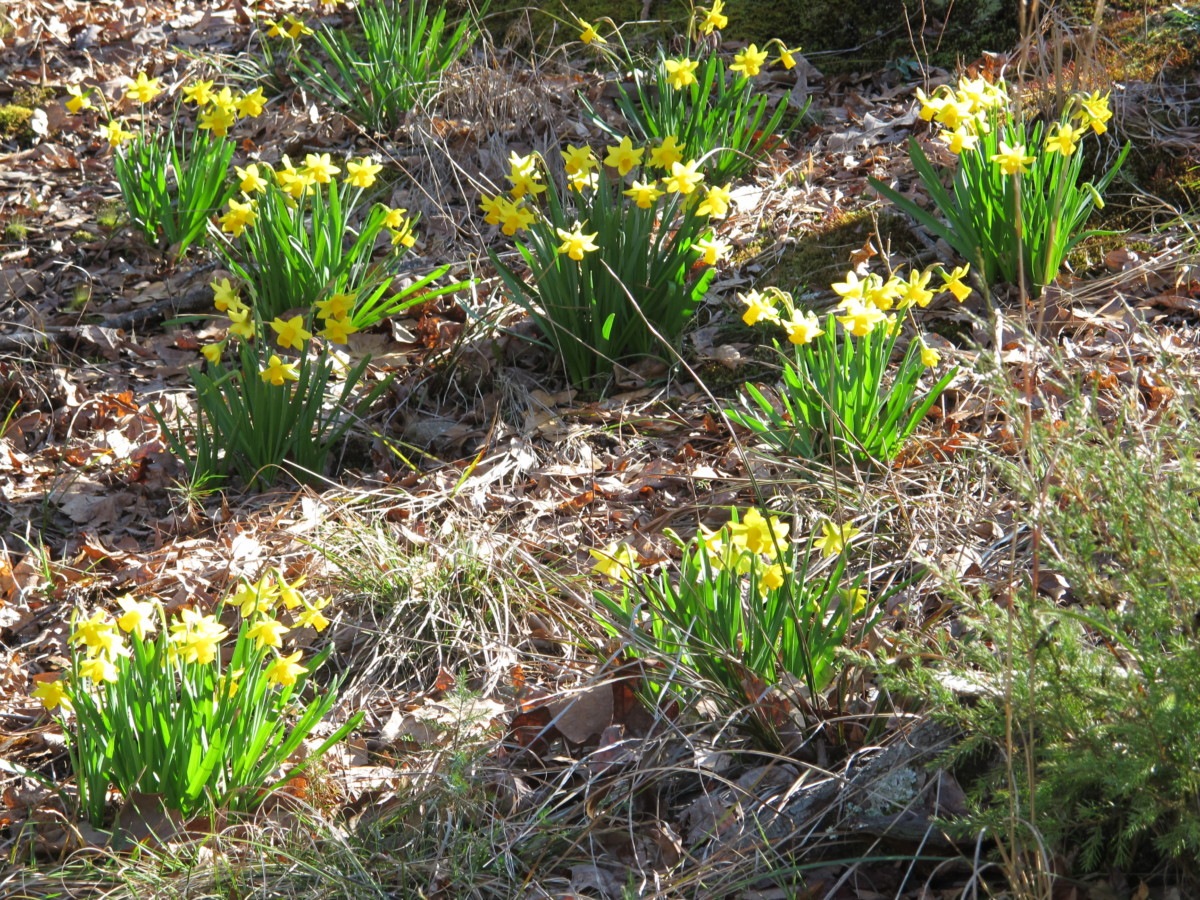
Early miniature ‘Tete-a-Tete’ daffodils in a NC woodland garden.
Plant according to where the sun will be when the bulbs are in leaf. It doesn’t matter how much sun the daffodil patch gets in July or October. Be especially careful, however, when placing bulbs around evergreens, which cast shade all year long. Daffodils should receive 6 or more hours of direct sunlight per day.
As your landscape matures, you might need to move bulbs to sunnier parts of the garden. When the shrubs grow wider (photo, below), the flowers will struggle for existence under the encroaching stems. And they can’t be seen under there! Wait until most of the bulbs’ foliage has turned yellow or brown before moving them. Until the bulbs regain full size, the floral display might not be so impressive. Give them a couple of years to recover.
Mark the spots in the garden where the bulbs are growing now and where you’d like to replant them. Take pictures or keep notes, so you’ll know what you’re looking for and where to find them.
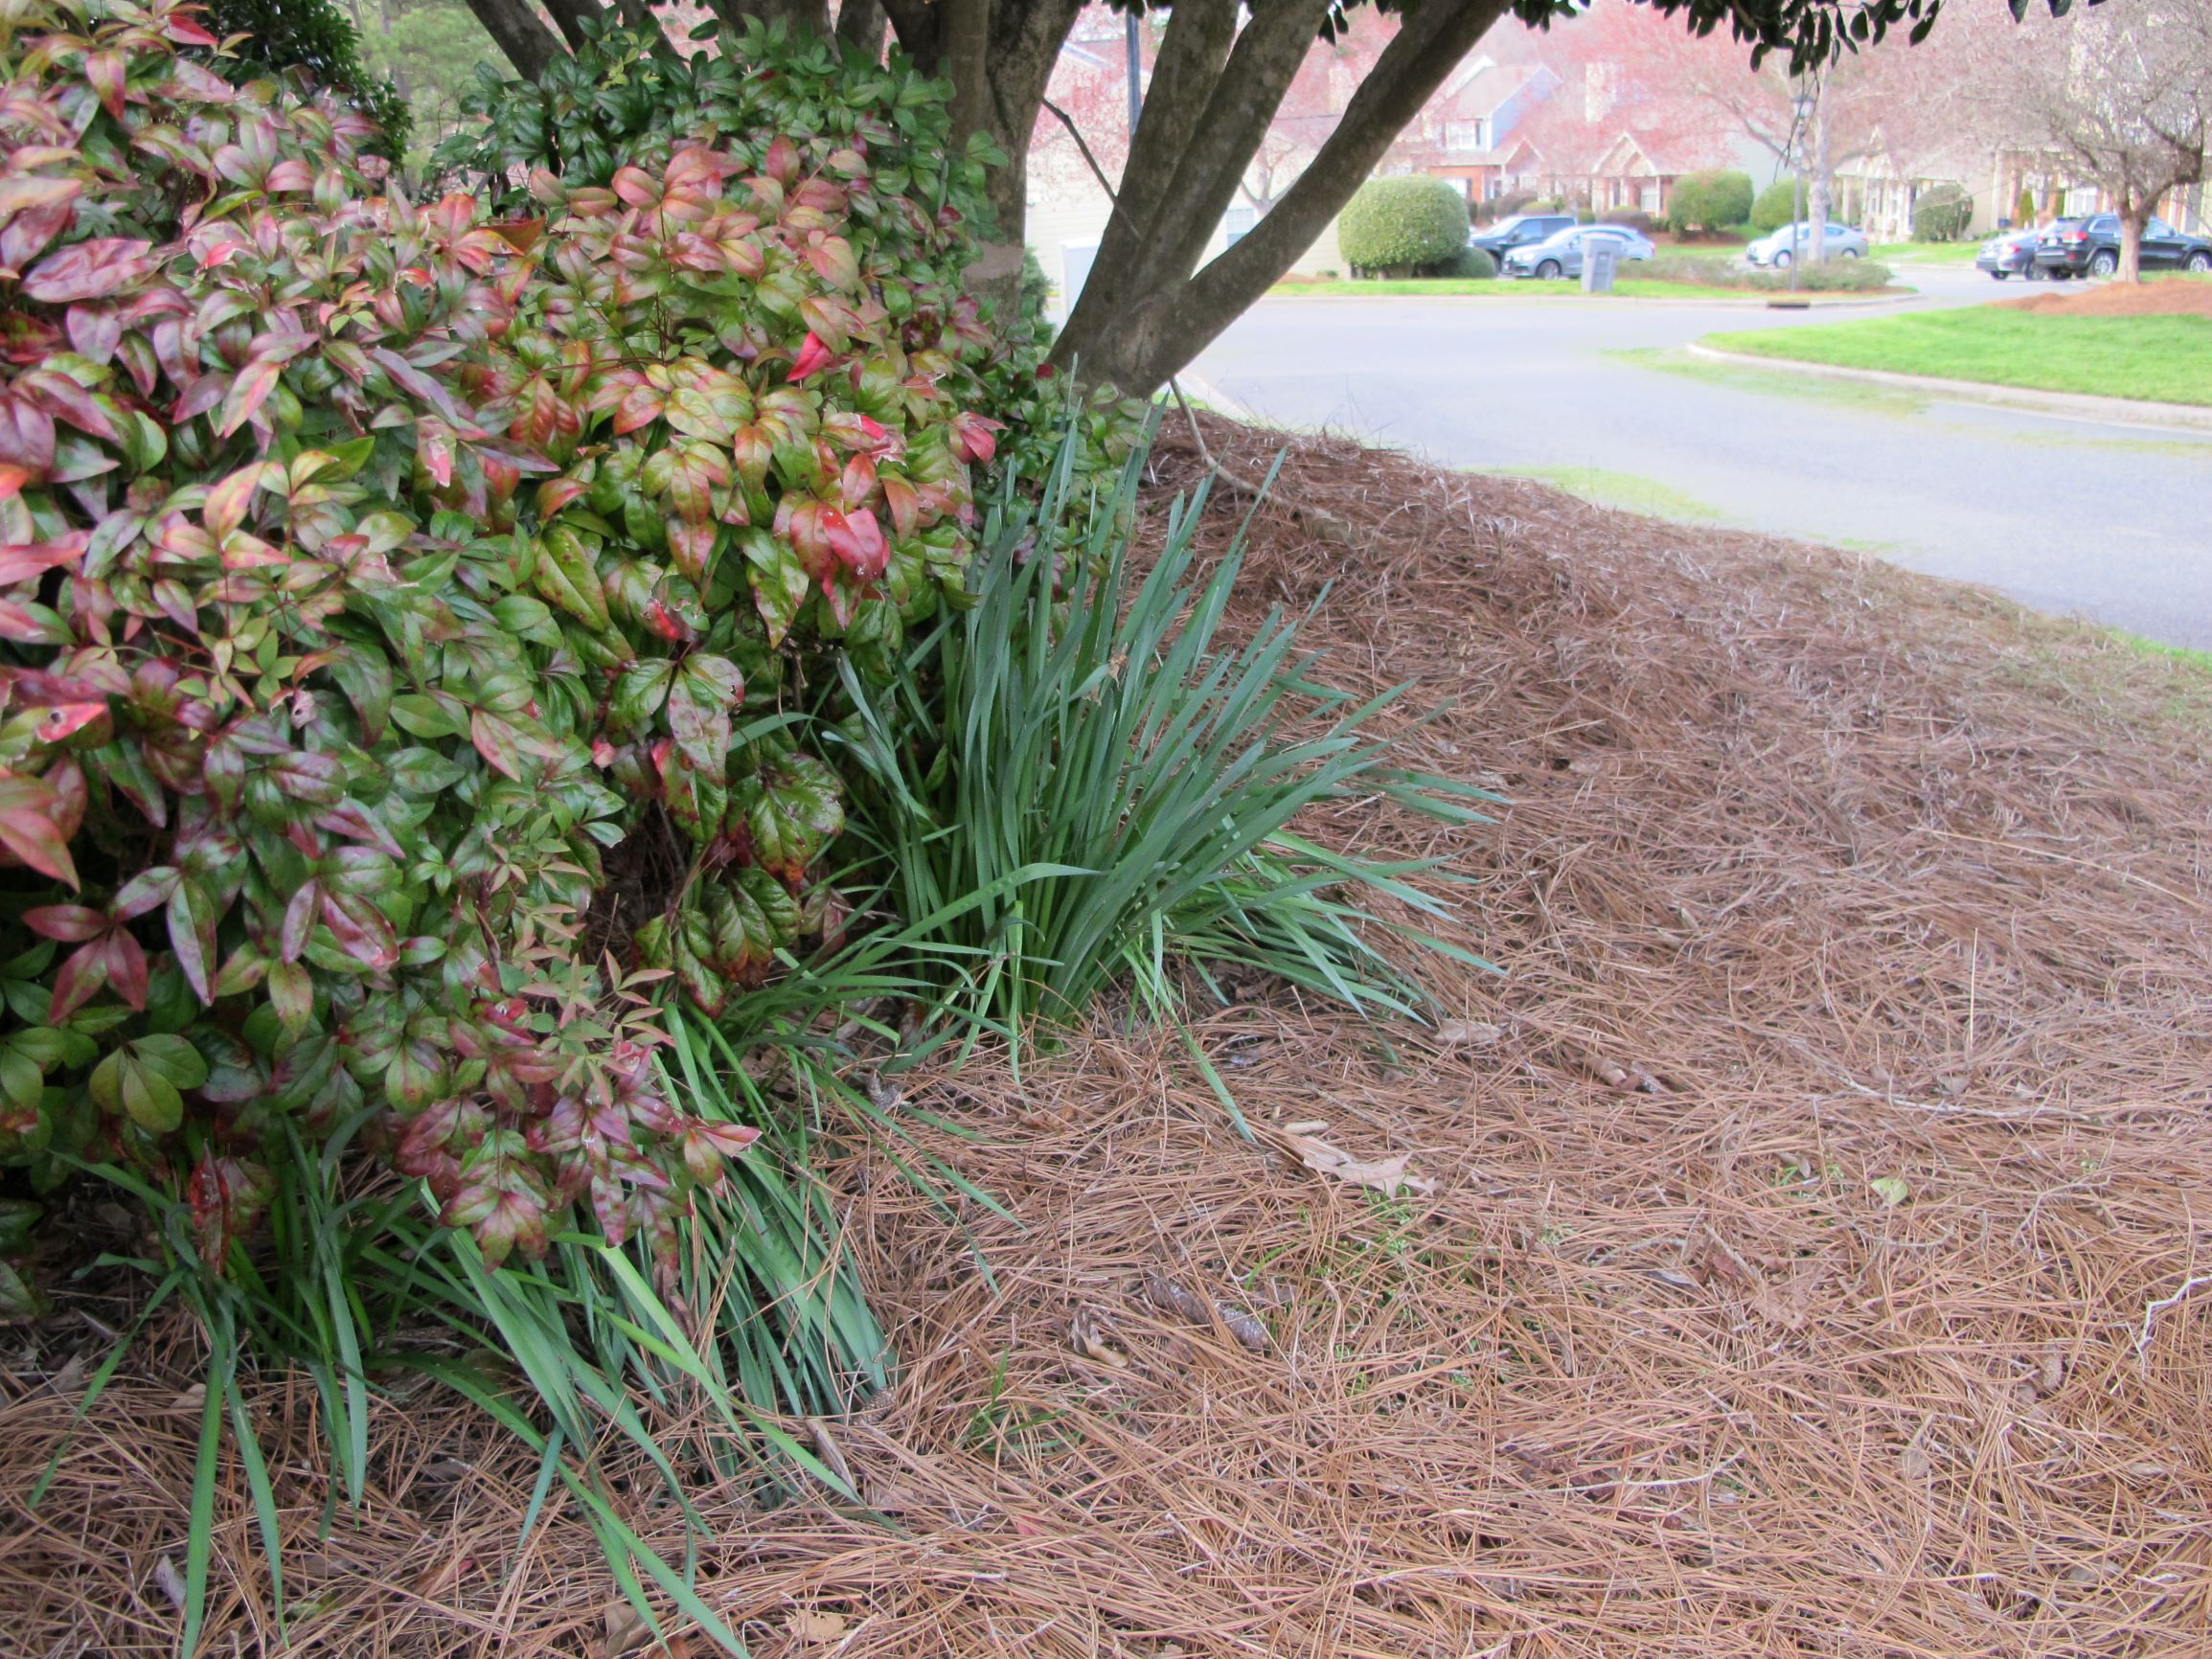
These daffodils will weaken in shade cast by shrubs and trees.
Soil and Drainage
Daffodil bulbs must have good drainage. Tiny root hairs projecting from epidermal cells of the roots absorb water and nutrients, but they also need air. Low spots in the garden and heavy clay soil hold water for a long time. So, after planting 5 dozen daffodils in October, where the soil stays wet during November rains, you might see only a handful of them show up in spring.
Fill in those low spots first. Garden centers stock amendments for every purpose. Using material that is mostly mineral in origin (clay, sand, loam), rather than organic (peat moss, compost, manure) will help prevent the surface from sinking again. As organic matter decomposes, it loses most of its volume. That’s why, after adding bags of organic matter, the soil level eventually drops again. You might have noticed this with your houseplants, when the surface of the soil falls lower in the pot over time.
In my small lawn in Maryland, a low spot kept reappearing despite numerous attempts to fill it. There probably was a large tree stump slowly decomposing underground. In the woods nearby, a row of several huge oak trees—with trunks over 5′ wide—lined up with this depression. Those trees probably marked an old property line that ran through our front yard. Sadly, very sadly, those venerable oaks were felled to make room for a new road.
Water does not evaporate quickly from cold soil. But roots of trees and shrubs do help draw off excess moisture. Therefore, daffodils planted in a shrub border or among the towering oak trees could prosper there, as long as there is adequate sunlight.
It’s imperative to improve poor drainage before planting. That’s something I would do for any plant.
Soil Preparation
Think about where the bulbs will be replanted. View the garden from the street or from a window and imagine where a drift of color would add to the landscape. Once you’ve determined where the bulbs will be planted, it’s time to prepare the bed. Perhaps you’ve decided to replant them in the same area they’re growing now, after fixing the soil.
Bulbs display better in large masses of one or similar colors. I prefer to plant them randomly rather than in straight lines. Formal beds, however, require such regimentation.
Soil preparation is the most labor-intensive part of the process. It’s also critical to the long-term success of any gardening endeavor and should not be rushed or overlooked. Accomplishing this first, before digging up the old daffodils, will make the rest of the procedure seem like a walk in the park.
-

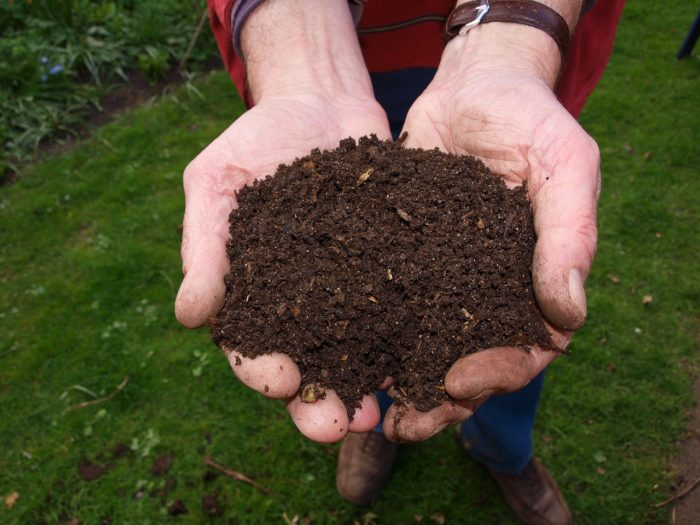
- Compost.
-
- Pine fines.
Have on hand ample amounts of drainage material and organic matter, such as:
- coarse sand, also called sharp or masonry sand. These types of sand, with angular edges, help lighten the soil. They’re not the same as rounded play sand, which is too fine to improve drainage.
- horticultural grit, PermaTill, and expanded mineral products. I don’t use perlite in the garden because of its color and tendency to float.
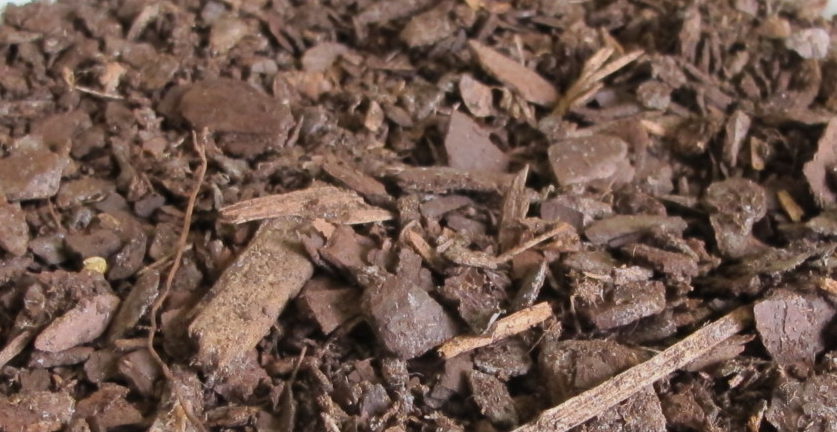
- pine fines, also called soil conditioner. This partially decomposed pine bark (pieces up to about 2/3″ long) can be purchased in bags or in bulk. When incorporated deeply into the bed, it decomposes very slowly; microbes are not very active at lower depths and resins protect the material. So, it will continue to help the soil drain. In garden beds where I had added pine fines 20 years earlier, the particles were still intact.
- organic matter, such as peat moss, compost, planting mix, and leaf mold. Adding some organic matter helps create soil with excellent tilth. I used mostly pine fines, coarse sand, and compost when amending soil in a new garden.
- and a bag of gypsum. Gypsum (calcium sulfate) improves poorly drained clay soil by flocculating tiny clay particles into larger particles, opening up minute channels in the soil profile. Using gypsum annually for several years should result in noticeably better soil. Rain will wash it in.
Dig In!
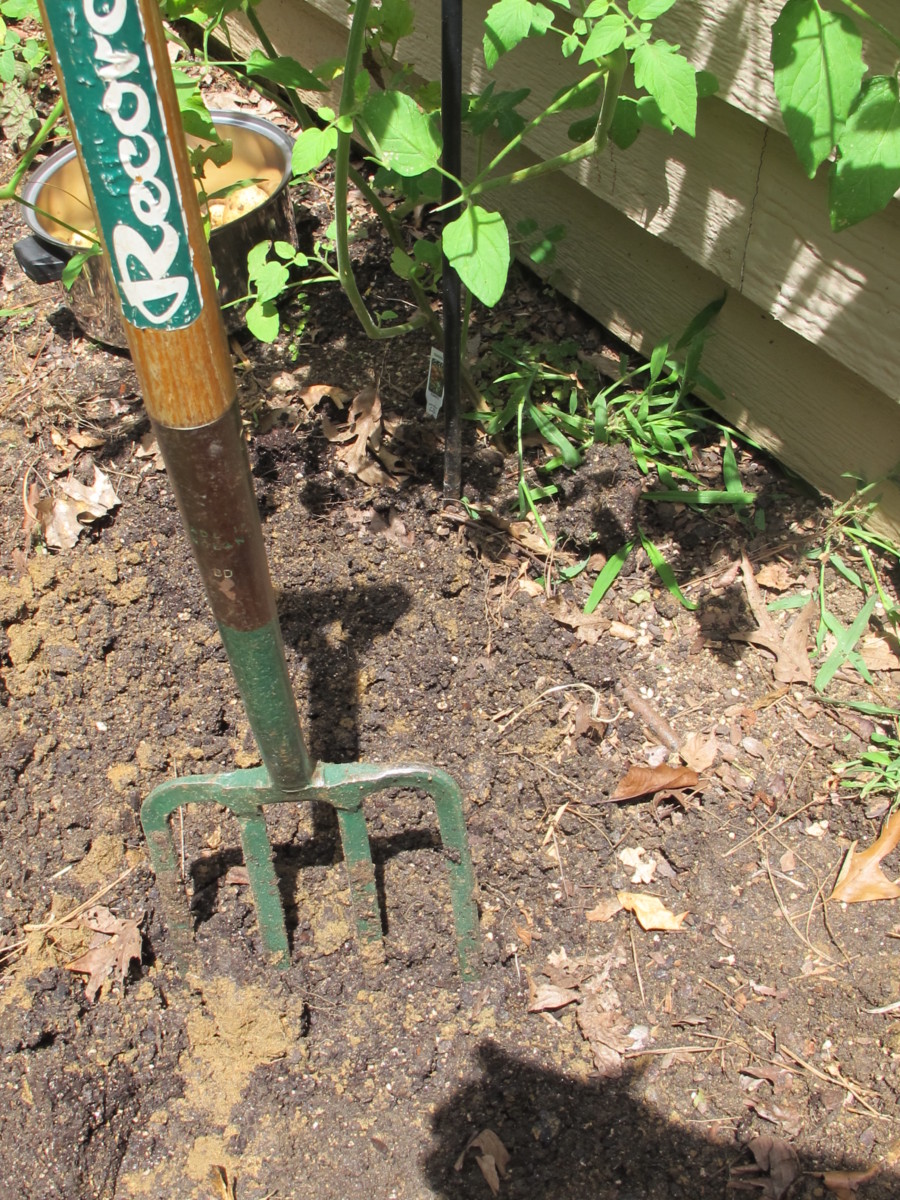
Garden fork, a favorite tool.
- Observe surface drainage patterns to avoid damming the flow of water. In most areas, it is illegal to alter the drainage patterns to neighboring properties.
- The first task is to loosen the top 12″ of soil, or maybe more. Dig the soil with a sturdy garden fork, or, if needed, use a tiller for the initial dig. Avoid digging in wet soil.
- If your soil has a compacted layer of hardpan clay beneath the subsoil, break it up. Repeatedly tilling gardens can make hardpan worse.
- For most soils, add a 2″ or 3″ layer of drainage material. In extremely heavy, sticky clay soil, use even more pine fines and sand, or other drainage products. These materials introduce larger air pore spaces to the soil. The amounts I recommend are sometimes seen as being excessive, but wait until you see the results! Using too little material hardly makes any improvement at all.
- Now, incorporate—don’t layer—the drainage material into the full depth of loosened soil. Larger spaces between soil particles facilitate drainage and make it easier for roots and air to penetrate the soil.
- If the soil is still sticky and doesn’t easily crumble, add more of the amendments.
- Once you’re satisfied with the drainage, add an inch or two of compost or one of the other organic materials. (Avoid using manure near bulbs.) Incorporate the organic matter into the top 4″ of soil.
- Rake the garden bed. Avoid walking on and compacting the newly fluffed soil.
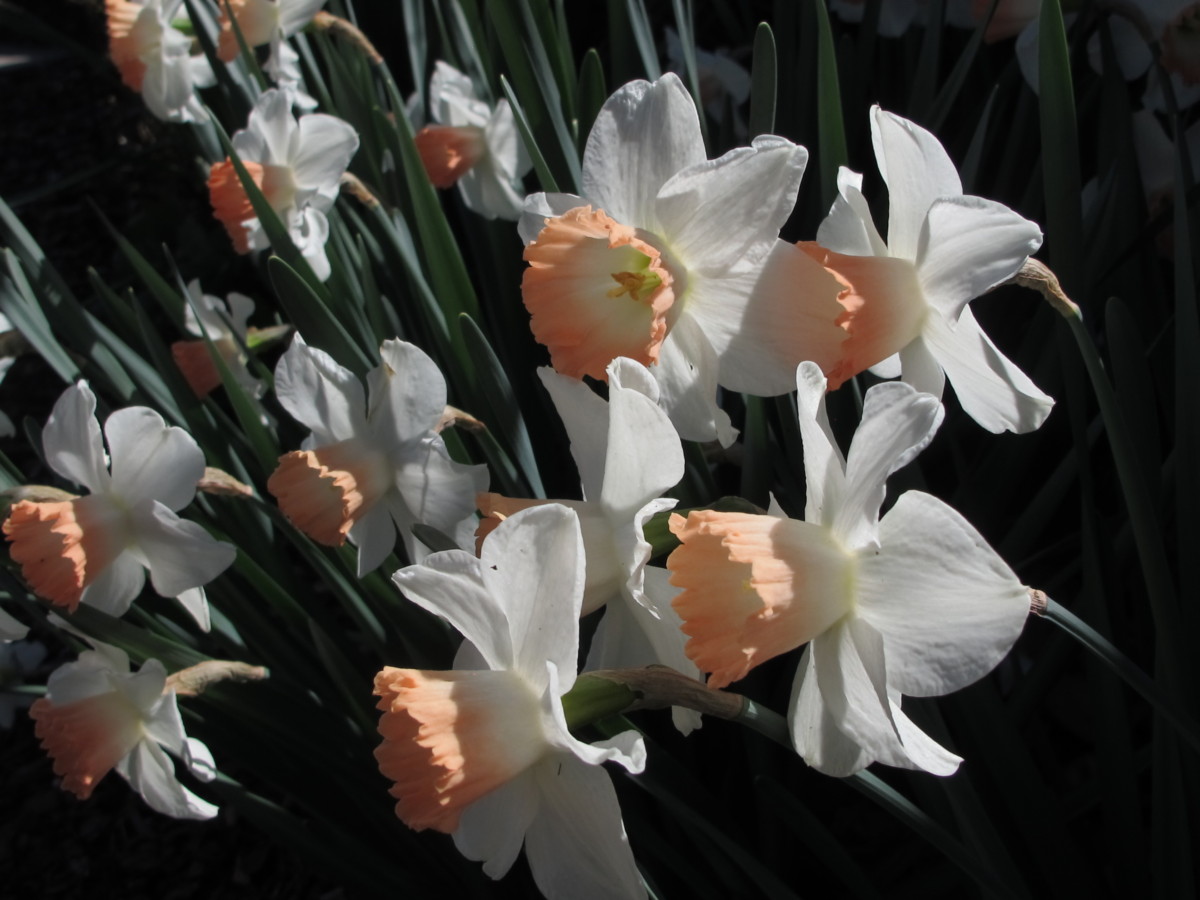
A neighbor’s pink and white daffodils.
Divide and Multiply Daffodil Bulbs
Once the new bed has been prepared, and the daffodil leaves have turned brown, it’s time to dig up the old clumps of bulbs. Here in North Carolina, in early March, it’s too early to do this. The bulbs are still flowering and actively photosynthesizing.
Incidentally, in some areas, the narcissus bulb fly attacks daffodil bulbs when the foliage begins to wither. An egg laid at the base of the leaves hatches, and the maggot follows the shrinking leaves to the bulb. It burrows into the bottom of the bulb, feeding on the interior and rotting it. If you notice gaps in the soil above the bulbs, pack them with soil, where leaves used to grow, to prevent the flies from gaining access.
The Process:
- Use a shovel to dig deeply under the plants and bring up the clods.
- Save the damaged bulbs; they might recover.
- Discard soft, mushy, or blackened daffodil bulbs. Bulbs showing signs of basal rot should be discarded.
- Place the clumps into a cardboard box or on a tarp. Shade them from hot sun.
- Remove dead leaves by cutting instead of pulling them off.
- If desired, separate different colors or varieties, and label them.
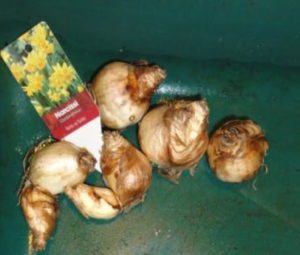
- Pull off most of the soil, keeping all bulblets (small bulbs). Non-blooming bulbs will be undersized, so you might not see any large daffodil bulbs.
- Carefully separate the bulbs from each other. These bulbs will be quite thin. Sometimes the tops and bottoms of the bulbs are indistinguishable, so mark which end will be planted pointing upward. If in doubt, plant it on its side. Propagated (divided) daffodils will greatly expand the size of your spring bulb gardens.
- There could be a dozen or two bulblets in each of the clumps. At current prices of large bulbs, saving each one makes economic sense.
After working with spring-flowering bulbs for a few decades, I find that the most common reason for non-blooming daffodils is shallow planting. Next are wet soil and crowding from shrubs. When replanting your bulbs, have a ruler handy so you can measure how deep they need to go.
“And How Deep Is That?”
Varieties with large bulbs, such as ‘Audubon’, ‘Avalanche’, ‘Dutch Master’, ‘Mount Hood’, and ‘Salome’ should be planted so the bottom of the bulb is at least 7″, but preferably 8″ or 9″ under the soil surface. Labels sometimes have planting details, although I have seen recommendations to plant them at 4″! That’s barely covering the bulbs, which is not nearly deep enough. Plant miniatures or small-bulb varieties, such as ‘Pipit’ and ‘Tête-à-Tête’, 6″ deep and 6″ apart.
Some websites suggest covering bulbs with only 1″ of soil, and others recommend planting them 5 times the depth of the bulb. Daffodil bulbs are fairly tolerant but avoid either of these extremes. If in doubt, plant them 3 times the height of the bulb, from soil surface to the bottom of the bulb. Spacing daffodils 6″ apart is the usual recommendation.
Time To Plant Daffodil Bulbs
Although I prefer to amend the entire bed before planting a new garden, you have the option, of course, to dig a hole for each bulb. This is acceptable in good soil, but for poor clay soil, fully preparing the bed will be worthwhile. And the benefits last many years.
Once the soil has been loosened and improved, use a bulb planter or a trowel to open a hole to the proper depth. Place the bulb, pointed end up, and fill in the hole. In established gardens, I empty the soil in the core of the bulb planter upside-down (gently!) on top of the planted bulb to deposit richer topsoil closer to the bulb.
As long as the soil drains properly, those tight quarters low in the ground help prevent the bulbs from dividing into smaller non-blooming bulblets.
Walking on newly prepared soil compresses it, so try to limit time spent walking on the bed. Standing or kneeling on a wide board distributes weight and lessens the impact.
Planting in Autumn
If you’ve prepared a bed for new daffodil bulbs, you can apply a dusting of bulb fertilizer over the bed. New bulbs planted in autumn begin to root as the soil cools. They can use the fertilizer at that time. Some gardeners add a scant amount of granular fertilizer to the hole, but I like some separation between the bulb and the fertilizer.
Where autumn rains are unpredictable or late to arrive, water the planting thoroughly to encourage bulbs to root out into the soil.
Planting in Early Summer
If you divided and replanted the daffodils in late spring or early summer, do not fertilize at that time. They’ve just entered dormancy and can’t use the nutrients.
Planting annuals or ground cover over the bulbs will not harm them. In fact, roots from those plants help dry the soil and shade it from hot sun.
Summary
Once you unearth the clumps of daffodil bulbs, you might be able to diagnose the problem with non-blooming daffodils. Maybe the bulbs were too deep or too shallow, or they rotted in poorly drained soil.
Direct sunlight is important to keep the plants in good condition. Observe how the garden canopy develops over the years and be proactive in dealing with your bulbs as the garden matures.
If the bulbs are getting plenty of sunlight and adequate nutrients, they can tolerate root competition from most species of trees and shrubs. Overfertilizing, especially with high nitrogen products, encourages foliage at the expense of flowers.
When you notice that the flower count is diminishing, it could be time to divide…and multiply…your daffodil bulbs.
One of the best things about daffodils: deer and rabbits don’t eat them!
Headings
Page 1: How Do Your Daffodils Look This Year?, “Should I Remove Them?” (Hardiness), and For Now, Fertilize the Bulbs (Bone Meal, Food or Fertilizer?, Easy Does It, “Then, why do those old abandoned daffodils look better than mine?”, “Can I use compost?”)
Page 2: Sunlight For Daffodil Bulbs, Daffodil Bulbs Under the Trees, Soil and Drainage (Soil Preparation, Dig In!), Divide and Multiply Daffodil Bulbs (The Process, “And How Deep Is That?”), Time To Plant Daffodil Bulbs (Planting in Autumn, Planting in Early Summer), Summary