Yes, You Can Prevent Basil Downy Mildew!
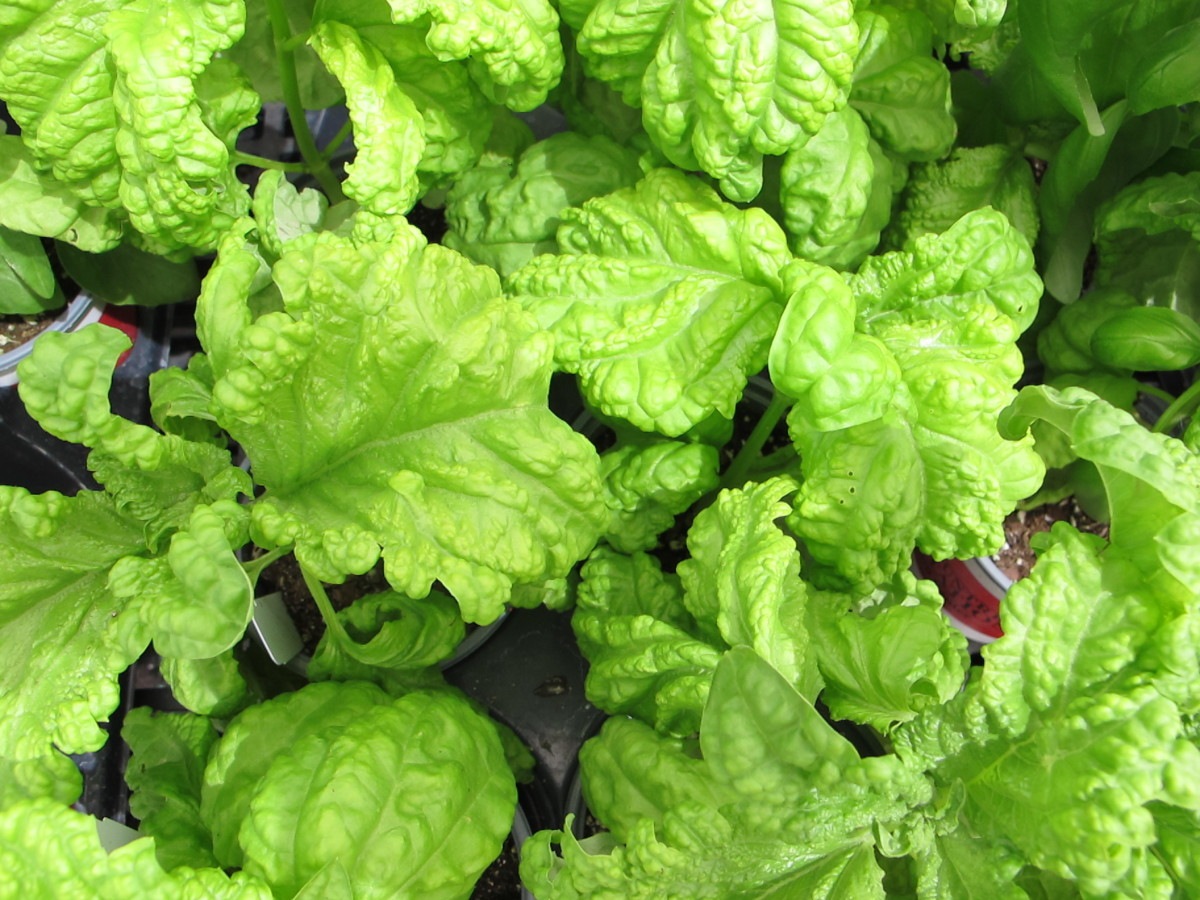
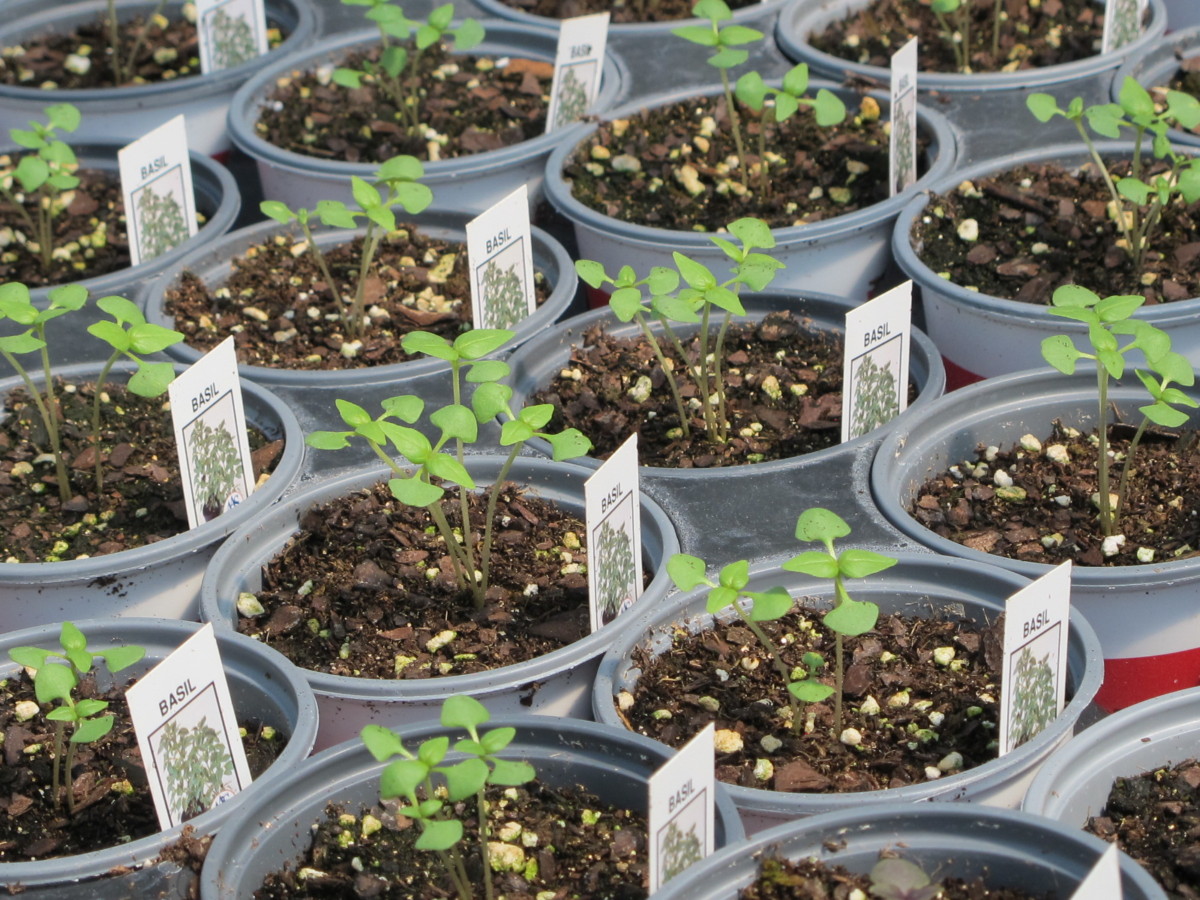
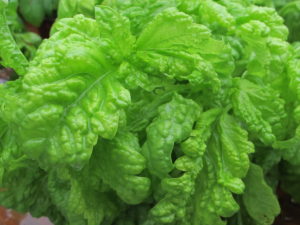
Pots of young lettuce-leaf basil.
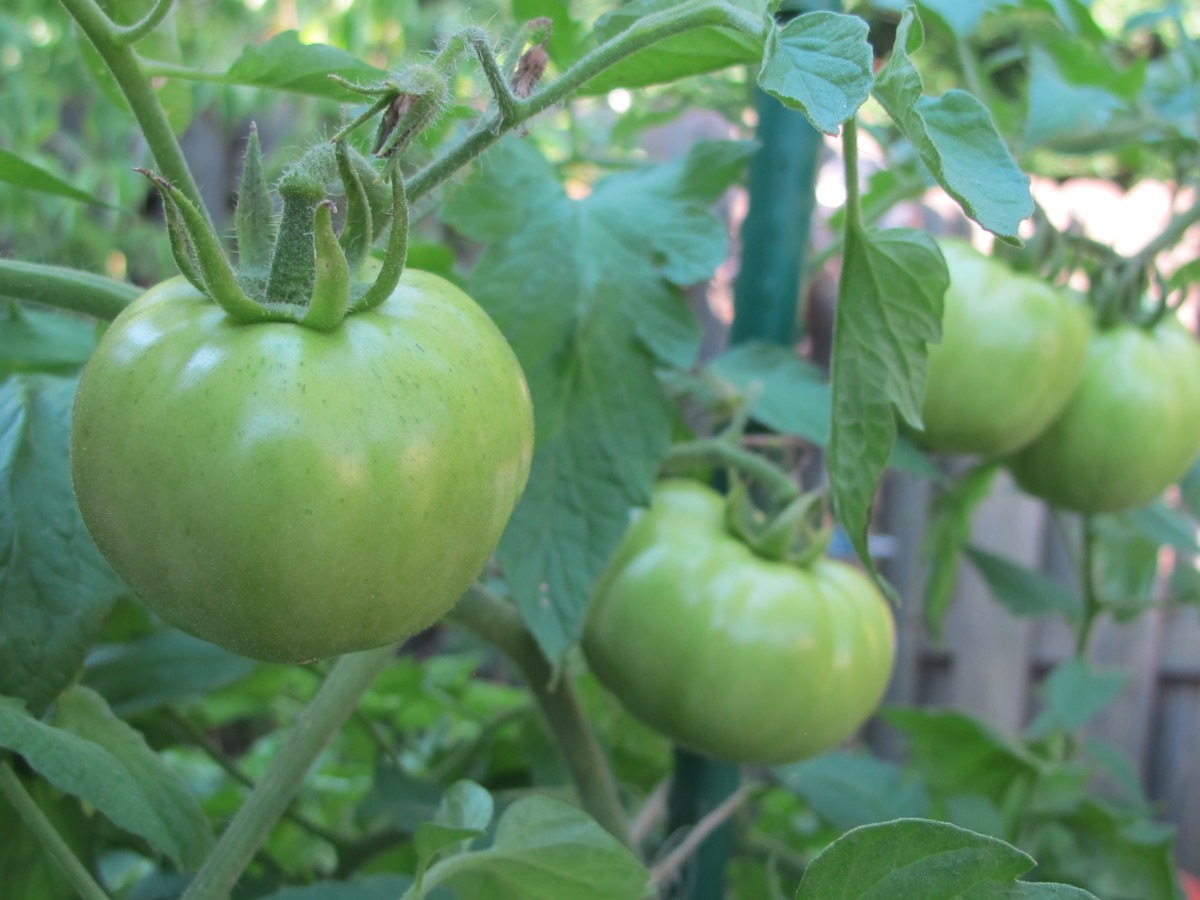
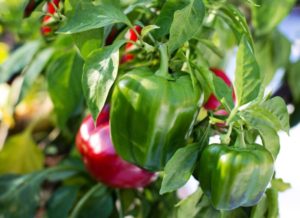
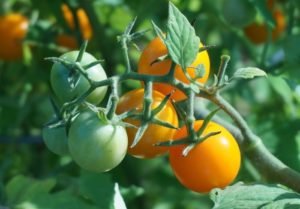
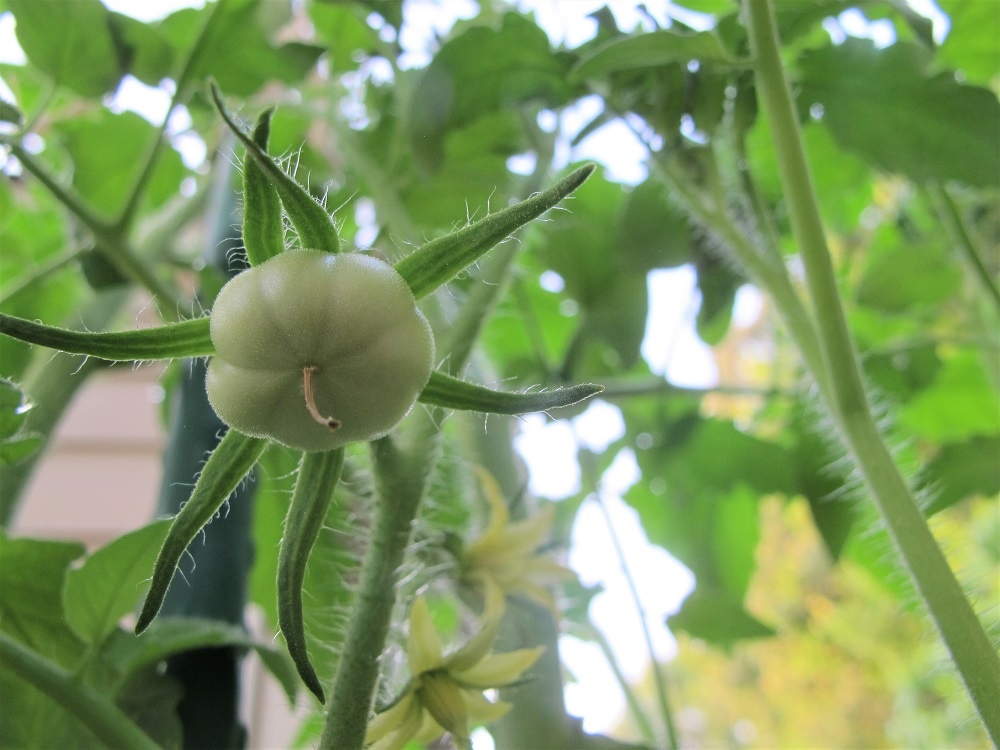
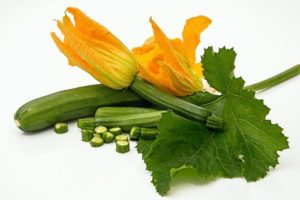
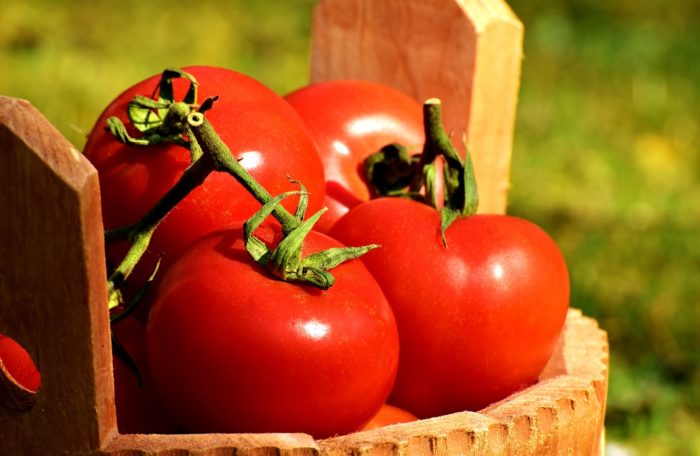
What could be more refreshing than a garden salad harvested from your own back yard? We love our tomatoes, cucumbers, green onions, ripe sweet peppers, and the ‘Tango’ celery added to mixed greens. And don’t forget the basil!
But you’ve noticed how basil has struggled the past few years despite all the suggestions offered by the garden center. It just doesn’t look quite right, which prompts the question,
“What Is Wrong With My Basil?”
Gardeners throughout the world are having issues with basil. From Anchorage to Adelaide, readers at The Farm In My Yard clearly have problems with this herb. And it used to be so easy to grow! Now their leaves develop black spots every summer, and they’re yellow between the veins. This is not appetizing at all.
Does that sound familiar?
Well, join the club! For over a decade, we’ve been dealing with spotty ugly basil, infected by that awful disease known as basil downy mildew. This water mold has been seen in more than 44 of these United States, and in just about every country where this herb is grown. Once the disease has reached your plants, you might think it’s all over.
But it isn’t! By managing it differently than you normally do, you can have beautiful basil once again. I’ve successfully grown it in pots every year since the disease was first identified in the United States. The plants grown in the garden, however, almost always have succumbed to BDM. But there’s more to it than just growing them in pots, as you’ll read later.
You need not worry that Peronospora belbahrii will infect other plants in your garden. BDM targets only basil.
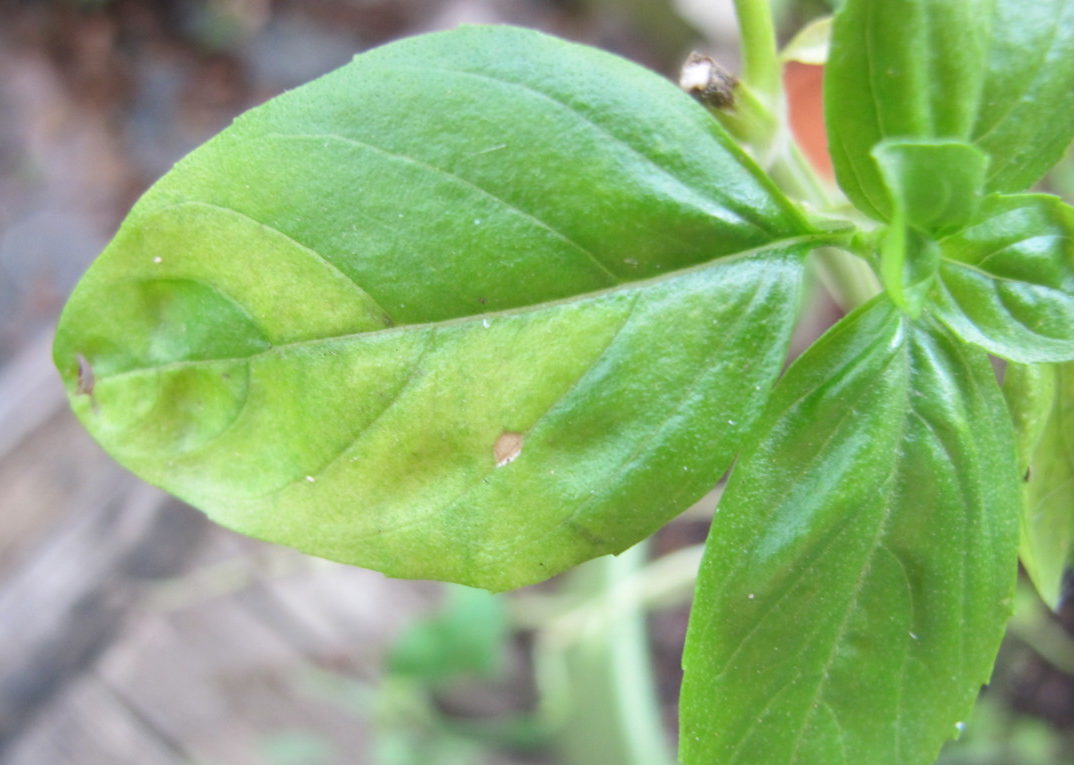
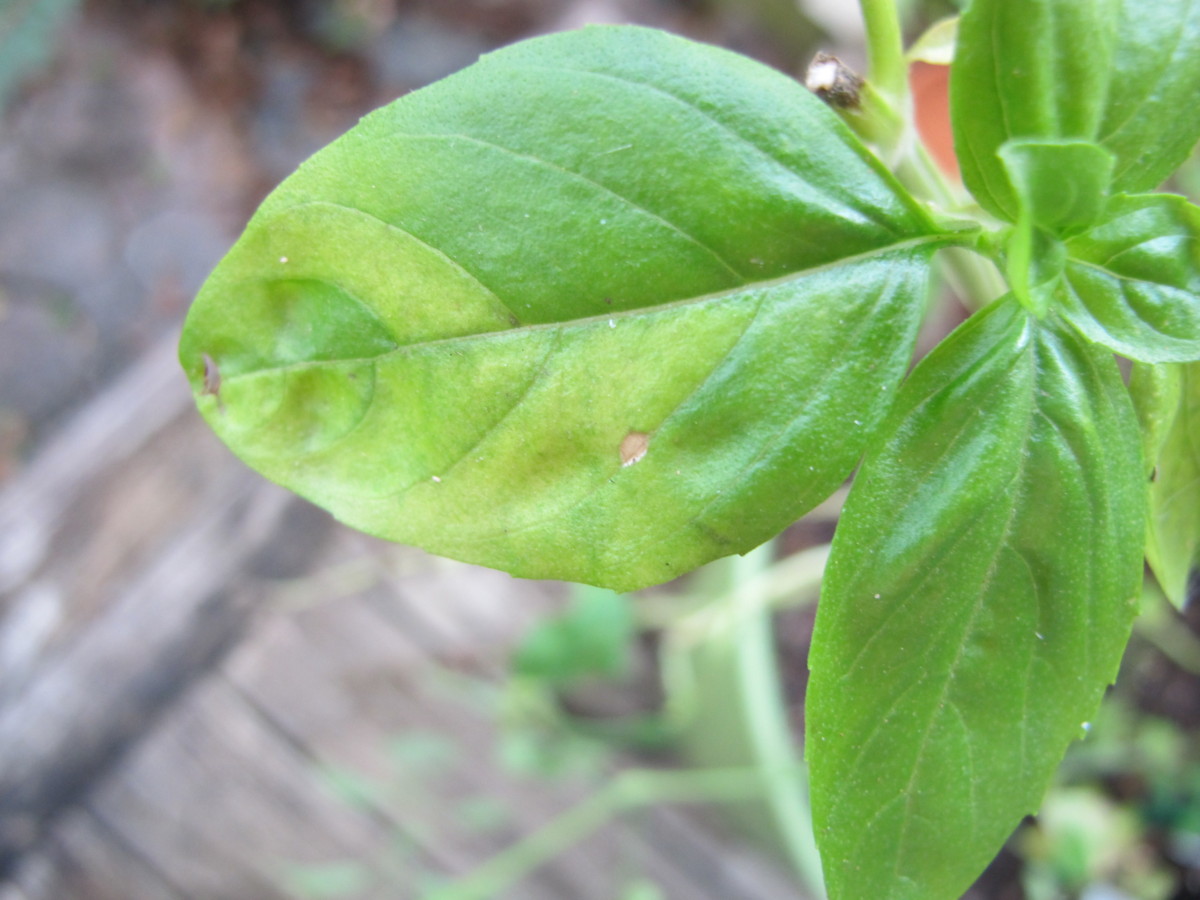
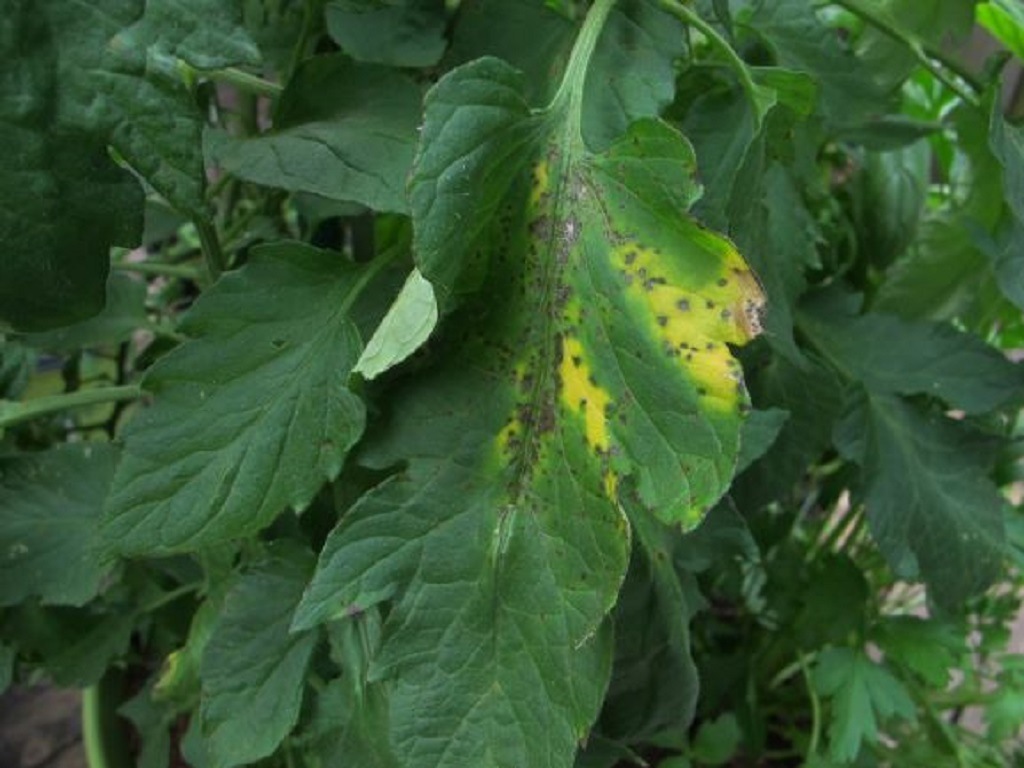
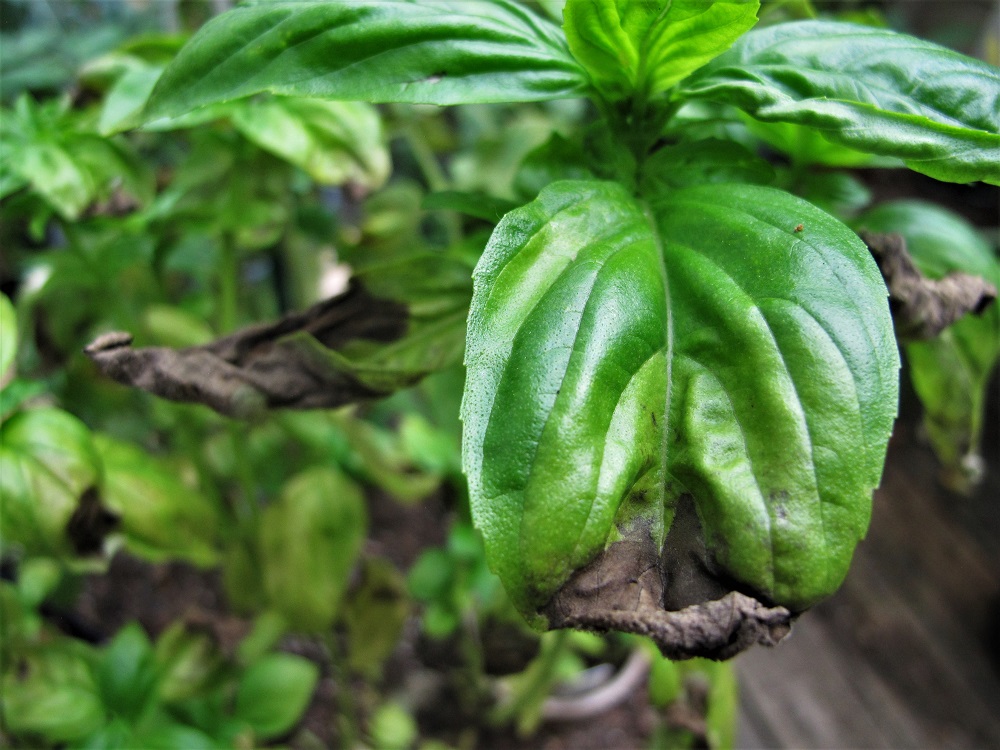
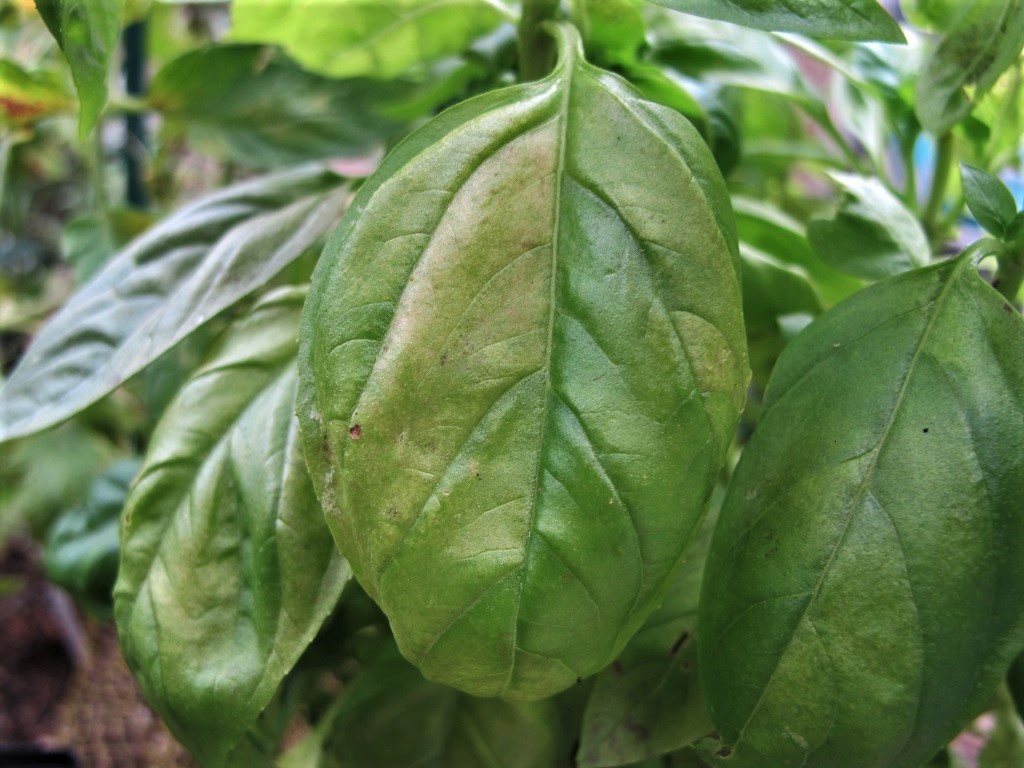
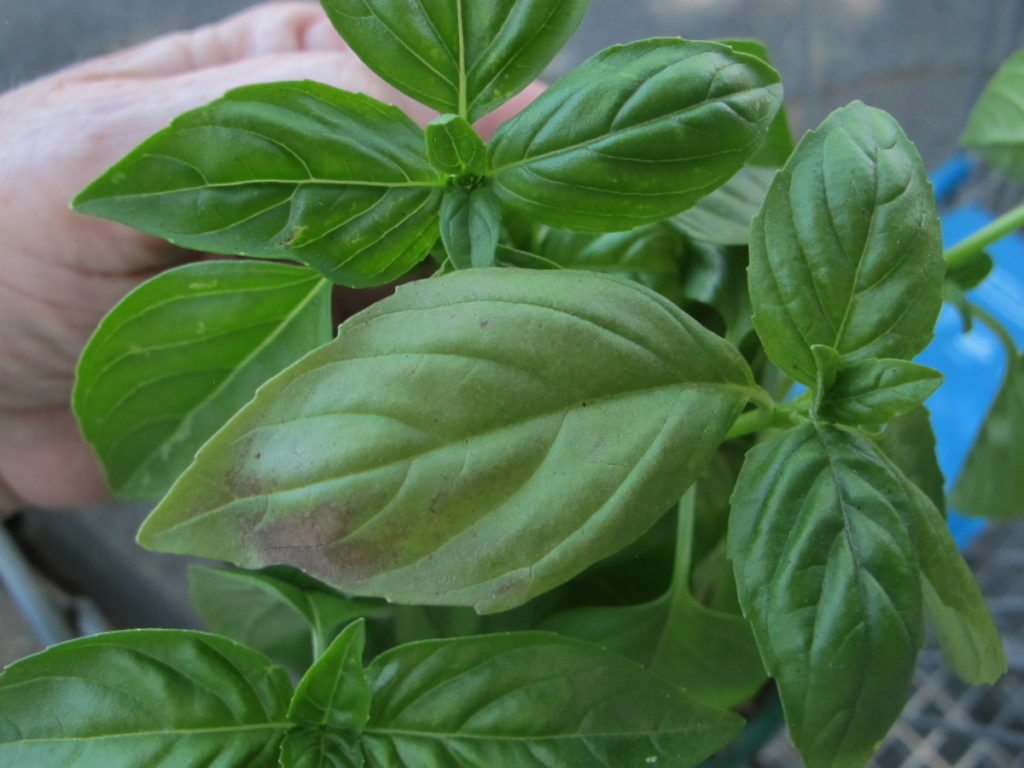
Yellow areas between the veins.
How To Recognize Basil Downy Mildew
As you can see in the photo, above, formerly healthy green leaves developed yellow patches bordered by the main veins. After a stretch of high humidity or rain, the symptoms became readily apparent. The plant looked fine one day, and the next morning it looked like this!
The condition worsened, as it infected more leaves and more stems. The leaves became yellow overall, and black spots showed up. Within a week, the plant was worthless. It had been growing in a large pot with a tomato, so I cut the basil at soil level and threw it in the trash.
We’ve had a very rainy spring and summer so far (2020), and this plant started showing signs of distress by mid June. I picked the good green tips, and kept them indoors in a glass of water until they went into tomato-basil salads.
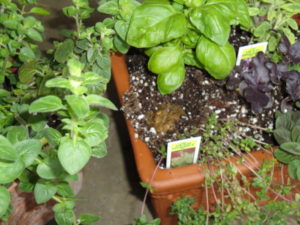
The local grocery store had full sweet basil in small pots, so I bought one. The first thing to do is to discard the clear plastic wrap around the plant. Why? Because humidity causes the problem in the first place!
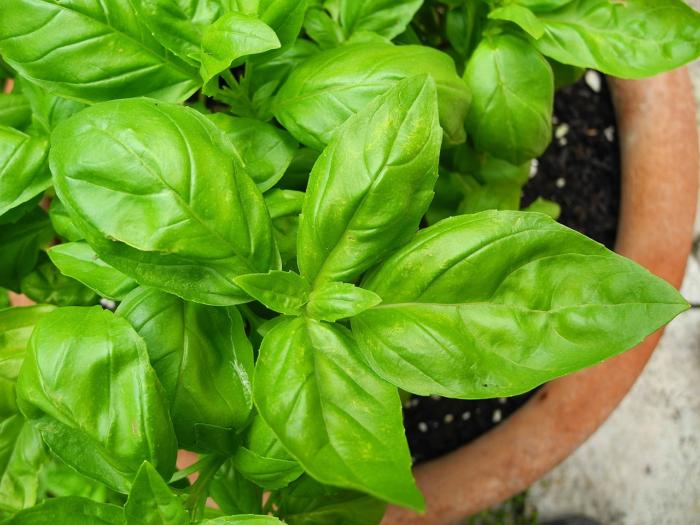
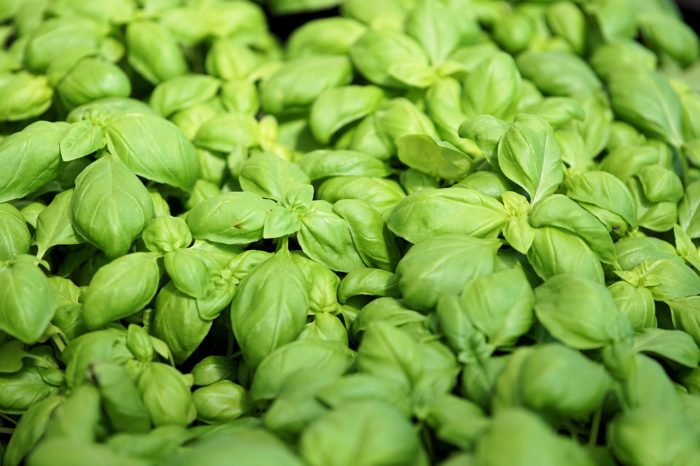
This is a pot of healthy sweet basil.
How BDM Starts
Microscopic BDM spores on the leaves need relative humidity above 80% or 85% for only a few hours in order to germinate. Local weather reports will indicate the relative humidity, and you might be surprised by how high that number is at dawn, even during “nice” weather.
Although you might not have had rain or high humidity during the daytime, your basil can still become infected. Here’s how:
As the temperature decreases through the night, the relative humidity rises. It’s usually around dawn, the coolest hours, that the relative humidity reaches its highest reading. With BDM spores on a susceptible variety, 2 or 3 hours of high humidity will get the disease growing. So, even during comfortable daytime weather, the infection gets its start quietly, hours before the alarm clock goes off.
Most years, we can grow basil successfully for a few months before the humidity increases. But over the past few years, BDM has struck earlier in the growing season.
If the summer is hot—in the mid 90’s and above—and the nights don’t cool off very much, the relative humidity won’t rise to the critical 80-85% level required for germination. Unless there’s rain.
Gardeners living where the humidity is always low probably won’t have problems with BDM. But one brief rainstorm could be enough to initiate the disease, if spores are present, even in a normally dry region. If the weather dries sufficiently, though, the disease will subside. Pick off and discard infected leaves, and normal growth should resume.
Wind carries the spores from infected southern-grown plants to northern zones (northern hemisphere) each year. Plants that are shipped to garden centers around the country, infected seeds, and overwintered infected plants are potential sources of basil downy mildew. But the spores do not survive cold winters, and the disease needs a living host.
At Dawn, The First Day
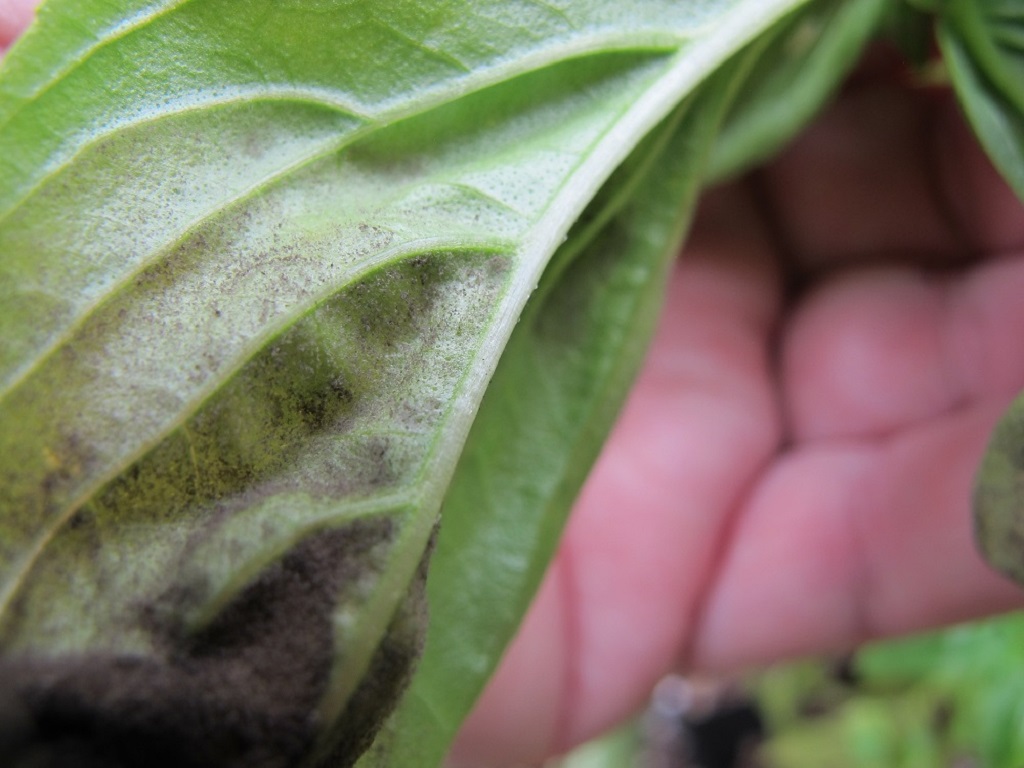
Early symptom–fuzzy gray layer on reverse.
Once the spores germinate, they grow into a gray fuzzy film on the leaf’s reverse. You have to be an early riser to catch this stage of the disease. You’ll notice a change in the leaf’s appearance, showing light green to yellow areas between the main veins.
Later, Or The Next Day
The mold progresses to the next stage, when tiny black dots become visible on the back of the leaf. Those dots are the sporangia that have burst open, releasing spores to infect the next basil that comes along. The leaf becomes more discolored, wrinkled, and spotted. The sporangia can be so thick that most of the leaf reverse is covered in black.
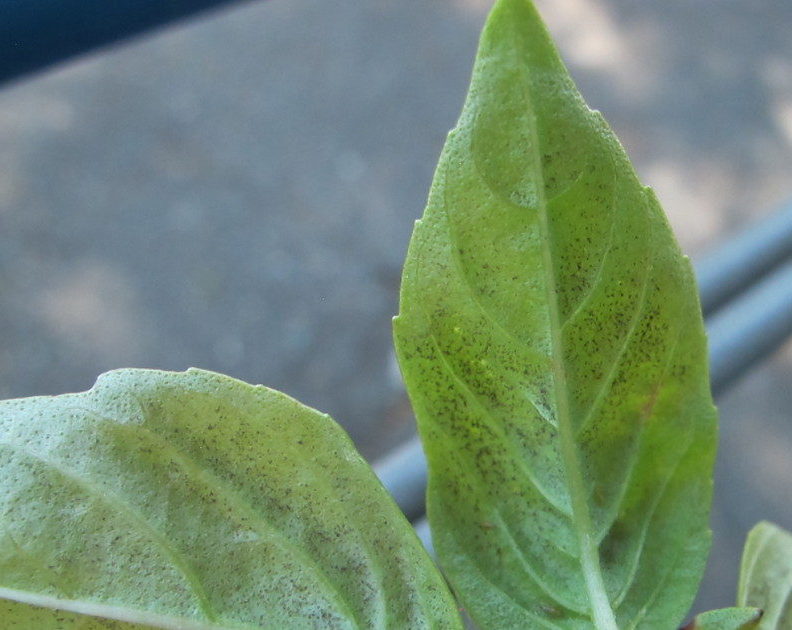
Black sporangia on reverse.
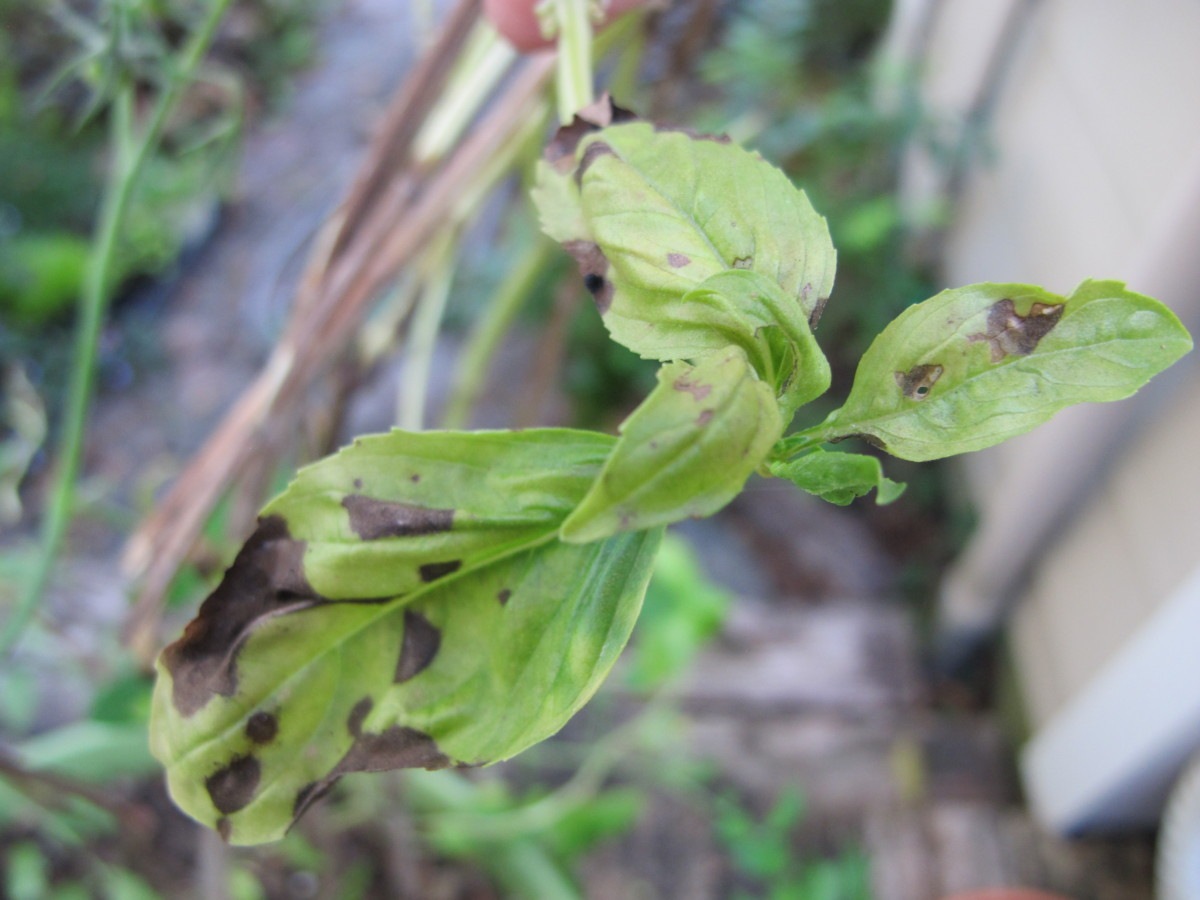
And Then
Yellowing between the veins continues, and leaves develop black edges or spots. Although the infected leaves won’t harm you if eaten (unless there’s a true allergy to the mold), they will not have that rich summer basil flavor and aroma you longed for. It’s time to look for new, healthy young plants. Or start some seeds!
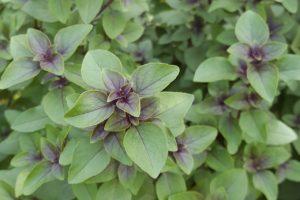
Any basil without good color, either light or dark green, or purple, tastes awful. Whether it’s caused by disease, poor growing conditions, or lack of nitrogen, pale leaves will disappoint your taste buds. Some varieties, notably the lettuce-leaf basils, normally have light green leaves (photo at top).
-

- Pick all the good leaves.
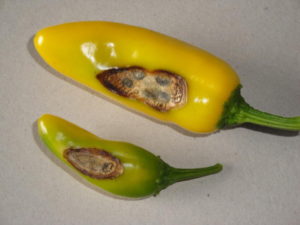
-
- Advanced BDM.
Three Suggestions To Prevent Basil Downy Mildew
At the end of this post, I’ll include links to other articles at The Farm In My Yard with information on basil downy mildew. They have all the details you’ll need to grow beautiful basil. And there are methods for growing this herb outdoors in the garden in ways which might decrease the likelihood of BDM.
For disease-free basil, consider these 3 tips:
1. Grow Basil Under Artificial Lights
The Structure
Many gardeners don’t have sunny windows or any garden space to grow basil. You can grow a decent crop, however, under artificial lights, such as fluorescent tubes or LED’s. The more expensive LED’s last longer and consume less energy.
You can buy light cart kits to assemble at home, but they will cost you dearly. Instead, gather a few materials from the hardware store, including the light fixtures, and construct your own light table. Another option would make use of an empty bookshelf. Perhaps the basement or a spare bedroom could become indoor growing space for houseplants and edibles. I recommend a small fan to circulate the air.
A 4′ long plug-in fixture with 2 tubes and a reflector on top will suffice. Smaller units emit much less light and might not provide enough light for herbs. So, for plants that normally require lots of sunlight, try to find space for the larger fixture.
Two or three fixtures lined up about 2′ apart significantly increase the light levels, so you can grow other edibles or houseplants with the basil. Maybe you’d like to add parsley and cilantro to your indoor garden. Lots of possibilities!
For 35 years, I used plant tables originally built by our contractor friend, Wally. I broke them down and reassembled them each time we moved. Constructed from 2″ x 4″ framing, carriage bolts, screws, hooks, small chains, 4′ light fixtures, and 4′ x 8′ sheets of exterior grade plywood, each table was a marvel of functional simplicity. Matte white surfaces reflect light back to the plants, so consider painting the structure, including the plywood, and the room white or off-white.
Be careful using electricity and water in close proximity. If you have any doubts, ask a licensed electrical contractor for advice. But it’s not difficult to set up a simple table with lights. Double the fun and add fixtures under the table, where it’s a bit cooler. Lettuce and mesclun should do well there.
Growing Basil
Keep the plants very close to the tubes—within a couple of inches—and leave the lights on for 14 to 16 hours each day. Yes, this is more hours of light than they’d receive outdoors, but with lower photosynthetic photon flux density (“weaker” light) indoors, plants use this light more efficiently over a longer period of time, resulting in increased growth. Your indoor basil probably will look better than outdoor basil.
Basil likes temperatures from the high 60’s and into the 80’s F, but prefers to be above 70°. You might be able to grow it indoors all year. Keep the soil slightly moist, but not wet.
Pinch back the stems so the basil won’t grow too tall. This prevents lower leaves from being shaded, which will cause yellowing. Cutting back the plants also forces branching, supplying more tender growth for the kitchen. Remember to fertilize every 2 to 3 weeks to keep the foliage a rich green color; pale foliage tastes terrible.
Start seeds or buy young transplants every few months. Basil is an annual, and once in flower mode, it often starts deteriorating. Cutting off the flower buds and a few nodes (pairs of leaves) under them, however, will delay its demise. Place potted basil plants on inverted pots, if needed, to raise young plants closer to the lights.
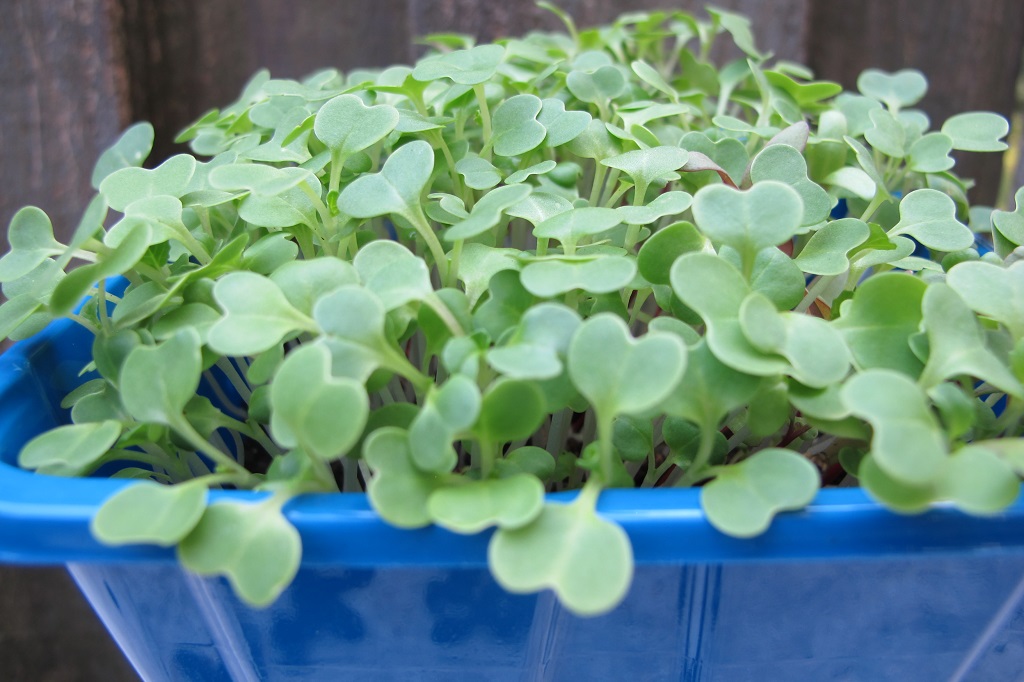
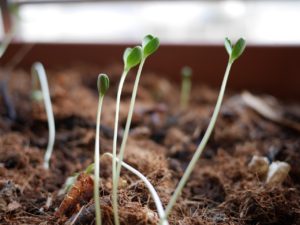
Microgreens, primarily broccoli.
Growing microgreens in shallow trays is another worthwhile project for your light table. Tender basil seedlings, among many other edible plants grown for microgreens (photo, above), can be harvested 2 to 4 weeks after germination.
Advantages:
- Basil is within reach of your kitchen.
- You can grow it all year long.
- No insects, with careful monitoring. No pesticides.
- Pick only what you need, without any of it deteriorating in one of those plastic clamshell containers.
- Basil growing in conditioned air (heat or AC) indoors has low relative humidity, so downy mildew will never be a concern. Don’t mist the plants.
- Growing plants indoors keeps you connected to nature, which has proven psychological benefits.
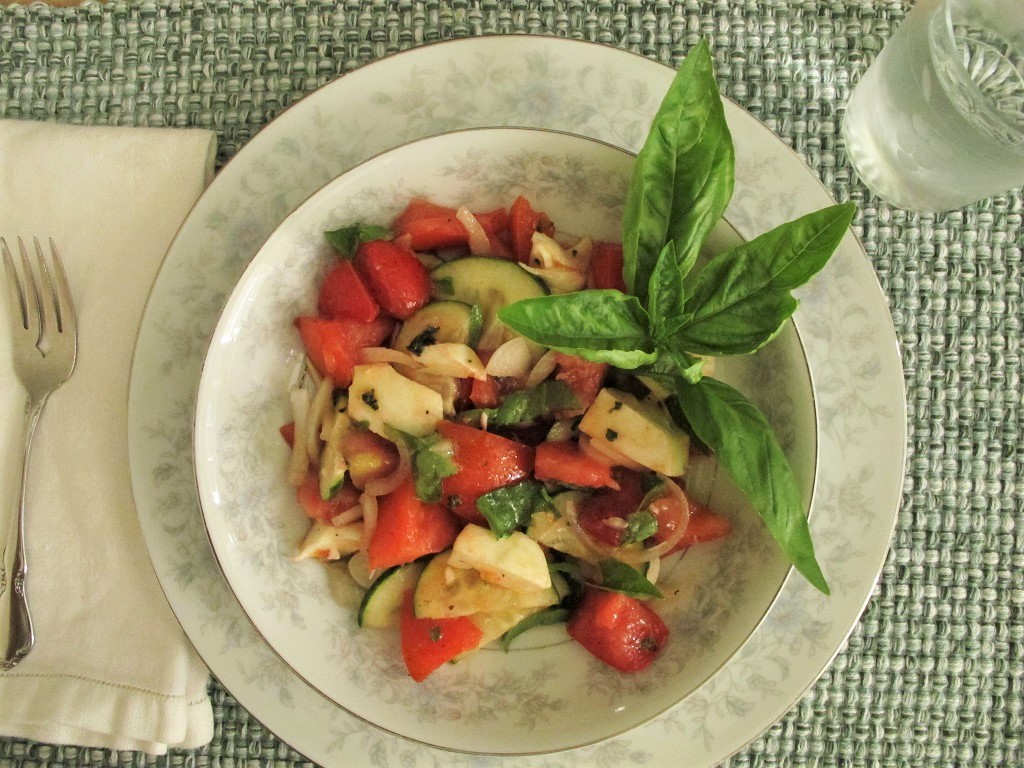
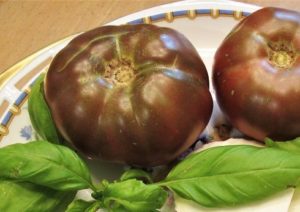
Tomato-basil salad.
2. Move Potted Basil Indoors In the Evening
Now that you know how BDM becomes established in your plants, keeping basil in pots is a good solution. Sure, you can also grow it in the summer garden. But having at least one potted basil is a safety net if BDM ravages your garden.
Once rainy weather settles into your neighborhood, or if you’ve noticed BDM in gardens around town, it’s time to pull the pots indoors for the night. Humidity indoors will never reach the levels that exist in the garden outside. Basil I’ve kept indoors has never gotten BDM.
Don’t forget to place the pots back outside in the morning, if it’s warm enough. Basil should receive at least 6 hours of direct sun outdoors. If rainy weather is in the forecast, keep potted basil plants in a bright spot or under lights indoors for the day. Avoid watering them indoors unless it’s absolutely necessary. Plants in 7″ or 8″ pots are easier to move around than basil in huge, heavy ceramic pots. So, consider ahead of time which pots you’re going to use.
A collection of several pots will be easier to wheel back and forth on a cart. How convenient is that?! Treat yourself to one of those carts with a recessed surface, which doubles as a saucer. But don’t let water collect beneath the pots. This will cut off air circulation in the root ball, and could rot the roots. Out to the deck for sunshine, indoors at night for disease-free basil!
3. Use Varieties That Are Resistant to Basil Downy Mildew
Recent breakthroughs in basil breeding show promise for disease-free and pesticide-free growing. Rutgers University developed several new BDM resistant varieties of sweet basil. Look for ‘Rutgers Obsession’, ‘Rutgers Devotion’, ‘Rutgers Thunderstruck’, and ‘Rutgers Passion’. When I ordered seeds this spring, my regular supplier had already sold out.
In Israel, Genesis Seeds and Bar-Ilan University bred the variety called ‘Prospera’. It is available through the commercial arm of the partnership, BIRAD Research and Development Company, Ltd. Your favorite seed house might stock it.
Proven Winners is offering ‘Amazel’. This is a vegetatively propagated variety, and is sterile. It will be sold only as plants since it doesn’t set seed.
In a Maryland trial testing all of these BDM resistant varieties, ‘Prospera’ and ‘Amazel’ did not show any symptoms. Some of the Rutgers plants showed very mild symptoms in autumn, probably because other stressors made them more vulnerable at that time.
I look forward to trying some of these new varieties next year. Check with these suppliers: Johnny’s Seeds, High Mowing Seeds, Harris Seeds, and Proven Winners. As far as I know, only sweet basil is available as disease resistant varieties. I’m not aware of disease resistant lemon and Thai basils, two more of my favorites.
No, none of these new varieties are genetically modified organisms (GMO’s).
(***Update***: I’m pleased to report that the ‘Rutgers Obsession’ basil growing in front of a tomato plant in a 20″ pot outdoors has not shown one speck of basil downy mildew. We’ve had the weather to put it to the test, though, with high humidity and long periods of rainy weather. 9/2/2021)
Concluding
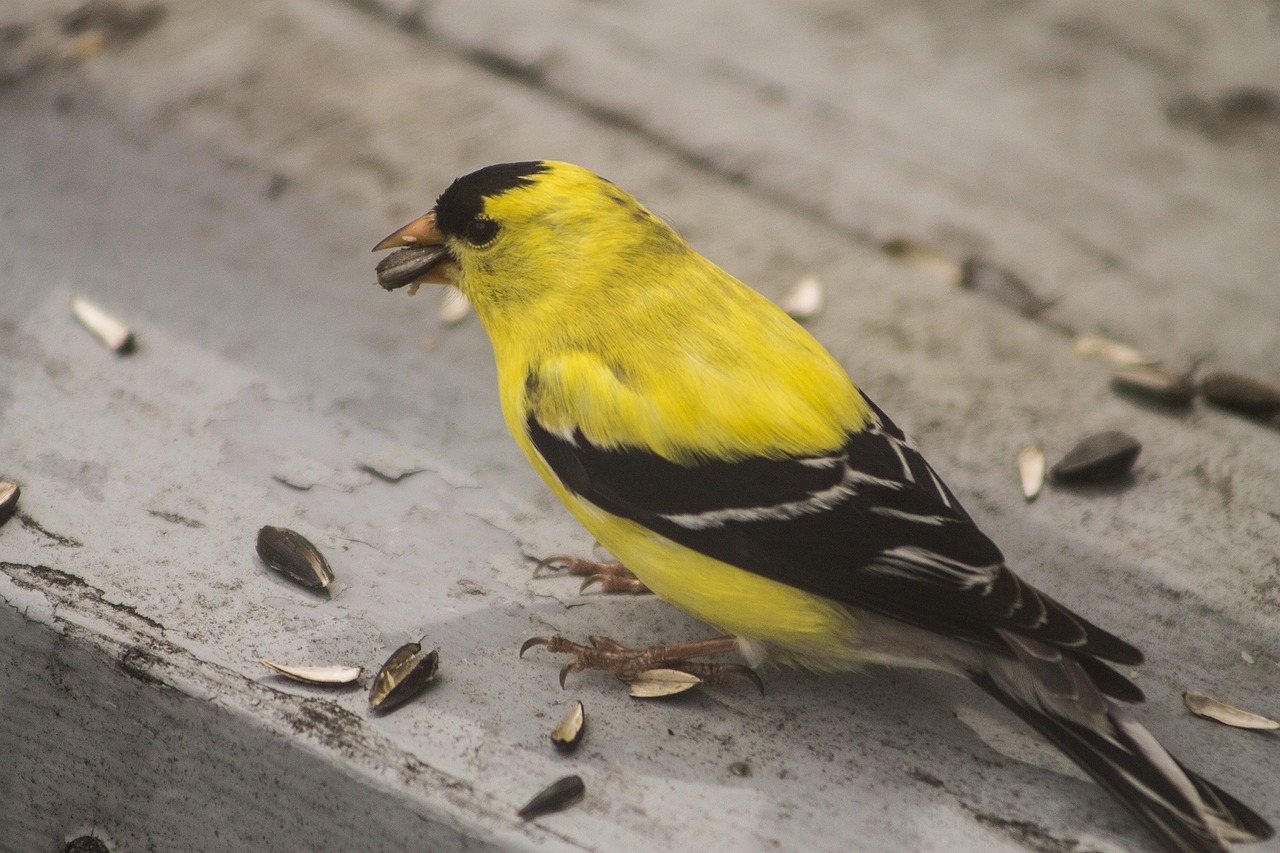
Male American goldfinch.
At the end of the season, as any surviving basil goes to seed, consider leaving it in the garden. The cheery little American goldfinches will appreciate this windfall.
I hope you’re encouraged by these options for growing BDM-free sweet basil. It takes a little effort, yes, but I can’t imagine a season without this fresh herb. I strongly recommend growing the new BDM-resistant varieties.
Good luck, and happy gardening!
Here are two other posts about basil (Ocimum basilicum), with detailed growing instructions:
Growing Basil In Pots: How and Why
Basil Downy Mildew: Symptoms and Solutions
Symptoms of basil downy mildew.

 …Yes we can! Growing basil in pots is the answer! Take the pots indoors in rainy weather to prevent spores from germinating.