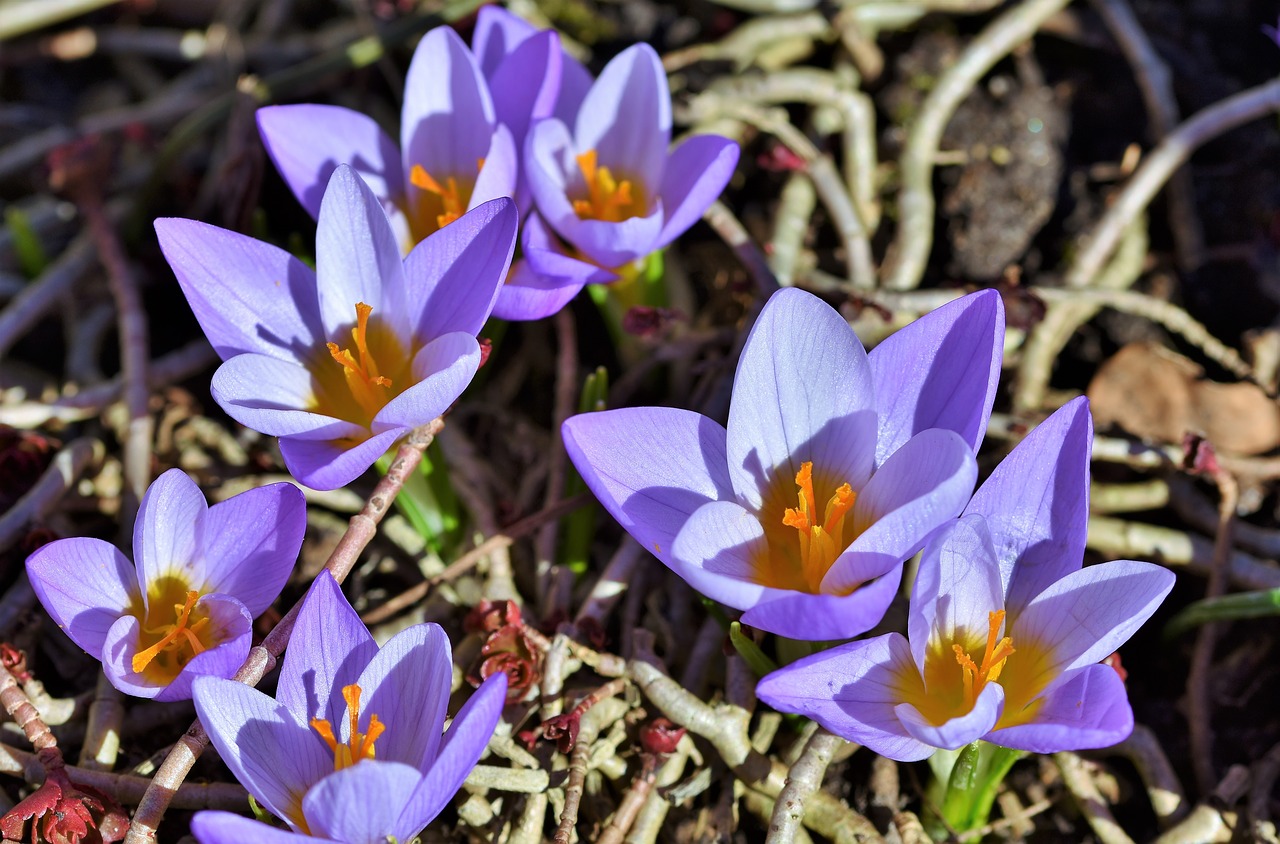
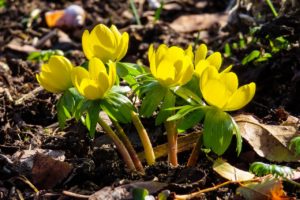
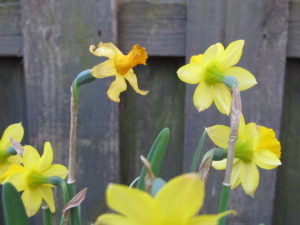
How Do Your Daffodils Look This Year?
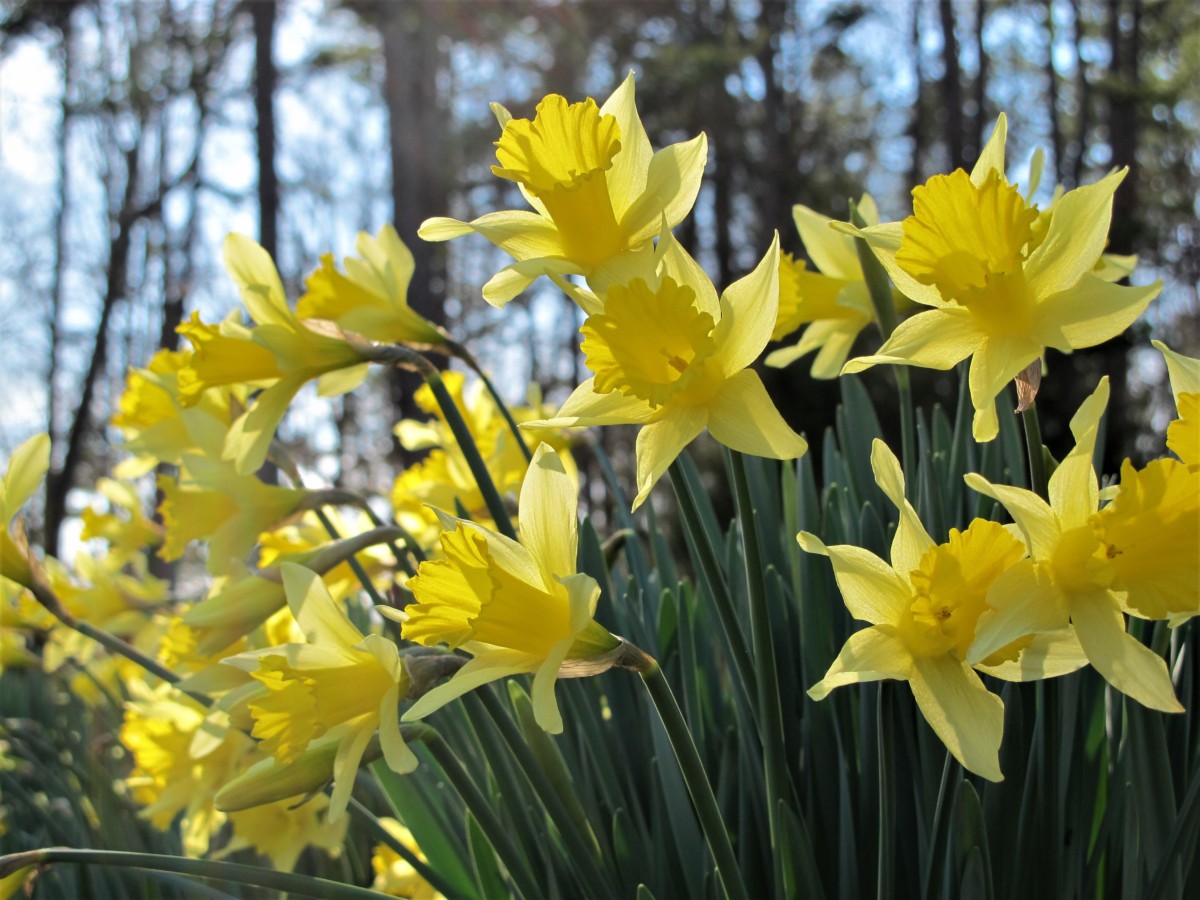
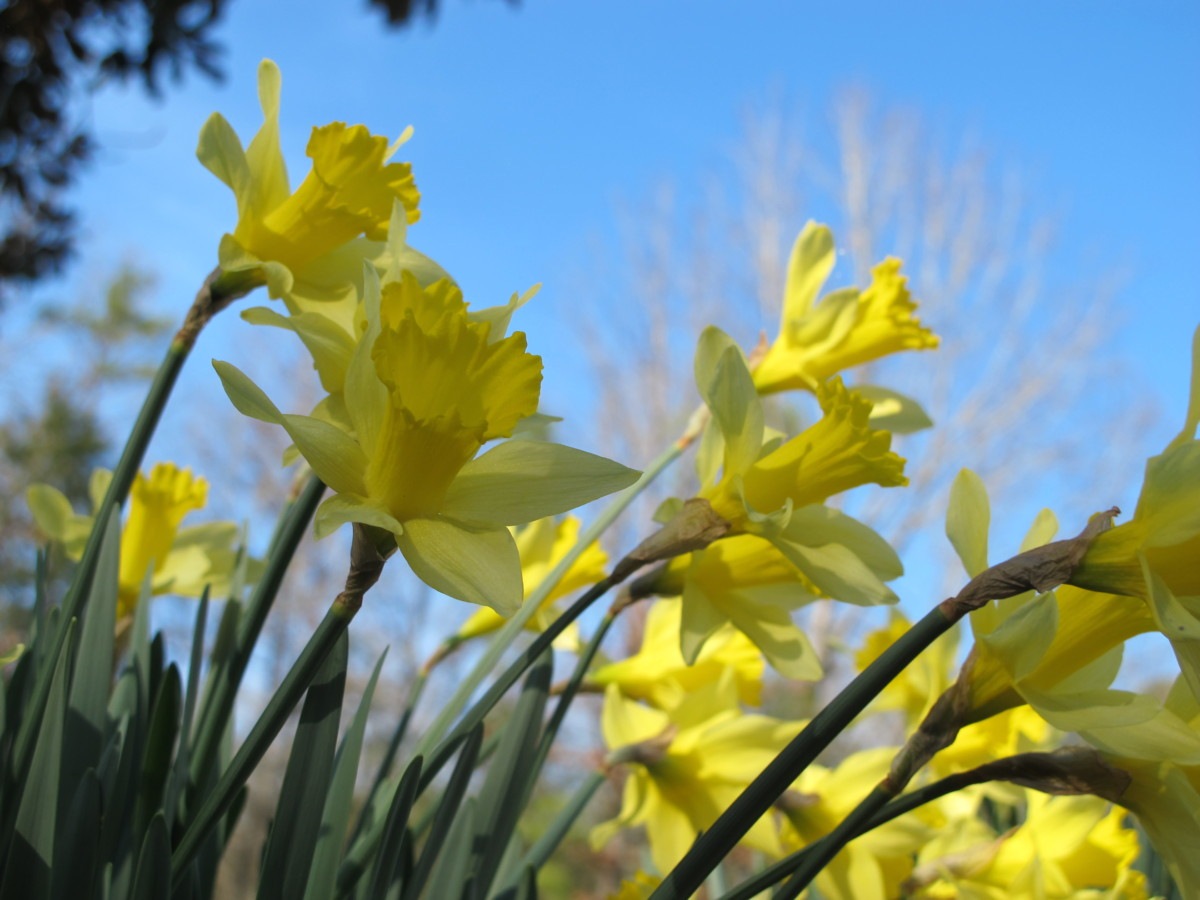
Daffodils in February at Cane Creek Park, Waxhaw NC.
For years, your daffodil bulbs bloomed to great satisfaction. From late winter to mid-spring, there was never a shortage of cut flowers to bring indoors. And plenty remained in the garden to admire from indoors or for neighbors to enjoy.
But this year, they were so disappointing! Masses of slim green leaves look healthy enough, but there were only a few flowers! Come to think of it, there weren’t many last year, either. They should be in their prime right now.
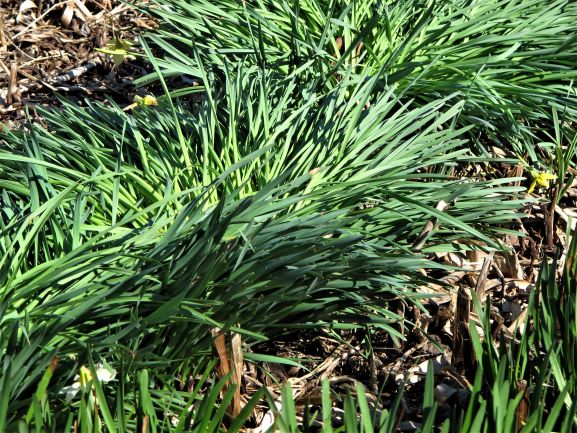
Clumps of daffodils with all leaves, very few flowers.
Why does this happen? You’ve been using the bulb fertilizer recommended by the garden center, and, heaven knows, they never went dry! They looked great a few years ago. Clearly, there’s a problem with the daffodils.
This is called daffodil “blindness”, or lack of flowers. A number of factors contribute to this condition.
“Should I Remove Them?”
Not yet. Just let them soak up the sun’s energy, undisturbed, for as long as the leaves remain green. Don’t cut, knot, braid, or mulch over the leaves. Keep them exposed to direct sunlight. Remove any seedpods, if you see them, to conserve energy and resources. All energy should be directed toward plumping up the bulbs.
In this article, you’ll find tips for restoring your daffodil gardens back to their spectacular spring show. I’m including information on conditions for growing daffodil bulbs successfully for many years into the future. But it’s too early to dig them up right now. Once the leaves have turned yellow or brown, we can begin to dig, divide, and re-set the bulbs.
Bulbs that have been forced in a pot should be planted into the garden after the foliage yellows. While the leaves are green and photosynthesizing, continue watering and provide sunlight. Lasagna pots, crowded with layers of bulbs, rarely bloom well, if at all, a second time. These bulbs might need a year or two in the garden gathering strength for more blooms in the future.
Hardiness
There are 13 divisions of Narcissus, grouped according to their flower structure. Thanks to the efforts of daffodil hybridizers, consumers can choose from among 32,000 registered daffodil varieties! Also, according to the American Daffodil Society, there are between 40 and 200 daffodil species.
In general, daffodils grow in USDA plant hardiness zones 3 to 11, although some prefer the cooler end, and others, the warmer zones. Before purchasing your bulbs, find out which zone you live in and which varieties will grow there.
‘Camelot’ and ‘Flower Record’, for example, are better suited to zones 3 to 7, struggling in a warm zone 7 season and failing south of it. The paperwhites Narcissus tazetta (N. papyraceus) ‘Avalanche’ and ‘Minnow’, on the other hand, do better in the warmer zones 5 or 6 to 9.
For Now, Fertilize the Daffodil Bulbs
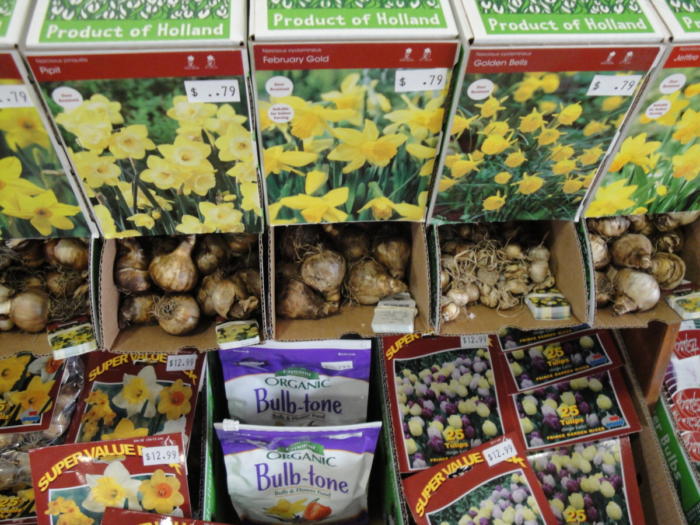 Apply a complete bulb fertilizer to your daffodils and other spring-flowering bulbs. It should have low levels of nitrogen (N), but more phosphorus (P) and potassium (K) content. Use a low analysis product, such as 5-10-10 (N-P-K). 10-10-10 also is acceptable.
As plants photosynthesize, they make their own food and store it in the bulbs. This nourishes the embryo, which is dormant in summer, and prepares the plant for next year’s growth. The more carbohydrates stored in the bulbs, the more flowers for next spring, as long as other conditions are favorable.
Fertilizer applied as the bulbs begin to emerge from the ground could cause the robust foliage and heavy flower heads to flop over. I normally fertilize the bulbs later, around the time of peak bloom, if they need it. Non-flowering bulbs can benefit from a light fertilizing before dividing the clumps. Because the foliage will stay green for several more weeks, the bulbs will have time to utilize the fertilizer.
A soil test conducted by your local agricultural extension service will indicate whether any nutrients should be added.
Bone Meal
For years, many gardeners have relied on bone meal to fertilize their bulbs. Bone meal contains a small amount of nitrogen (3-4%), more phosphorus (12-14%), no potassium, and some micronutrients (Ca, Fe). Mixed products available for bulbs might include bone meal, but also have additional nutrients to make a complete formulation.
The problem with exclusively using bone meal is that it takes longer than other products to break down and become available to the roots. Furthermore, phosphorus, the primary ingredient, moves very slowly through the soil profile. For that reason, bone meal added to the root zone—before planting the bulbs—might be more useful than applying it to the surface of the ground. Avoid direct contact, though, between the bulbs and the fertilizer. Still, it’s not likely to provide nutrients until months or a full season later, after microbes have begun decomposing it.
Bone meal is a slaughterhouse by-product, after sterilizing and grinding cow bones. Some animals are attracted to the scent, so burying it might prevent it from being consumed.
Because daffodils and other bulbs aren’t very demanding, giving them anything should result in good growth. Soil pH should be somewhere between 6.0 and just below 7.0 for nutrient availability. If a soil test indicates adequate phosphorus, I wouldn’t use bone meal. An excess of P will interfere with the uptake of other nutrients.
Food or Fertilizer?
Notice the distinction between the terms “fertilizer” and “food”. Fertilizer is the product we apply to plants. There are many kinds of fertilizers, including soluble and granular types, and compost. They provide various amounts of nutrients to help plants function at an optimum level.
Food is a product of photosynthesis; plants make their own food inside the foliage. This substance is stored as carbohydrates in bulbs, stems, and roots, depending on the species.
Easy Does It!
Daffodils and other bulbs we plant in our gardens don’t need much in the way of nutrients, so never overfertilize. Perhaps you’ve seen clusters of yellow or white daffodils randomly appearing along roadsides or in the middle of a field. Heirloom varieties of Narcissus bulbs are sometimes the only surviving clues that an old homestead once stood nearby. Daffodil bulbs can live for decades!
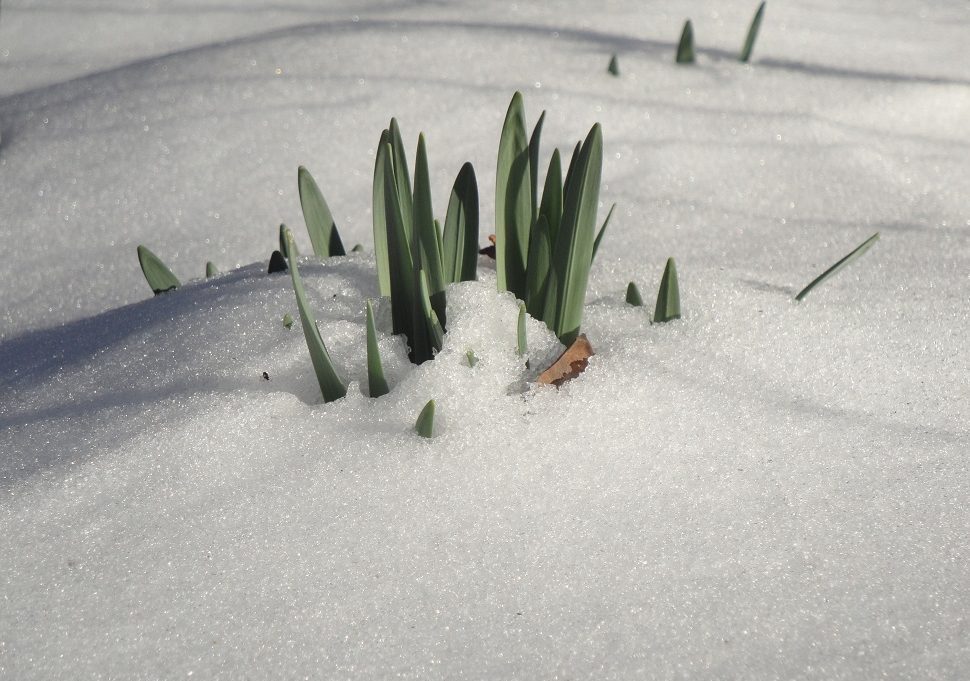
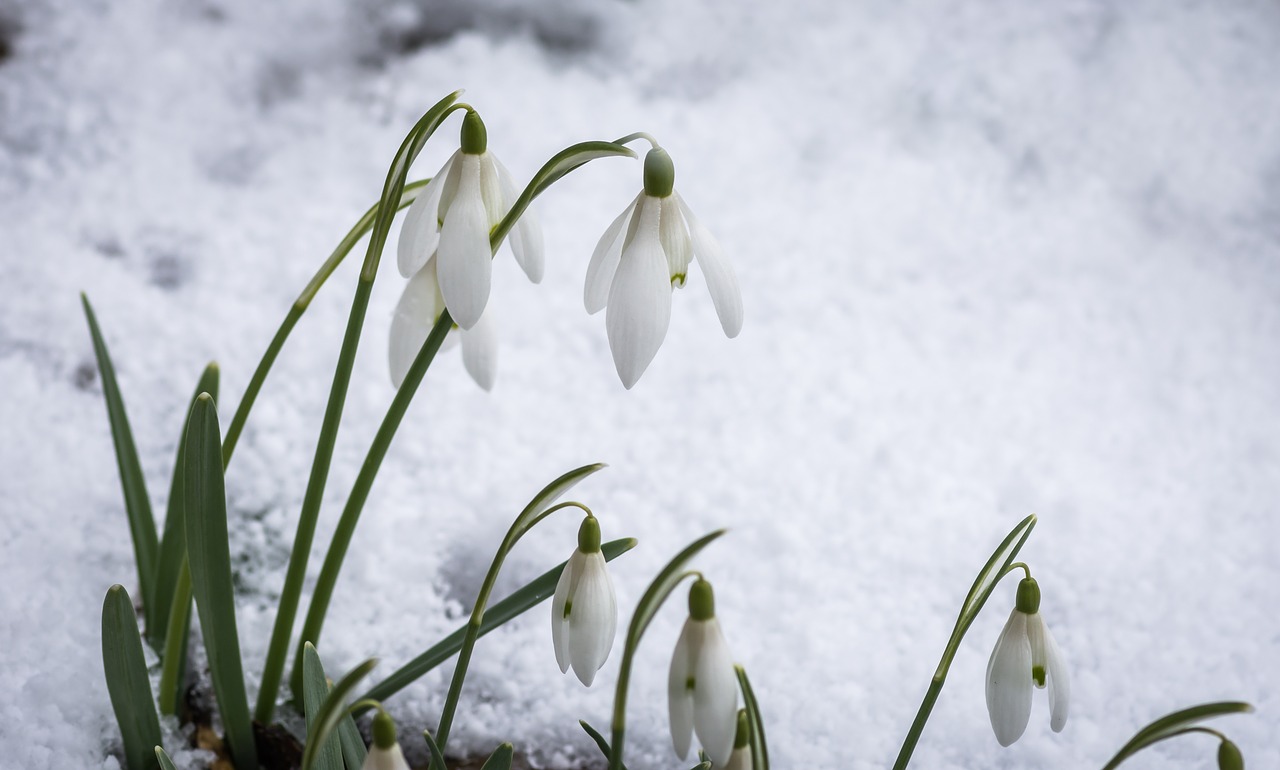
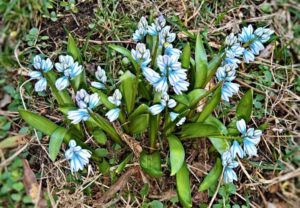
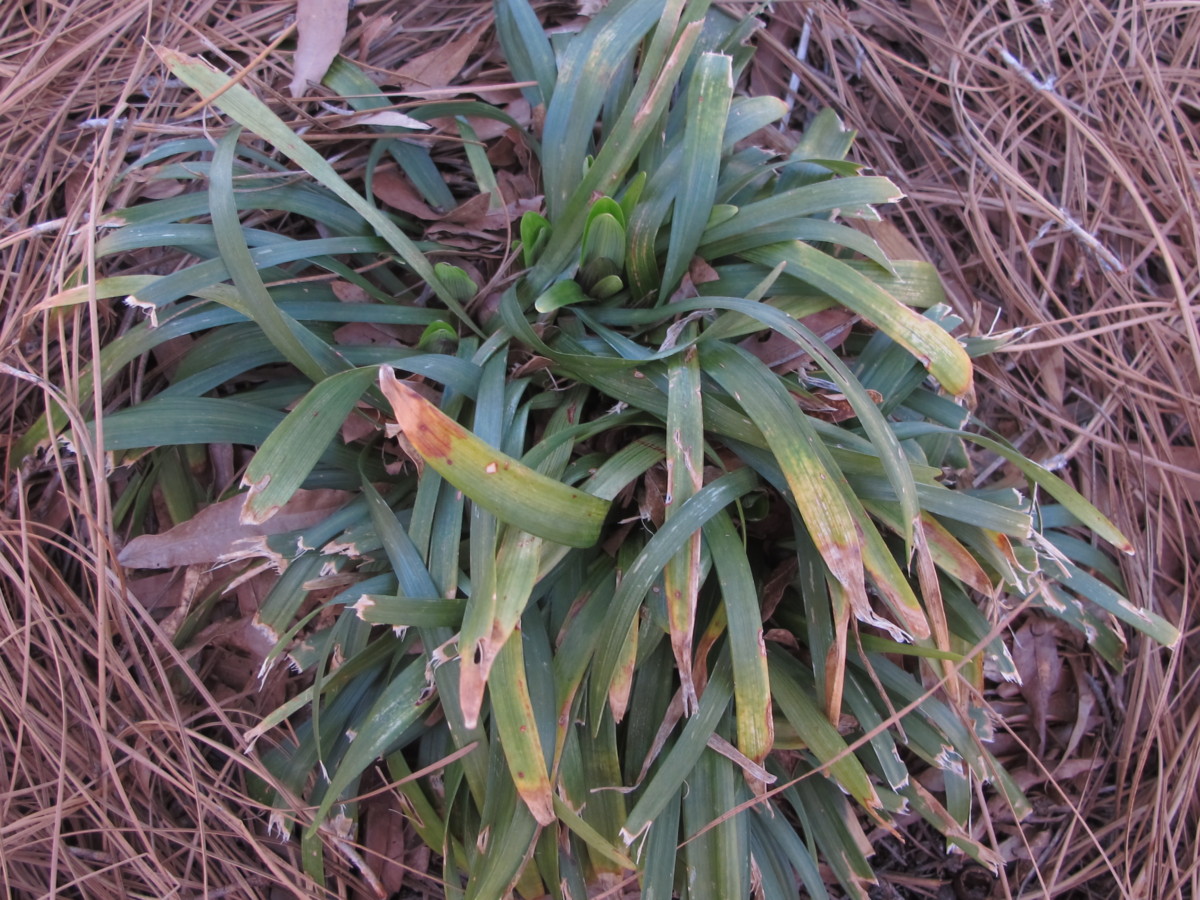
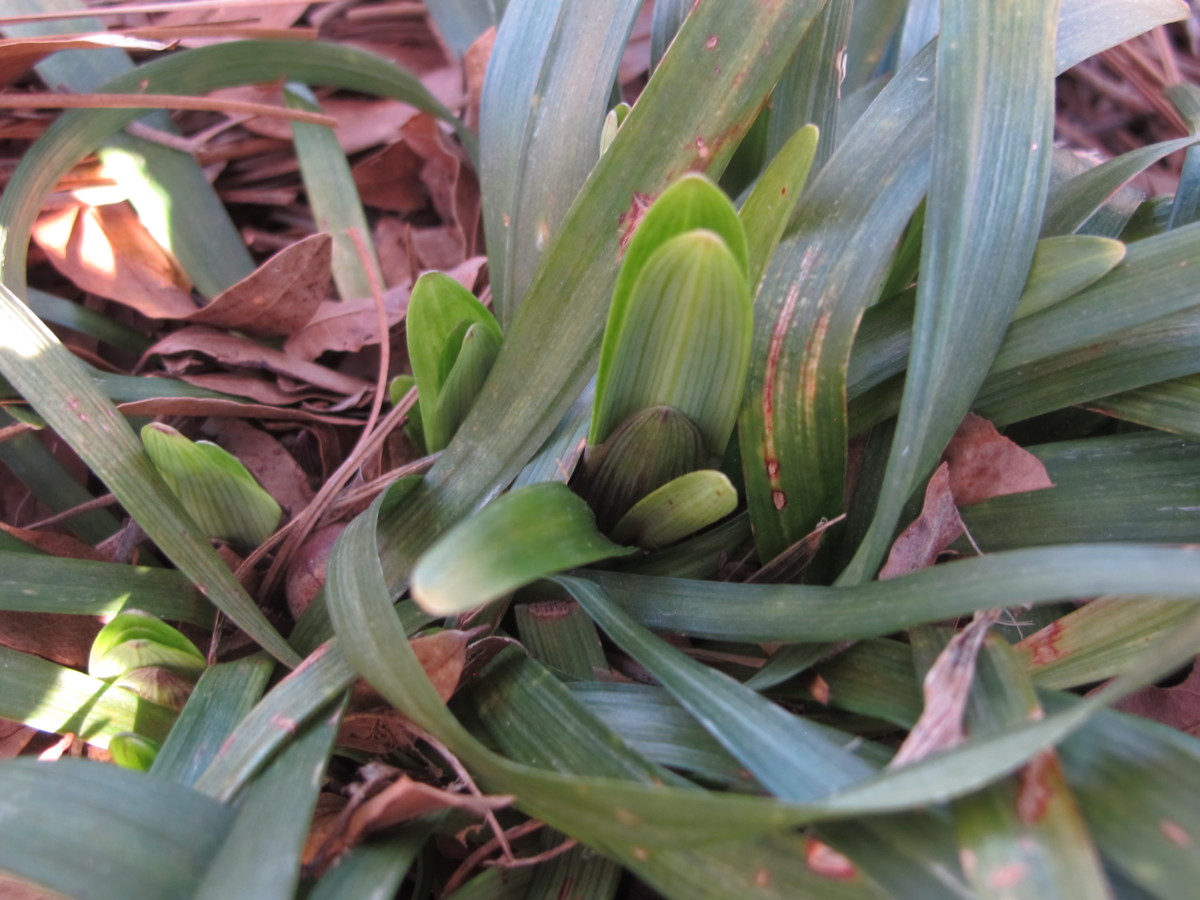
***Update***: At the south edge of the woods at the new property, daffodils emerged under snow and after a tangle of growth had been cleared away (photos, above). Once the honeysuckle vines, brambles, and tree saplings had been removed, the daffodils grew thick and healthy, although there were few flowers. The soil there is rich with decomposed leaf litter. After the foliage begins to yellow, I’ll divide and transplant most of the bulbs. 3/20/2022
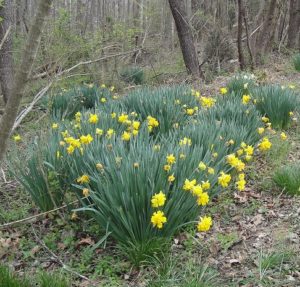
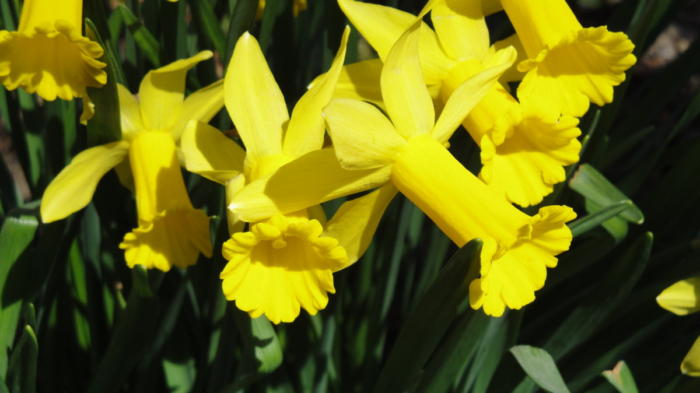
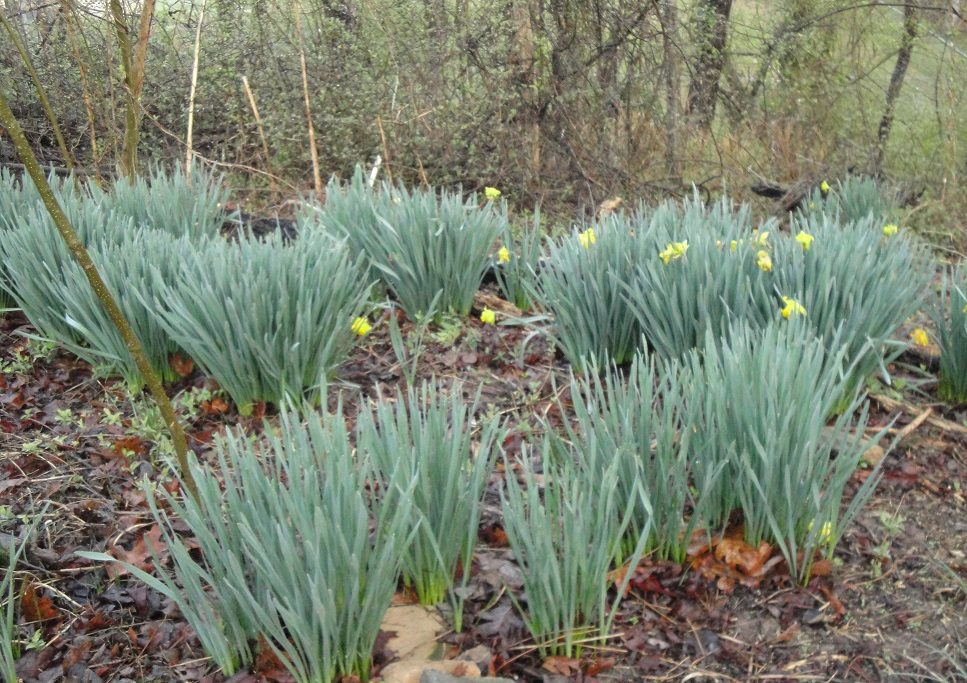
***Update***: Well, I never got around to dividing these bulbs. Starting in January 2023, abundant flowers grew on stronger plants (photo, above). And the flowers lasted 2 months! I don’t know the variety, but it’s an older one with fragrant double flowers. Because the flowers last such a long time, I’ll transplant several divisions to the garden on the far side of the driveway, visible from my office. 4/13/2023
“Then, why do those old abandoned daffodils look better than mine?”
Over time, year after year, fallen leaves and other organic debris have collected at the soil surface above the daffodil bulbs. Microorganisms decompose this material from spring through fall, while the soil is warmer. Nutrients from decomposition slowly filter down to the roots, and are absorbed as the roots emerge in late summer and autumn.
Those abandoned daffodil bulbs don’t need fertilizer from us, nor do they need a layer of mulch. Mother Nature is looking after them! Sometimes, less is more.
Growing our bulbs leaner could help. Pushing them to “grow better” is one reason for overabundance of foliage and lack of flowers. High nitrogen is particularly problematic. For spring-flowering bulbs in decent garden soil, the application rate recommended on the package of bulb fertilizer can be halved. Unless your garden soil is absolutely wretched, keep the fertilizer levels somewhat low.
If the garden soil is good enough to sustain annuals and perennials, it is more than adequate for daffodil bulbs. With occasional applications of fertilizer to garden plants through the growing season, the bulbs lying dormant in the soil below them will have plenty of nutrients when they begin to root out.
I fertilize lightly, sometimes, in autumn, as the bulbs root into cooling soil, and again when they’re in full leaf in spring. It just depends on how the garden has been managed. In many years, I don’t fertilize at all.
Bulbs planted in gardens under irrigation might be getting too much water, which can rot the bulbs. Daffodils don’t appreciate dry soil, but wet soil will kill the bulbs, and then nothing will sprout.
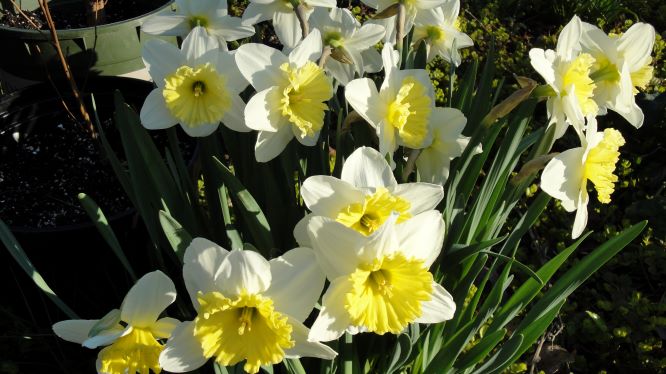
‘Mount Hood’ daffodils. As they age, they turn ivory white. Soil in the mulched garden was good, so I rarely fertilized them.
“Can I use compost?”
A moderate amount of compost top-dressed on the surface and watered into the soil makes a fine addition. Or scratch the compost into the surface of the ground. Covering the compost preserves the beneficial microbes, which will be destroyed by the sun. Because the bulbs are deeper, they won’t be damaged by light cultivation.
Nutrients in decomposing mulch also contribute to the health of the soil. Soil under slowly decaying shredded hardwood mulch is probably sufficient for daffodils and other spring-flowering bulbs. Earthworms consume partially decayed material, enriching it in their own special way. They then distribute the castings (earthworm excrement) throughout the garden soil, and aerate it as well.
Shredded hardwood mulch breaks down faster than pine products, but don’t pile on large amounts. That could cause manganese toxicity and raise the pH too high. It’s a good idea to use shredded hardwood for a few years, and then switch to pine for a few years.
Headings
Page 1: How Do Your Daffodils Look This Year?, “Should I Remove Them?” (Hardiness), and For Now, Fertilize the Bulbs (Bone Meal, Food or Fertilizer?, Easy Does It, “Then, why do those old abandoned daffodils look better than mine?”, “Can I use compost?”)
Page 2: Sunlight For Daffodil Bulbs, Daffodil Bulbs Under the Trees, Soil and Drainage (Soil Preparation, Dig In!), Divide and Multiply Daffodil Bulbs (The Process, “And How Deep Is That?”), Time To Plant Daffodil Bulbs (Planting in Autumn, Planting in Early Summer), Summary