Page 2
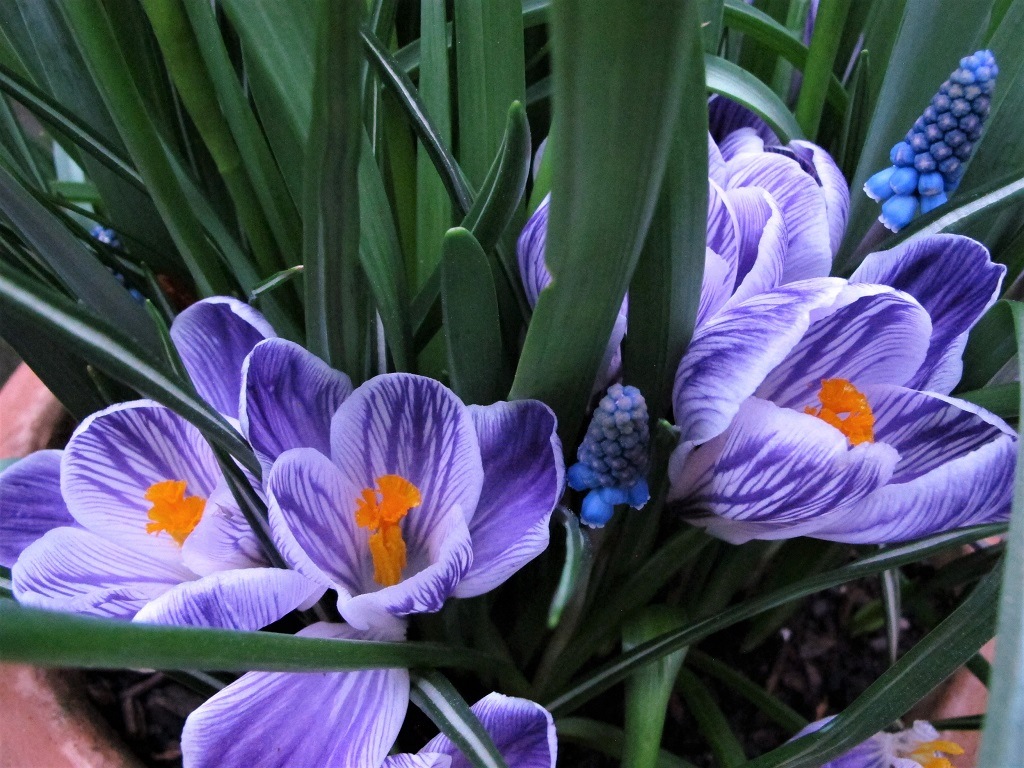
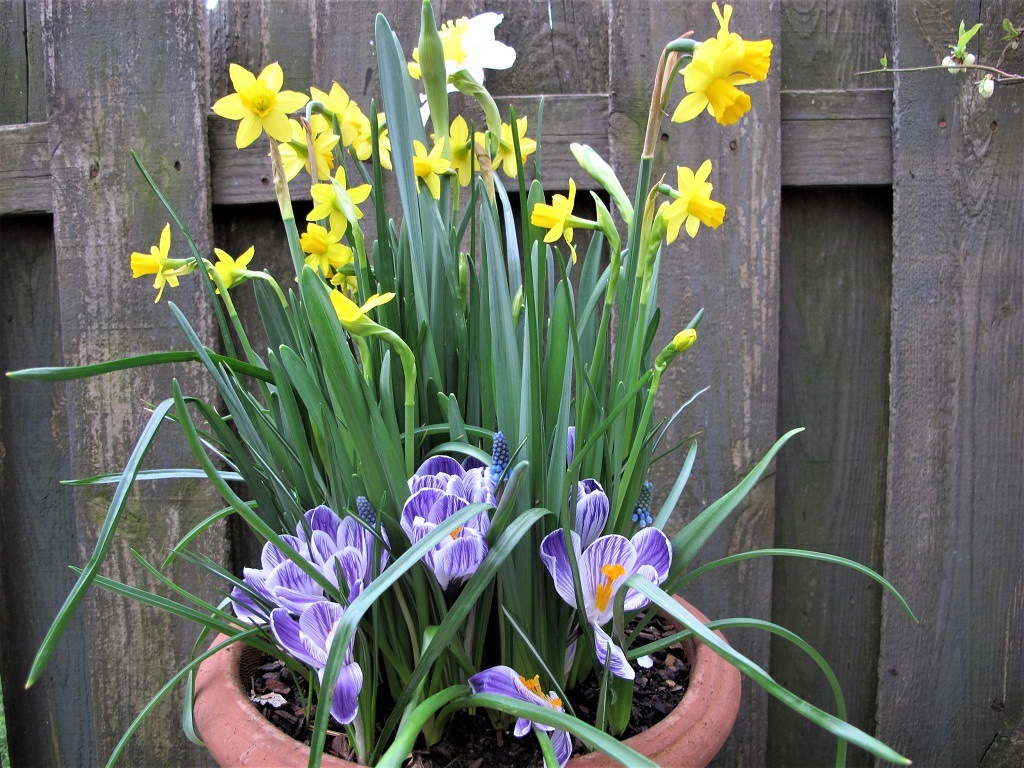
Crocus and Muscari in spring.
Planting the Bulbs
Here are the varieties of bulbs I recently planted into the clay pot. The yellow, blue, and white colors are a favorite combination. You might prefer shades of yellow and orange, or pinks and purples, or all blue or all white flowers. Mix up the flower forms (cups, small florets, spikes) and the foliage texture (fine, coarse) for added interest.
Select large bulbs; those offered in bargain bags might bloom, but they usually have fewer or smaller flowers than the more costly ones of the same variety. I’ve bought topsize bulbs from open bins many times, and occasionally a different variety shows up than the one expected. Not a big deal.
Plant the largest growers in the center of the pot. But if the pot will be viewed from one direction, plant tall varieties toward the back, with the shorter plants in front.
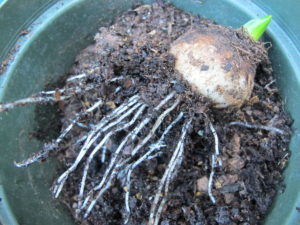
The pointed end of the bulb faces up. Sometimes you can detect last year’s dried roots coming out the bottom. When you’re not sure which end is up, plant the bulb on its side. Phototropism (toward the light) and geotropism (toward the pull of gravity) signal the direction for the plant to grow shoots and roots.
Narcissus ‘Ice Follies’
Daffodil ‘Ice Follies’.
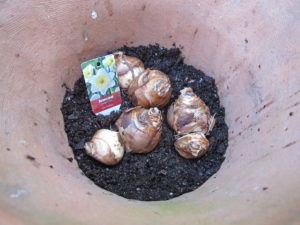
Start with the large double-nose daffodils or the biggest tulips. Press them into the soil so they’re almost touching. The bottom of the bulb sits about 9″ below the rim of the pot.
Daffodils planted around tulips will not discourage deer from browsing on the tulips. Spray tulips with a deer repellent or keep the pots out of their reach. Warm blooded animals won’t eat daffodils; they’re poisonous.
In this pot, I added 3 large double-nose daffodil bulbs called ‘Ice Follies’. This one will grow to about 18″ in height, and has yellowish cups surrounded by white outer petals (the perianth). When mature, the cups will turn closer to white.
This award-winning large-cupped daffodil has been around since the 1960’s, and grows well in pots. Early to mid season, zones 3 to 7.
Now, fill in with enough soil to cover the bulbs. Firm lightly.
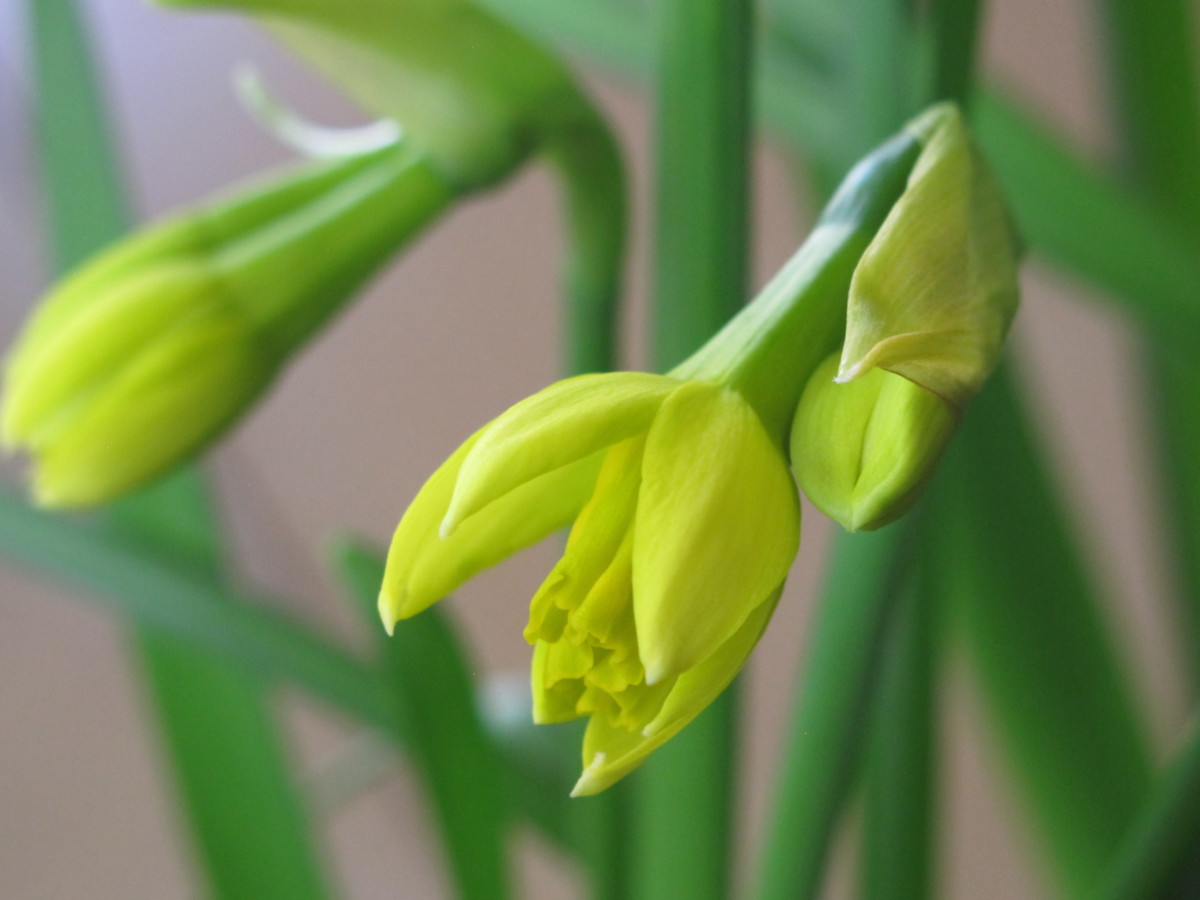
Narcissus ‘Pipit’

Daffodil ‘Pipit’.
Next layer:
Another award-winning daffodil, this jonquilla type has 2 or 3 fragrant flowers per stem. They open sulfur yellow, and the cup matures to white.
Six bulbs were planted 6″ deep, and will grow to about 14″ tall. Mid to late season, zones 5 to 9.
Add more potting soil to cover these smaller daffodil bulbs.
Narcissus ‘Tête-à-Tête’
Daffodil ‘Tête-à-Tête’.
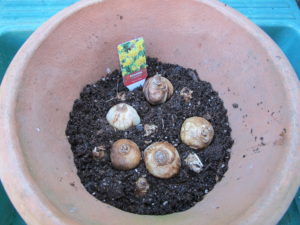
This is one of the easiest and earliest little daffodils, and I planted 5 of them. A great forcer, it’s a good variety for beginners. This is one of the cyclamineus daffodils, with reflexed petals.
Planted in pots or in the garden, they never disappoint. ‘Tête-à-Tête’, an award winner originating in the 1940’s, produces several flowers per bulb and multiplies reliably. This variety fits perfectly in a shrub border, dotted in the lawn verging into the beds, or in a light woodland. Early season, zones 4 to 8.
Add some soil over the bulbs, and firm lightly.
Brodiaea (Triteleia) ‘Queen Fabiola’
Brodiaea ‘Queen Fabiola’.
This is one of those often overlooked minor bulbs. It is native to the northwestern U.S., and is also called Ithuriels’s Spear. These small bulbs are inexpensive, and I wanted some blue in the pot. This plant has long thin leaves and clusters of violet blue flowers with dark veins. It will grow as tall as the big daffodil, about 18″.
I planted 10 of them around, but above, the outside of the ‘Ice Follies’ daffodils. I’m curious to see how they get along with the bolder-leaved daffodils. Late season, zones 6 to 9.
Add soil to cover.
Muscari ‘Dark Eyes’

Muscari ‘Dark Eyes’.
Grape hyacinths are among the easiest bulbs to grow, they multiply rapidly, and they attract bees. Their flowers last a long time and are lightly fragrant, reminiscent of grape jelly.
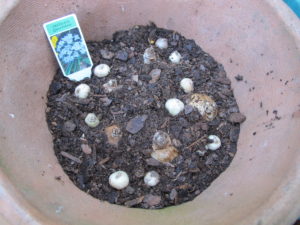
I planted 10 of the variety called ‘Dark Eyes’ close to the edge of the pot, since it’s later and shorter. It has deep sky blue florets with white tips, growing about 7″ tall. Mid to late season, zones 4 to 8.
When planted in the garden, grape hyacinths often sprout leaves in autumn. There’s nothing you have to do for this, although deer might take a couple of bites. They’ll grow again in spring without a problem.
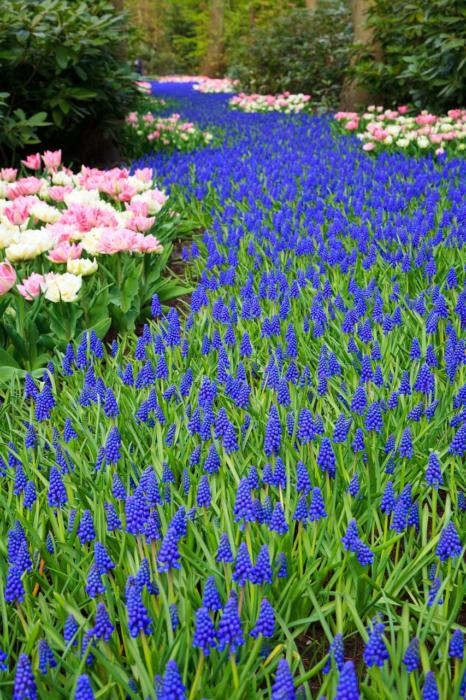
A “river” of grape hyacinths.
Crocus ‘Yellow Mammoth’

Crocus ‘Yellow Mammoth’.
Also called Crocus flavus ‘Golden Yellow’, this heirloom crocus dates back to the 1600’s. It’s another easy bulb for forcing and for naturalizing in gardens. Bright yellow flowers attract early bees.
Twelve of these bulbs were planted toward the edge of the pot, mixing with the grape hyacinths. Early season, zones 4 to 8.
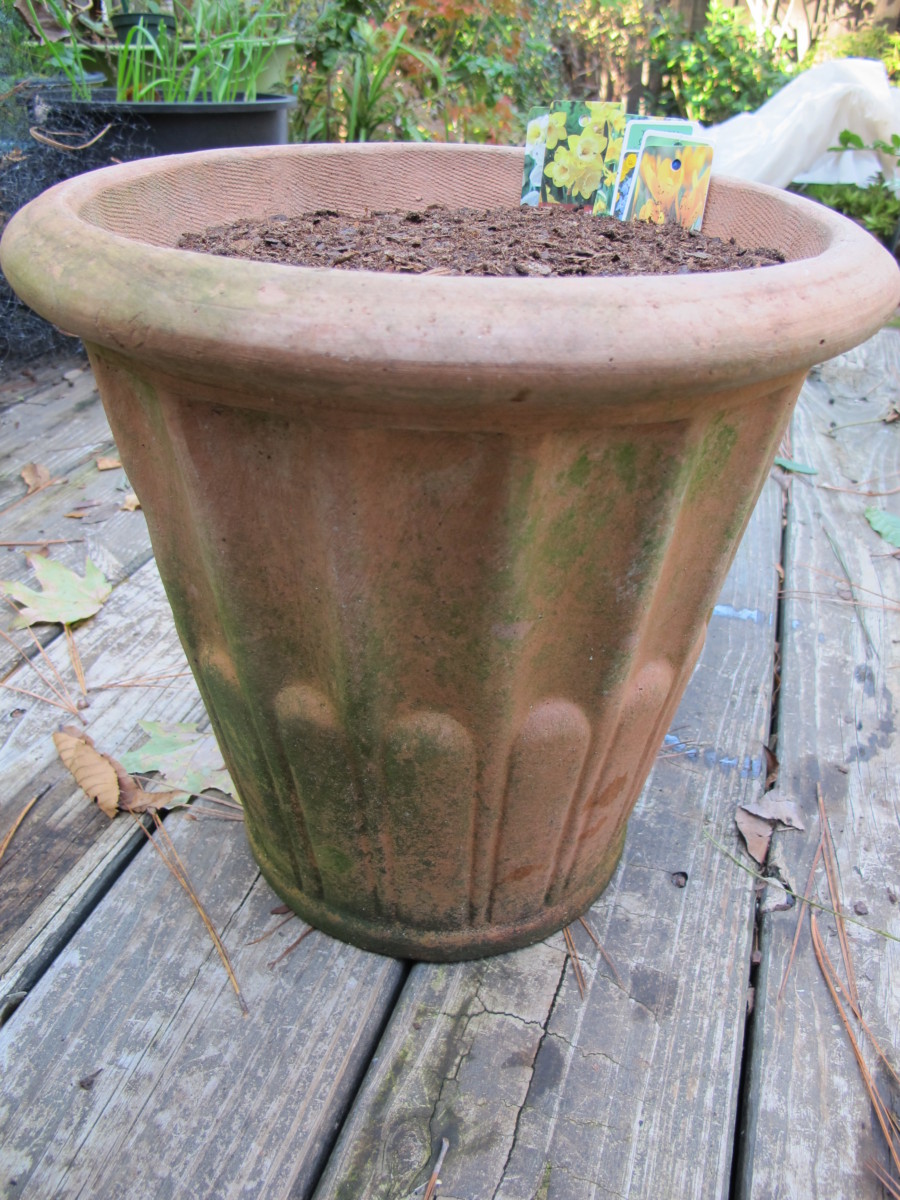
Add potting soil to about an inch from the rim of the pot. Firm the soil.
Mulch And Water
Now that all the bulbs have been planted, water the pot. Keep the soil moist, not wet. During cold weather you won’t have to water very often.
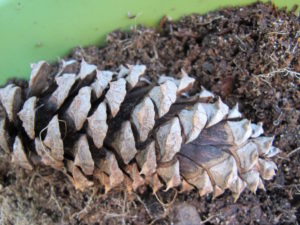
If you want to, add a layer of mulch, such as pine fines, shredded hardwood, or small pine bark nuggets. Some gardeners add sharp gravel or hardware cloth to discourage digging animals. We have an abundance of needle-sharp-tipped pine cones (photo, below) in the back, so I’ll nestle some of them into the soil surface in spring.
Caring For the Potted Bulbs
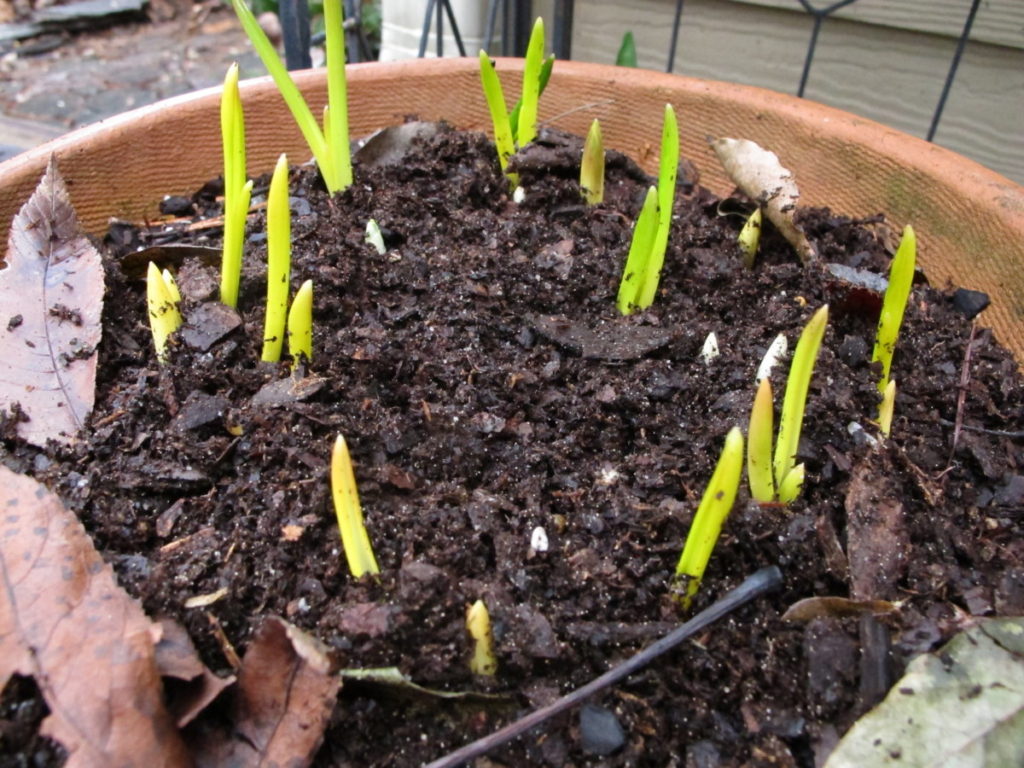
While the weather is cool but not freezing, the bulbs root out quickly. Our friends in the north are already fully engulfed in winter weather, so I hope their pots are safely stored.
Potted bulbs will need protection from severely cold temperatures. “But, wait—what about bulbs in the garden? They’ve always done just fine outside.” Bulbs planted in the ground and mulched are insulated from the cold by the volume of surrounding soil. Also, any warmth stored in deep soil rises to the surface and is trapped by snow cover or mulch. Gardens under a blanket of snow are insulated from bitterly cold air temperatures.
But bulbs above the ground, in pots, will get as cold as the air temperature. So, if you live north of the southern states, find a wintering place for the potted bulbs. Even very cold-hardy bulbs can turn to mush if repeatedly frozen. That’s why it’s sometimes recommended to mulch bulbs in the ground after it freezes—to prevent alternate freezing and thawing.
Bulbs protect themselves to a degree. When temperatures dip below 50°, bulbs transform some of their stored carbohydrates into sugar. This natural antifreeze prevents cellular damage as the soil drops below freezing. To a degree.
Heed the plant hardiness zone for each of the bulbs you plan to use. Bulbs that are at their northernmost zone of cold tolerance might be harmed in unprotected pots during the coldest part of winter.
How Cold?
Place the potted bulbs where they’ll be exposed to temperatures from the low 30’s to about 42° while they’re rooting. A cold frame, a garage, or a cold mudroom might be a good spot. If kept too warm, though, they won’t develop a good root system in autumn and they might sprout prematurely.
I used to overwinter potted bulbs inside the garage when I lived in Maryland (zone 6b), and forced them to bloom for the early garden shows. Although they froze an inch into the soil during the coldest periods, they always bloomed.
When nighttime temperatures drop to the mid to high 20’s, I’ll place the potted bulbs inside a large green plastic bin. The container will sit on the front porch, hidden behind shrubs and touching the wall of the house. Sunlight falls on the bin for a couple of hours in winter, briefly warming it to a balmy 45° on a cold day. The lid will be vented when necessary.
Bubble wrap or sheets of styrofoam insulate the sides and the bottom. More layers can be added over the pots, and sometimes on top of the bin, for more protection. Pots sit on a bag of potting soil, which holds some heat gained during the day. That thermal mass will release warmth over several hours. A large cooler also would work; dark colors absorb more heat.
Water vapor in the bin’s closed space will precipitate when it hits the cold surface, and water will collect in the bottom. Don’t allow pots to sit in the water.
Too Cold!
Although the covered porch affords several degrees of protection, some nights will be just too cold. Sometimes winter temperatures never fall below 25° in this zone 7b location. When temperatures are forecast to approach 10°F, though, I’ll bring the whole bin indoors. It will stay quite cool all night when placed next to the chilly front door, and then it’ll go back outside in the morning.
Hot water in a gallon jug, wrapped in a towel and placed in the bin (not touching the pots) keeps the pots above freezing. Also, because the lowest temperatures occur for only a short period of time, the pots normally don’t freeze. Gardeners in colder regions have alternatives for protecting their potted bulbs.
Maybe some of these suggestions will help get your potted bulbs safely through a frigid turn of weather. Given sufficient space, someday, I will construct roomy cold frames and an insulated shed.
Finished lasagna pot.
***Update***: This past winter was very mild, so I covered the bulb pots with plastic on only a few nights. But I kept the lasagna pot covered with an inverted clay pot to prevent damage from animals. Leaves started growing under the pot, and they were yellow (etiolated) from lack of light. After removing the clay pot, the plants greened up within two days. Feb. 14, 2020.
-

- Yellowed leaves from shade (Brodiaea).
-
- Leaves greened up in the sun.
Can We Grow the Potted Bulbs Again?
Potted hyacinth rooting out for the second year.
The bulbs you use in pots for this cycle can be planted in the garden after the foliage dies down. They might not bloom the following year, but will continue to grow in size, gathering strength for future displays. Snip off the stems that flowered, before seedpods develop.
Always let the green foliage wither naturally. This allows for the maximum amount of photosynthesis, and, therefore, ample food reserves that will be stored in the bulbs.
The few hyacinths that I forced for indoor bloom last year (photo) look nice and plump. So, I’m going to plant them in smaller pots, and see if they’ll flower again next spring. After this season, they will be planted in the garden. (Update: Their flowers were quite thin and small, so they’ll go into the garden.)
Fertilizer
Assuming your potting soil has some nutrients, you won’t have to fertilize until most of the foliage has emerged. In order to prevent heavy flower heads from flopping over, avoid fertilizing until most of the flowers are at peak bloom. They will stay in leaf for several weeks or a couple of months after the flowers. All that time, they’ll photosynthesize and make food for themselves. The more food stored in the bulbs, the more flowers for the next cycle.
Bone meal has been a favorite for generations, but I prefer complete fertilizers formulated specifically for spring-flowering bulbs. Follow label directions. I skip the fall fertilization when using fresh potting soil. In soil that isn’t fertile, I give the bulbs a light application in autumn, when they’re rooting. Keep the soil moist, but not wet, and remember to check the potted bulbs over the winter.
Animals, by the way, might be attracted to bone meal. If you use it, take precautions.
Animal Food
Deer, rabbits, squirrels, mice, and voles love to eat tulips, crocuses, and, sometimes, hyacinths and grape hyacinths—bulbs, leaves, and/or flowers. Check the pots now and then and keep them in a safe place, surrounded with hardware cloth or bird netting, if you have to.
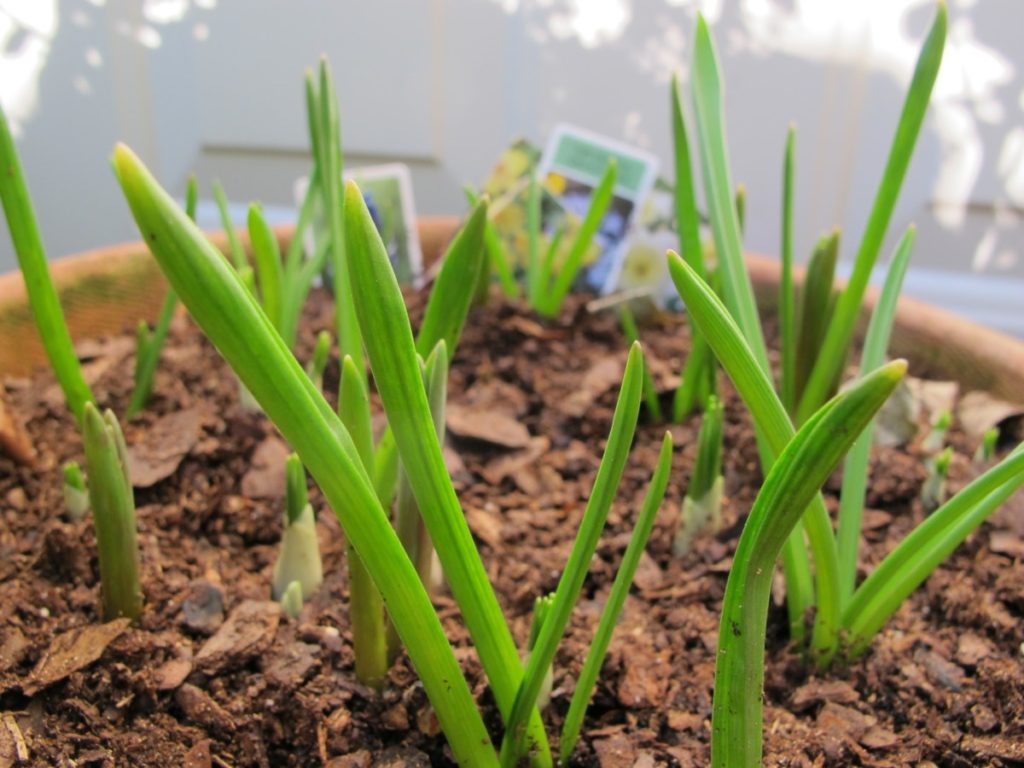
Sunlight
Daffodils in bud.
While the plants have foliage, be sure to place them in direct sunlight. Sun is the energy source that drives photosynthesis. Without sun, plants weaken and bulbs wither. Also, flower color is more vibrant if the buds open in direct sunlight.
Weather, microclimates, and, of course, your USDA plant hardiness zone determine how early spring will arrive in your garden. As soon as the pots begin showing growth, place them in the sun. Listen to weather forecasts, and provide shelter if approaching weather patterns (severe cold or icy wind) could damage the shoots or the flowers. You shouldn’t have to cover them when light frost comes around. Elevate the pot on small rocks to allow water to drain. If the pot freezes to the ground, it could crack.
The plants should be well-rooted before the coldest part of winter settles in. Since the flower buds are already tucked inside the bulbs, all they’ll need to bloom is increasing temperatures, light, and moisture. When growth begins in earnest, place the pot in the desired location. Enjoy the beautiful flowers in your lasagna pot. A feast for the eyes!
***Update***:
Here’s How the Lasagna Pot Did This Spring
Graded, and in order of appearance:
- Narcissus ‘Tête-à-Tête’: A+. First to bloom, starting in early March. Best return for the investment, considering the number of flowers per bulb.
- Crocus: B. Only a few of the bulbs were ‘Yellow Mammoth’. Most were purple or ‘Pickwick’ (white with purple stripes). Lots of flowers. ‘Pickwick’ and purple crocuses started blooming in early March.
- Narcissus ‘Ice Follies’: B+. Bloomed in mid March, lightly fragrant. As far as performance goes, ‘Tête-à-Tête’ is a hard act to follow.
- Muscari ‘Dark Eyes’: C. Not as floriferous this year as they usually are. Some blooms in mid March. But nice with the ‘Pickwick’ crocus (photo, top of this page).
- Narcissus ‘Pipit’: A-. Nice bloom, multiple flowers per stem. Lightly fragrant.
- Brodiaea ‘Queen Fabiola’: D. A royal disappointment. So far, no flowers, although it had the earliest foliage, emerging in early February. (Update: Much later, weeks after the others bloomed, the Queen made her entrance. By then, most of the foliage had already withered.)
Overall: I give it a B, saved by the spectacular early bloomers. All the foliage is beginning to yellow, and all bulbs will be transplanted into the garden.
#1, 2, 3, 4.
Headings
Page 1: “Good things come to those who wait.”, Potted Bulbs—The “Lasagna” Pot, Suggestions For Types Of Bulbs To Use (Perfect Timing…Or Not), and The Process (The Pot, Polyester Fiberfill, Potting Soil)
Page 2: Planting the Bulbs (Narcissus ‘Ice Follies’, N. ‘Pipit’, N. ‘Tête-à-Tête’, Brodiaea ‘Queen Fabiola’, Muscari ‘Dark Eyes’, and Crocus ‘Yellow Mammoth’), Mulch and Water, Caring For the Potted Bulbs, How Cold?, Can We Grow the Potted Bulbs Again?, and Update: Here’s How the Lasagna Pot Did This Spring