Page 2
Quick Tip #4: Cutting Back Sedum ‘Autumn Joy’
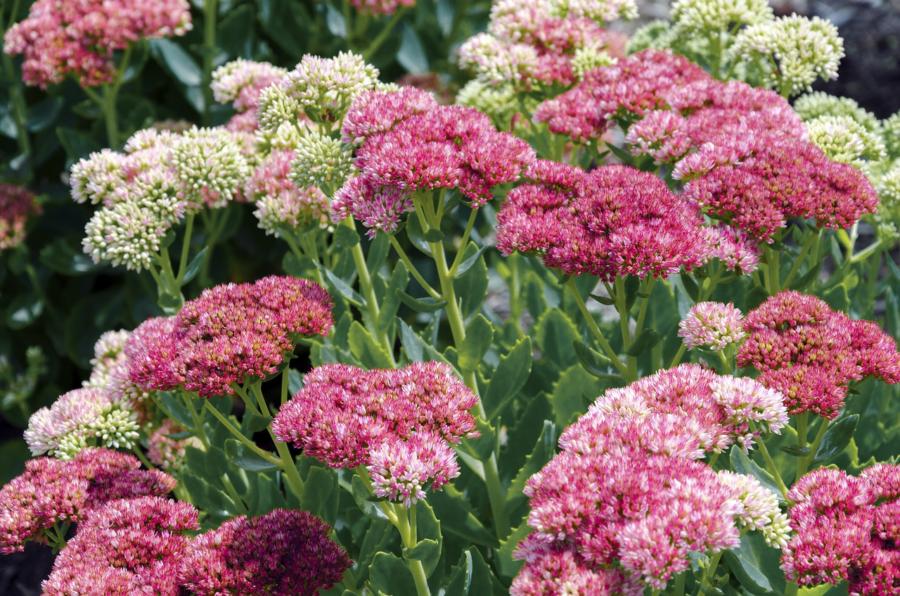
A perennial sedum.
Sedum telephium and other tall varieties of sedum grow rapidly when the soil begins warming up. Depending on climate and cultivar, sedum begins to set flower buds at the ends of the stems by mid- to late summer.
Often, especially after a rainy summer, these succulent plants can splay open, or split in the center, arching over and falling to the ground. Plants growing in overfertilized or enriched soil, or in too much shade, behave the same way. Sedum, after all, is native to sunny locations with poor, dry soil; this limits its growth and keeps it closer to the ground.
There is a way to prevent the plant from splitting open and to encourage more flowers in late summer and autumn. Simply cut the plants’ stems back about halfway or a little bit lower than that. Timing is important here, because the floral display can be diminished or delayed if the plants are pruned too late. This is a job for early to mid-spring, when the stems have reached a foot or so in height. New side branches will form, creating denser clumps which are less susceptible to opening up.
And, yes, you can propagate those sedum stems in well-drained soil. Place small cuttings, with just a few leaves, in a lightly shaded nursery bed, or in pots kept in early morning sun. Don’t overwater them or they will rot. Once they have rooted, transplant them to the sunny garden.
Other Perennials That Could Benefit
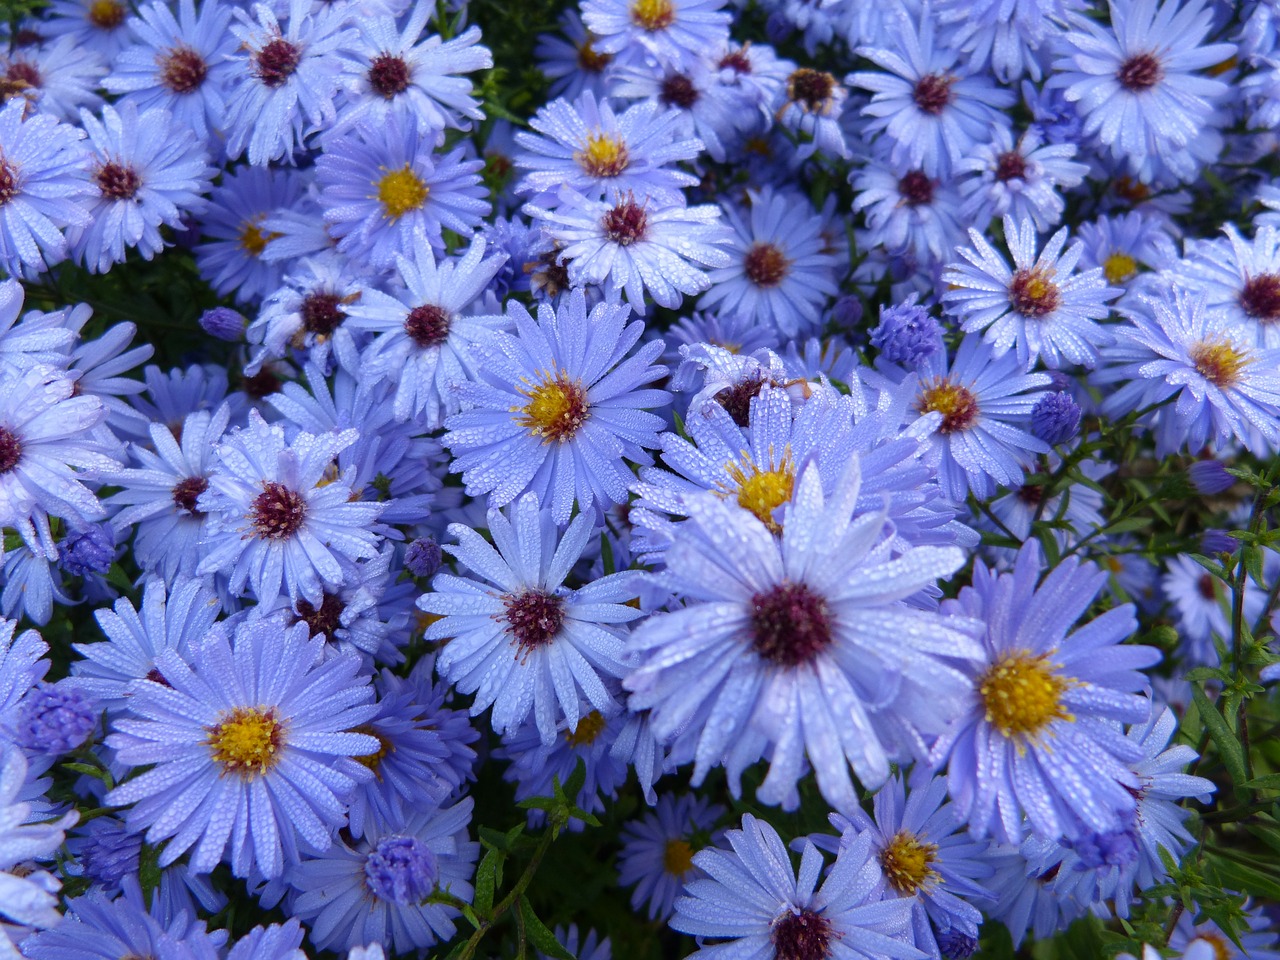
Late summer aster.
You might have other late-blooming perennials in your garden that could be improved with this practice. Examples are the goldenrods, some of the penstemons, Joe-pye weed, and late-flowering asters. All of these perennials are loved by bees, butterflies, and other pollinators late in the season, before their food sources become scarce.
This also is the traditional method of caring for older varieties of common cushion chrysanthemums. But don’t wait for them to reach a foot in height. As soon as new spring growth is 4″ or 5″ out of the ground, cut the stems in half. Prune again when side branches or new stems are 4″ or 5″ long, and repeat up until early to mid-July. They will begin developing flower buds at that time, on denser plants and in much greater numbers.
Quick Tip #5: How To Divide Hosta
-

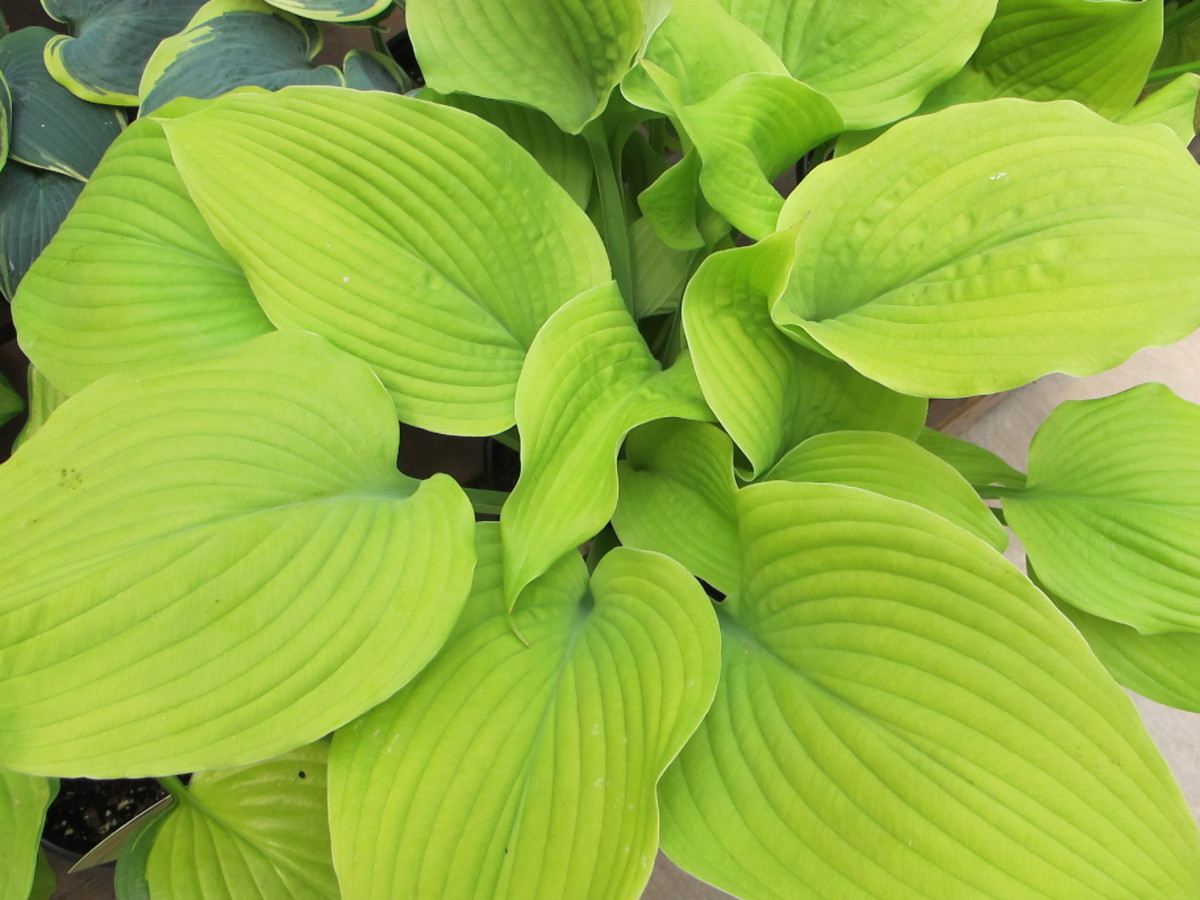
- One of many gold-leaved hostas.
-
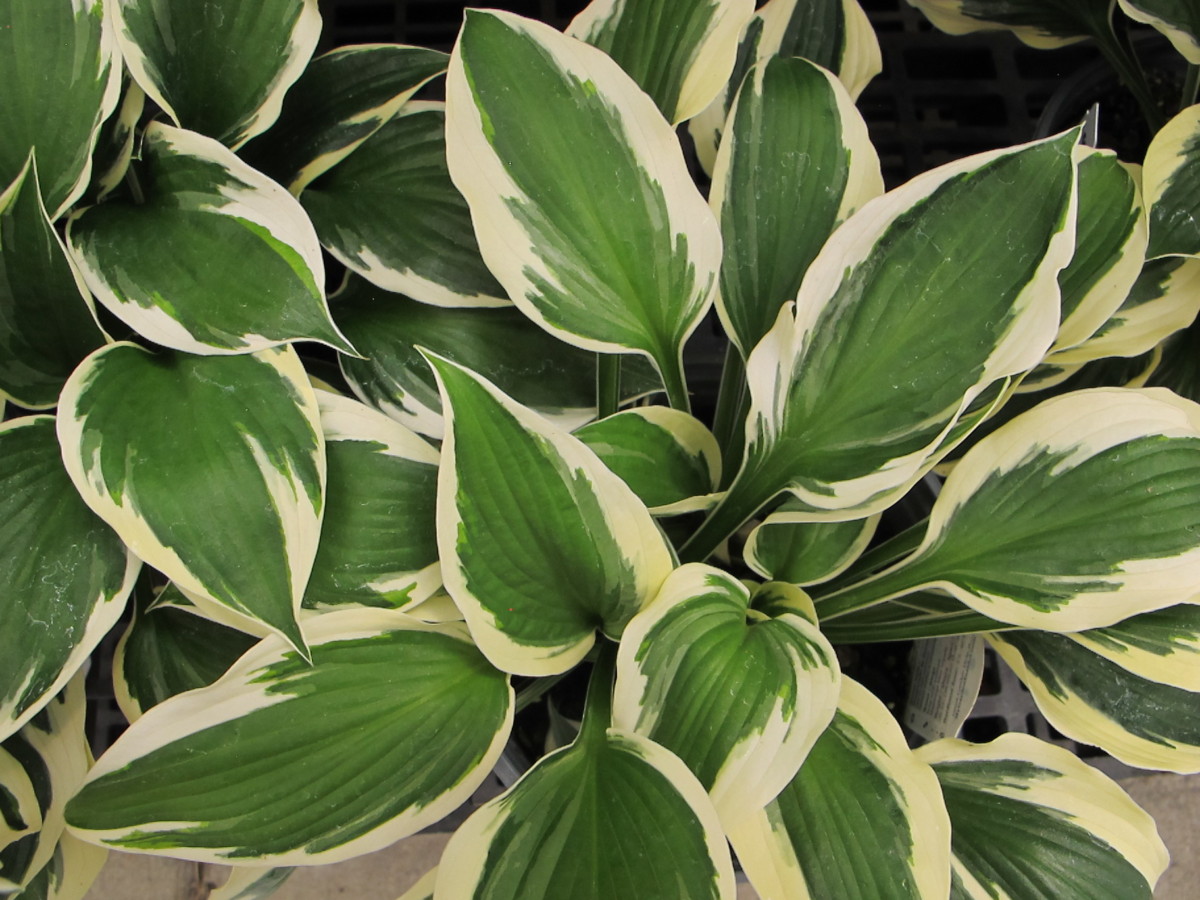
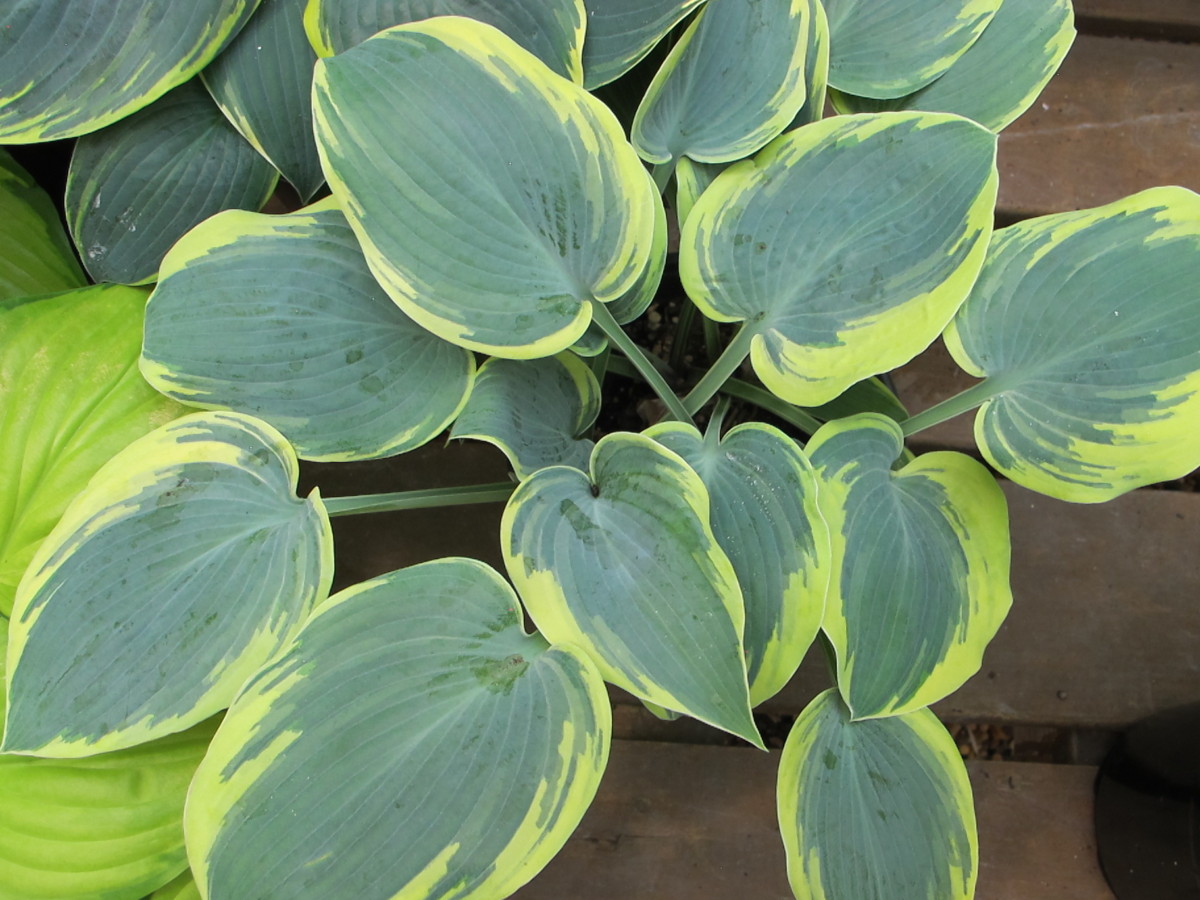
- Hosta ‘Patriot’.
-
- One of the blue hostas.
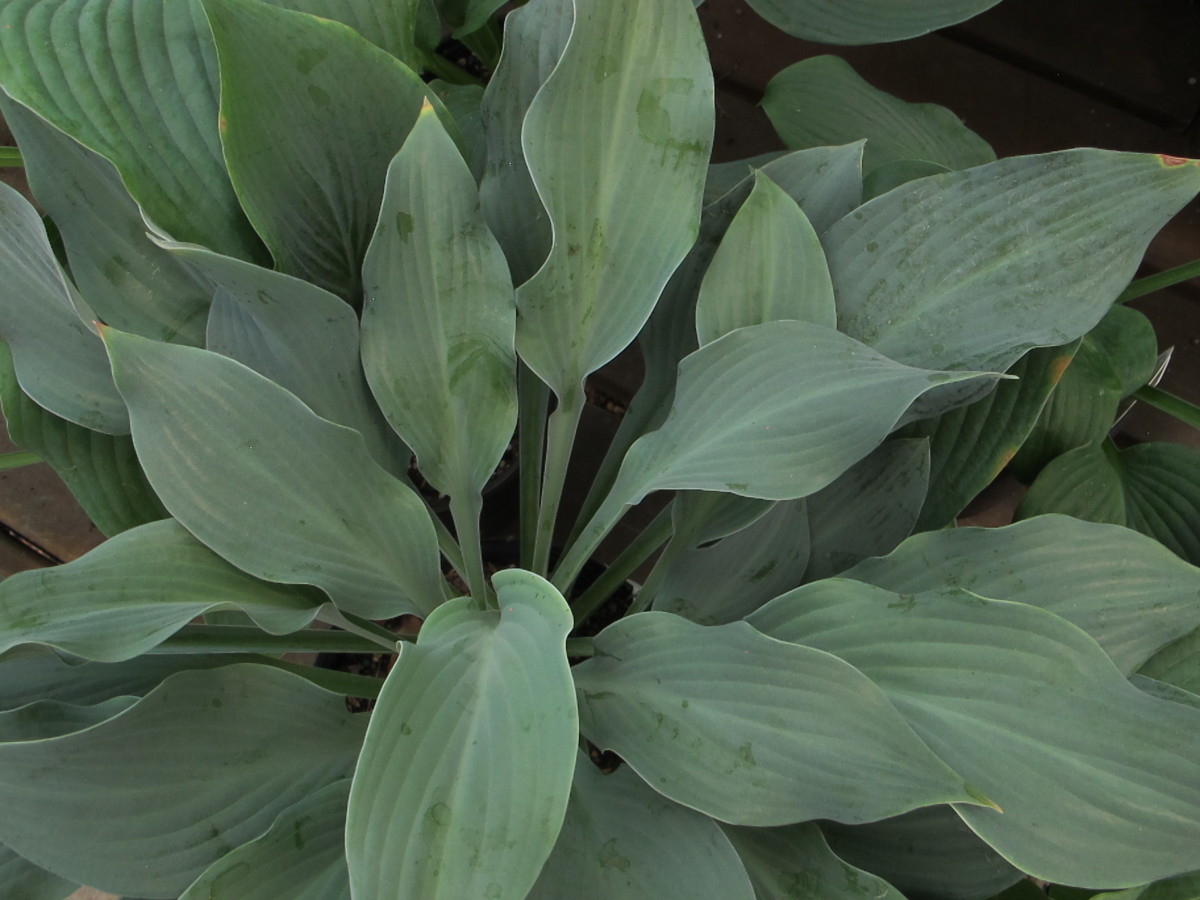
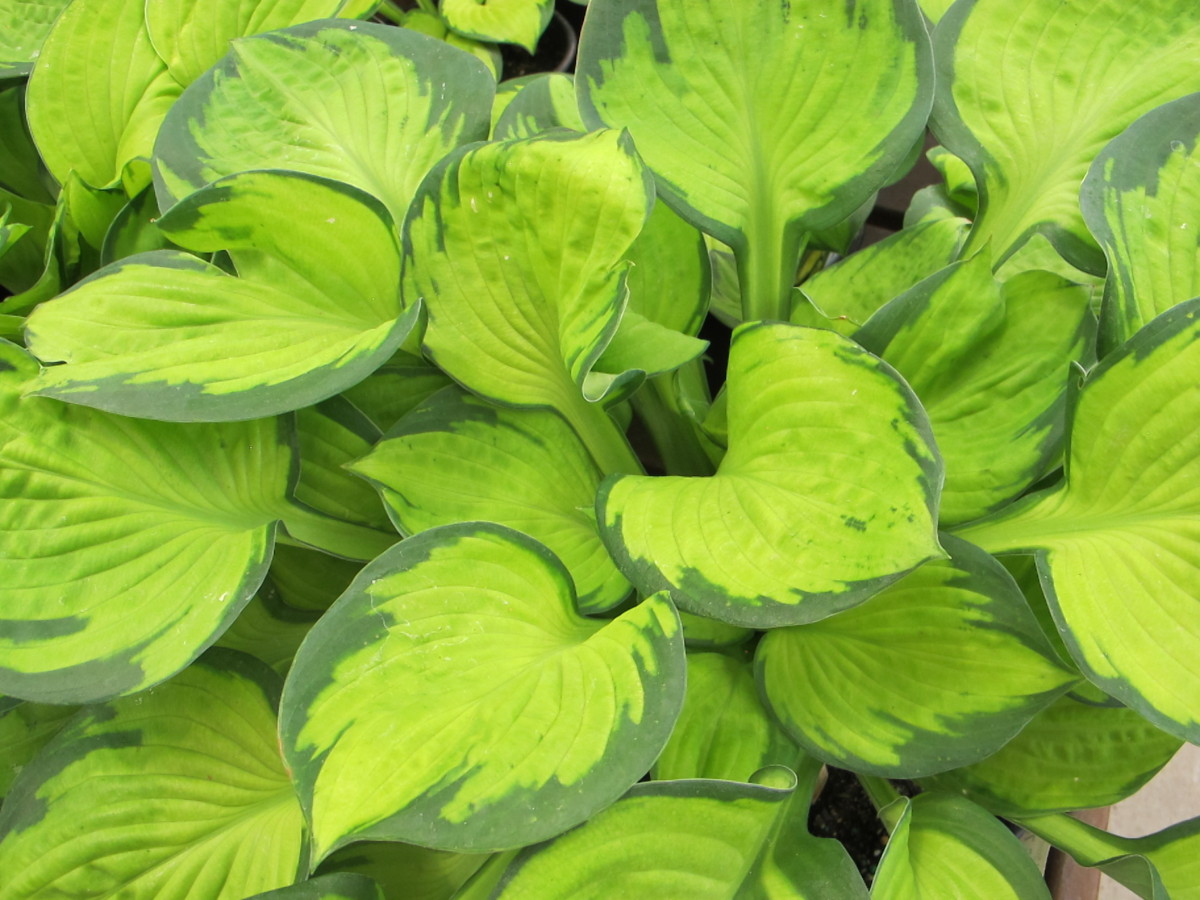
One of the best perennials for shady gardens is Hosta. From the tiny H. venusta, just a few inches tall, to the huge “mammoth” types, hosta comes in a wide palette of colors. Yellow, gold, chartreuse, lime green, deep green, blue, chalky blue-gray; variegated or solid, feathered or margined, ripple-edged or smooth. There are literally thousands of cultivars available to gardeners!
Even though some of the literature states that certain varieties of hosta grow in full sun, by July, they often look miserably sunburned. All hostas prefer shade in the afternoon, and even more shade where the summers are hot. Watering deeply every week during drought and amending the soil with organic matter will keep them in better condition.
Hosta Flowers
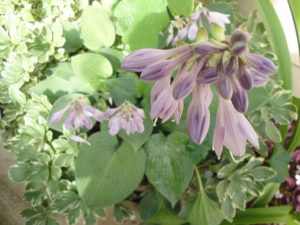
Flowers on H. ‘Halcyon’.
And they flower, too, although I remember the time when many gardeners cut off the less showy blooms of the older varieties. Modern hybrids have white, lavender, or purple flowers with more substance…and some have a wonderful fragrance. A few of the varieties remind me of the scent of gardenia.
Butterflies and hummingbirds are grateful for the nectar in the flowers, and bees will help themselves to nectar and pollen.
After flowering, remove the flower stems to improve the plant’s appearance.
Fertilizer
Hostas belong to the Asparagaceae family, producing characteristically heavy, thick root systems. They help bind soil on slopes, and many compete with surrounding tree roots. But there’s a limit to the amount of competition they can tolerate.
Provide some fertilizer to established plants to give them a boost. High nitrogen products do the trick, and hostas are particularly fond of fish emulsion. Apply it 2 or 3 times during the growing season, up to late summer. If you prefer using compost, apply it over the root system.
The odor of fish emulsion or Milorganite (composted sewage sludge) often repels deer and rabbits for a short while. I strongly recommend spraying hostas with deer repellents every month. Quick tip: Spraying both the tops and the bottoms of the leaves will keep the repellent functioning for a longer period of time.
Divide and Multiply: Preparation
Variegated hosta.
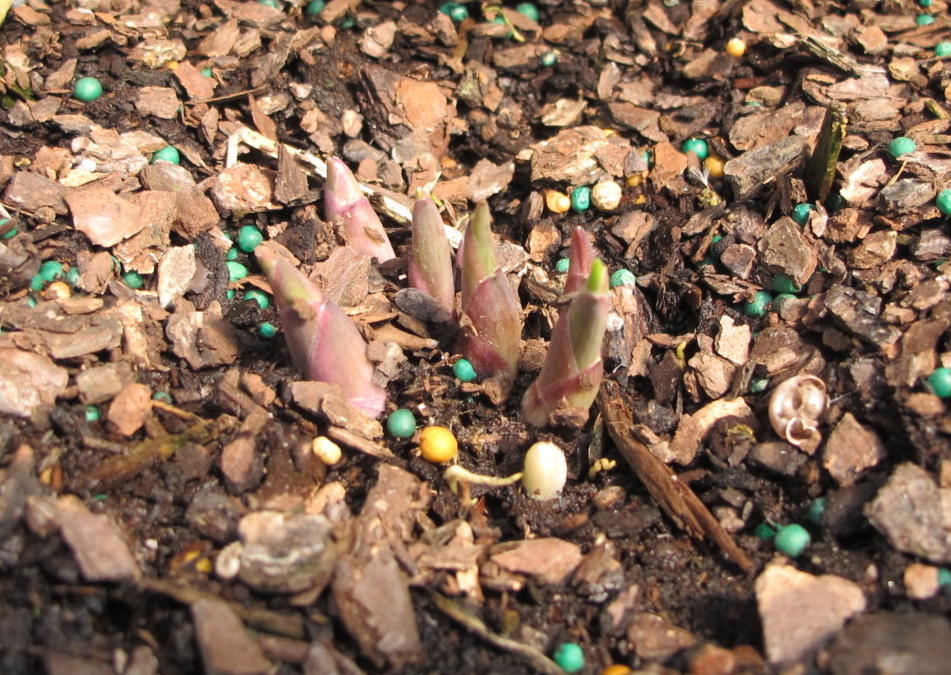
Dividing hosta supplies more plants for the garden or to trade with fellow gardeners. Division and fresh, composted soil also will refresh tired old clumps. Look for the eyes of emerging growth, which look like pale green or purplish pencil points (photo, below left).
Late winter to early spring in moderate climates is a good time for this procedure. Wherever your garden is, the best time to divide hosta is before tender new foliage expands.
You can still divide them when they’re in full leaf, but remove most of the foliage. This helps ease the demand on a compromised root system to provide water to transpiring foliage. Hostas are among the easiest perennials to propagate.
Once you’ve decided where the new plants will go, prepare the soil. Dig up the bed by loosening the soil to a depth of about 10″ for small cultivars and 16″ for large cultivars. Add a few inches of pine fines, or soil conditioner, and incorporate this material into the loosened soil over a wide area.
Now add 2″ or 3″ of rich compost, and incorporate it into the top 4″ to 6″ of the bed. Sure, they’ll grow in clay, sort of, but they will luxuriate in rich, loosened soil. Preparing the soil first, before dividing the plants, will make an easier transition for the new divisions.
-
- Hosta eyes emerging in the center. Little green and yellow prills are timed-release fertilizer.
-
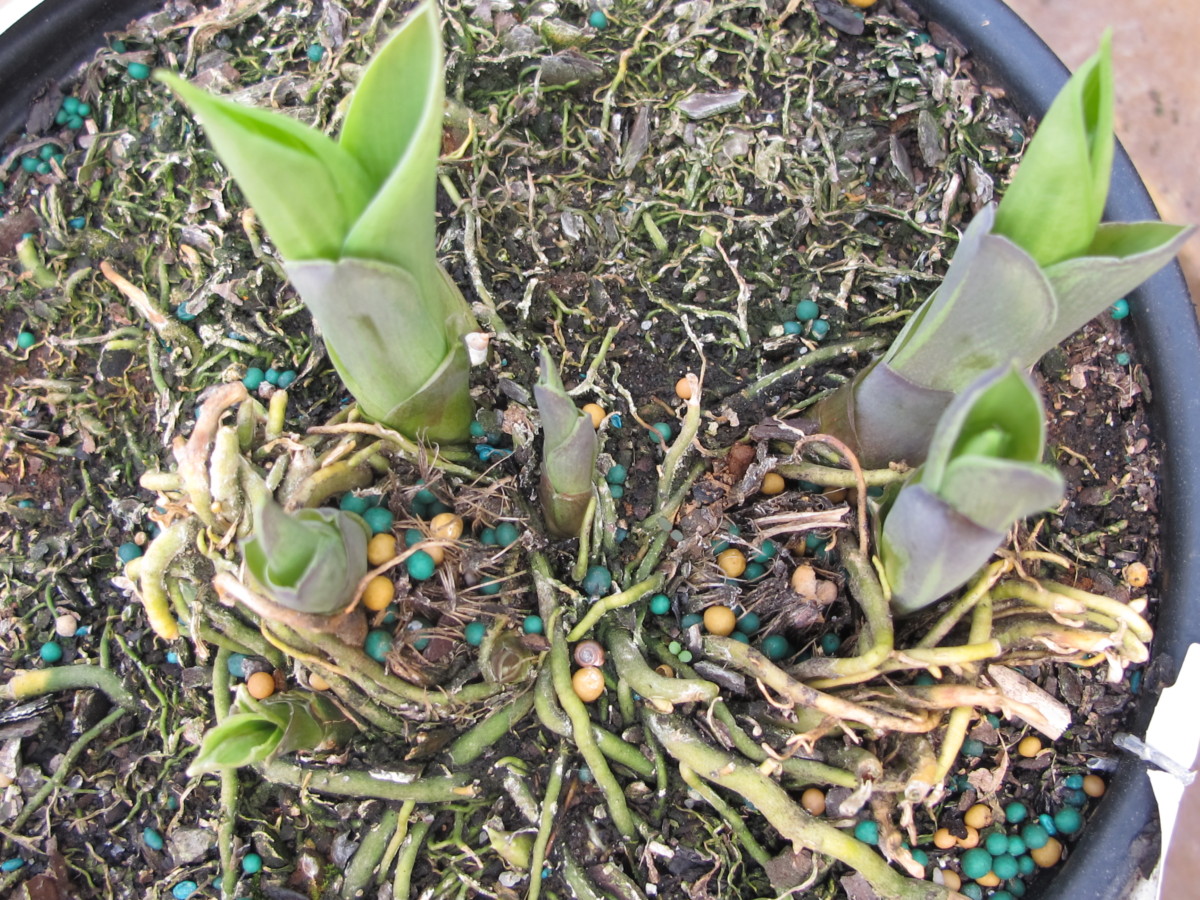
- This plant offers a natural division between the two eyes on the right and the rest of the plant.
Dig, Divide, and Replace
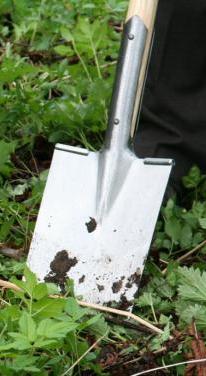
Garden spade.
Now, dig up the clump to be divided. A sharp garden spade will sever the roots cleanly instead of separating them as a round point shovel would do. Dig straight down, 6″ to 10″ from the eyes, all around the circumference. Lift the clump and flake off the loose soil.
Using a pruning saw, pruners, or an old serrated bread knife, carefully cut between clusters of eyes or between individual eyes. Large clumps can be divided with a well-aimed thrust of the spade (protect your feet!). Thick, old crowns can be quite tough to cut through.
Look for the obvious place to make the cut and be sure to include some roots on each division. If any eyes end up with no roots but are intact at the crown, they still might grow into new plants.
Reset the division at the proper level in prepared soil. Don’t bury the eyes any deeper than they were growing before. Firm composted soil around the roots. Apply mulch up to 2″ deep, less over the eyes, and water in the plants. Over time, mulch decomposes, adding organic matter to the soil.
In gardens with good soil, you won’t need to remove the entire plant from the ground. Quick tip: if you need just one or two new plants, simply spade through the clump, like cutting into a pie, and lift out a wedge with roots attached. Fill the void with composted soil.
Quick Tip #6: Pruning Early-Flowering Shrubs
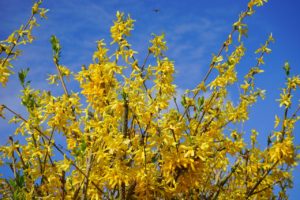
Forsythia.
A question often asked is “When can I prune flowering shrubs?”
The safest time, if you want flowers again next year, is to prune them immediately after flowering. This applies to early-blooming forsythia, viburnum, flowering almond, deutzia, spirea, and azalea. Prune only if they need it.
Timing is important. If you wait until late summer to “shape” the azaleas, you will remove next year’s flower buds. If the whippy shoots of forsythias are bothering you, cutting them into amorphous blobs in autumn will rob you of most of their spring display.
Renewal Pruning
If your plants are old or misshapen, the temptation is to remove them entirely from the landscape. Before you go that far, cut them back hard, almost to the ground, and topdress with a few pounds of compost under the original spread of the plant canopy. This “renewal pruning”, performed right after bloom on fast-growing species (forsythia, spirea, deutzia), might surprise you with an exuberance of growth.
Azaleas and other species that are slower to regrow should be cut hard in late winter, almost to the ground, if you want to start them over. This, however, will sacrifice all flowers that season. But it often works well for gardens that need renewal without investing thousands of dollars in landscaping.
Give the shrubs some compost, and mulch with pine bark nuggets or shredded hardwood mulch after applying fertilizer formulated for the specific plants. Worth a try! Soil in decent condition and a new burst of fertility will get these shrubs to respond. If you decide to keep them, let them grow the full season, so they can develop flower buds in late summer and autumn.
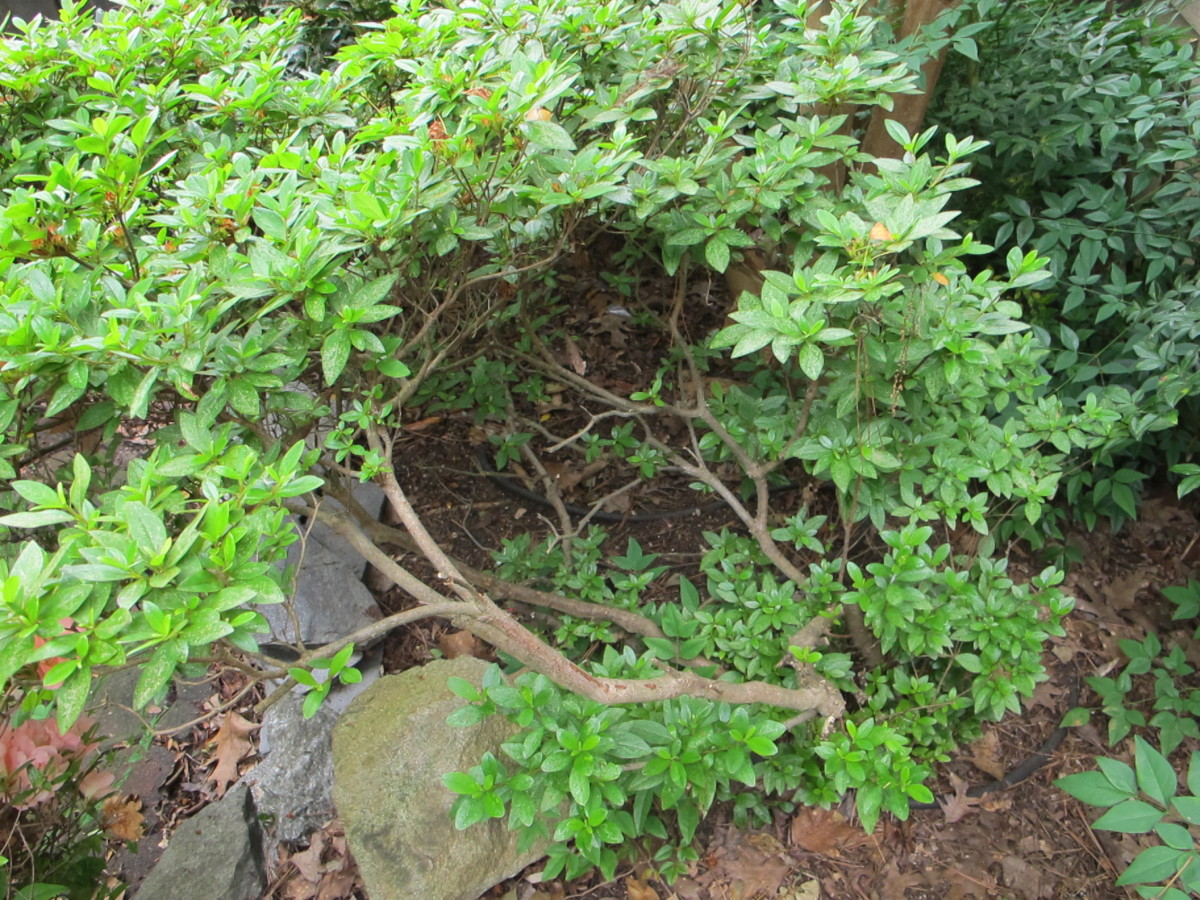
This azalea was cut down to just above the cluster of foliage at the base of the stems.
The azalea in the photo above had to be cut back in the summer to give siding contractors room to move. (***Update***: Because of our long growing season in NC, these azaleas still managed to develop enough flower buds for a decent display the following spring.)
A Personal Perspective on Pruning
I’ve mentioned a few times in this blog that I dislike shaping plants into little geometric shapes (“balls and boxes”). First of all, that’s work, and, second, there’s nothing prettier than the natural habit of a plant. If an errant branch pops up here and there, selectively prune it by reaching into the plant with your pruners and remove it.
When choosing shrubs and trees for your landscape, find out how tall and wide the plants will grow. Quick tip: usually, the dimensions on the labels indicate the mature size at 15 years of age. But plants will grow older than that, if we’re lucky, so add perhaps 25% to the dimensions. Although dwarf varieties are more expensive and slower growing, I never regretted planting them.
Enjoy this beautiful springtime in your neighborhood and start planning your next garden project. Is this the year you finally build that water garden you’ve wanted, or the greenhouse? Or maybe you want to get serious about the vegetable garden and grow all those greens you see at the farmers’ market. Quick Tip #7: You can do it!
Headings
Page 1: Quick Tip #1: Spring-Flowering Bulbs (Fertilize Them, Wait For Them To Yellow Naturally, Remove Old Flowers, Divide Them), Quick Tip #2: Liriope: Mounding Or Spreading? (The Spreading Liriope Spicata, The Mounding Liriope Muscari, Cutting Back, And Fertilize, Liriope Diseases, Spacing), and Quick Tip #3: Garden Bed Edging (Is the Edging Too Conspicuous?)
Page 2: Quick Tip #4: Cutting Back Sedum ‘Autumn Joy’ (Other Perennials That Could Benefit), Quick Tip #5: How To Divide Hosta (Hosta Flowers, Fertilizer, Divide and Multiply: Preparation, and Dig, Divide, and Replace), and Quick Tip #6: Pruning Early-Flowering Shrubs (Renewal Pruning, A Personal Perspective on Pruning)