Some Quick Tips In Today’s Garden
As the weather warms, it’s time to turn our attention to a few garden chores. I’m going to attempt to keep each Quick Tip short, and direct you to the links where you’ll find a lot more details.
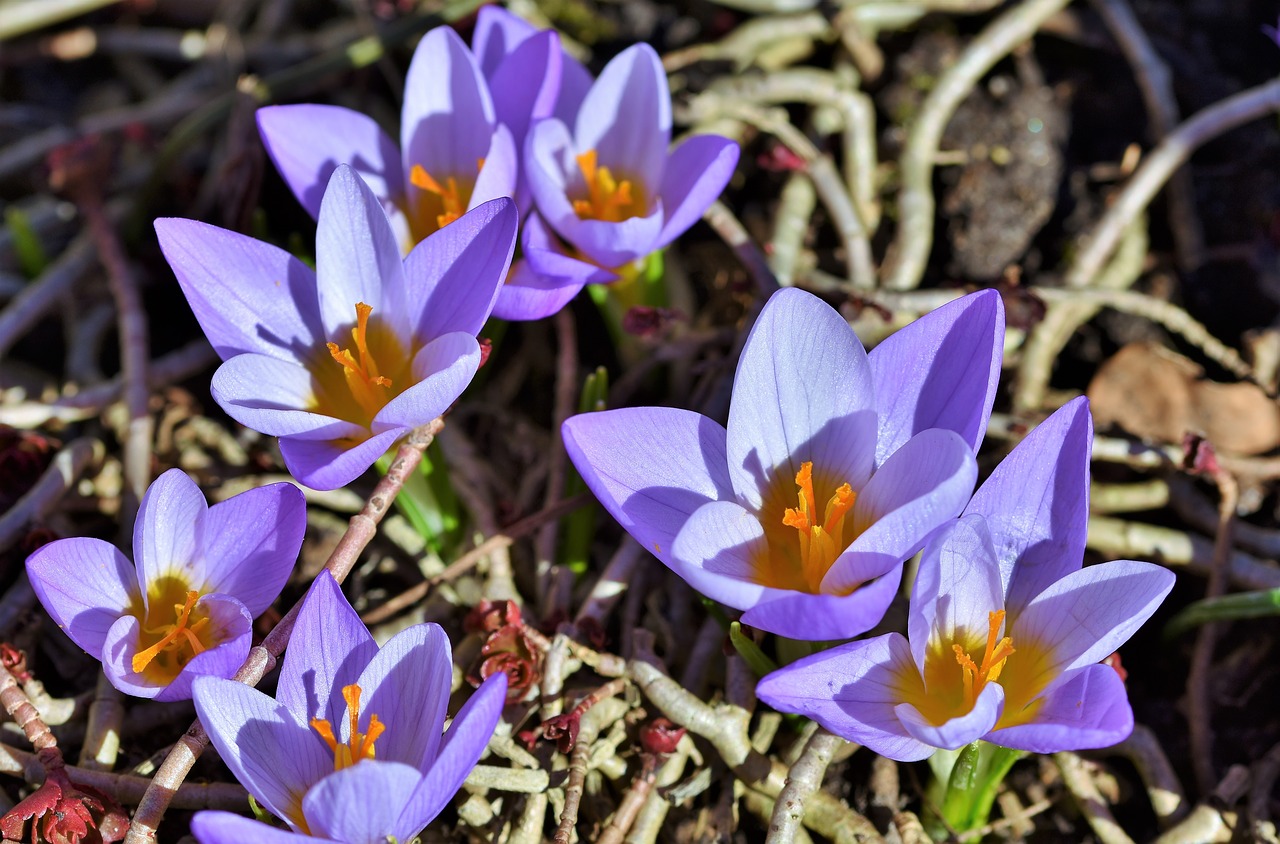
Early crocuses.
Quick Tip #1: Spring-Flowering Bulbs
It’s no secret—I love spring-flowering bulbs! My last home in Maryland had thousands of them. Jolly daffodils, fragrant hyacinths, early snowdrops, crocuses in every color, big clumps of wood hyacinths, electric blue scilla and tiny pink ones… Grape hyacinths in white, pink, and shades of blue… Species tulips, Ipheion, Chionodoxa, the reliable spreading Puschkinia, and stately Allium. There were fritillarias, Eranthis (photo below), Erythronium, Dutch and rock garden iris, and the invasively spreading Ornithogalum. Even a snake’s head iris or two.

Winter aconite (Eranthis hyemalis).
Bulbs bloomed before the winter snows had melted away, all the way through spring. Five months of flowers! Before one finished its bloom cycle, others began theirs. But spring-flowering bulbs weren’t the only stars of the garden. There were Helleborus and Siberian Iris, lilies and azaleas, and Fothergilla, Viburnum and Tiarella among the many other shrubs, trees, and perennials. And violas, of course!
“Okay, so what should I do with them now?”
Fertilize Them
By early spring, daffodil foliage is fully developed here in the Carolinas, and the early varieties are beginning to fade. Fertilize when the bulbs are near or at peak bloom. The reason I prefer not to fertilize them as soon as the foliage emerges is because the nutrients could cause exuberant growth. The soft growth in these leaves and flowers is more likely to cause them to flop over.
Use a complete product formulated specifically for bulbs rather than just bone meal. Foliage will continue to photosynthesize for weeks, sending energy to the bulbs, “restocking the larder”. Carbohydrates stored in the bulbs sustain the plants through their summer dormancy and ensure that the bulbs will flower again next year.
Lightly fertilize the bulb beds again in late summer to autumn, when new roots emerge from the bulbs. Water well if the soil is dry from drought. If you’ve tended annuals above the bulbs and fertilized them now and then, you can skip the bulbs’ fall fertilization.
Wait For Them To Yellow Naturally
In an effort to tidy up the yard, many gardeners braid the green leaves or remove them entirely after the blooms fade. But the bulbs rely on spring sunshine reaching the leaves to make enough food for themselves. That’s how the bulbs grow larger and develop flower buds for next year’s display.
Wait until the foliage is yellow or brown before cutting it at soil level. Don’t braid or knot the leaves, which interferes with photosynthesis.
Remove Old Flowers
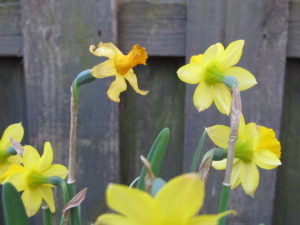
Daffodil ‘Tête-à-Tête’ with faded flower and developing seedpod.
Snip off old flowers before they have a chance to ripen seeds. This is especially important for the large flowers, such as daffodil, hyacinth, and tulip.
All energy should be directed into plumping up the bulbs for next year instead of into seed production. Small bulbs are often encouraged to spread by seed, so it is not critical to deadhead them.
Divide Them
Did your daffodils bloom heavily this spring? Or did you see a lot of leaves and only a few blooms? If the plantings seem to be declining, wait until the foliage has turned yellow or brown. Then carefully dig up the clumps, label the colors or the cultivar names, if known, divide, and transplant them. The most common reasons for fewer flowers are:
- Not enough direct sun. As our landscapes mature, the shrubs’ branches begin to overgrow the bulbs. Shading the bulbs’ foliage weakens them to the point that they die out.
- Not planted deep enough. Shallowly planted bulbs divide up, forming many small bulblets, which are too small to flower.
- Wet soil that kills the bulbs. Plant new ones this fall in well-prepared beds, making sure water drains freely. Incorporate a large amount of pine fines, coarse sand, and/or horticultural grit, which elevates the bed. Gypsum helps improve drainage if used annually for a few or several years.
- Poor soil or soil that is severely compacted cannot sustain life. There’s no shortcut when it comes to soil preparation. But if there’s not much you can do about soil quality, plant grape hyacinths, galanthus, puschkinia, and crocuses. These are planted closer to the surface. With some bulb fertilizer and a cover of mulch (1″ or 2″ of shredded hardwood), they’ll have a good chance of surviving.
Quick Tip #2: Liriope, Mounding Or Spreading?
Liriope (pronounced “lir eye’ uh pee”) is a workhorse of a ground cover. One of my favorite plants to use in large drifts under trees or through a shrub border is a variety called ‘Royal Purple’. It blooms in mid- to late summer, depending on location.
I don’t know why this cultivar is not well-known in landscape circles, but the common “blue lilyturf” is the one usually seen. The flower of ‘Royal Purple’, as the name suggests, is a rich deep purple and far prettier in the garden. Try it in front of or near large chartreuse or gold hostas for a stunning combination.
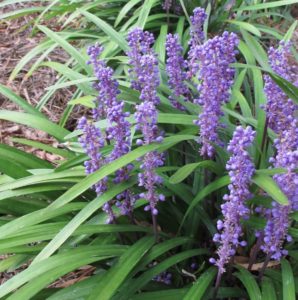
Liriope muscari ‘Royal Purple’.
The Spreading Liriope Spicata
There are two species of liriope often seen at garden centers. One is Liriope spicata, an aggressive spreader, and the one that gives lilyturf a bad reputation. It will creep into narrow cracks in the sidewalk, it will invade the territory originally claimed by Heuchera and other perennials, and it will take over the lawn.
Sure, there are some applications where this species has value, such as in inaccessible areas, in ditches, or on banks. It also will cover large areas under trees. Liriope is related to hosta and daylily in the Asparagaceae family, and all can effectively prevent soil erosion. They have extensive root systems that knit the soil together. But, if you want liriope that doesn’t spread, choose the mounding varieties of liriope.
The Mounding Liriope Muscari
The other species, Liriope muscari, grows in clumps and does not run all over the place. L. muscari is the species to which ‘Royal Purple’ belongs. Another popular variety, with cream- or yellow-variegated leaves, brightens up a shady area and has rich purple flowers. There’s a white flowering variety called ‘Monroe’s White’, for shade, and a pink one, and some with lavender or fan-shaped flowers.
The clumps will expand over time, but they’re well-behaved in garden beds. Most cultivars grow in sun or in shade. In regions with hot summers, though, morning sun or dappled shade is less stressful than full or afternoon sun.
Notice the mnemonic?
Quick tip: “spreading spicata” and “mounding muscari” refer to those species’ growth habits. When shopping for this plant, look for the species that will suit the purpose for which it was intended. The invasive tendency of Liriope spicata has turned many people off to any kind of liriope.
Cutting Back
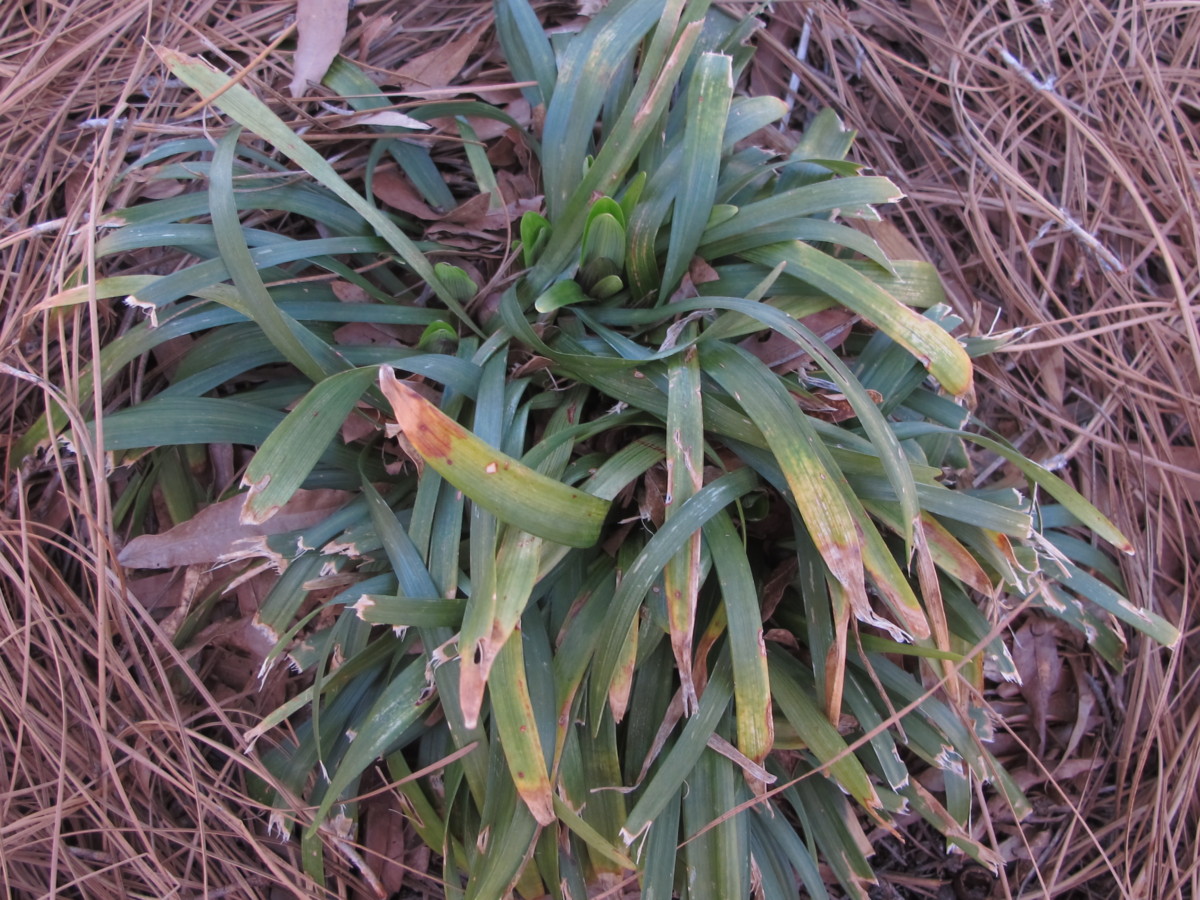
Old tattered foliage of liriope.
Narrow leaves begin to emerge in late winter to mid-spring. Last year’s foliage can look a little ragged by springtime, especially in colder areas of the country. The tips of the leaves often become frayed, and much of the foliage might have turned brown over winter. And the local deer population can cause damage. Place some dried blood among the clumps to discourage them, or spray with a deer repellent, especially as they come into bloom.
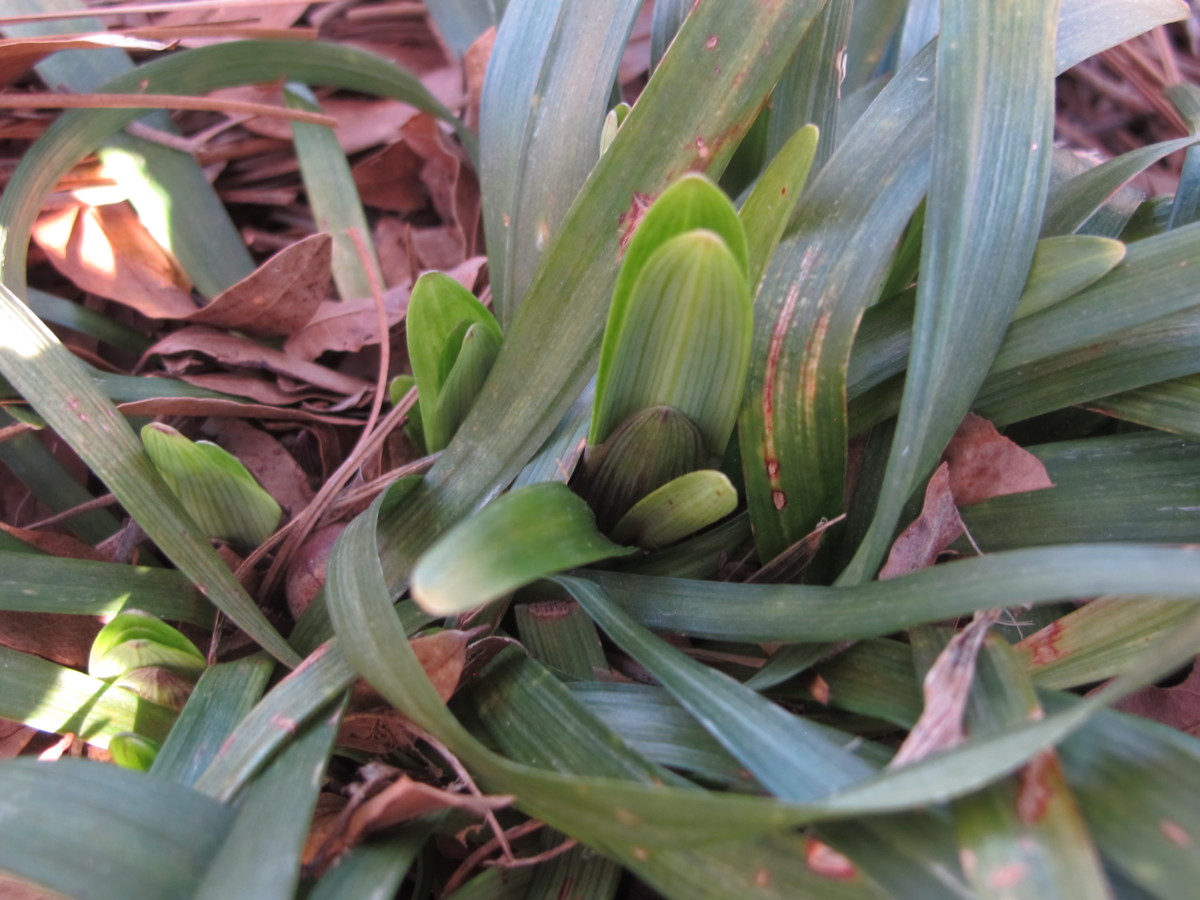
New foliage emerging in center of clump.
Before applying a fresh layer of mulch to dress up the beds for the season, cut back the old liriope foliage. This will remove the old foliage, considered unsightly by some gardeners. Raise the lawnmower’s deck, if necessary, and mow down the liriope to remove old brown foliage.
But this must be done before new leaves begin to shoot up from the center of the clump. Delaying this until after new growth has emerged will chop off the ends of tender leaves, leaving brown tips on new green growth. And don’t try this on recently planted liriope, which can be yanked out of the ground.
An alternative is to cut each clump by hand if there aren’t that many plants. Sharp scissors will do the trick. You can either collect the trimmings and compost them, or let them lie on the ground, to be covered by fresh mulch. Remove diseased foliage to the trash. A string trimmer might work, if it cuts and doesn’t shred the leaves.
And Fertilize
When there are so many chores that need attention in spring, I usually bury old leaves under a fresh 1″ layer of shredded hardwood mulch. The buried leaves will break down in the soil. Be sure to leave the crown of the plant uncovered.
Before applying mulch, broadcast granular fertilizer, such as 10-10-10, to the liriope, but prevent it from landing in the crown of the plant. Compost is an excellent fertilizer.
Liriope Diseases
Liriope can sometimes be infected with anthracnose, a disease that causes reddish-brown spots or dieback on leaves when they should be dark green. Remove clippings from the garden when cutting back the foliage of infected plants. Keep the foliage dry and increase air circulation by not crowding plants. Thinning the tree branches in the canopy above the liriope planting will allow more light to reach the plants.
Crown rot shows up as yellowing or browning at the base of the leaves, eventually consuming the entire plant. These plants should be removed and discarded. Avoid watering late in the day, which keeps leaves wet during the night when diseases take hold. Try not to include them in the irrigation pattern.
Plant liriope in well-drained soil, and, once established, water them in the morning once a week during times of drought, but don’t keep them wet. Annual applications of gypsum will help condition the soil and improve drainage.
Spacing

Liriope planted about 2′ apart
A common mistake is planting this ground cover too sparsely. These clumping liriopes (photo) are planted over 2′ on center. Liriope will not expand to fill the spaces between these plants any time soon. Instead, weeds will take this opportunity to colonize the bed.
Planted 12″ to 14″ apart, liriope will cover the ground, shading it and cutting down on much of the potential weeding.
In soil that is well-amended with compost and pine fines, liriope will expand more vigorously and have better-looking foliage in winter. In poor soils, it probably won’t die, but it will struggle.
Quick Tip #3: Garden Bed Edging
-

- Old concrete edging, bordering raised bed.
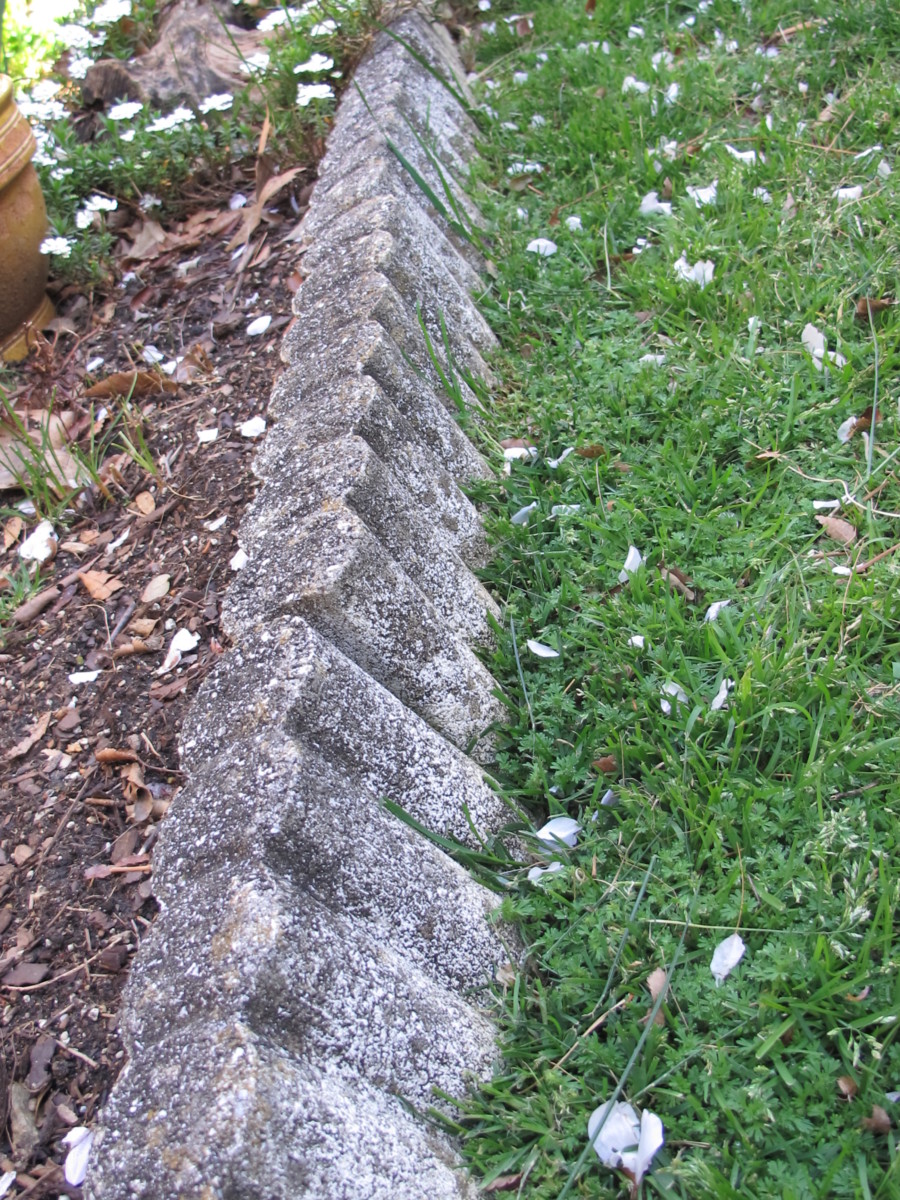
-
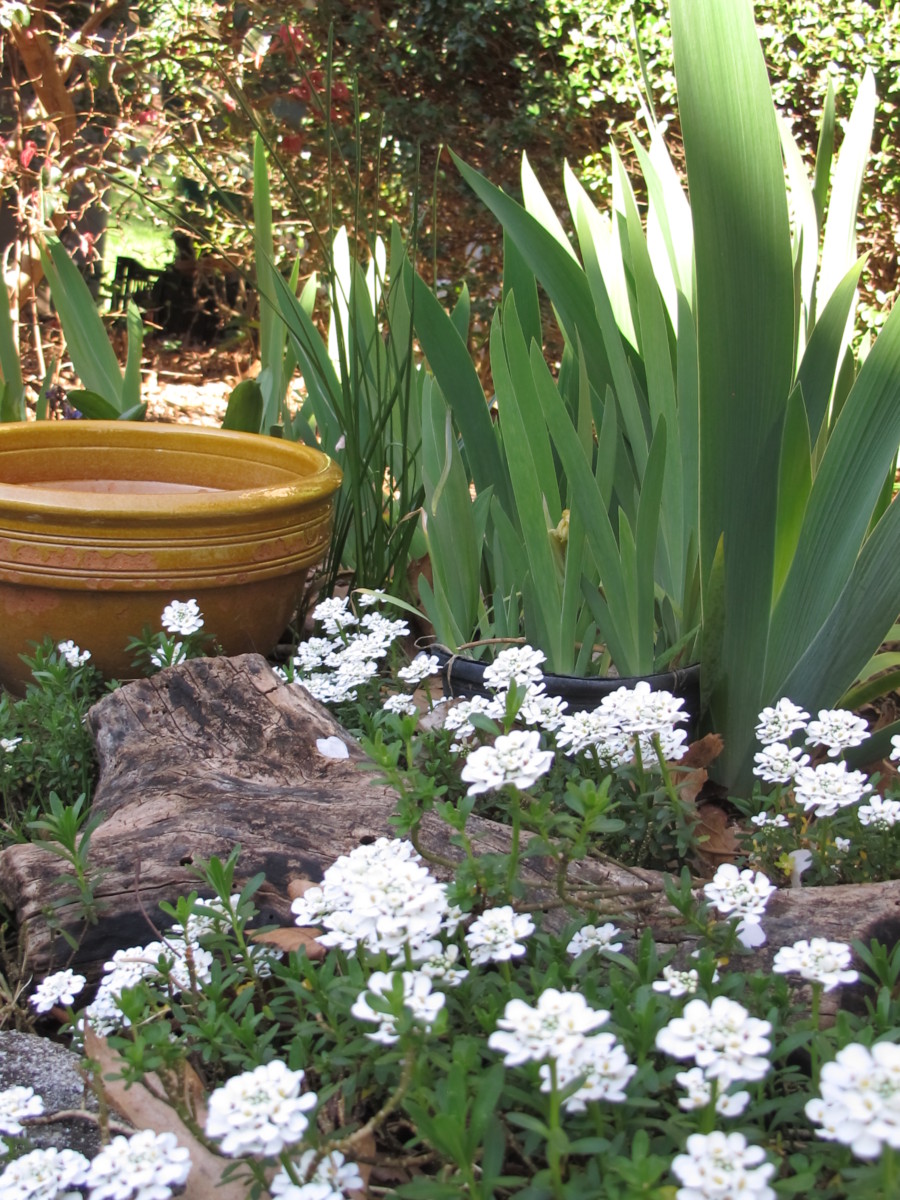
- Iberis (candytuft) spilling over the concealed edging, with reblooming iris behind it.
There are many contrivances designed to mark the edge of a bed. Whatever your personal preference is, go for it—white scalloped concrete or wire segments, bricks on a diagonal tilt, wooden ties, or heavy black plastic spiked to the ground.
I used a garden spade, with a sharp straight blade, to simply cut a steep angle 3″ into the ground. This suffices to stop most lawn grasses from spreading into the bed for a few months.
Diagonal brick edging looks quaint in Williamsburg. But if I used bricks, I preferred to “plant” them end-to-end almost flush with the ground. This forms a convenient mowing strip between the bed and the lawn, over which the mower’s wheels could follow the outline of the bed. And it’s less conspicuous.
In the back yard, in the informal Maryland gardens, gray or brown rocks lined the beds. If they were unearthed from and couldn’t be used on landscape work sites, I took them home. The edging was softened by plants that crept over and between them. There was no grass in the back yard, so these rocks functioned to define the mulch pathways and raised borders.
Is the Edging Too Conspicuous?
Brightly colored materials edging garden beds, such as colorful rocks or painted concrete segments, are conspicuous by their presence. The edging materials can end up getting all the attention instead of your exquisitely designed plant combinations. See if the boundaries can be maintained with the spade or with more muted shades of planted bricks or stones.
Headings
Page 1: Quick Tip #1: Spring-Flowering Bulbs (Fertilize Them, Wait For Them To Yellow Naturally, Remove Old Flowers, Divide Them), Quick Tip #2: Liriope: Mounding Or Spreading? (The Spreading Liriope Spicata, The Mounding Liriope Muscari, Cutting Back, And Fertilize, Liriope Diseases, Spacing), and Quick Tip #3: Garden Bed Edging (Is the Edging Too Conspicuous?)
Page 2: Quick Tip #4: Cutting Back Sedum ‘Autumn Joy’ (Other Perennials That Could Benefit), Quick Tip #5: How To Divide Hosta (Hosta Flowers, Fertilizer, Divide and Multiply: Preparation, and Dig, Divide, and Replace), and Quick Tip #6: Pruning Early-Flowering Shrubs (Renewal Pruning, A Personal Perspective on Pruning)