How To Grow a Potted Tomato
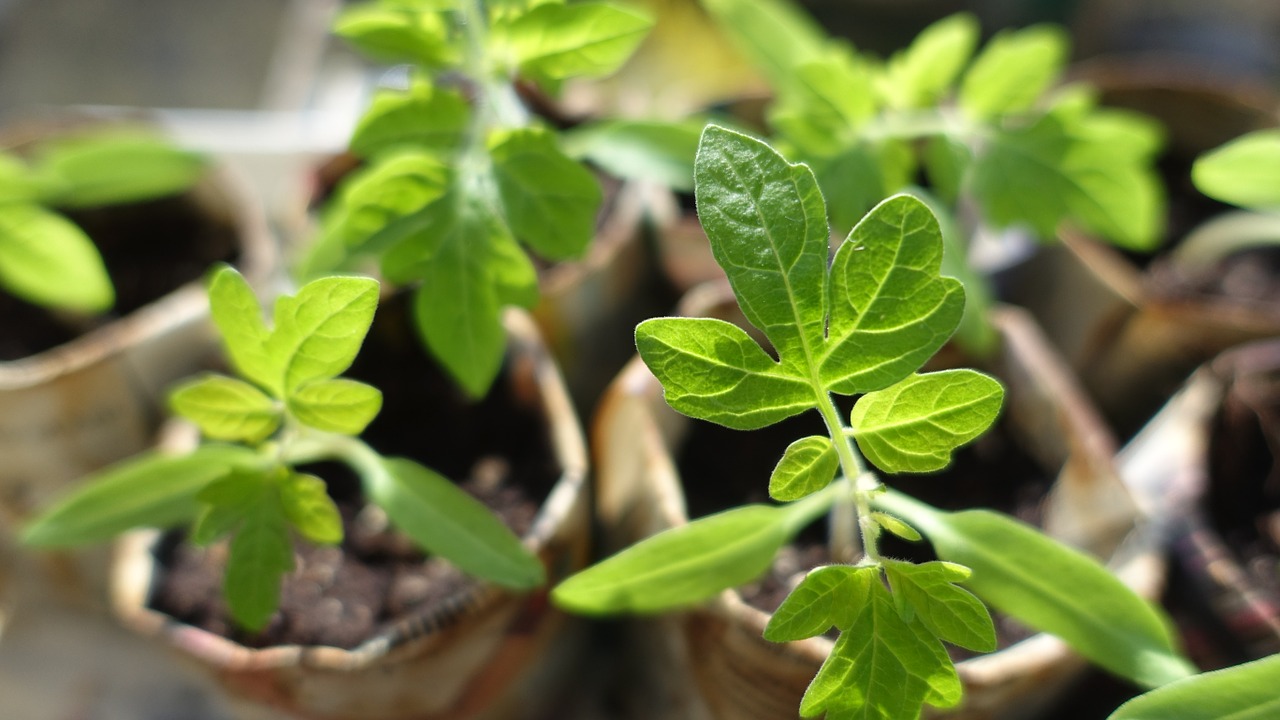
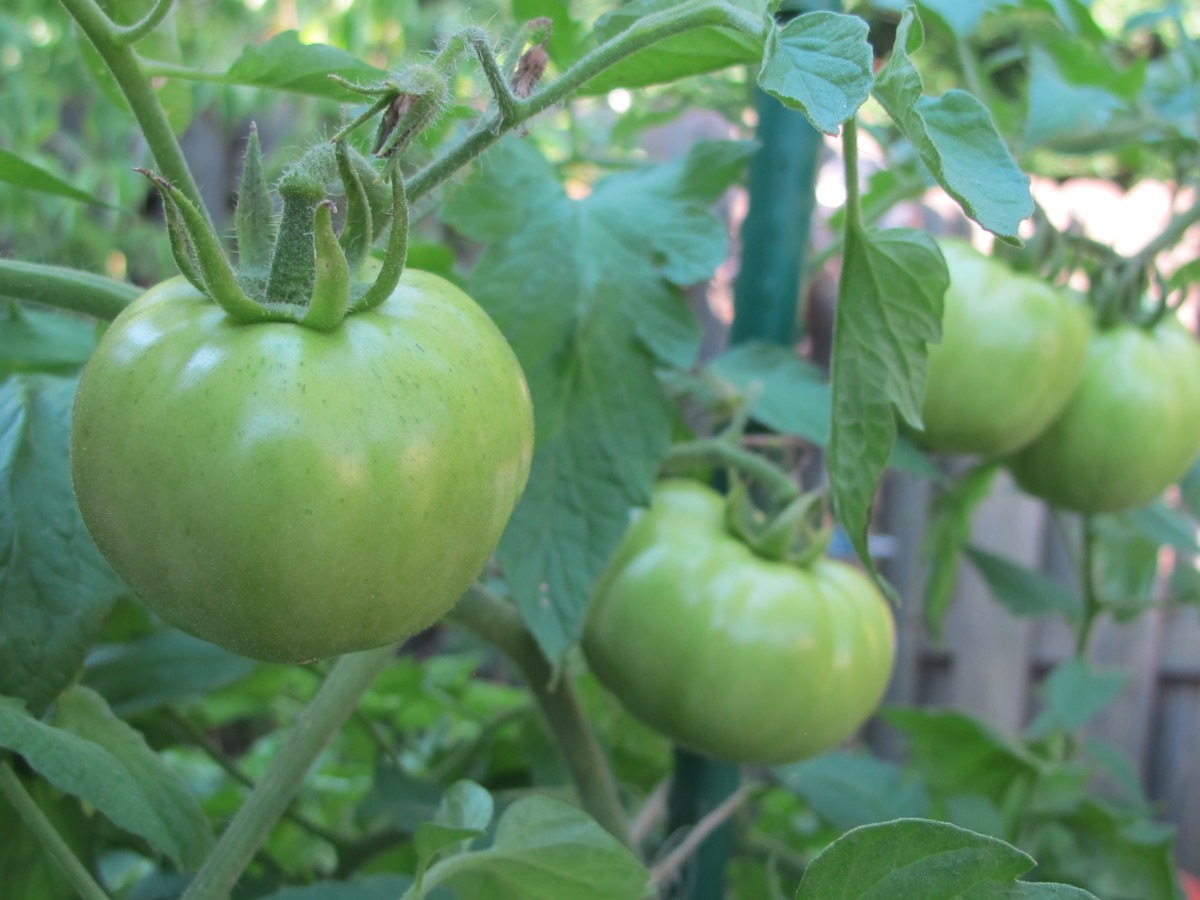
Young tomato plants.
This year’s plan is to grow two potted tomato plants on the deck, inside the fence and away from deer. But less than a week ago, it snowed! For the near future, we’ll be having temperatures in the 70’s F, and in the 50’s at night. It’s time!
Judging by the numbers of people shopping at the garden centers, I’m not the only optimist out there. Always check your local forecast to see if it’s safe to plant tender edibles. Our friends in the North are still shoveling snow. Sorry, guys. Here are today’s purchases, and the step-by-step guide on page 2.
Tomatoes
Warm temperatures turn thoughts to tomato plants, so off to the garden center I went. Since we rarely buy tomatoes from the grocery store in the winter, we’ve been looking forward to this moment.
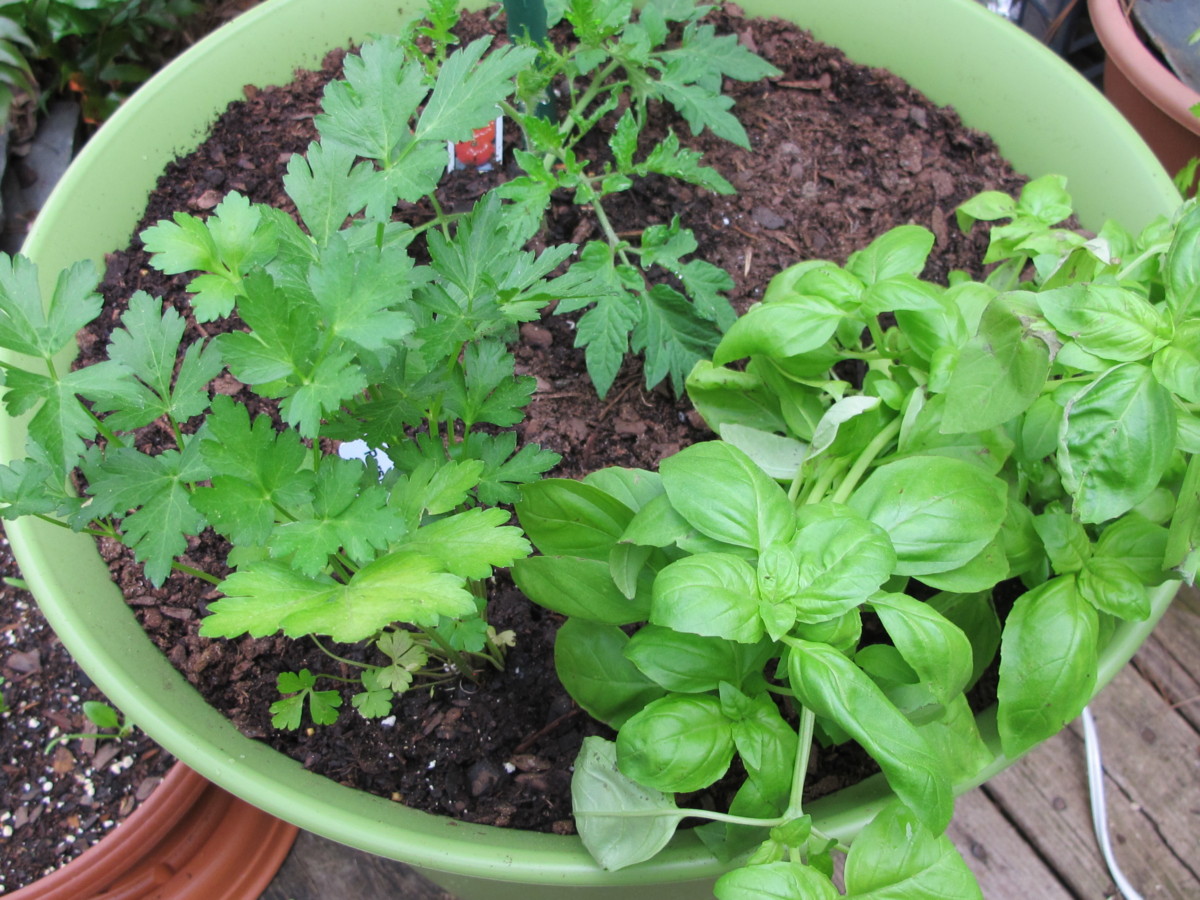
In one of the pots, I’ll include a young flat-leaf parsley and a sweet basil I bought at the grocery store a few weeks ago. The two herbs will be planted on the south side of the heirloom ‘Rutgers’ tomato, so they won’t be shaded. I’ll remove tomato leaves that interfere with the herbs. In case raccoons and squirrels set their sights on a lovely ripe fruit, bird netting wrapped around the fruiting plants will deter them.
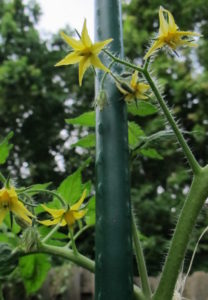
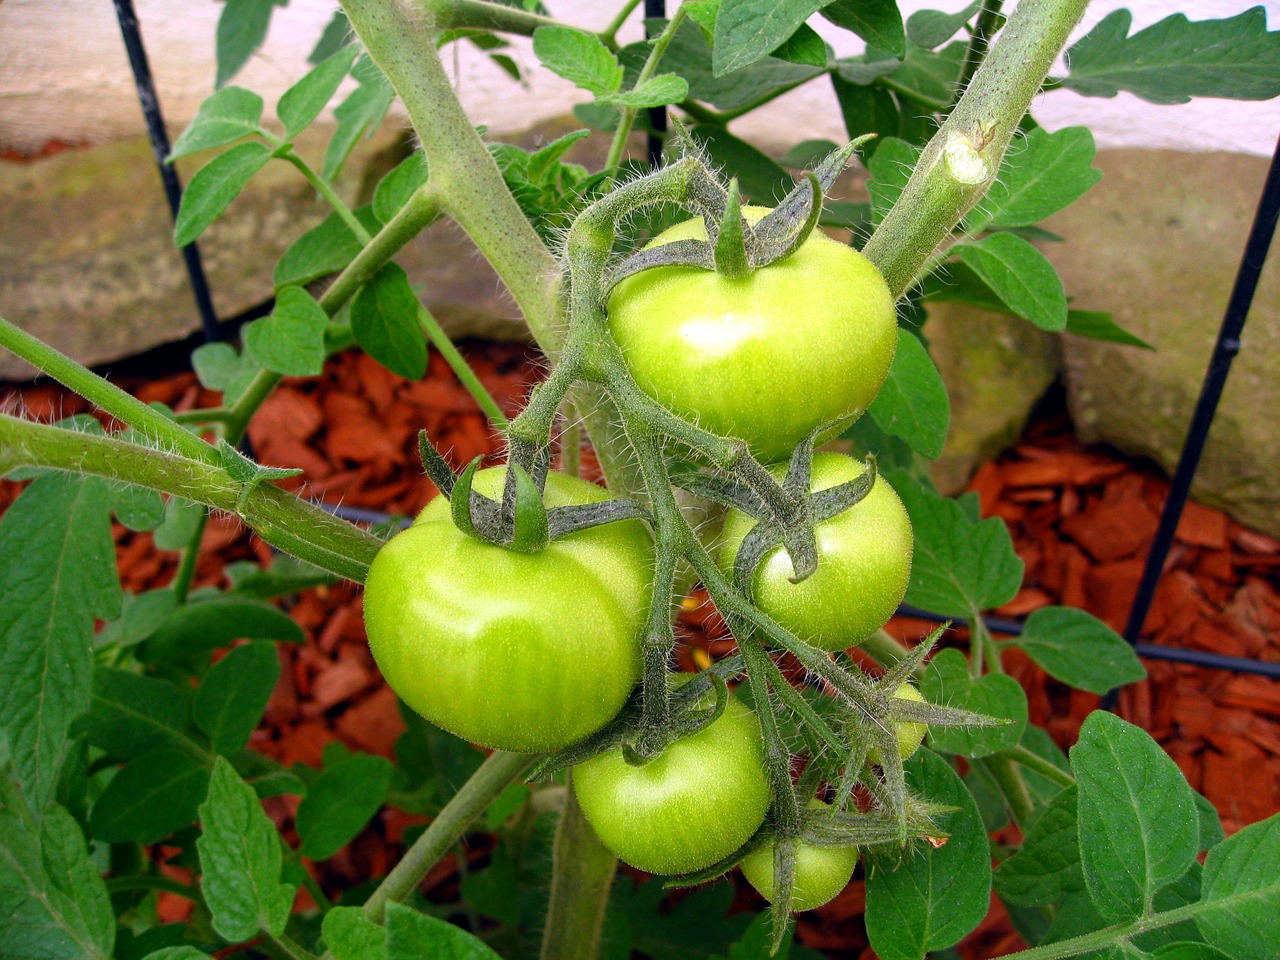
Unfortunately, direct sunlight is decreasing in the vegetable garden, next to the house, as the trees to the south grow larger. Even so, the new ‘Sun Gold’ cherry tomato will go into the garden; if any tomato will produce a crop, ‘Sun Gold’ will. Besides, it did well enough last year. It produces loads of bright orange super sweet tomatoes, great for salads and snacking. Bet you can’t eat just one!
Basil
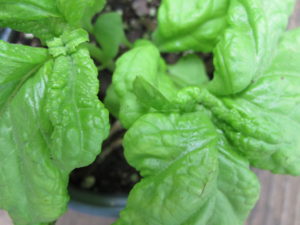
‘Tuscany’ basil.
The garden center also had ‘Tuscany’ basil, a light green lettuce-leaf type, with huge puckered leaves. It is wonderfully sweet and lightly spicy, with a hint of fresh anise flavor. ‘Genovese’ and lettuce-leaf basil are among my favorites for Tomato-Basil Salad.
And I added to the cart a pot of ‘Siam Queen’ Thai basil, for the baked salmon. Basil needs warmer temperatures, so they’ll stay in pots for a while, and come inside at night. Potted basil will come indoors even in summer, during rainy or humid weather. That’s when Basil downy mildew becomes a problem.
Curly parsley, a rogue seedling with last year’s flat-leaf parsley, and arugula survived the winter and still look good enough to hold onto for a while. The enclosed deck is a warmer microclimate, where winter temperatures are always higher than on the other side of the fence.
Although there’s some potting soil around, I’ll need more to fill those large pots and a few others. So, I bought the largest bag of soil the garden center carries. There’s enough packaged fertilizer left over from last year.
Caterpillars, Anyone?
I always keep a supply of Bt for battling the caterpillar invasions. Bacillus thuringiensis (Bt) is an organic alternative to substances I’d rather not consume, yet many people still consider it a “chemical”. It is not. Bt is a naturally occurring bacterium. An occasional spraying with Bt on the cole crops (kale, broccoli, cabbage, etc.) and on parsley and dill will save them from utter destruction!
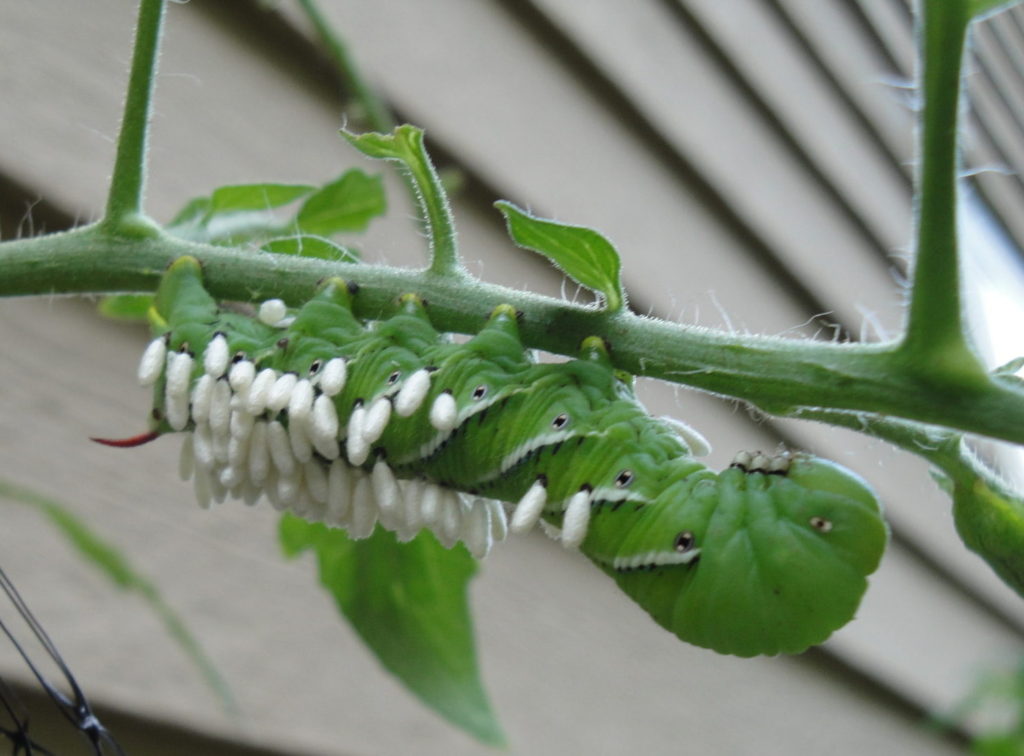
The tobacco hornworm on a tomato leaf.
Sometimes, 1 or 2 tobacco hornworms attack our tomato plants. They look very similar to the tomato hornworm, which has V-shaped markings instead of the tobacco hornworm’s slashes (photo, above). They’re difficult to see because they blend so well with the foliage.
Left undisturbed, these larvae will develop into a type of hawk moth. But this very hungry caterpillar, as it grows, consumes large quantities of leaves, and leaves behind…well, you know what it leaves behind.
This nature nerd, as a young student, kept a tiny caterpillar indoors, and supplied daily rations of tomato leaves. Well, it grew enormous and wandered off to a secluded spot to pupate. My greatest fear was that my mother would find it. I finally found it, and donated it to a teacher’s Wardian case.
Spraying with Bt kills these hidden caterpillars if you can’t find them. It is more effective, however, when used on young caterpillars. But, if they have little things on their skin that look like grains of rice (photo, above), just pluck off the caterpillars and place them in the shrubs. A small female parasitic wasp laid eggs on or in the caterpillar, and the wasp larvae fed on and will soon kill the caterpillars. The “rice” grains are pupating wasps. And some little animal might appreciate a morsel such as this.
Big Pots
I bought two 7′ tall stakes and two 20″ diameter lime green pots, at first considered somewhat disagreeable, but now perfectly acceptable. This shade of green blends in with the greens and browns on the deck. When summer heat is a problem, light colors reflect some of the hot sun bearing down on the pots. This helps moderate soil temperature, which rises in a dark pot. Conversely, in the winter, black pots absorb warmth, keeping hardy herbs and cool season greens happy.
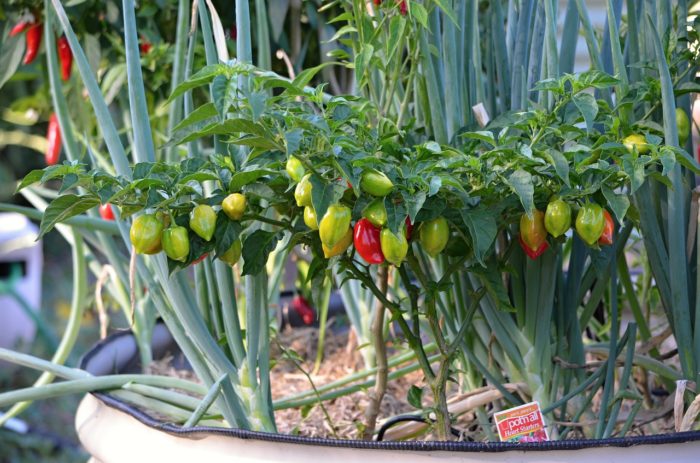
Discounted prices on vegetable transplants accomplished their intended effect: I bought more than I had planned. So, now there are 2 sweet peppers to plant, one a “green-to-red-when-ripe” bell, and the other a ‘Lunchbox’ orange.
Peppers
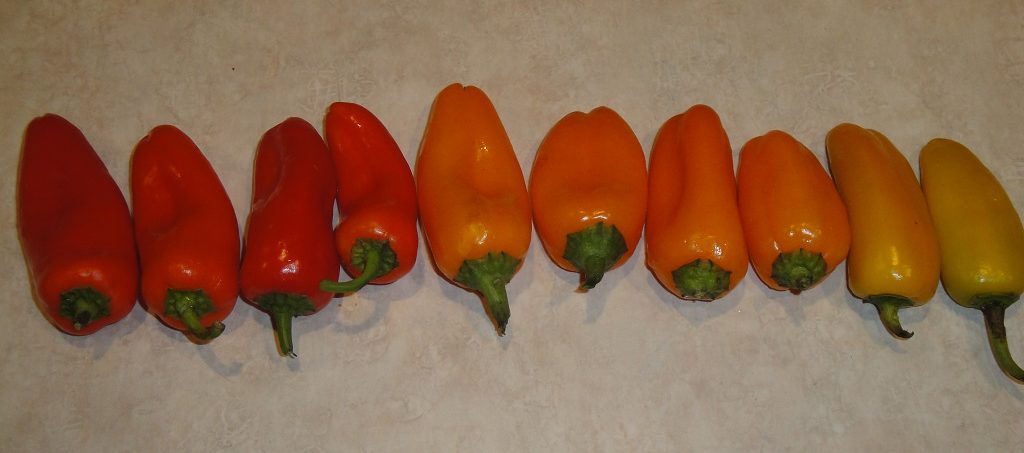
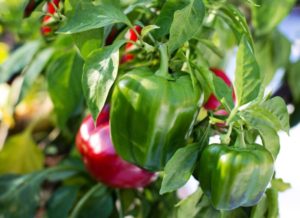
‘Lunchbox’ sweet peppers.
‘Lunchbox’ peppers are small and colorful (red, orange, or yellow—a separate color on each plant). I add them to omelets, salads, stir-fries, shrimp and vegetables with rice, and pizza.
They add great color accents as well as a higher vitamin C content than green peppers. In fact, one medium-large ripe lunchbox pepper has 100% of the RDA for Vitamin C.
It takes almost 3 weeks longer for a pepper to mature from the green stage to the colorful one. Normally, I would have waited a week or two for the pepper plants, but they were on sale…and it has been quite mild…
(“Weather Alert: severe thunderstorm watch, possible large hail, winds gusting to 60 miles per hour”. Time to move some things around outside.)
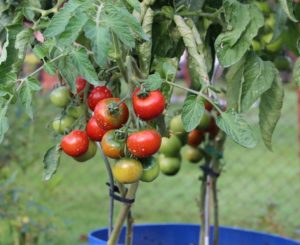
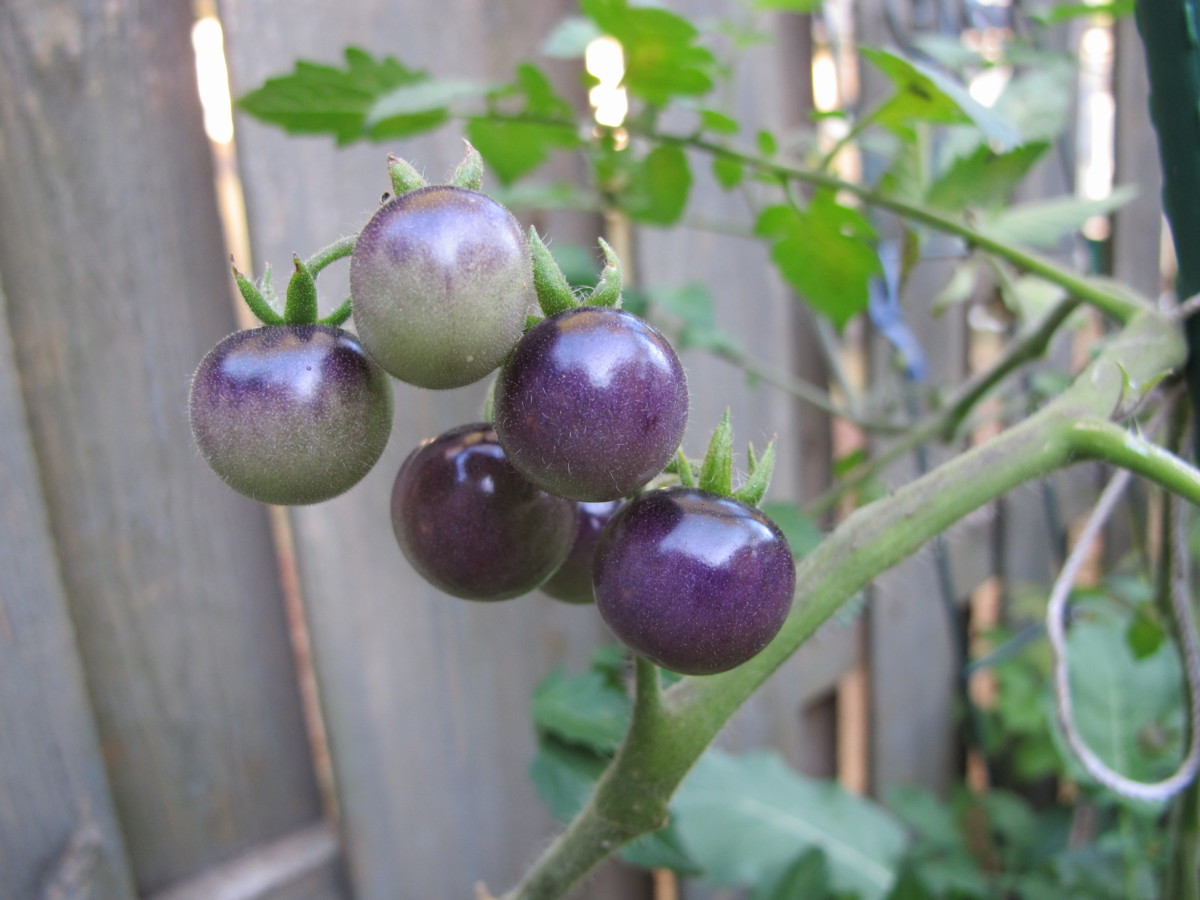
One More Tomato
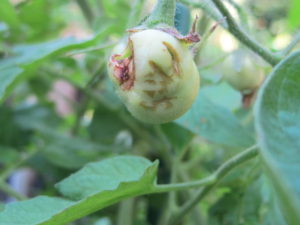
The heirloom ‘Black Prince’ tomato is not as susceptible to cracking as some of the other black tomatoes. And the fruits are smaller. This one substitutes for the ‘Black Krim’ I was looking for.
If ‘Black Prince’ doesn’t do well enough, I’ll pull it out and plant something else. That’s one of the many advantages of living where the growing season is long. (***Update***: The ‘Black Prince’ has grown taller than the 7′ stake, and it is loaded with medium-sized fruits! I’ve already picked more than 20 richly flavored “black” tomatoes. Photo at end of Page 2. June 25, 2019)
And Zucchini
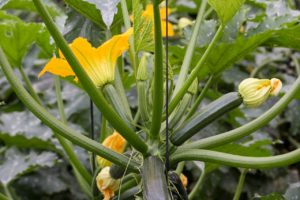
Zucchini with fruits.
The fourth of the four-for-$10 deal is a zucchini called ‘Black Beauty’. The seedlings have barely grown beyond the seed leaf stage, and they, with the basil, come indoors at night.
A 50-pound bag of aged cow manure rounded out the purchase.
I’ll plant the zucchini into a nursery pot, and later into the garden. But for now, the garden is still packed with cool season vegetables and greens.
Headings
Page 1: How To Grow a Potted Tomato, Tomatoes, Basil, Caterpillars, Anyone?, Big Pots (Peppers, One More Tomato, And Zucchini)
Page 2: A Step-By-Step Guide To Planting a Potted Tomato, Maintaining Your Potted Tomato, Temperature, Watering a Potted Tomato, Fertilizing a Potted Tomato, (How Often?, Blossom End Rot), Limiting the Suckers On Your Potted Tomato