2018
No Garden Space? No Problem!
Growing Vegetables in Containers
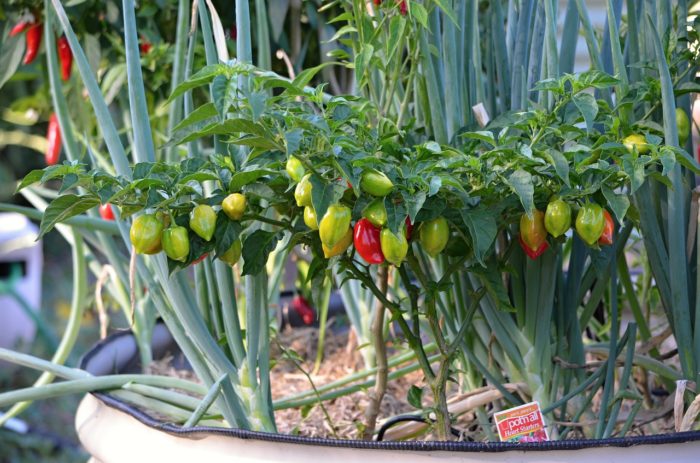
Peppers and onions.
Before I started this blog, I managed the Edibles Department for a few years at an independent garden center in Charlotte, North Carolina. As some of our customers downsized to apartment living or to a condo with a balcony, they didn’t want to give up growing their own herbs and vegetables. So, they were glad to hear that they could grow vegetables in containers…as long as the balcony was on the right side of the building. And the right side for vegetables is the sunny side of the building.
Lack of direct sunlight and adequate growing space are limiting factors. Look around, though, and you might come up with some ideas. For example, some of our customers were given permission from their condo associations to garden in common areas. Running for open association board positions yourselves is one way to garner support. I encourage you to attend board meetings, bringing your neighbors, a plan, and a promise to maintain the site.
Neighborhood community gardens are another possibility, although there often is a waiting list. With so much emphasis on eating healthy foods, little pocket parks and community gardens are popping up all over the country.
For Your Convenience
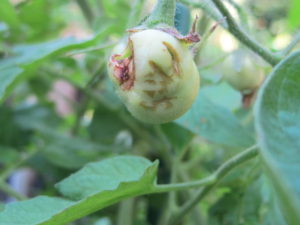
A young tomato damaged by a squirrel.
Another reason to grow vegetables in containers is simply to have them close at hand when they’re needed. A few steps out the kitchen door to a handful of cherry tomatoes and a ripe ‘Flavorburst’ sweet pepper for today’s salad has its charms.
Keeping the pots elevated on the deck prevents some animals, such as deer and rabbits, from making off with the fruits of your labor. Won’t stop the raccoons, though. (***Update***: Or the squirrels; one thought this little green tomato had something to offer. Discard any fruits that have been chewed on by animals. If needed, I’ll wrap the potted tomato plants, growing on the deck, in bird netting. June, 2019.)
Sun? Not So Much
The choices for edibles in a shady spot are limited. The ones that might succeed in bright shade are arugula, cilantro, parsley, lemon balm (interesting research with Alzheimer’s), French sorrel, and seasonal leafy greens. With just a bit more sun, basil, rosemary, oregano, and maybe a cucumber plant could grow for you.
Reflected light counts, to a degree, including light bouncing off light-colored walls. And a white surface under the pots reflects more light onto the vegetables in containers.
Remember to monitor the sun’s path throughout the seasons. Once trees drop their leaves in the fall, your balcony or patio might receive more direct sunlight than it did in the summer. This opens up all kinds of possibilities for potted cool-season greens and vegetables. Pay close attention to expected temperature changes for the duration of your crops.
Fruiting plants, such as tomatoes, peppers, eggplants, and squash need at least 6, and preferably 7 or 8 hours of direct sun. These vegetables also need warm summery weather.
Approaching Summer Solstice
Our vegetable garden is now receiving the maximum amount of light, with the sun directly overhead. In the springtime of the last two years, heavy rains caused the tree canopy up on the berm, to the south, to swell with heavy, overhanging branches. Trees now cast considerable shade early and late in the day for most of the growing season. So, I planted fewer tomato plants and more greens.
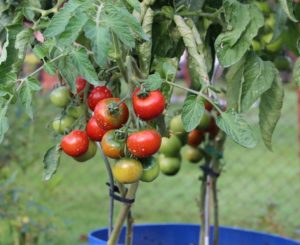
Two large ‘Big Beef’ tomatoes are beginning to ripen, and a whole lot of ‘Sun Gold’ and ‘Mexico Midget’ cherry tomatoes. So, even with less than ideal conditions, there will be something to harvest.
At Julia’s Request
Several family members from New Jersey and California recently visited us in North Carolina. I promised Julia this article about growing summer vegetables in containers.
Vegetables In Containers: Which Ones?
-

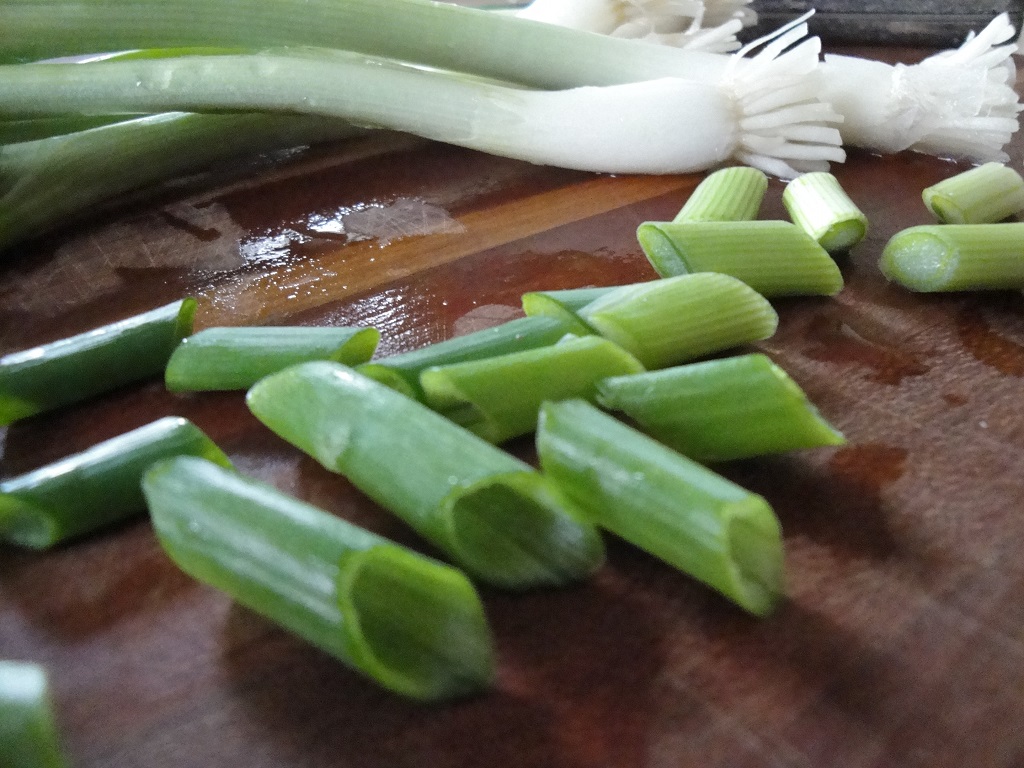
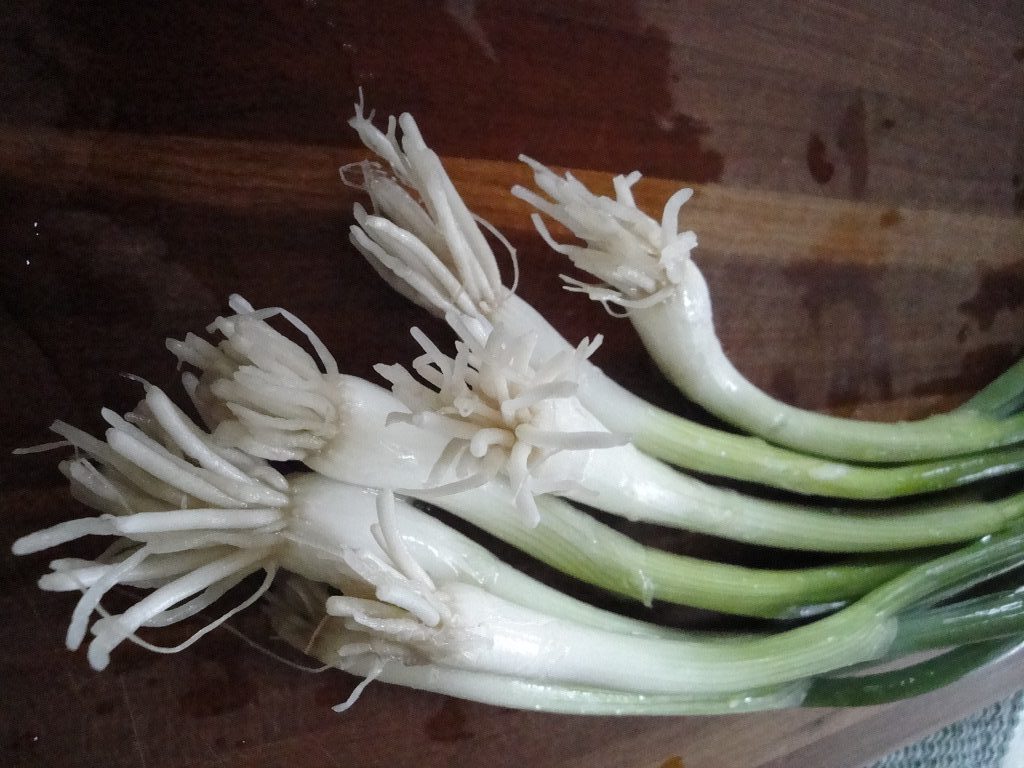
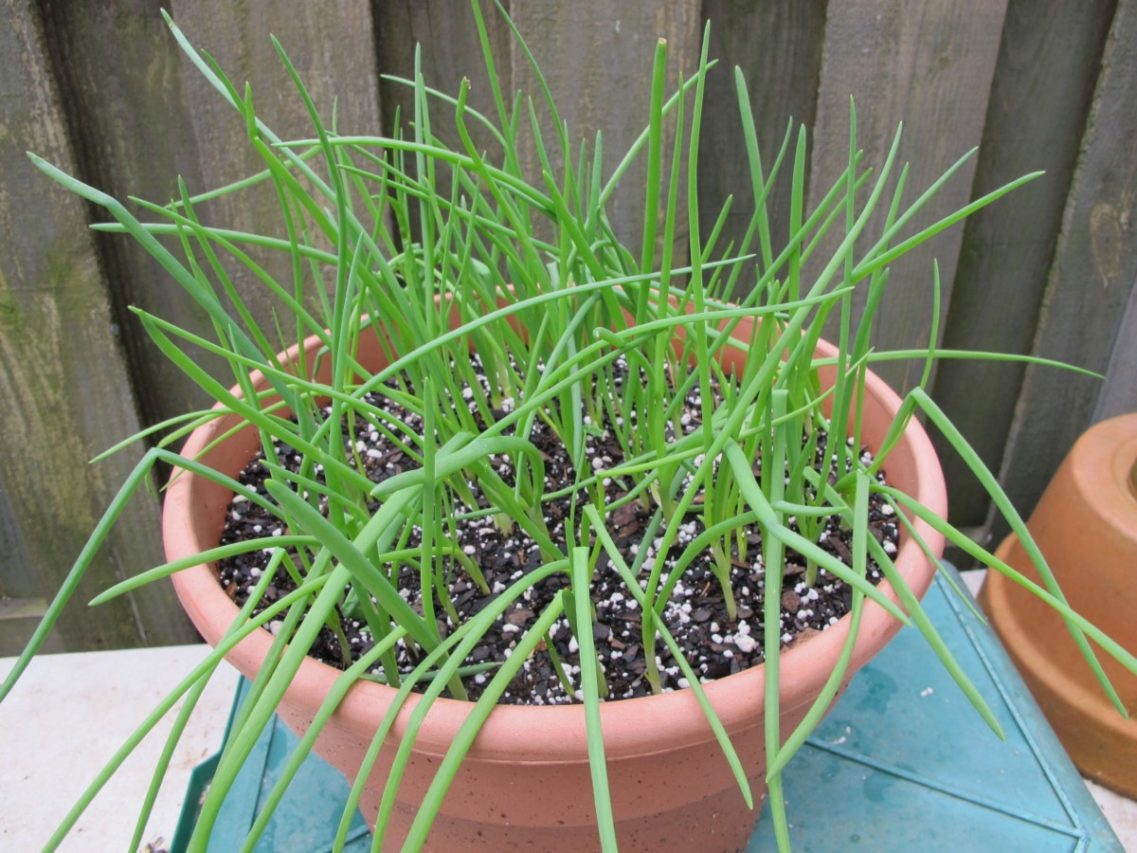
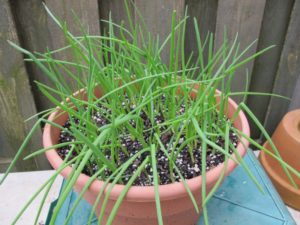
- Potted green onions.
-
- Potted tomato.
Sweet and hot peppers, tomatoes, and eggplants can be grown in containers, as well as zucchini, yellow summer and Patty Pan squashes, cucumbers, and green beans. Also, it’s easy to grow most herbs in pots. Green onions, carrots, potatoes, and peas can grow in pots!
It’s just a matter of the details. One of those details is to look for dwarf or bush varieties of the crops you want to grow. There’s even a variety of corn (‘On Deck’) that grows in large pots.
One of the popular combinations I used to sell included a sweet or a hot pepper planted with two herbs. Theme combinations (‘Jalapeno’ pepper-cilantro-Greek oregano; ‘Carmen’ frying pepper-Italian oregano-dwarf parsley ‘Titan’) grew in 14″ pots. Customers found them irresistible if they were bearing fruit.
Growing more varieties of leafy greens in containers has become a priority as our garden becomes more shaded. In addition, greens can grow all year in regions with moderate winters.
Starting With Tomatoes
Much of the information in “Starting With Tomatoes” also applies to other vegetables in containers.
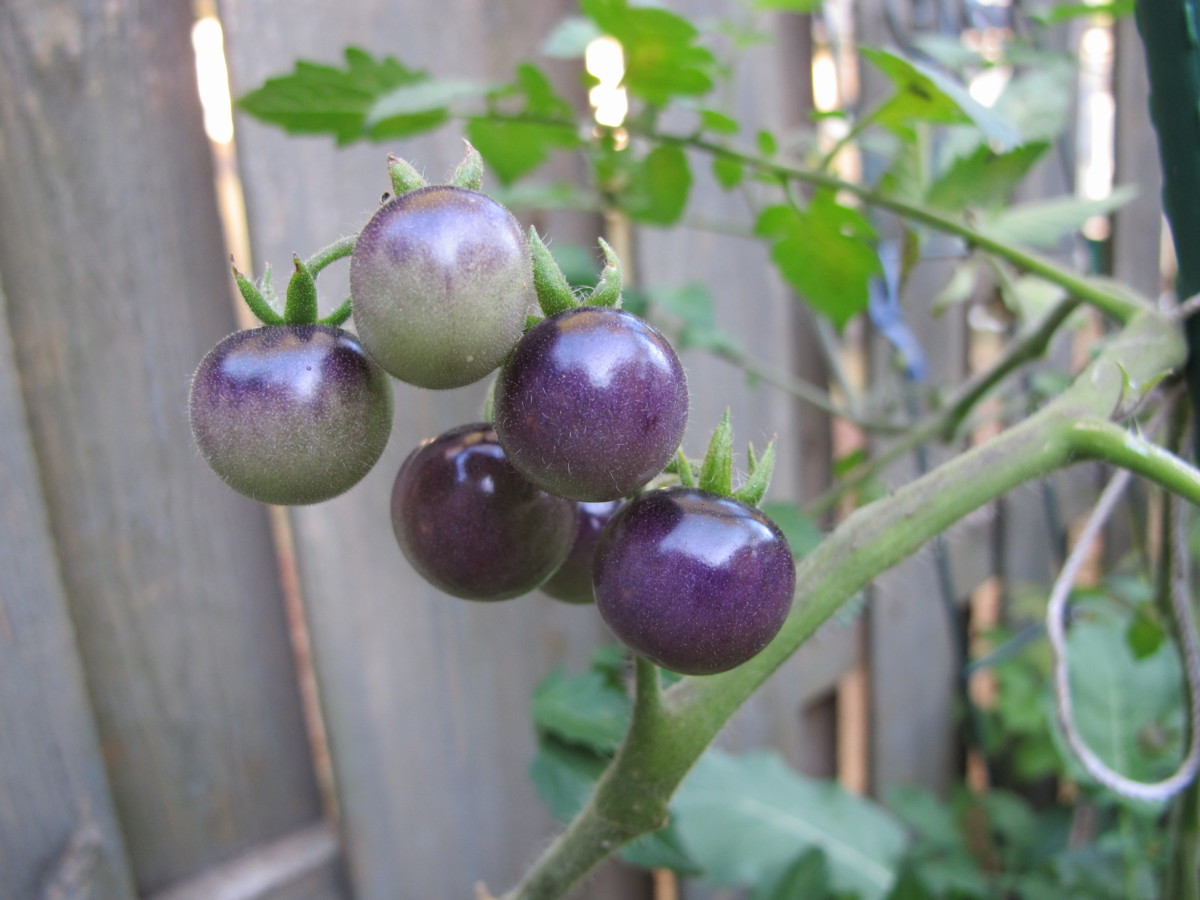
Potted ‘Blueberry’ cherry tomato.
Beginning with America’s favorite, tomatoes grow well in pots. Will it be a beefsteak or a cherry? An heirloom or a modern hybrid? A slicer or a sauce-type? Determinate? Indeterminate (it keeps growing until frost, bearing fruit all summer)? Black, red, yellow, or orange? Striped or solid? There are many thousands of varieties of tomatoes to choose from!
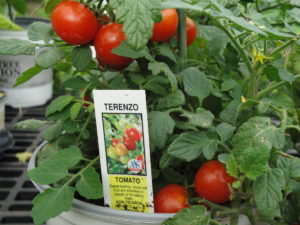
‘Terenzo’ tomato.
A dwarf tomato called ‘Terenzo’ (photo, right) can grow in a 10″ hanging basket, but a ‘Cherokee Purple’ heirloom or a ‘Big Beef’ needs something considerably larger. For the large varieties, I use pots at least 20″ in diameter.
The long-vining indeterminate cherry types (‘Sun Gold’, ‘Black Cherry’, ‘Mexico Midget’) can grow in a pot as small as 14″ in diameter, but they’d be happier in bigger pots. You’ll need to pay closer attention to water and fertility when using smaller pots.
Vegetables In Containers: Types Of Pots
Each kind of pot has both advantages and disadvantages.
Summer vegetables generally fare better in larger pots rather than smaller pots. Although the pot looks enormous compared to the transplant’s diminutive size, don’t be tempted to plant more than one tomato per pot. You’ll be amazed how quickly that one tomato plant fills a 20″ pot. A new transplant in a large pot runs a greater risk of root rot during rainy weather. But, placing it under an overhang will prevent this loss. It’ll be different once more roots and foliage have grown.
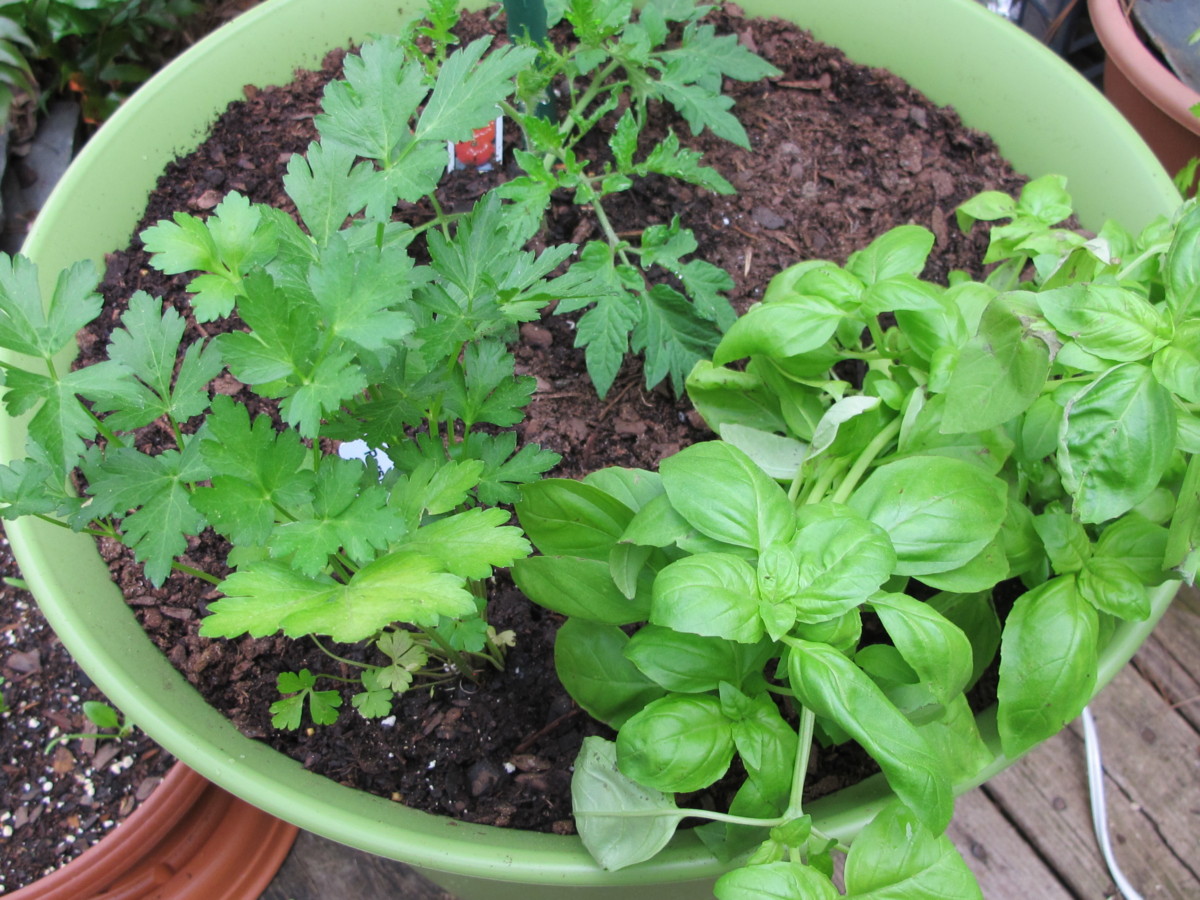
An indeterminate tomato, such as ‘Cherokee Purple’, ‘Sun Gold’, or ‘Black Krim’, can share a 20″ diameter pot (photo, below) with a couple of herbs, such as parsley and oregano. Plant the tomato toward the back of the pot, on the north side (northern hemisphere), and plant the herbs near the southern rim.
Terra Cotta
Terra cotta looks good and has some weight. But clay is porous, so water vapor passes through the pot to the air outside, quickly drying the soil. If you want to use your large clay pots, you could line them with food-grade plastic and punch some holes in the bottom for drainage. This will slow down the evaporation process.
Certainly, use clay pots if you prefer, but prepare to water more often.
Ceramic Pots
Ceramics are beautiful and heavy, and can be expensive. Soil temperature rises uncomfortably on the sunny side unless the pot is shaded. Try using light colored pots in the summer, which will reflect most of the heat.
If you’re unsure of the safety of the glaze, line the inside of the pot with food-grade plastic bags, poking several holes in the bottom for drainage. But, I would choose a different pot if a sticker on the bottom warns “Not for direct contact with food”.
You could also plant the tomato in a large nursery pot, and then insert it into the decorative glazed container. Make sure both pots have drainage holes. This “double-potting” allows air circulation around the interior pot and eliminates concerns about questionable glazes.
Tomato ‘Rutgers’, sweet basil, and Italian parsley in a 20″ wide pot, April, 2019.
Plastic and Vinyl
These pots are inexpensive, readily available, and easily moved. They’re also the most likely to blow over in windy weather. But this is the first choice for most gardeners. Most of these pots last a few to several years in the sun, but, eventually, sunlight will degrade the material.
Wood Containers
Untreated cedar or redwood and half whiskey barrels are suitable for growing vegetables in containers. Check to make sure the pots drain freely.
Reservoirs and Other Considerations
Earth boxes and plastic pots often have built-in reservoirs or detachable saucers. And you can purchase caster kits and trellises for increased functionality. Some gardeners have the option to move their plants from the morning sun on one side of the deck to the afternoon sun on the other side; wheels make this so much easier.
Caution: some of the reservoirs are too deep before the water begins to exit the overflow hole, and can cause young plants to rot if the soil stays sodden all the time. You could drill a hole in the side, below the overflow hole, reducing the capacity of the reservoir. Or simply tilt the pot to allow excess water to drain. Older plants, full of foliage, will absorb water in the bottom of the planter, as long as it isn’t raining for several days straight.
Mosquitoes and Tree Roots
Add a piece of Mosquito Dunks to prevent mosquitoes from maturing in the secluded reservoir. They need only a few days in warm weather to complete their life cycle. Or tip the container to drain all excess water.
A pot sitting directly on soil anywhere near trees or shrubs will invite their roots to invade. Believe me, they will try to grow in that beautiful composted soil. Elevate the pot off the ground. This also facilitates drainage from the pot.
A few pieces of broken flagstone or “pot feet” raise the pots above the surface of the deck, helping to preserve the deck’s finish.
Saucers
Use saucers under the pots, but don’t let water remain in them for more than an hour. Plant roots need oxygen as much as they need water. Water in the saucer prevents air from entering the bottom of the pot.
Saucers aren’t absolutely necessary, but help if the soil has gone too dry. Just keep filling them until no more water is absorbed by the soil. In tall pots, though, the force of gravity will prevail over capillary action, preventing water from reaching the top of the root ball. So, you’ll also need to water the top portion of soil.
During long periods of rainy weather, I remove the saucers, or turn them upside down and keep them under the containers. This is impractical, however, if the pot weighs 50 pounds. Consider removing the saucer and using a few pieces of broken flagstone or brick to elevate the pots, if necessary.
Potting Soil
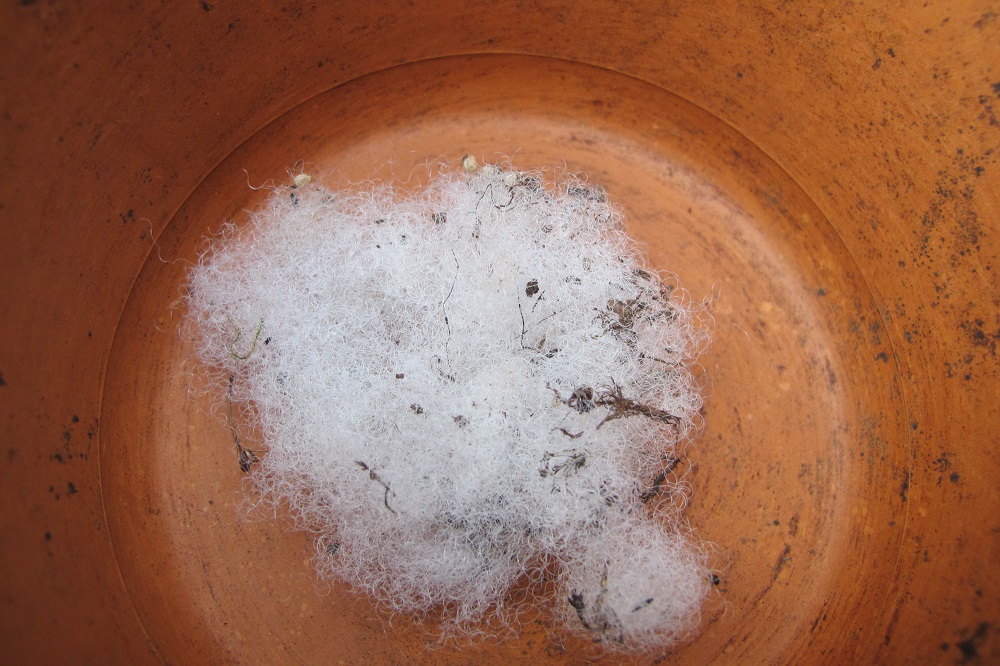
Reused polyester fiberfill covers the drainage hole.
Before filling the pot, place a small handful of polyester fiberfill (from a hobby store) over the drainage hole. This prevents soil from eroding through the hole, and prevents earthworms and other critters from entering. If you pull some of it through the hole to a point at the bottom, excess water will continue to drain. This is helpful for potted plants that rot easily during long stretches of rainy weather (succulents, lavender, thyme, sage). This synthetic material doesn’t rot, so it’s reusable.
Use a good quality potting soil that drains well, but has peat moss to hold moisture. In addition to the peat moss, the mixture will have perlite (white particles that help drainage), pine bark chips (drainage), lime (to adjust the pH), compost or a starter charge of fertilizer, and often a wetting agent (to help the soil absorb water).
Amending the Potting Soil
Feel free to experiment with mixtures of different materials. Soils with a lot of bark (pine fines) in the mix tend to dry out faster. You can mix in smaller-particle loamy topsoil, spongy peat moss, aged manure, or compost to help slow water loss. Water-absorbing crystals might help, too. But moisten them before you add them to the soil. If you don’t, you’ll understand why I italicized the word “before”.
Adding a layer of undyed mulch on top of the soil helps conserve water and keep the soil a bit cooler.
While some gardeners add rocks to the bottom of the pot, I never do. It was thought the rocks increased drainage, but the opposite is true; they create a perched water table in the layer of soil right above the rocks. Water percolating through the soil profile is held in this layer by capillarity, and often rots roots trying to grow there, limiting the useful volume of soil.
Headings
Page 1: Growing Vegetables In Containers, Sun? Not So Much, Vegetables In Containers: Which Ones?, and Starting With Tomatoes (Vegetables In Containers: Types Of Pots, Reservoirs and Other Considerations, Mosquitoes and Tree Roots, Saucers, Potting Soil (Amending the Potting Soil)…
Page 2: Transplanting the Tomato, Water, Going Away?, Staking, Fertilizing Vegetables In Containers, Blossom End Rot, On PH, Pollination), Peppers and Eggplants, Cucumbers, Squash (Squash Vine Borers), Green Onions (Bunching Onions from Seed), Leafy Greens, and Picking Vegetables In Containers