2021
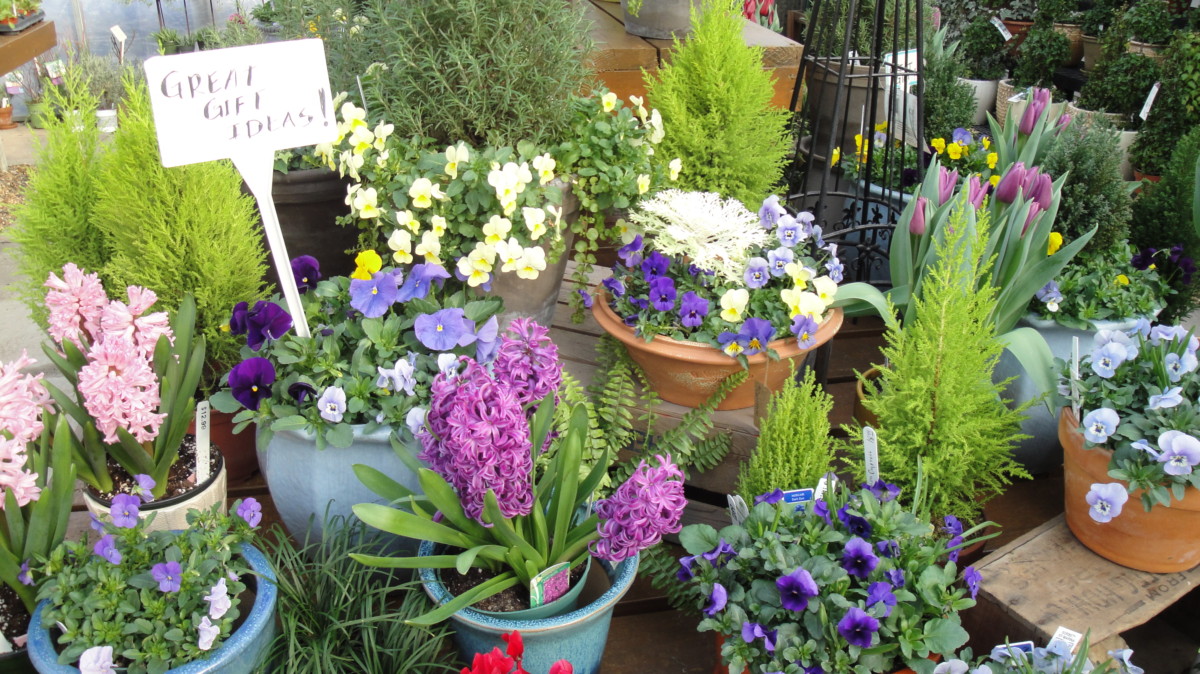
Early spring offerings at the garden center where I worked for a few years.
Early Spring Activities
This is my favorite time of the year…when winter transitions into spring. In this USDA zone 7b location, in southern North Carolina, warm spring weather might alternate with cold rainy days, but the trend, at least, is going in the right direction.
Give the gardens some time to dry somewhat before working in the soil. Walking on wet soil will collapse the minute air tunnels that help the soil drain. We’ve had so much rain through the winter that gardening activities might best be limited to growing plants in pots for now.
For the Birds
Yesterday, after working on the potted plants outdoors, I sat for a few minutes just to listen to the songbirds calling to each other. Cardinals, goldfinches, Carolina wrens, chipping sparrows, tufted titmice, and robins are communicating with their mates or looking for new ones. A delightful soundtrack!
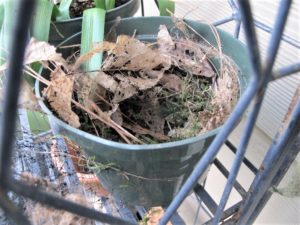
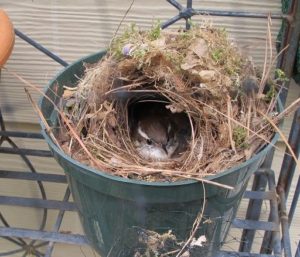
In early spring of last year, a pair of wrens built their nest in an empty 6″ pot (photos, below), sitting on a plant stand. This location is under an overhang and faces south, creating a warm microclimate. The deer netting stopped raccoons from climbing the stand, but it didn’t deter the birds.
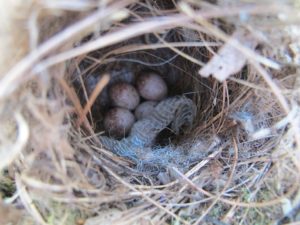
The wrens and nuthatches, in particular, normally come to the feeders only a few feet away from where I pot up plants. Unfortunately, the wrens abandoned the nest after laying eggs, even though they were comfortable having me around. It appeared that a snake must have scared them off. Occasional disappointments are par for the course in the natural world. The eggs were cold when I found them and wouldn’t have hatched.
The wrens are now investigating the pots stored under the potting table, so I moved one to the plant stand.
-

- The wrens collected moss, dry leaves, pine needles.
-
- Building the nest.
-
- Keeping the eggs warm.
-
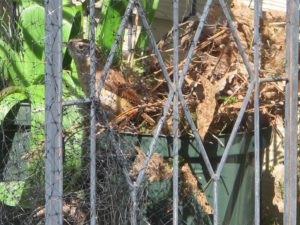
- The abandoned nest and a snake skin.
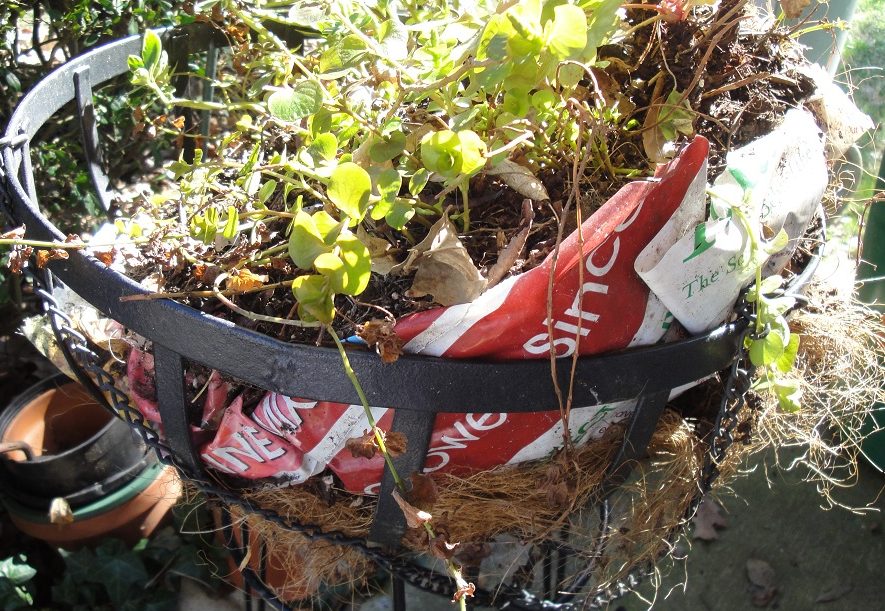
Replanting the Wire Hanging Basket
The Basket and the Liner
A 16″ wire hanging basket has hung on the shepherd’s hook in the front garden for 5 or 6 years. It’s planted with a few perennials and a rotating cast of colorful characters. For fall through mid-spring, I add pansies and violas, and then replace them with heat tolerant annuals for the summer.
This time, instead of buying another coco liner that the birds will instantly pick to shreds, I used a large fabric pot that had been idly hanging around the shed for years. After planting and installing it on the hook, I wrapped the completed basket with deer netting to prevent the kind of damage they can do.
The heavy synthetic material was cut and shaped, and the excess was later trimmed to just above the rim. The material is similar to landscape fabric, but sturdier. So, I wasn’t concerned about the liner slumping through the wires. Nor am I concerned that the birds would steal it! Water will drain through without taking any soil with it. It doesn’t look bad, after smoothing the sides. In fact, I now prefer it over coco liner!
More Options
So, maybe you have something that can be repurposed to use in your wire baskets. A couple of layers of porous landscape fabric or heavy burlap probably would work as well. I was prepared to tie black deer netting inside the basket to support the liner, but it wasn’t needed.
When planting wire baskets, I always add a layer of plastic inside the liner to help slow evaporation. It also delays decomposition when using a coco liner. Poke several holes in the lower third of the plastic to allow for drainage. But keeping the lowest 1″ to 1 1/2″ intact will provide a small reservoir of water for thirsty plants on a hot summer day.
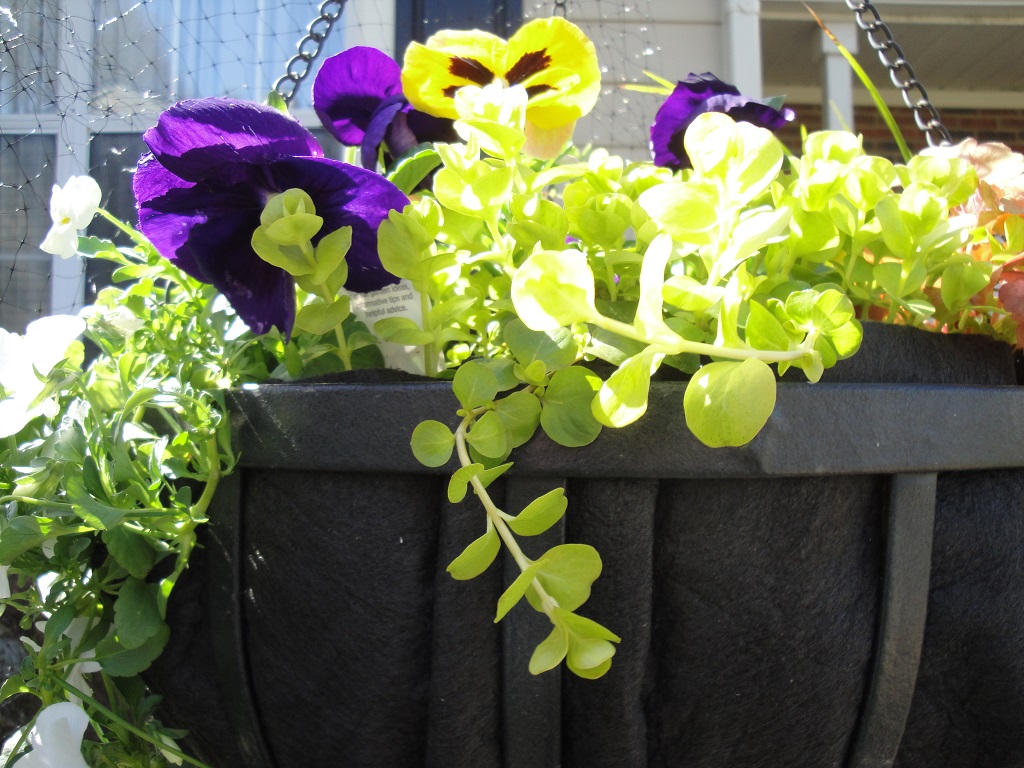
Add Some Color For Early Spring Plantings
On one of my daytrips to northern North Carolina last autumn, I bought a few packs of pansies and violas from Beautiful Earth Garden Shop on NC 704 in Lawsonville, North Carolina. (Phone 336 593-1083; call for hours.) Well, I never got around to planting them, so they overwintered on the covered porch. Rabbits helped themselves to the flowers as they opened. But the plants look fine, and it was time to give them a proper home.
Help wanted!
I replaced about 1/3 of the soil in the basket with fresh potting soil. The new soil contains a fair amount of peat moss, which provides the acidity these plants need. The pansies and violas will fill the spaces between the existing heuchera, variegated pachysandra, and acorus.
Golden creeping jenny (Lysimachia nummularia ‘Aurea’) replaces the English ivy that the deer yanked out of the pot. Chartreuse foliage spreads wherever it wants and will trail over the sides. These existing perennials already have started growing during this early spring weather. Creeping jenny spreads rapidly in moist soil, so take care if you prefer not letting it escape to the garden.
I’ll enjoy this arrangement until warm weather settles in, and when summer annuals will be planted in all new potting soil. Violas and pansies die in hot temperatures but can be grown again in late summer/autumn. In this climate, they’ll survive the winter and flower most of that time.
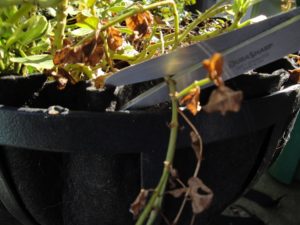
-
- Trimming old growth.
-
- All planted and trimmed.

-
- I like this fabric pot as a liner.
-
- The same basket, 3 weeks after planting.

And Edibles for Early Spring
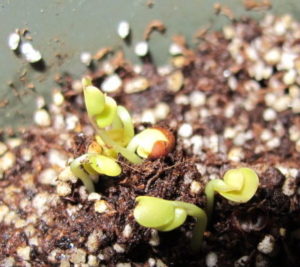
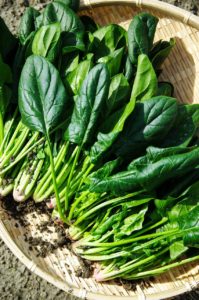
Spinach ‘Monstrueux de Viroflay’
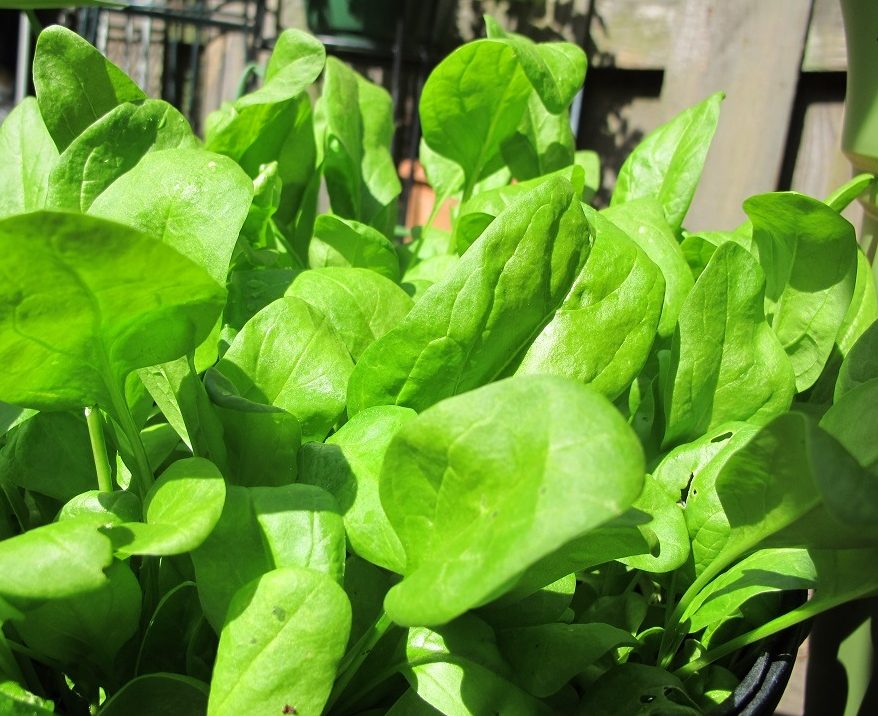
Last year’s spinach ‘Monstrueux de Viroflay’.
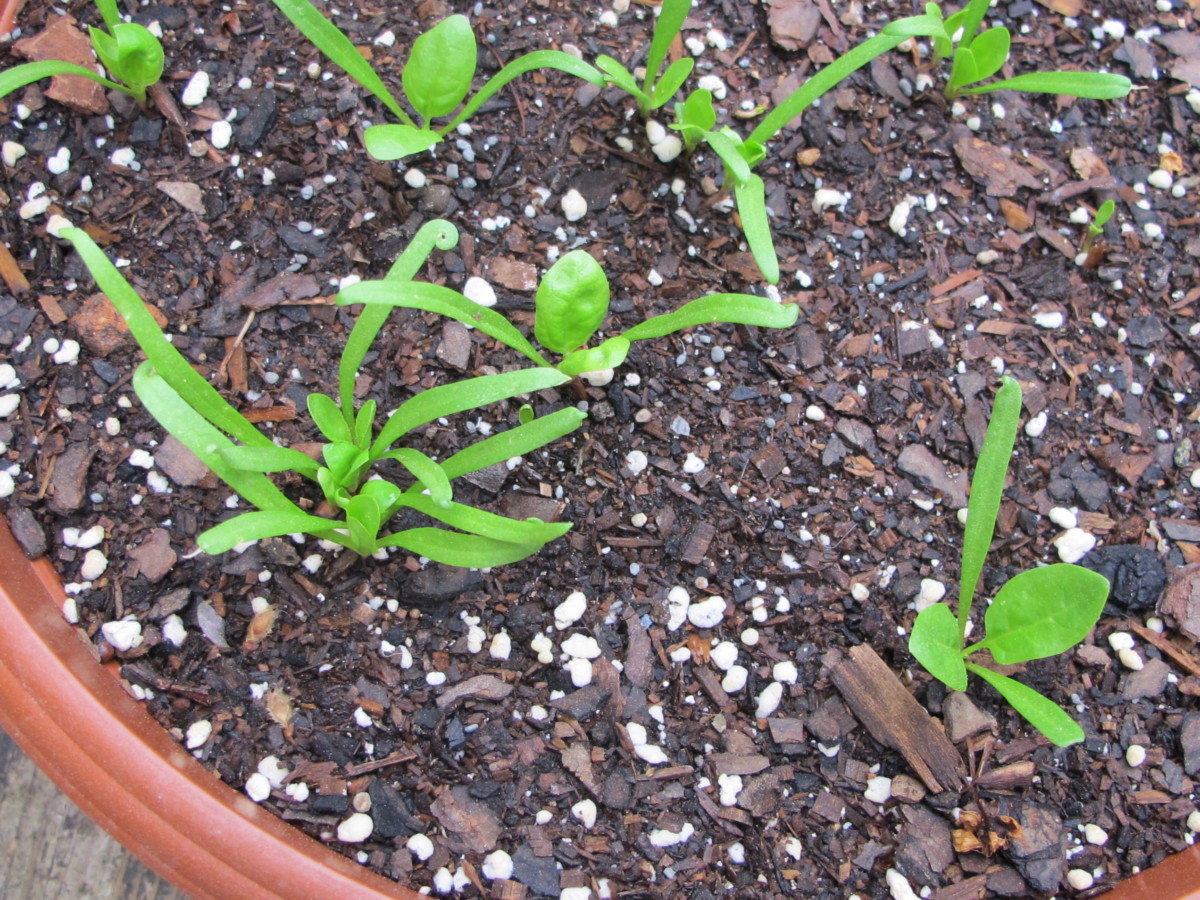
Also called ‘Monster of Viroflay’, this is my favorite spinach to grow in pots. A few plants sown last fall remain in a 14″ wide bowl (6″ deep), so I added more seeds and some fresh potting soil around them. The seeds are 4 years old, so they might germinate…but they might not (…they didn’t).
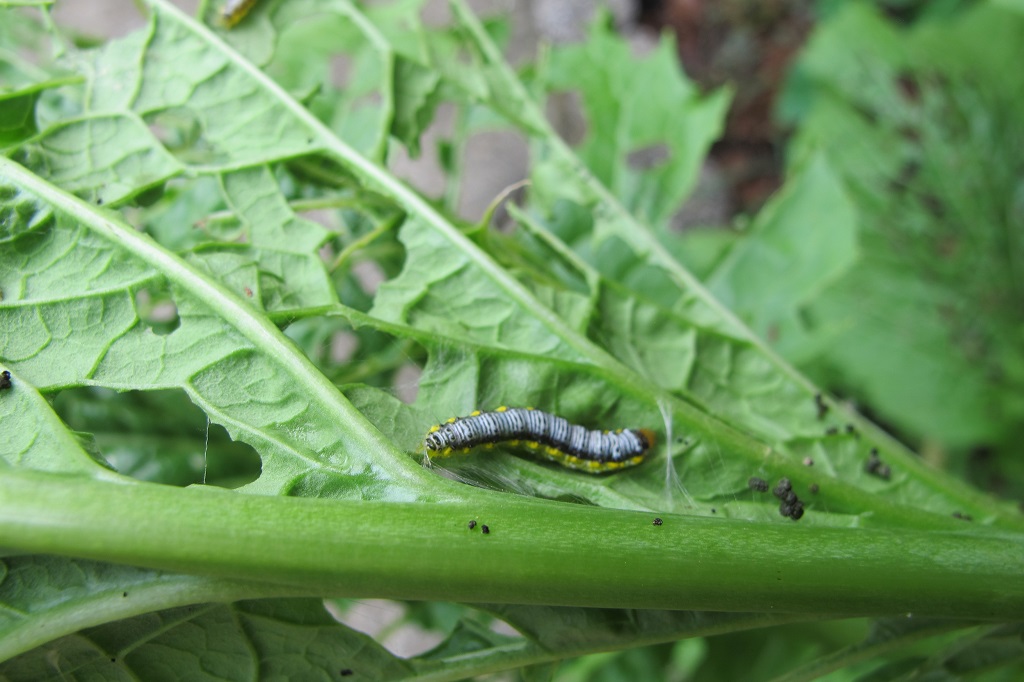
Spinach, lettuce, and other greens are among the easiest crops to grow from seed, either in pots or in the garden. All seeded pots outside must be covered with deer netting to protect them from perpetually hungry chipmunks, mice, birds, and squirrels.
Oxalates and Kidney Stones
This spinach, a French heirloom dating back to 1866, has huge leaves and a milder flavor than the smaller-leaved varieties. It also has lower levels of oxalates, which, for some, are a concern. If you get kidney stones, ask your doctor, and also ask about kidney pH levels.
A diet high in animal proteins tends to lead to an acidic (or low) pH. On the other hand, those consuming a primarily plant-based diet have higher (more alkaline) pH levels. People with acidic systems are more likely to develop kidney stones.
We’re all different, of course. And to further complicate matters, our bodies make oxalates, some absorb more than others, and certain gut bacteria consume them!
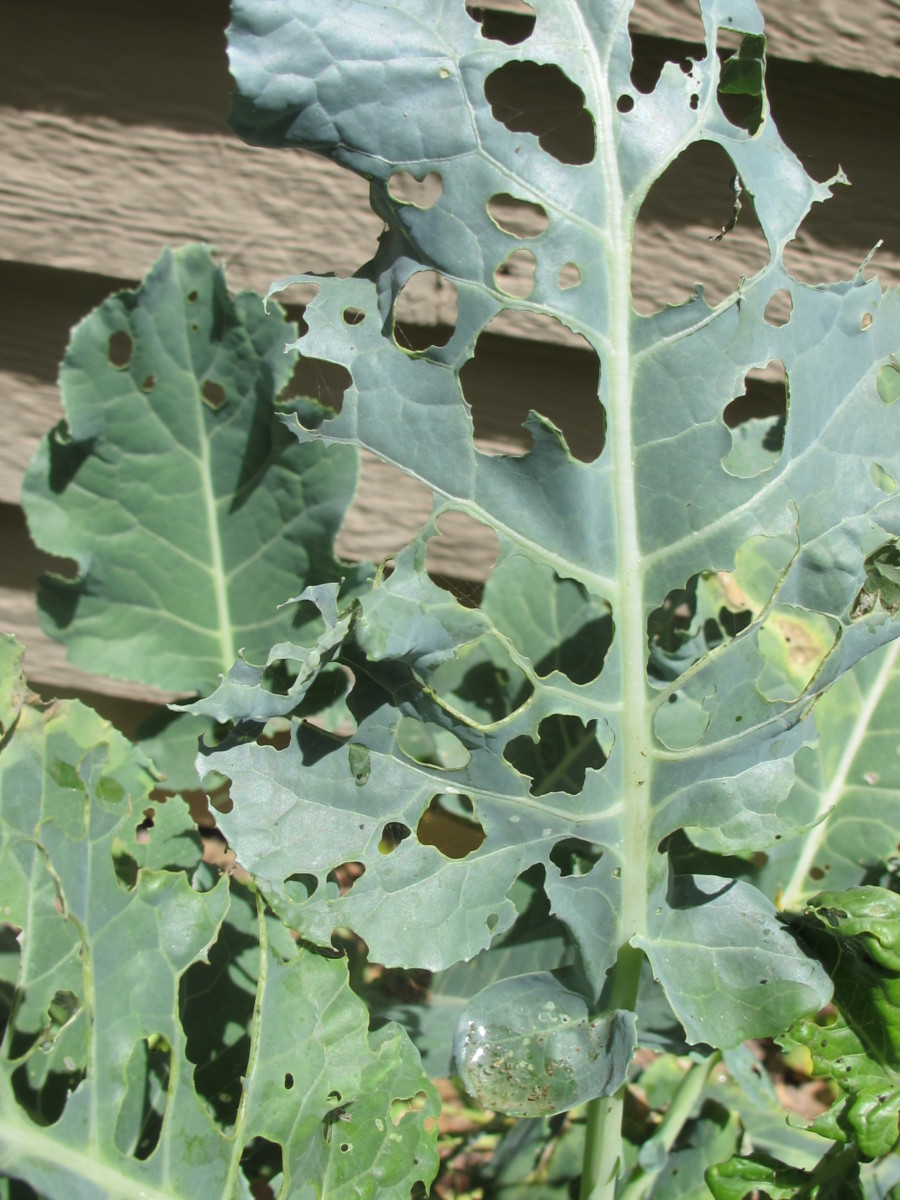
Broccoli
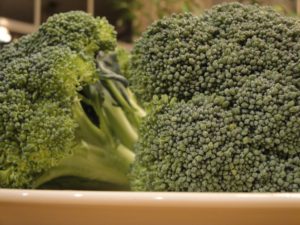
This year, I bought a variety called ‘Lieutenant’. It was the only one the garden center had. The label says “few side shoots”, which is a disadvantage since those smaller side shoots can prolong the harvest for weeks or months. But I’ll try it. I planted 4 of them in a 20″ wide pot, in soil well enriched with composted manure.
As broccoli grows, I’ll harvest a lower leaf now and then to add to soup or a stir-fry. Super nutritious.
(***Update***: Although I’ve grown broccoli twice a year in these pots for a few years, this crop of ‘Lieutenant’ was rather disappointing. May 2021)
Lettuce
Lettuce ‘Red Sails’.
I planted a few ‘Red Sails’ from the cell pack into a 12″ wide pot. This red and green leaf lettuce is more heat tolerant than many and should keep producing for quite a long time. Even so, lettuce prefers cool weather and can be planted in late winter in southeastern U.S. Red-leaved lettuces have more beneficial antioxidants, such as anthocyanins, than green lettuces.
Pick the outer leaves and let the center of the plant continue growing. When it turns bitter or goes to flower, that’s the end of lettuce in the garden until the weather cools again in autumn. Regularly fertilizing all greens with fish emulsion or some other high nitrogen product provides nutrients for steady growth.
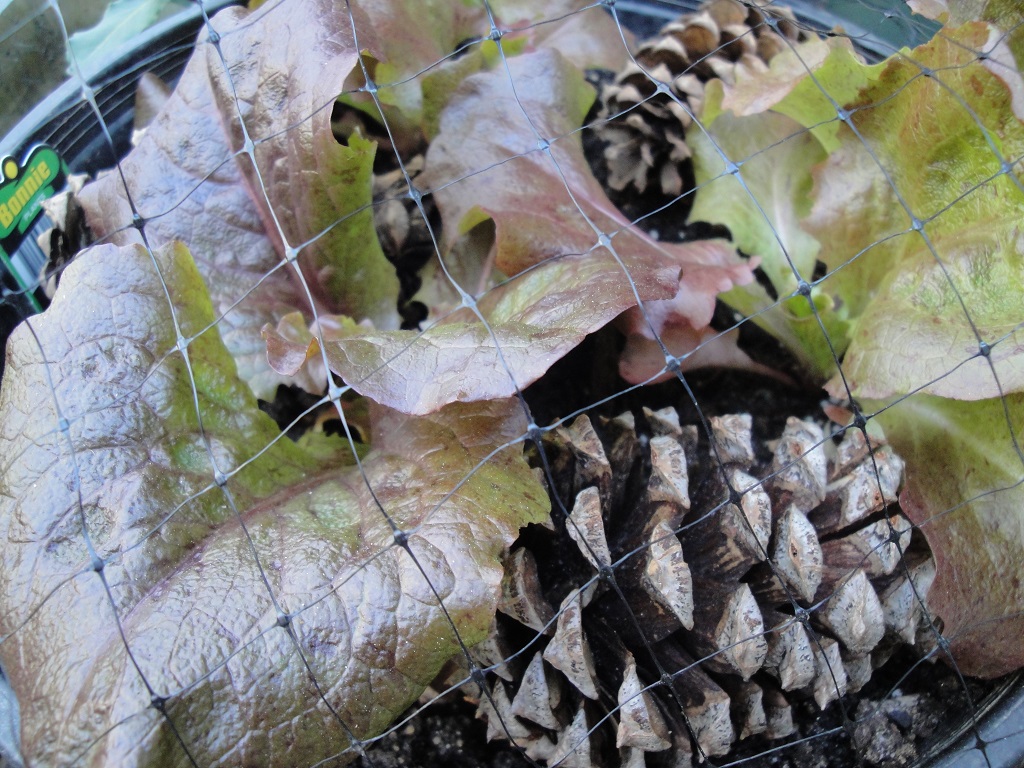
Sharp-tipped pine cones and deer netting discourage animals from burying seeds from the bird feeder.
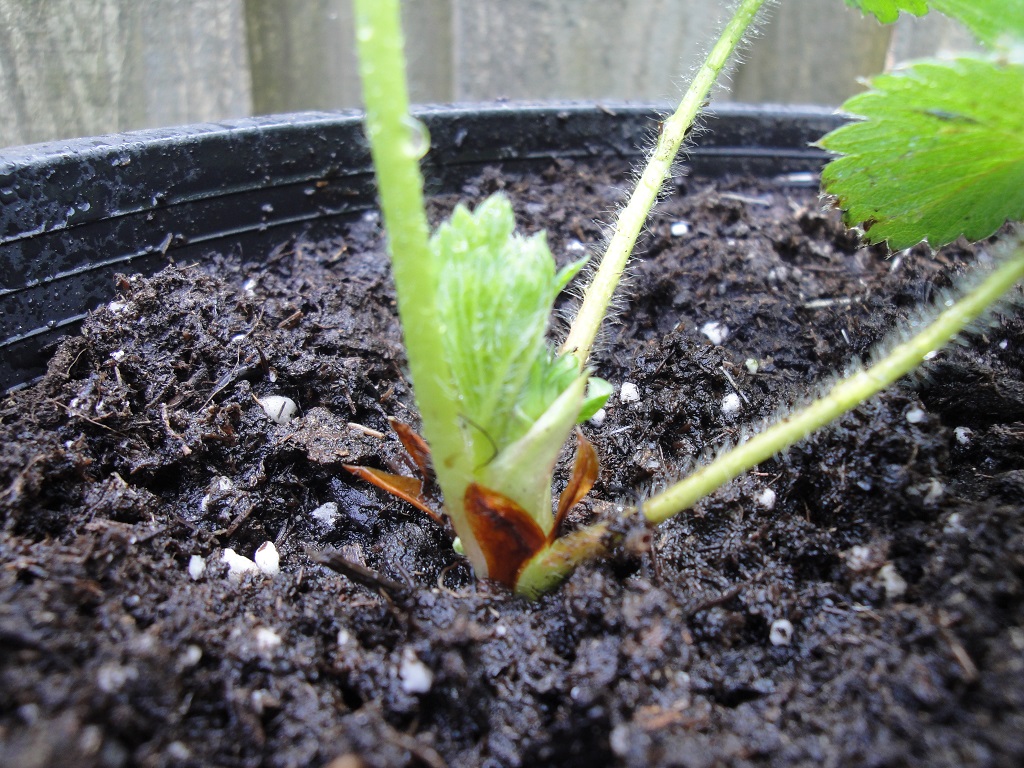
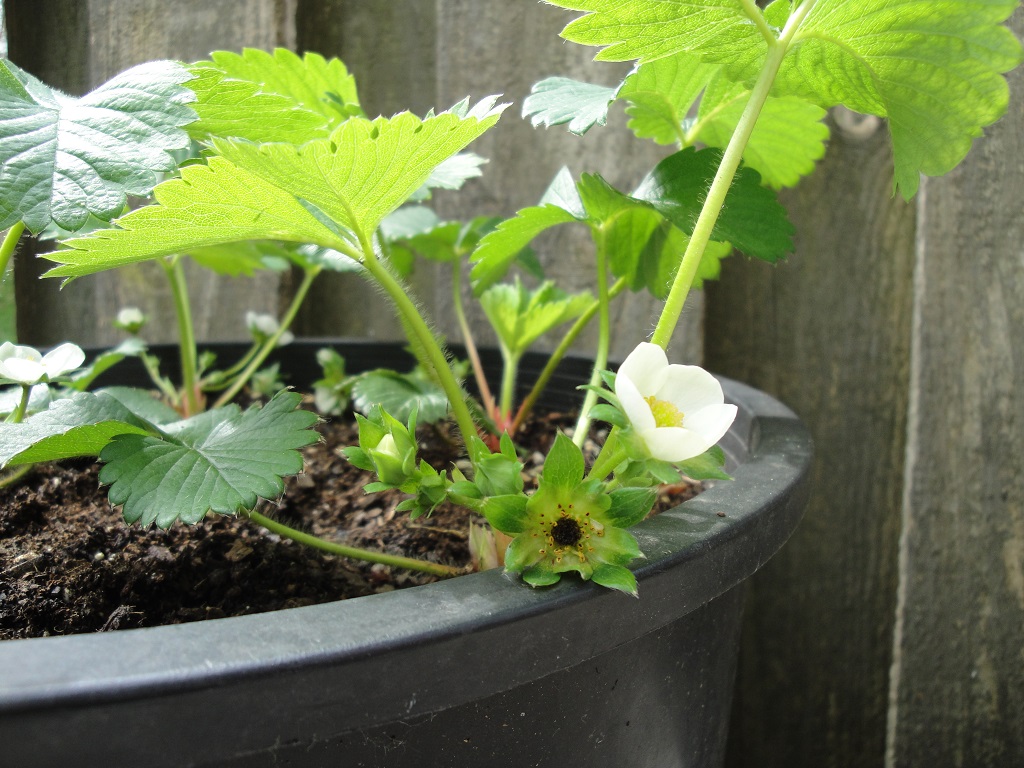
Strawberries For Early Spring Planting
-
- Strawberry ‘Ozark Beauty’.
-
- In bloom, 3 weeks later.
The garden center also had strawberry plants, which looked very healthy. I planted all 4 ‘Ozark Beauty’ plants in a 12″ pot. Yes, that is tight. There’s limited space where I currently live, so this is just a fun experiment. Later, a larger garden will be planted with lots of berries and other perennial edibles.
When transplanting strawberries, be sure to keep the crown at or slightly above the soil surface (photo, above), not buried. Before long, big ripe berries will join me for breakfast, even though the first few weeks of flowers should be removed. This is another plant that will need to be netted. Everyone wants ripe strawberries.
***Update***: I harvested about 15 yummy strawberries this season. The first few were delicious and large, followed by smaller berries. It’s recommended to remove all flowers during the early weeks, but, for this pot, I just let them grow…and set fruit. June 2021
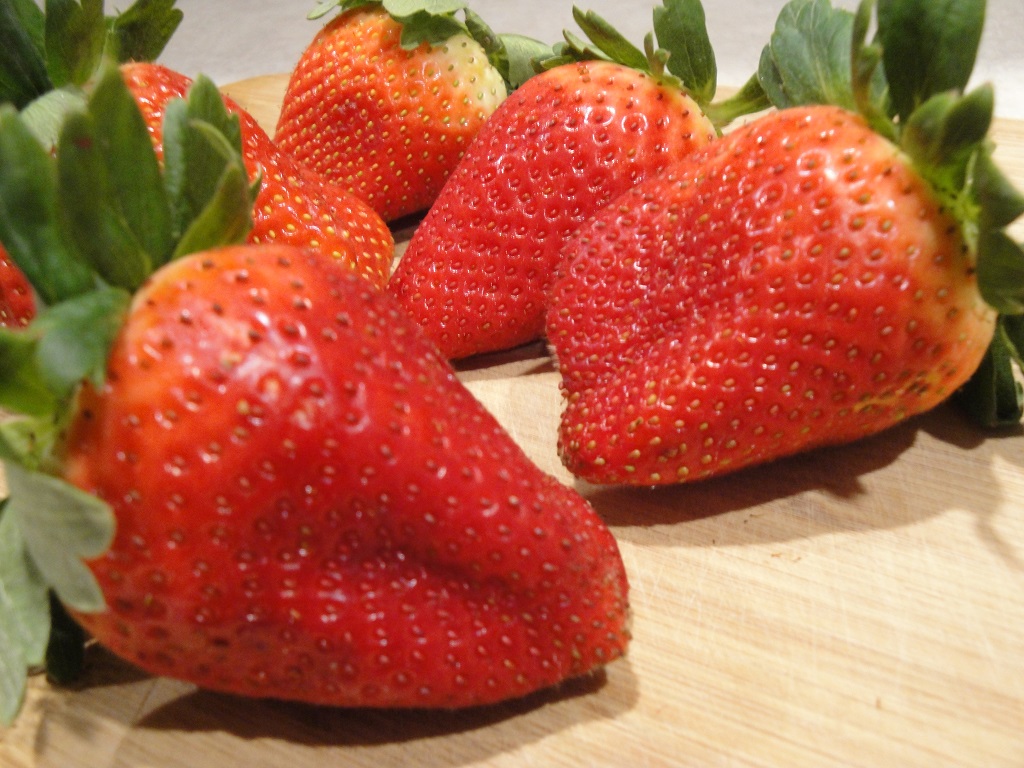
No, these did not grow on the potted plant.
* * * * * * * * *
I need a good-sized pot to grow snap peas on a trellis, and another for dinosaur kale. Maybe I’ll find them under the potting table, before they’re claimed by our local wrens.
This is just the beginning. There are so many cool season crops, from seeds or transplants, that can be grown in containers. Ask your local agricultural extension agent for early spring recommendations tailored to your climate.