Page 3
Dinosaur Kale
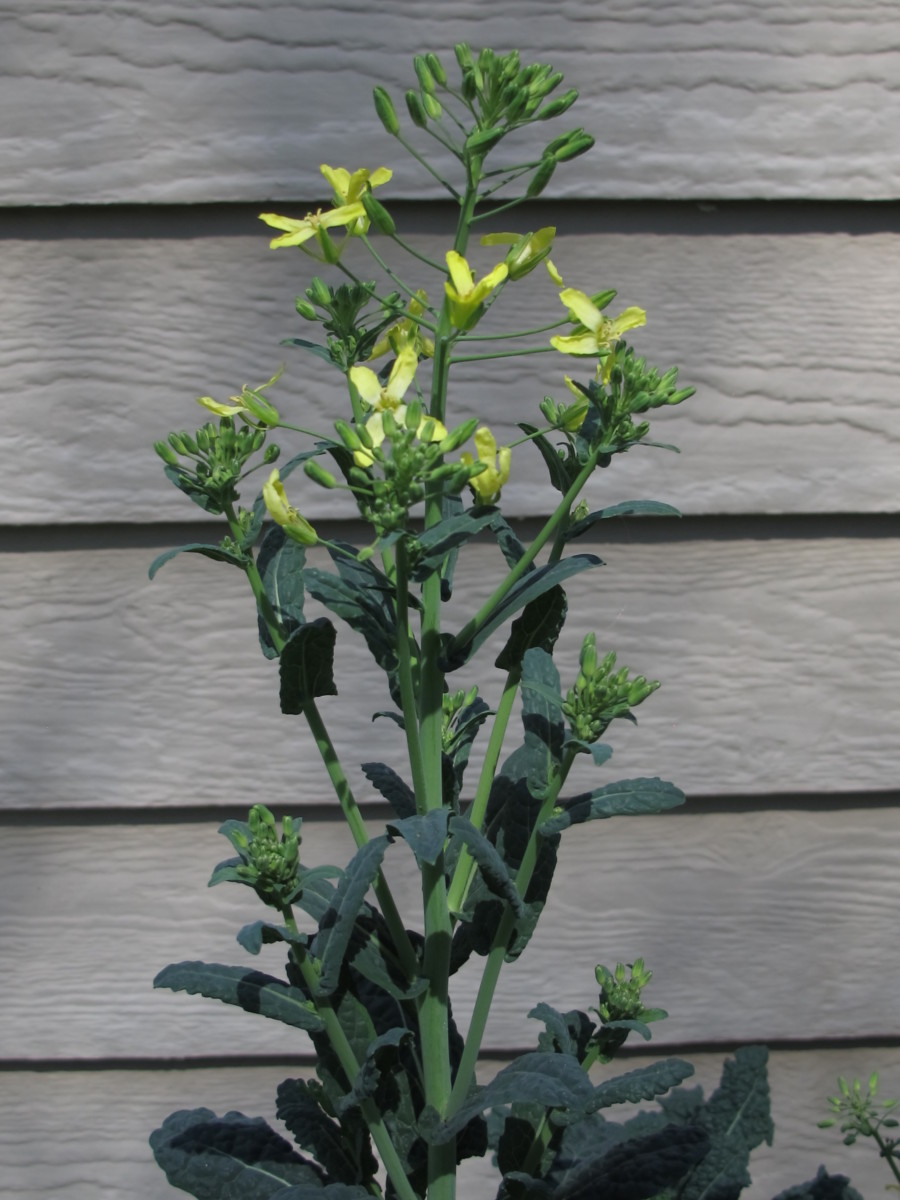
Dinosaur kale in bloom, March, in NC.
You might have seen ‘Lacinato’ kale listed on a restaurant menu. ‘Black Magic’, ‘Mamba’, ‘Toscano’, and ‘Lacinato’ are all dinosaur kales, with bluish-gray-green, long strap-like leaves that look blistered (savoyed) on the surface. Kale is especially high in nutrient content, and works in omelets, stir-fries, soups, smoothies, and pasta or rice dishes. Try it on pizza or make kale chips!
Once the cool season greens have been harvested, there are so many ways to use them, and you can freeze the excess harvest for later use.
Kale is exceptionally tolerant of cold temperatures. For this reason, I plant it at the end of the garden, where wind sometimes whips around the corner. It’s also the least likely winter crop to be covered, because it just doesn’t need it. But, on a very cold night (below 20°), I loosely cover it with plastic sheeting to keep it growing all season without interruption or damage.
What a joy to walk outside and harvest a couple of big leaves for the Sunday morning omelet!
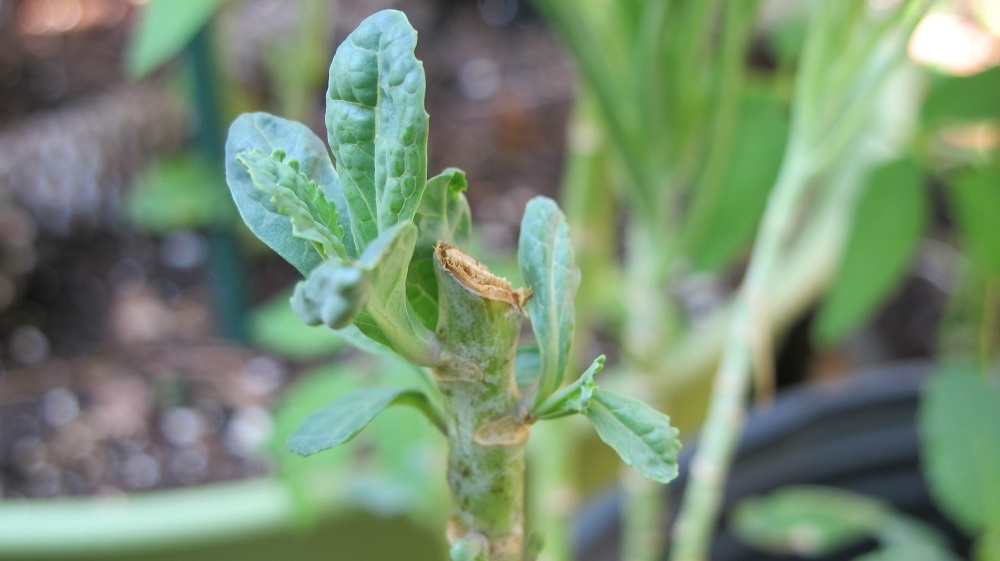
Dinosaur kale sprouting after being cut back.
Cutting Back
The dinosaur kale that has been in the garden since last fall is beginning to show flower buds. After the flowers have been open for a few weeks for the pollinators, I’ll cut the stems back to 6″ from the soil. All leaves and buds on the blooming stems are edible.
Stems often re-sprout (photo, above) after pruning and grow, possibly for the entire summer season if it’s not too hot. Remember to fertilize regularly with fish emulsion, Sea-Plus, or other products that supply nitrogen. All brassicas love generous portions of aged cow manure mixed into the top 5-6″ of soil.
Hardening Off Cool Season Greens
Tender young seedlings growing indoors must undergo the process of “hardening off” before going outdoors in the garden. This step gradually exposes them to stronger sun, wind, and colder temperatures. If you plant them directly outside before hardening them off, the tender seedlings will suffer stress from which they might not recover. Consider the target planting date when scheduling seed starting and hardening off processes.
Acclimate all seedlings before planting outdoors. Plants wilt and leaf margins turn brown if the shock is too great. If the seedlings weren’t killed by the abrupt change in environments, they probably will resume growth…slowly. Cool season greens are more forgiving than warm season plants. They should be able to take frost without damage after having been hardened off over a period of several days to a week.
Lack of adequate sunlight makes them look as if they’re “growing fast”, but their stems will be thin and weak. Frail seedlings take longer to acclimate and might not be worth growing on. Starting a new batch of seeds or buying transplants might be the only options.
Gradual Changes
If cool season vegetables are going out to the garden very early, you can save the crop during harsh weather by using a protective covering or a cold frame.
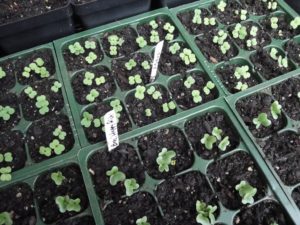
Cool season greens (2/2022).
Place flats of young seedlings in a protected spot out of the wind, in filtered sun or gentle morning sun for a couple of hours the first day. If they don’t appear stressed (wilted), keep them outside a few more hours. In Charlotte, North Carolina (zone 7b), we start putting cool season greens outdoors in mid- to late winter, before the last frost.
If the difference in temperatures between indoors and outdoors is greater than 15 or 20 degrees, you might need to protect the seedlings with row cover or a cold frame. Or place them on a sunny porch during the daytime. In especially inclement weather (far too cold, windy, or rainy) keep the seedlings in a cool, sunny window or under lights indoors.
Plants that require warmer temperatures than the brassicas—tomatoes, peppers, basil, cucumbers—should not be exposed to temperature changes greater than 10-15 degrees on the first day of the hardening off process. But they’re started later in the season.
Keep Them In the Sun
Every couple of days, increase the period of time the plants spend outside by a couple of hours. And give them more direct sunlight. The more hours of sun they receive, the stronger the seedlings will be. Sunlight also thickens the waxy cuticle on leaf surfaces, helping the plant retain moisture. Plants that have been watered and fully hardened off won’t wilt in full sun.
Growing Plants Under Lights
Almost all the seeds I germinated for selling later at farmers’ markets and garden shows started life under artificial light. Decades ago, when only fluorescent lights were available, I used fixtures that each held 2 40-watt daylight tubes. Many gardeners now prefer LED’s because of lower operating costs and longer life. It usually isn’t necessary to spend more money on special grow bulbs. Any lights labeled “daylight” will do.
In the basement, I secured 12 4′ fixtures to two large tables, above and below 4′ x 8′ exterior-grade plywood painted white. I took them apart and rebuilt them with each move. (Carriage bolts, simple tools, and hooks and chains for the lights made moving easy.)
For many years, I grew seeds for cool season greens under the lights where the temperature was the coolest. Maybe you have a spare room or a heated shed that will accommodate some growing space. After the worst of winter had passed, the seed room warmed up enough for the tomatoes, peppers, herbs, and flowers.
Two-foot LED fixtures attached to the bottom of a shelf will help struggling houseplants kept in the family room. You can hide the bulb with a piece of wood trim. Keep the lights on for a few hours a day, or longer, if they’re the main source of light. But shorter bulbs emit less light, so plants that need sun grow better under 4′ long fixtures that hold 2 tubes.

More Tips Using Artificial Light
Place species that require strong sun within 2″ or 3″ of the tubes. They shouldn’t feel the heat given off by the tubes. Use inverted pots to prop up seedlings closer to the lights, and grow houseplants below them.
Use a timer to turn the lights on and off automatically. This is convenient if the lights are in the basement. Run them for 14 to 16 hours each day. Be careful handling anything electrical with water nearby.
Broccoli sprouts and small trays of microgreens also grow under lights, and make super healthy additions to salads, sandwiches, and dinners. This is a year-round project with quick results.
Once you see how well plants grow under lights, you’ll never grow without them again! Houseplants in need of some rehabilitation, cuttings, seedlings, flowering plants that refuse to flower…all these can do with some R and R under lights.
Getting More Cool Season Greens Into Your Diet
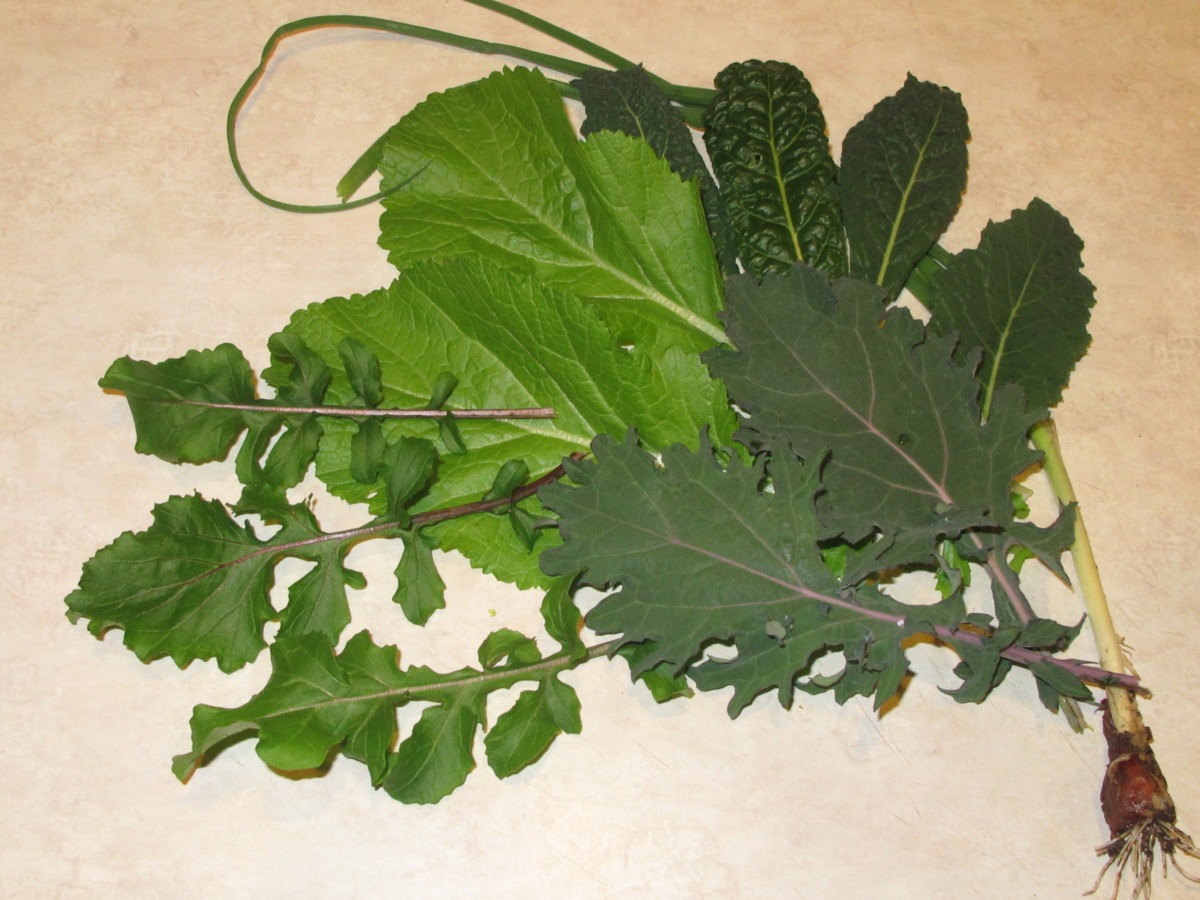
Counter-clockwise, from lower right: green onion, ‘Red Russian’ kale, dinosaur kale, (mild) mustard greens (light in color), arugula ‘Astro’, just picked from the garden.
The photograph above has some of the ingredients for the omelet Mother and I enjoy once or twice each week. Prepare it also as a no-fuss quick dinner. Including veggies, cool season greens, and healthy fats (olive oil and avocado) makes a healthier alternative to a plain omelet. This is a good first step when trying to get more greens into your diet.
Who doesn’t love an omelet?

Veggie omelet with microgreens. (No, that’s not mold on the cheese.)
A Veggie Omelet Recipe Using Cool Season Greens
Ingredients
- 2 to 3 teaspoons butter, olive oil, and more butter for the toast
- 2 large or extra large eggs
- 1 or 2 tablespoons half-and-half or milk
- salt and pepper, to taste
- 1 sage leaf (optional), chopped fine
- 2 or 3 white button mushrooms, trimmed and washed; coarsely chopped
- 1 or 2 small colorful (red, orange, yellow) lunchbox sweet peppers; coarsely chopped. (Just one medium-large ripe lunchbox pepper contains one day’s RDA of Vitamin C.)
- 1 green onion, roots trimmed, but use both white part and green leaves; sliced
- 1 to 3 cups fresh cool season greens (kale, mustard greens, arugula, spinach, etc., in any combination), coarse stems trimmed
- a few slices white American cheese, cheddar, or your favorite cheese in the fold
- 1/2 ripe avocado and/or microgreens (optional) in the fold
The Process
For 2 servings:
- In a separate small bowl, scramble together eggs, half-and-half, ground pepper, and sage. Set aside. (To lower salt content, consider adding a small amount of salt to the finished omelet, instead of adding it to the eggs.)
- In medium non-stick pan, melt 2 teaspoons butter and/or olive oil, more or less, according to preference. Because olive oil is healthier than butter, I use a combination of the two.
- Add mushrooms and sweet pepper. Sauté over medium or medium-low heat until they just begin to soften.
- Add green onion and cool season greens, and sauté, turning constantly, until wilted. Lower heat, if necessary.
- Add more butter and/or oil if necessary.
- Pour eggs evenly over vegetables. Turn down heat to medium-low, and cook until bottom firms up. Use a pancake turner to turn over sections of the mixture to cook the other side. (Using lots of veggies causes the omelet to break apart when turning.)
- Place cheese on half of the omelet.
- Add slices of avocado and/or microgreens on top of cheese.
- Fold over, salt lightly, and cook on low until cheese melts.
- Serve with toast or bagel, bacon, some fresh strawberries. And fresh coffee!
Great way to start the day.
Headings
Page 1: Starting Seeds for Cool Season Greens, The First of the Cool Season Greens: Spinach (Spinach From Seed Is Easy!, ‘Monstrueux de Viroflay’, Spinach Bowl, Harvesting Spinach), And Then the Brassicas (Include On the Label, Damping-Off, Caterpillars on Cool Season Greens, Bacillus Thuringiensis [Bt], How Does Bt Work?)
Page 2: Broccoli (Improve the Soil for Cool Season Greens, Harvesting and Side Shoots, When the Brassicas Bloom), Mini Broccoli (Early Sprouting Broccoli and ‘Spring Raab’, Broccoli ‘Happy Rich’, Who’s My Favorite?, Gai Lan and ‘De Cicco’, Sowing Seeds, Late Sprouting Broccoli)
Page 3: Dinosaur Kale, Hardening Off Cool Season Greens (Gradual Changes), Growing Plants Under Lights (More Tips Using Artificial Light), Getting More Cool Season Greens Into Your Diet, A Veggie Omelet Recipe Using Cool Season Greens