Page 2
Sowing Seeds: The Process
- Read the seed packet for special instructions (temperature, depth, light requirements).
- Fill cell packs or pots with barely dampened seedling mix to ¼-1″ below the rim of the container. Firm lightly and evenly over the surface. You can use fresh, fine-grained potting soil after removing large particles.
- For individual cells in a market pack, make a depression at the depth recommended on the seed packet. For sowing more seeds in a 4″ or a 6″ pot, for separating later, simply level the surface.
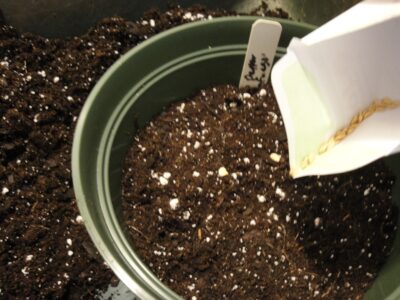
- Open the seed packet and pinch the opening to make a V-shaped trough (photo, above). Seeds will be dispersed one or a few at a time with a gentle tap on the packet. Keep the packet dry.
- Sow 1 or 2 seeds per cell. For less waste, drop only 1 seed per cell instead of thinning out later. Refrigerate leftover seeds for subsequent crops.
- Cover the seeds with a small amount of soil. Lettuce is barely covered, while arugula and kale are covered with ¼” of soil.
- If sowing seeds in a pot, sow the desired number of seeds evenly over the surface of the soil. Cover with a thin layer of soil. Some seedlings might be weak and culled later, so start a few extra seeds.
- Certain crops (miniature broccoli ‘Happy Rich’, arugula, turnip greens, leaf lettuce) can be sown 2 seeds per cell. For baby lettuce, I sow 4-6 seeds per 3½” pot, spaced evenly around the pot.
- Write the crop and variety name on the label—for example, Arugula ‘Astro’ or Butterhead Lettuce ‘Nancy’. You can add the date of sowing and date of germination, if desired, or record that information in a journal.
- Water gently or place the containers in a solid flat and water from the bottom. Remove excess water from the flat once the surface of the soil feels moist.
- Place the flat where the temperature will help germination. You might need to separate the lettuce pots from the others, since lettuce needs cooler soil, preferably under 70°, to germinate.
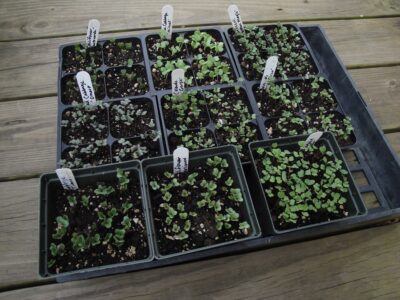
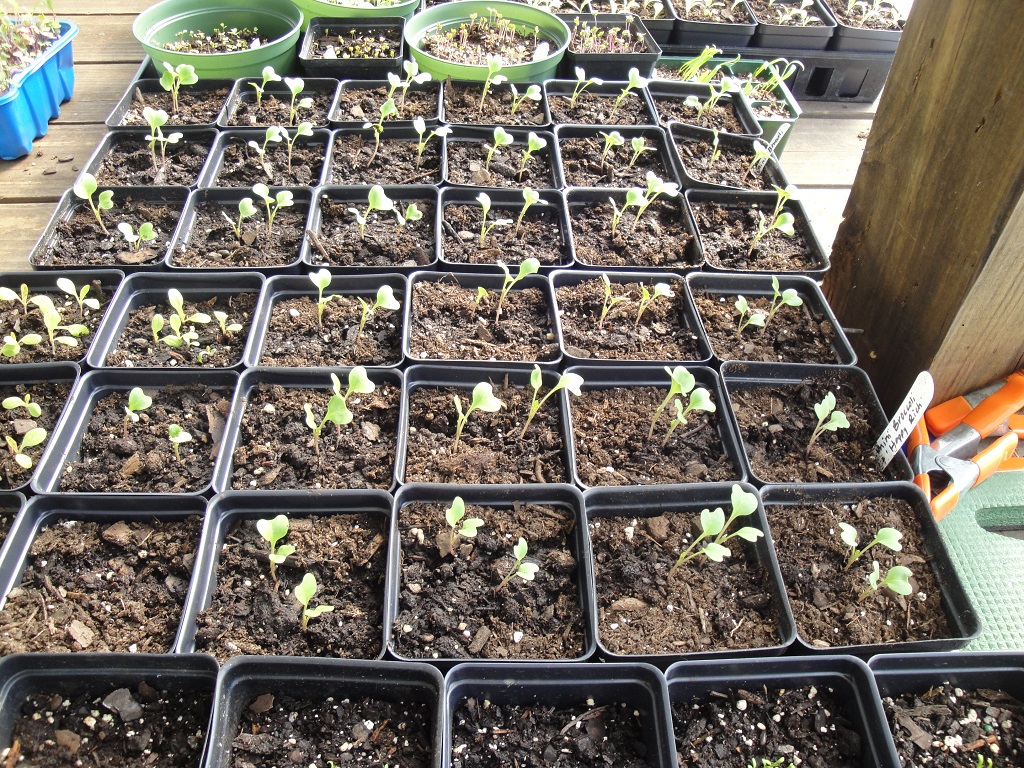
These brassicas germinated in 4 1/2″ pots and were transplanted individually into cell packs.
Transplanting To Larger Containers
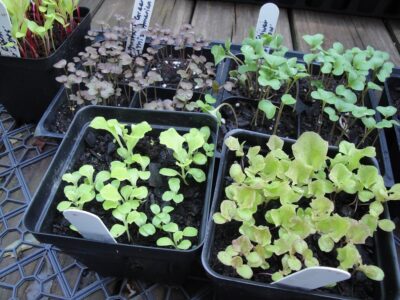
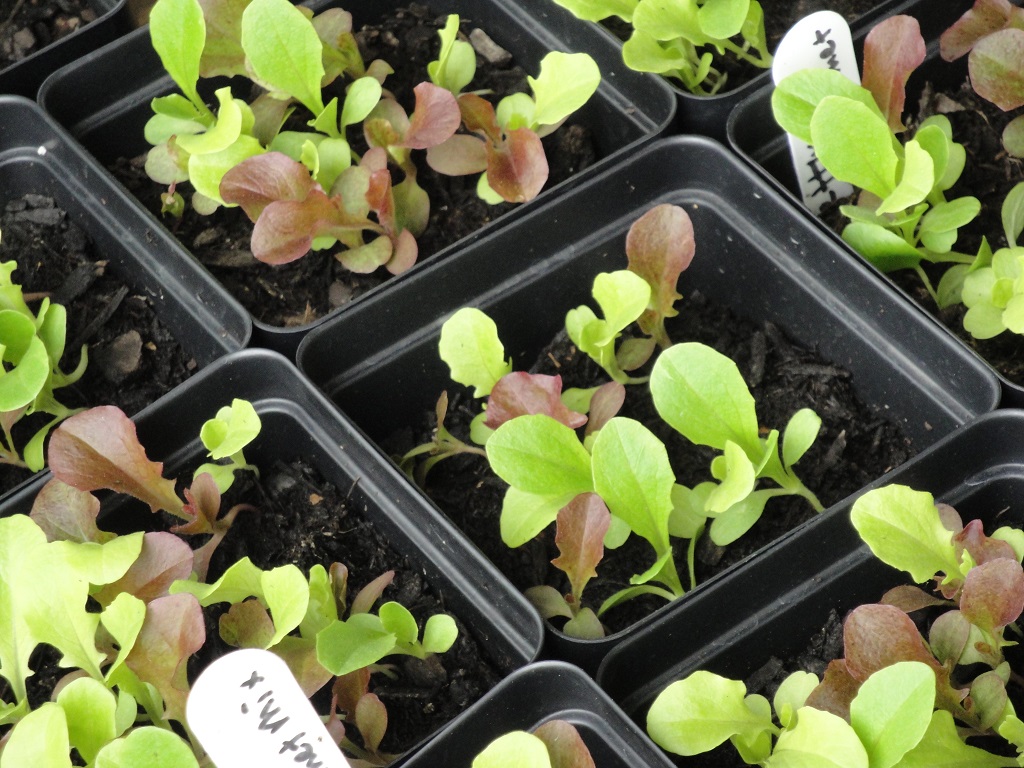
Lettuce and mustard greens.
Within 7 to 14 days of germination, your seedlings will be ready to move into 4-cell packs or small individual pots. I transplant seedlings at an early stage, often with only the seed leaves (cotyledons) showing, before true leaves grow. Waiting much longer causes the roots to become hopelessly entangled if many seeds were sown in pots. This could reduce your success rate.
Sowing seeds individually in 4-cell market packs, however, should eliminate one step. These plants can remain in their containers until you’re ready to plant them into the garden or into planters.
The Process
- Fill 4-cell packs or small pots almost to the rim with lightly dampened potting soil or seedling mix. Firm it in lightly.
- Insert a knife about 2″ into the soil at the edge of the multi-seeded pot. Lift a few of the seedlings at a time.
- Separate the stems from each other, retaining as many roots as possible. Work quickly to avoid drying out the roots.
- Make a hole in the center of the cell to the bottom, using the knife.
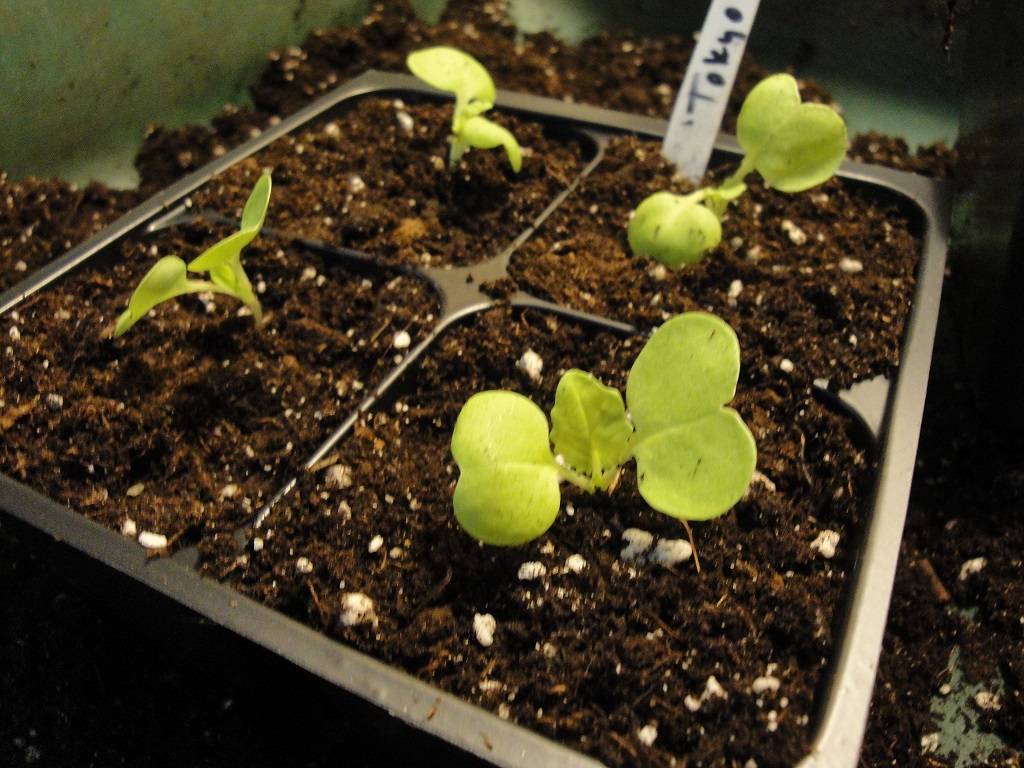
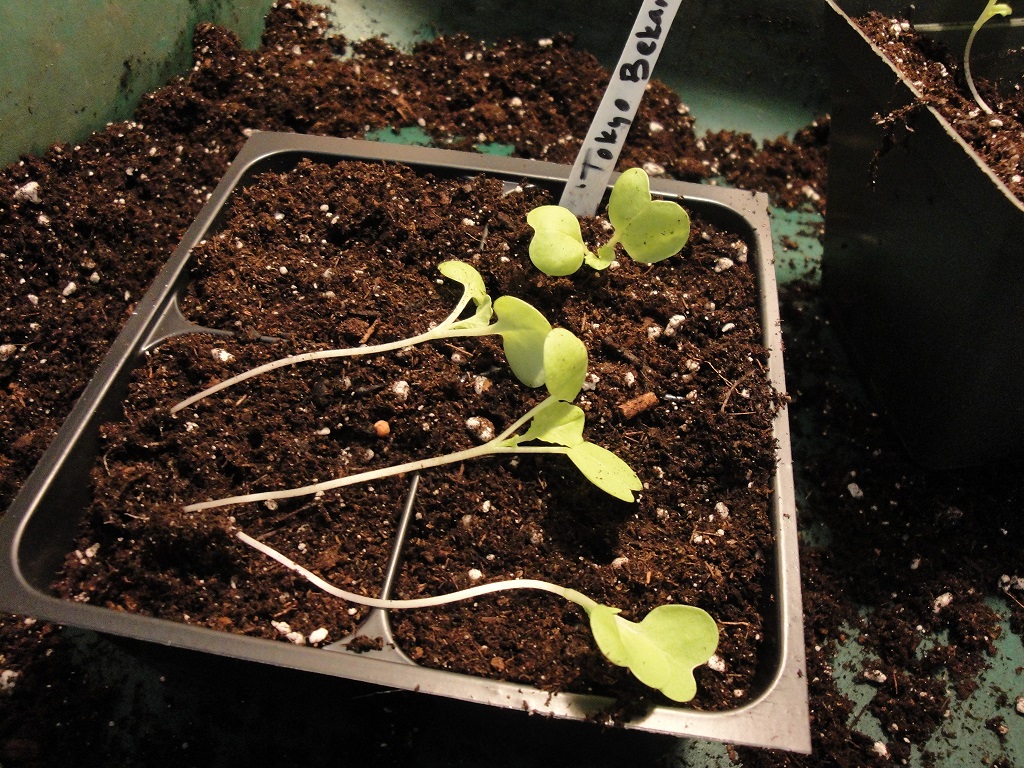
- Gently holding one of the seed leaves, lower the seedling into the hole. Very young, healthy seedlings of most crops can root along the stem. So, I bury the seedling’s stem almost up to the seed leaves (photos, below, show a fast-growing blonde cabbage). Add a bit more soil and firm it very lightly against the stem. Be careful not to break the stem.
- Water gently. Place in a flat.
- Move the flat to a place that gets gentle sun for a day. If the seedlings wilt, move them to dappled sun or light shade—outdoors in a protected spot, if possible, with cool to moderate temperatures. Avoid harsh direct sun, wind, and temperature extremes while the roots recover. Small seedlings are less likely to wilt than larger seedlings.
- Once the seedlings have stabilized in 2 days, give them full sunshine. The sooner they acclimate to proper growing conditions, the stronger the plants will be.
-

- …transplanted deeper into the cell pack.
-
- Overgrown ‘Tokyo Bekana’ Chinese cabbage seedlings…
Sowing Seeds And Transplanting In Multiples
I often transplant seedlings into 3½”, 4½”, and 6″ pots. Some customers prefer the larger pots because the plants are bigger and have more extensive root systems. Planting more mature plants hurries the harvest.
For miniature broccoli ‘Happy Rich’ (photo, below), arugula ‘Astro’, or turnip greens, I transplant 2 seedlings into the pot instead of planting them singly. This works for certain varieties, but not for crops that develop one main head.
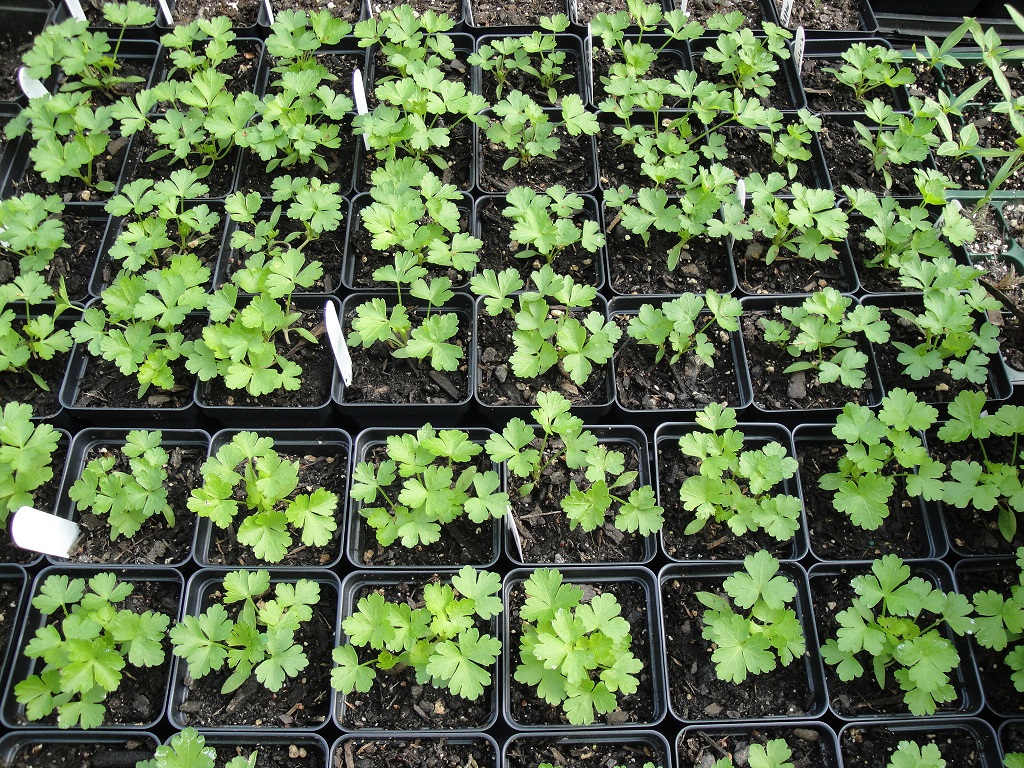
Parsley (a cool tolerant biennial herb), leaf lettuce, and peas are additional crops with seeds sown in multiples (photos, below).
-
- Miniature broccoli ‘Happy Rich’, 2 seedlings per pot.
-
- Flat-leaf parsley, 3-5 seeds per pot.
-
- ‘AllStar Gourmet’ lettuce mix seedlings for baby leaf clippings.
-
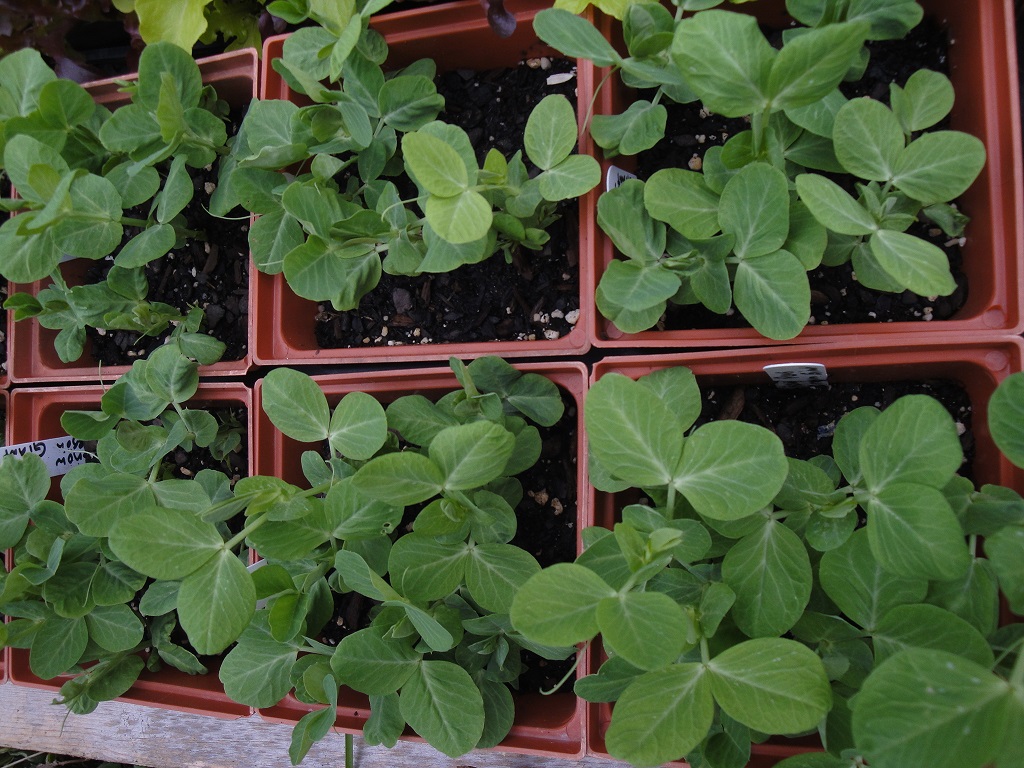
- ‘Sugar Snap’ peas in 6″ pots, about 6 seeds per pot.
After 2-4 weeks of growing in these pots, they’re ready to transplant to their final location in the garden. The weather can be quite unsettled in early spring, so pay attention to the forecast. Have some old sheets or a caterpillar tunnel ready to cover new transplants when the temperature plummets below 25-28° or if torrential rain threatens.
Each week, we get closer to those beautiful mild spring days…and short-sleeved shirts…and the first harvests. I hope you find growing these early crops as rewarding as I do. One success builds on another, and before you know it, you, too, will look forward to sowing seeds before the daffodils bloom.

Headings:
Page 1: Sowing Seeds For The First Crops: Too Early? (“How do I use these greens?”), Preparing To Sow Seeds (Temperature For Sowing Seeds, Miniature Incandescent Christmas Lights, Preparing Pots For Sowing Seeds, Light For Germinating Seeds, In My Basement, Natural Sunlight And Temperature, How Low Can They Go?, One Step At A Time), Growing On To Transplant Size (Fertilizer)
Page 2: Sowing Seeds: The Process, Transplanting Into Larger Containers (The Process, Sowing Seeds and Transplanting In Multiples)