Page 2
Prepare for Transplant
Root Insects
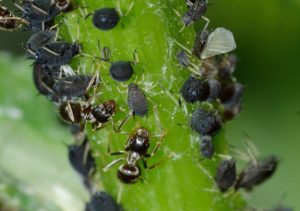
Ants and aphids.
When a plant looks like it’s failing, but you can’t figure out why, check for root insects. Remove the plant from its pot and inspect the root system.
Do healthy white or tan roots cover the outside of the root ball? Maybe what you’re seeing are actually tiny, barely moving insects called root mealybugs or root aphids. The ones I’ve seen have been white or very light in color. A dusty white film on the inside of the pot might indicate the presence of insects.
Ants harvest the sugary “honeydew” (excrement) produced by aphids and mealybugs. And they defend their food source from predators! So, ants in your plants could indicate an infestation of insects in the roots or among the leaves and stems. Succulents seem to be particularly susceptible to root insects, perhaps because of the dryer soil.
Inspect with a magnifying glass. Or bag the plant and take it to a garden center or to the agricultural extension office to confirm the diagnosis.
The best option is to use a systemic insecticide. Systemics move into the sap of the plant. Insects feeding on the fluids also ingest the insecticide and are killed by it. These chemicals have residual efficacy for up to a month or two. Read the label, and don’t use this product on herbs or vegetables.
Look for earthworms, cutworms, beetle larvae, or other creatures you’d rather not have living with you indoors. No, don’t flush them; just put them back outside.
Speaking of Spider Plants
Remember that spider plant in the 4″ pot? Removing the plant from the pot will reveal an extensive root system. Cut off the bottom third of the root system and remove any loose bits that fall away. Fortunately, spider plants respond rapidly. If the plant will join the fiddle-leaf fig in that sunny sunroom, go ahead and pot the plant into a 6″ or 7″ pot. Maintain the same soil level, never piling soil over the crown.
Spider plants (Chlorophytum spp.) multiply fast and will grow all year with part sun and comfortable temperatures. Remove entire leaves that are old or damaged. In fact, you can cut back a spider plant, with a healthy root system, almost to the soil. Because it is a monocot, like lawn grass and peace lilies, it regrows from the crown of the plant, from a region called the intercalary meristem.
Don’t overwater any plant, though, while it is leafless. For all plants, both indoors and out, let the soil dry somewhat before performing any major pruning.
Roots–Air–Water–Light
You noticed that the heavy bottom half of the root ball fell right off the plant. And there were brown rotten roots in that section. This often happens when a pot has been sitting in a saucer of water, rotting the roots. Oxygen is just as critical to the health of the root system as water. Overall plant growth depends on new roots and root hairs forming all the time, albeit slowly. Without oxygen, roots can’t respire; if they can’t respire, they can’t grow.
On the other hand, there might be no roots in the bottom of the pot if the plant was given little sips of water instead of thorough waterings. The roots at the bottom died from drought. So, either way, flake off with an old fork or a trowel those parts of the root ball that do not contain healthy roots.
Roots respond favorably when leaves receive optimum light levels. This allows optimum photosynthesis and respiration. After you transplant houseplants, give them enough light to encourage healthier roots and a faster recovery. Before giving up on an uncooperative plant, try giving it more light, perhaps a few hours of direct sun in the morning.
Plants recommended for “low light” almost always respond to increased light levels. In my opinion, there are no plants that can sustain healthy growth in “low light”. A vigorous root system grows a stronger plant.
If your plants are receiving more light, they’ll also need more water. Other variables in addition to water and light contribute to the plant’s condition, and they’re all interdependent. These include fertility, pH of the soil, pot size, type of pot, the potting soil, temperature, humidity, and the plant variety, of course.
Potting Up
For the purpose of this article, I’ll assume you’re going to transplant leafy tropical foliage plants rather than orchids, cacti, or succulents. From the various sizes of pots on hand, choose one that you think will be a good fit for the plant. The volume of the pot should fit the root system, with only a little extra room for new growth.
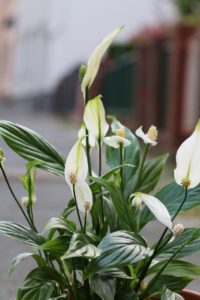
Peace lily (Spathiphyllum).
It’s worth repeating that larger pots need lots of additional soil, which can stay wet for a long period of time. Too much new potting soil at this time of the year is not a good plan. A small step up in size, only 1/2″, 1″, or 2″, depending on the plant and the conditions, is better than a giant leap.
Plants that like even moisture, such as ferns and peace lilies (photo, right), are easier to manage in non-porous pots, such as plastic or ceramic.
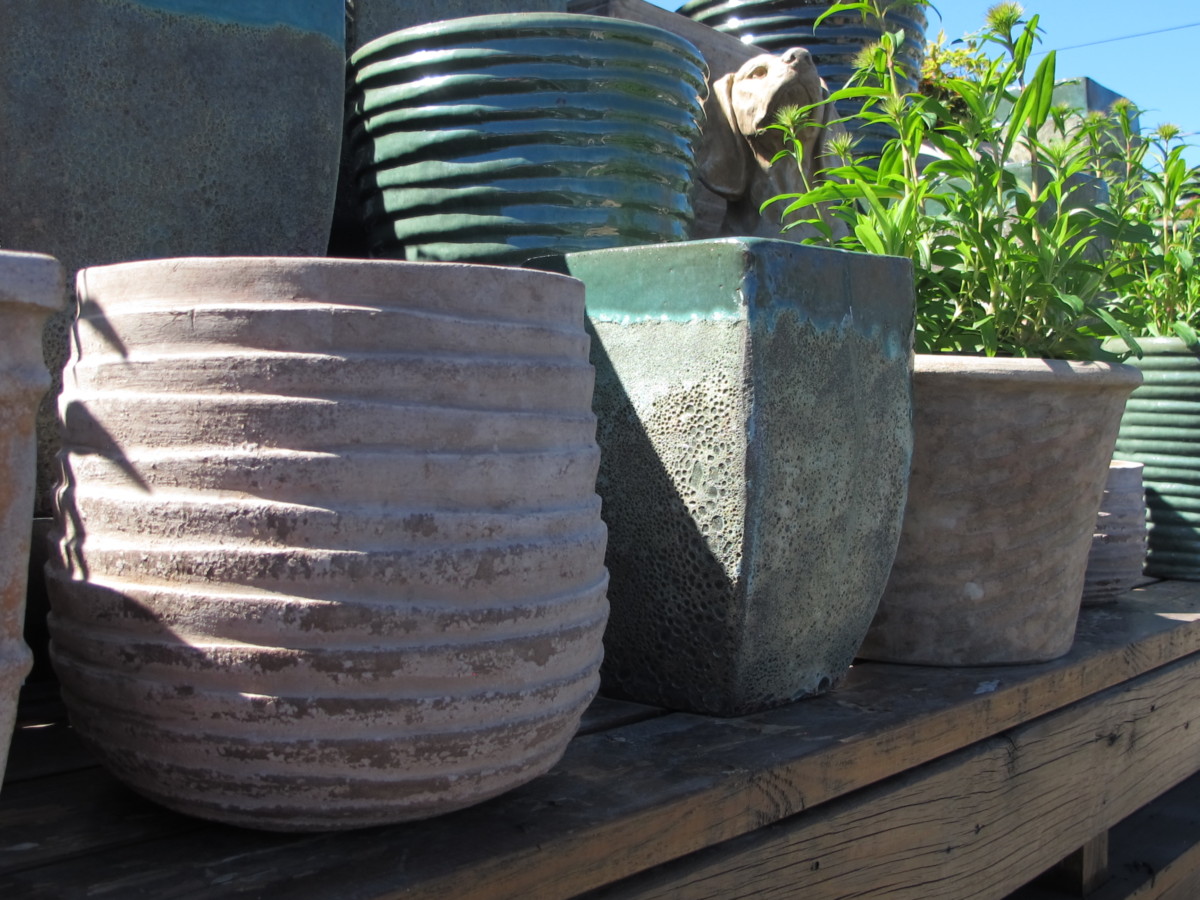
Those big ceramic pots at the garden center are beautiful, but they might be too large for your houseplants. Keep the plant in a plastic pot instead and place it inside the pretty pot (“double potting”), disguising the rim with Spanish moss. Double potting into a pot without a drainage hole might cause water to collect in the bottom, and this excess must be removed.
For another option, pot several compatible plants together in a decorative pot that’s not too deep. Be sure to consider drainage, and protect the floor underneath.
Score the Root Ball
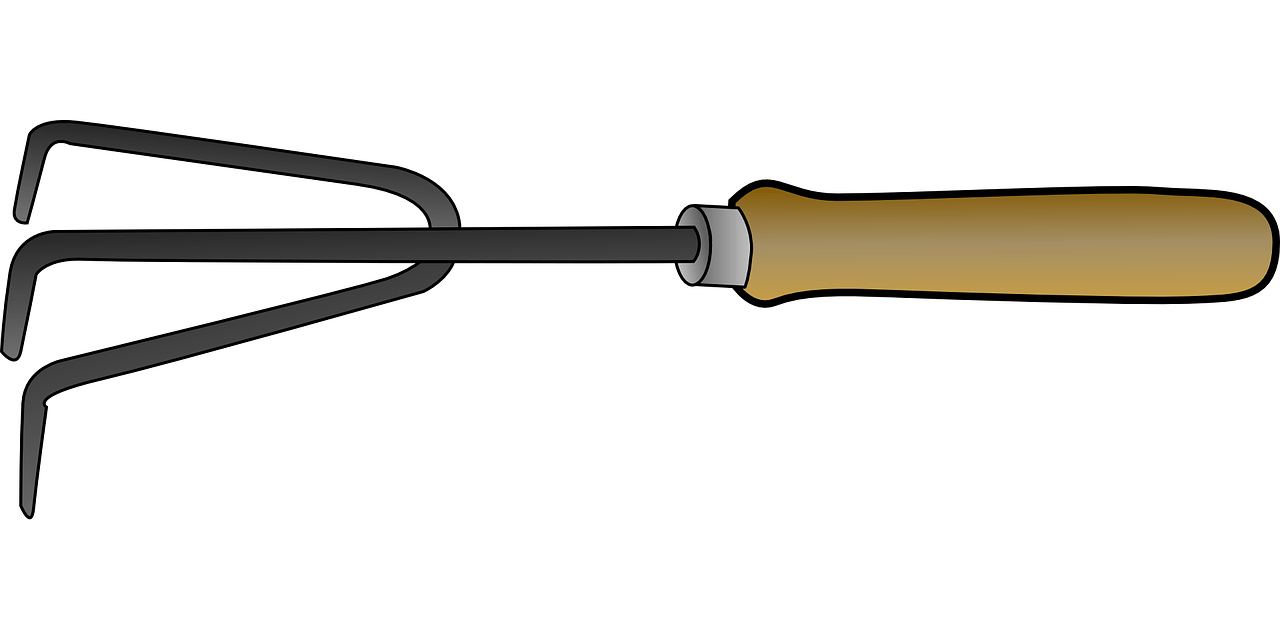
Roots that filled the original pot need some help to begin sending new roots into the soil. With an old fork or a knife, score the outside of the root ball about 1/4″ deep, several times, from top to bottom. This slightly injures the root system, stimulating it to send out new roots from the pericycle, a layer of cells inside the root. The plant will more quickly grab onto the new soil, helping it become established.
For a root ball solidly filled with roots, loosen the outer roots with a cultivator or a fork.
Potting Soil

Planting mix composed primarily of pine fines.
There seems to be a shortage of peat moss in most of the potting soils I’ve purchased over the past several years. Instead, pine fines (photo, above) are abundant, but water drains rapidly between the large particles. Sometimes too rapidly!
Potting mixes with finer particles have more surfaces where water can cling and smaller air pore spaces where water drains through. They, therefore, hold more water in the pots. The same principle applies to poor drainage in heavy clay soil; tiny clay particles are closely stacked together, locking in the water. So, when using a dense, heavy potting soil, consider adding materials that hasten drainage, such as perlite, coarse sand, and pine fines. Conversely, adding more organic matter or pasteurized loam increases water retention in fast-draining soils.
Read the ingredients on the label and ask experienced salespeople for help. Some potting soil companies label the bags for their intended purposes, such as seedling, succulent, African violet, and general houseplant mixes.
I usually create a custom mix when transplanting houseplants. A good potting mix is the base, to which I add more organic matter (peat moss or compost), coarse sand, or pine fines as needed.
Dust from dry potting soil is irritating to inhale, so lightly moisten the soil with lukewarm water. Mix the water in well, so there are no dry pockets. Certified organic soils usually lack wetting agents, materials which make the soil quickly absorb water. These soils require more thorough massaging to uniformly dampen the soil.
Planting Mix
Garden centers stock many kinds of amendments to create media tailored to your plants. Use potting soil that contains peat moss, and add compost for plants that like rich, moist soil. “Planting mixes”, for improving outdoor garden beds, contain large amounts of drainage material, including pine fines and perlite. When transplanting houseplants that require fast drainage, a planting mix could work very well.
Begin Filling the Pot
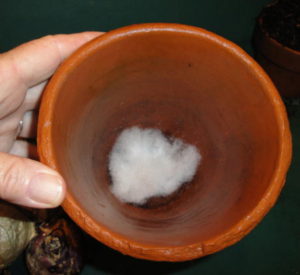
Polyester fiberfill covering the drainage hole.
Okay, you have the right pot and the soil is ready.
Cover the drainage hole to prevent soil erosion, using a wad of polyester fiberfill (available from the hobby shop). This synthetic material doesn’t rot, so it is effective for the plant’s lifetime. I use it every time I transplant houseplants.
Another option is to cut a piece of synthetic landscape fabric to fit inside the bottom of the pot and part way up the sides. This works well for pots with several holes.
Neither the fiberfill nor the fabric will decompose, and water freely drains through them. These materials also prevent worms and insects from crawling through the holes.
Using rocks in the bottom of the pot (“for drainage”) can cause trouble due to the differences in air pore space between the potting soil and the rocks. Except for rare cases where it was warranted, I have never used rocks in pots to increase drainage.
Now, fill the bottom of the pot with soil, firming it in.
Add the Plant
Hold the plant over the pot, at the level where the crown of the plant is about an inch below the pot’s rim—less for small pots, and more for large pots. The crown is the place where the top green growth or the stem meets the roots.
Now, scoop some of the new soil into the pot while spreading loosened roots evenly. It might help to form a cone of soil in the center, pointing up. Spread the roots around it.
Continue filling the pot, firming the soil around the roots as you proceed. Filling without firming the soil can cause uneven settling later when you water the plant. And the plant responds to the light pressure by rooting against it.
Now that the plant is seated well into the potting soil, use both hands to firm the surface, especially around the inside of the pot.
If you think the surface is too low, start the process over. The plant presents better if it isn’t sitting too low or too high in the pot.
Another option, if the plant doesn’t need the full depth of the pot, is to carefully cut the rim of the pot with sharp scissors. I often cut off the top of a plastic pot for a better fit in a decorative planter or a basket. Add Spanish moss to conceal the cut edge. A layer of plastic film inside the bottom of the basket catches drainage, but remove the water within 10 or 20 minutes.
At the end of the process, the original soil surface should be visible.
Downsizing
Now, if the pot isn’t filled with roots, you might have to downsize the plant into something smaller than the pot it’s currently growing in.
Remove loose soil around the root ball; compost it or dig it into the garden. Use a clean pot, one that is big enough to just fit the root system.
Transplant houseplants growing in tall pots into shorter pots. Lack of roots below a certain depth often indicates that plant’s preference for a shallow container. As water collects here, anaerobic conditions become established, causing other problems.
And Water In
Now, water the plant to settle the soil around the roots, eliminating air pockets. Collect the water that leaches from the bottom and give it to other plants. There are nutrients that dissolved in the water as it passed through the fresh soil, and it’s always better to use this water than to pour it down the drain.
If you added too much water-retentive material, starting over with more pine fines or perlite mixed in the soil could prevent future problems. For soil that’s too wet, tilt the pot so a drainage hole is at the lowest point. Quite a bit of excess water will continue to drain.
Concluding
Now that you’re familiar with how to transplant houseplants, check your plants if you’re at all suspicious about their condition. There are lots of things that could be going on in the soil, out of sight. Often, we think a “new home”—with more potting soil—is the answer, but that actually can cause problems rather than solve them.
Most plants in the photo, below, have been in the same pots for many years. They’re happy; I’m happy.
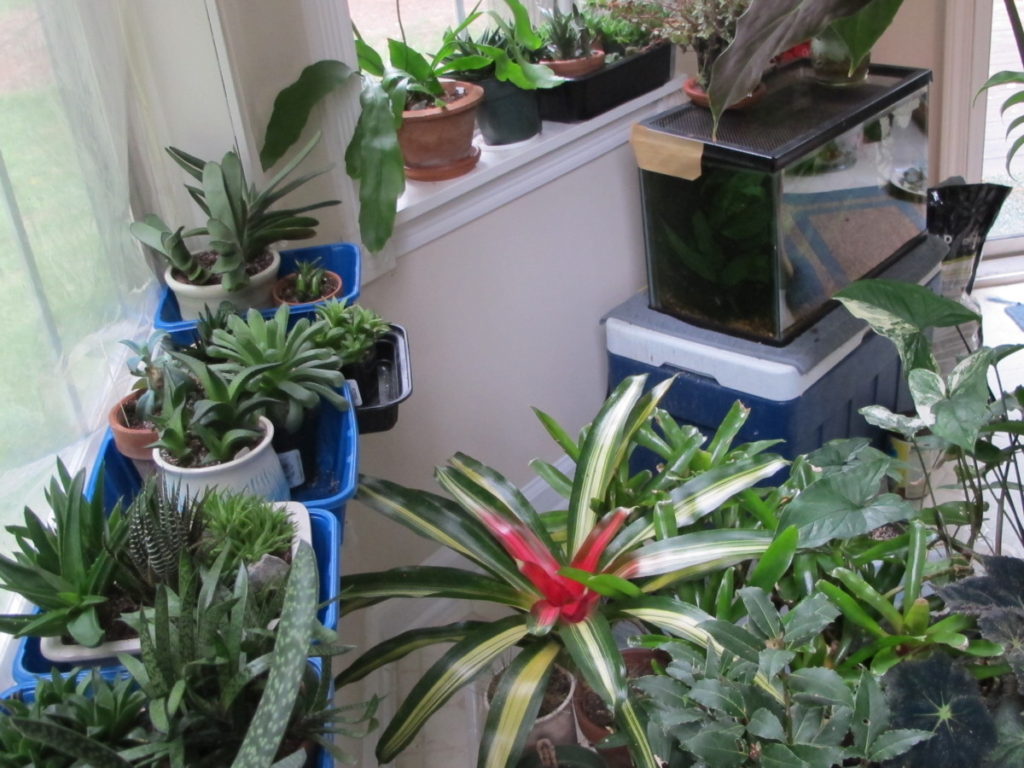
The sunny bay window, with succulents on the sill, foliage farther inside, and a 35-year-old Japanese fire-bellied newt in the tank. Jar lids and plastic trays from the grocery store protect the windowsill (not pretty, but temporary).
Headings:
Page 1: Should We Transplant Houseplants Now?, Inspect Them First, Do Your Plants Actually Need Bigger Pots? (Fertilizing Houseplants, Fungus Gnats, Save the Spider!), When Should I Transplant Houseplants?, How Big Should the Pots Be? (The Old Weeping Fig, African Violets, Less Is More)
Page 2: Prepare for Transplant (Root Insects, Speaking of Spider Plants, Roots-Air-Water-Light) and Potting Up (Score the Root Ball, Potting Soil, Begin Filling the Pot, Downsizing, Water It In)