Page 3
The 10 Tips
Tip #1: Move Tender Plants Indoors
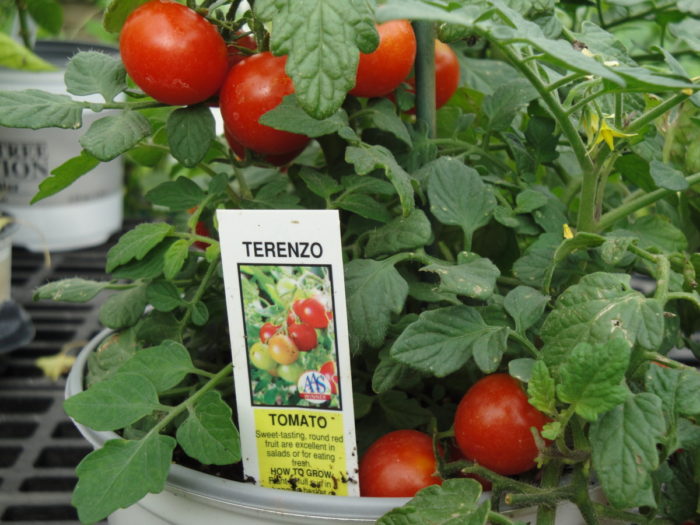
‘Terenzo’ tomato, a dwarf variety suitable for growing in a 1-gallon pot.
When frost threatens, production of warm season basil, dwarf tomatoes, peppermint, and ‘Lunchbox’ peppers can be prolonged simply by bringing potted plants indoors during cold weather. Place these tender plants outdoors daily after it warms up for the direct sunlight they need.
Mint is a herbaceous perennial, but to keep the leaves in edible condition, the plant must be protected from frost. If it gets buggy (spider mites, thrips) or if you don’t need mint, place the pot outside for the winter.
Keep plants indoors if the forecast calls for chilly weather. That will give the plants more time to ripen their fruits. But give them as much sun as possible.
Weather can be quite pleasant after that first frost. So, making the effort could prove to be worthwhile…possibly for a few weeks. Our potted ‘Lunchbox’ sweet pepper yielded another dozen or so small orange peppers after the first frost. I brought it indoors for a few frosty nights, and then covered it at night when it wasn’t so cold until the rest of the fruits ripened.
Basil needs warmer temperatures, in the high 60’s and 70’s. Its usefulness quickly declines in cool weather. Older potbound plants, and those that have been underfertilized, will be of lower quality. Pale green basil tastes terrible! Start new basil plants or look for young plants at the grocery store, farmers’ market, or garden center.

Tender annuals.
In Addition to the Edibles
Flowers, too, can be enjoyed for a while longer (photo, above). Save the pretty combination baskets by placing them in the laundry room or the garage for the night. But, again, they need direct sunshine during the daytime.
At some point, we must concede that cold weather holds the winning hand. Time to clean out the pots and plan for the next season.
Tip #2: “Quick! Cover Up!”
Okay, the weather forecast just announced an unexpected frost, and the cold frames aren’t ready yet. You’re on your way out for the evening… What to do?
Your summer vegetables in the garden have ripening fruits and you want to save them. Or perhaps the new seedlings you just planted are too tender to subject to a 29° night.
Old Cotton Sheets
Simple. Just gather a cotton sheet or two and throw them on top of the plants. Using more than one layer will give better insulating value. Try to cover the sides, as well, to the ground. On freezing nights, elevate the material on supports, above the foliage, so the cold won’t transfer to the plants. But, if you’re in a hurry, just cover them with the sheets.
Plastic Sheeting
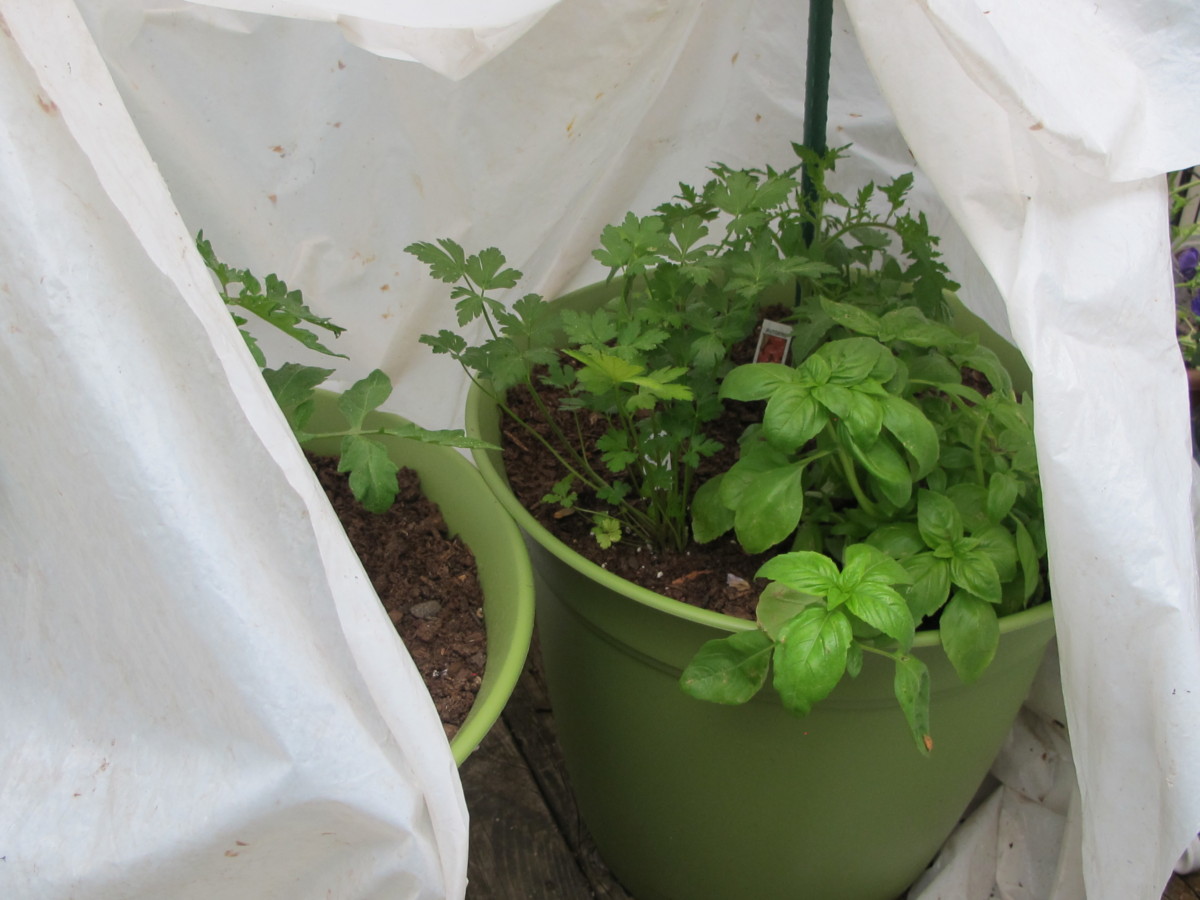
Two large pots with tomatoes and herbs. Plastic protects young plants from a late spring chill.
Add a large piece of plastic on top of the sheet for more insulation. You can use plastic film by itself, as long as it’s suspended above the foliage. Don’t let plastic touch the tomato or pepper plants; frost transfers directly to the leaves. A waterproof layer is helpful in cold rainy weather.
You’ll find sheets and rolls of clear plastic in the paint department at the hardware store. I use a medium grade called 4-mil.
Cleaned and stored in the shade out of season, the plastic will give you several years of use. Use a Sharpie pen to write the approximate dimensions in a corner of each piece. This eliminates the need, next time, to open every one before finding the right size.
Exposing plastic to sunlight, especially in summer, shortens its useful life. I dislike using plastic, but this is one application that brings value until I can build a greenhouse.
There’s a significant amount of heat stored in the soil by the time autumn arrives. The greatest amount of warmth rises from a large footprint of covered area. Remember to uncover the plants in the morning, after the temperature warms up. But on cold days, keeping the tender plants covered or partially covered raises the temperature, helping summer fruits ripen.
Using clear plastic over cool season vegetables facilitates a garden of greens for the entire winter in moderate climates. It will enable you to grow many crops that normally won’t grow at that time without protection. Loosely covering the plants during cold weather is a stopgap measure to preserve the crop. Or use a more durable system as in Tip #4 (a low tunnel). Remember to vent it during the daytime to admit fresh air and to release excess heat.
Plastic for Commercial Operations
Plastic film manufactured for the greenhouse industry is sturdier and lasts much longer, but it’s also more expensive. There are special plastics that provide some protection from certain wavelengths of light, and others that cause condensation to film down the plastic instead of forming droplets. These are used primarily in permanent structures.
Row Covers
Lightweight row covers, made of white spunbonded polypropylene, are available in several grades. They can keep plants a few to 10° above frost during the shoulder seasons. In chilly and frosty weather, these covers can stay in place, draped over the plants or placed on supports. Rain can pass through it. And the fabric can be used to exclude insect pests when they’re flying about.
If handled gently, this material can last several seasons. Seed suppliers, horticultural equipment companies, and sometimes local hardware stores stock it.
Tip #3: The Hot Water Bottle
Yes, I’m serious! Hot water holds a lot of BTU’s. Large containers (gallon jugs, or larger) filled with hot water slowly give off heat. Place bottles under temporary covers, as in Tip #2, for extra warmth.
When I used this method, I filled about 1/3 of a gallon jug with hot water from the tap and topped it up with boiling water. Just make sure it doesn’t distort the plastic and use a potholder when handling it. Place it under the plants, on the ground, and not too close to the stems or the fruits. Wrap it in an old towel to slow the heat loss.
When the power went out in Maryland, I used hot water bottles, extra blankets, and plastic in the little greenhouse and in the cold frames. Without them, the tender plants certainly would have perished. I heated water on the wood stove.
Tip #4: Low Tunnels
With a little planning and basic skills, you can add structures over garden rows. These low tunnels, also called caterpillar tunnels, protect summer plants from early fall frosts, and early spring crops from late frosts. If you make them sturdy enough to withstand moderate snow loads and high winds, tunnels can protect cool season vegetables and greens through the winter in many regions.
They can be as simple as plastic sheeting clipped to metal hoops secured 12″ into the ground. Galvanized steel wire is available in coils from the hardware store. Cutting it into uniform lengths will give you an 18″ to 24″ high growing space, spanning one or two rows. They’re quickly assembled and dismantled, and inexpensive if you’re resourceful.
Hoop loops from Johnny’s Selected Seeds have a loop in the wire that secures string that is strung the length of the tunnel. This allows quick set-up, from longer spacing between the hoops, and support for the covering.
Using protective coverings in the garden gives you more flexibility when starting seeds. Last fall, I sowed a patch of mixed leaf lettuces that had barely sprouted when cold weather arrived. But, because clear plastic protected them most of the winter, they grew nicely, but slowly, and yielded lots of pickings.
These supplies are available from seed and garden supply companies or from hardware stores. Other options are out there—check out chicken wire or concrete reinforcing wire bent into a semi-circle. Use strong clips to secure the covering, and weights and stakes to prevent it from blowing away. Pull the plastic tightly over the supports so it won’t catch the wind or hold rainwater.
Many gardeners use PVC tubing or wood framing for this purpose. Careful, though; any rough spots will tear the plastic. Those foam noodles (kids’ toys at the pool) or pipe insulation can protect the plastic.
Your local garden center might stock tunnel kits that don’t require any effort beyond sticking the wires into the ground. I’ve seen them with clear plastic or covered with shading material, for multiple uses.
Should the Rows Run East to West, or North to South?
Prepare the rows so the maximum amount of winter sunshine falls on the plants. And consider the exposure to wind. In many cases, you might not have a choice, but a careful examination of the conditions in your yard will lead you to the best arrangement.
Running the long axis from south to north provides even lighting from one side to the other—good morning sun and then good afternoon sun. This works well during the shoulder seasons, when the sun is still fairly high off the horizon.
Rows with the long side facing south, however, running east to west, will be easier to shield from prevailing winter winds if planted parallel to or next to a protective wall to the north. Plants receive more intense sunlight, for more hours of the day, depending on construction techniques and materials. Factor in the mid-day light glancing off a south-north cover when the sun is low in the sky. Observe how greenhouses in your area are oriented; here, they’re built with the long axis facing south.
Tip #5: Deal with the Wind

Hurricane Michael toppled a neighbor’s huge oak tree.
A breezy location makes the garden feel colder. Installing a windbreak will help mitigate the force of the wind. In this part of NC, our fiercest winter winds come from the north, the northwest, and the west.
Consider:
- a solid or board-on-board fence around the garden.
- a baffle stuck in the ground, such as old boards or sheets of plywood. Or, use these items on the windward side of a chain link fence. Secure well so they won’t blow around. This could endanger not only your plants, but also people and property.
- using the discarded Christmas tree, lying on its side, or dry leaves stuffed into large black plastic trash bags, weighed down. Nestle them close to the windy side of the tunnel, but don’t block the sun.
- staked (with rebar, for example) straw bales on the windy sides. Keep the south side open for maximum sunlight.
- securing stakes deep into the ground, before the soil freezes. Attach old tarps or more plastic sheeting to blunt the wind. Angling the plastic, somewhat, lessens the resistance, and planting the bottom in a trench filled with soil anchors it in place.
- planting the garden on the south side (northern hemisphere) of the house, fence, shed, or stone wall.
- planting a dense windbreak of evergreen shrubs and trees as permanent aids in a windy garden. Locate them carefully; you don’t want to block winter sun or attractive views. Monitor wind direction in the winter, because it can be quite different in the summer.
Tip #6: Add Christmas Lights

Safety First
For decades, I’ve used miniature incandescent (not LED) Christmas lights to provide warmth to cold frames and to the small greenhouse, in Maryland and here in North Carolina. When using anything outdoors that plugs into an outlet, use only indoor/outdoor designated materials, and exercise all necessary precautions.
Heavy duty extension cords also should be rated indoor/outdoor. Try to run short lengths, which means locating the garden near the house or a shed with power. Don’t string together too many lengths of lights. Each 100-bulb string consumes about 40 watts of electricity.
Get some help from a licensed electrician. I cannot overemphasize the importance of safety when using electricity in a moist environment.
Feeling the Heat
You can feel the heat from a string of incandescent miniature lights immediately after plugging it in. The number of 100-bulb strings needed for a 2′ or 3′ wide and 15′ long bed depends on the crops you want to grow and the severity of your winters.
In areas that receive frequent snowstorms and severe cold, these options are not feasible. Sturdier heated greenhouses (Tip #10) or lean-tos (Tip #9) are more suitable. But during shoulder seasons, lights under a tunnel could work well enough to extend the season.
Mild sunny days cause the air under clear plastic to warm up considerably. Open the ends or the bottom of the covering. This allows cooler air, with carbon dioxide, to enter the tunnel. Remember to close it later in the day. Turn on the lights in mid to late afternoon, or when needed.
On cold overcast days, the tunnel will be warmer than ambient air even with the lights turned off. The goal is not to heat the air to cozy “human” levels, but to merely keep it near or above freezing during the coldest hours. The needs of the specific crop determine the target temperature.
Comfortable temperatures for the brassicas and cilantro are different from those for warm season crops. Tomatoes and eggplants, for example, will die with persistent temperatures below 50°F. But kale will grow at a chilly 45°, and it can tolerate the teens at night. Nighttime temperatures in the mid 20’s or higher, and warmer temperatures in the daytime, will encourage continued growth. Frosty weather improves the flavor of the brassicas.

Cauliflower.
Cauliflower doesn’t like it that cold and won’t form a generous curd at those levels. If the plant’s leaves stay in good condition, it will probably get through the winter and develop a head in spring. The cauliflower in the photograph above was one of 4 planted in autumn. They stayed in good shape, under plastic on cold nights, without lights, and finally were harvested in April and May.
Other Options
These Christmas lights are inexpensive. But, with demand favoring energy efficient LED’s, the incandescents will become harder to find. I see more of them on the shelves at the beginning of the Christmas season than at the end of it.
In very high humidity over months of use, they sometimes burn out after a full season (earning the nickname “annual”), or maybe 3 seasons. So, I always keep on hand a few strings of these lights.
Heat mats and cables are available, although they are more expensive. Check with suppliers of agricultural, greenhouse, and farm equipment for other possibilities. Perhaps you will have graduated to a “real” greenhouse at that point!
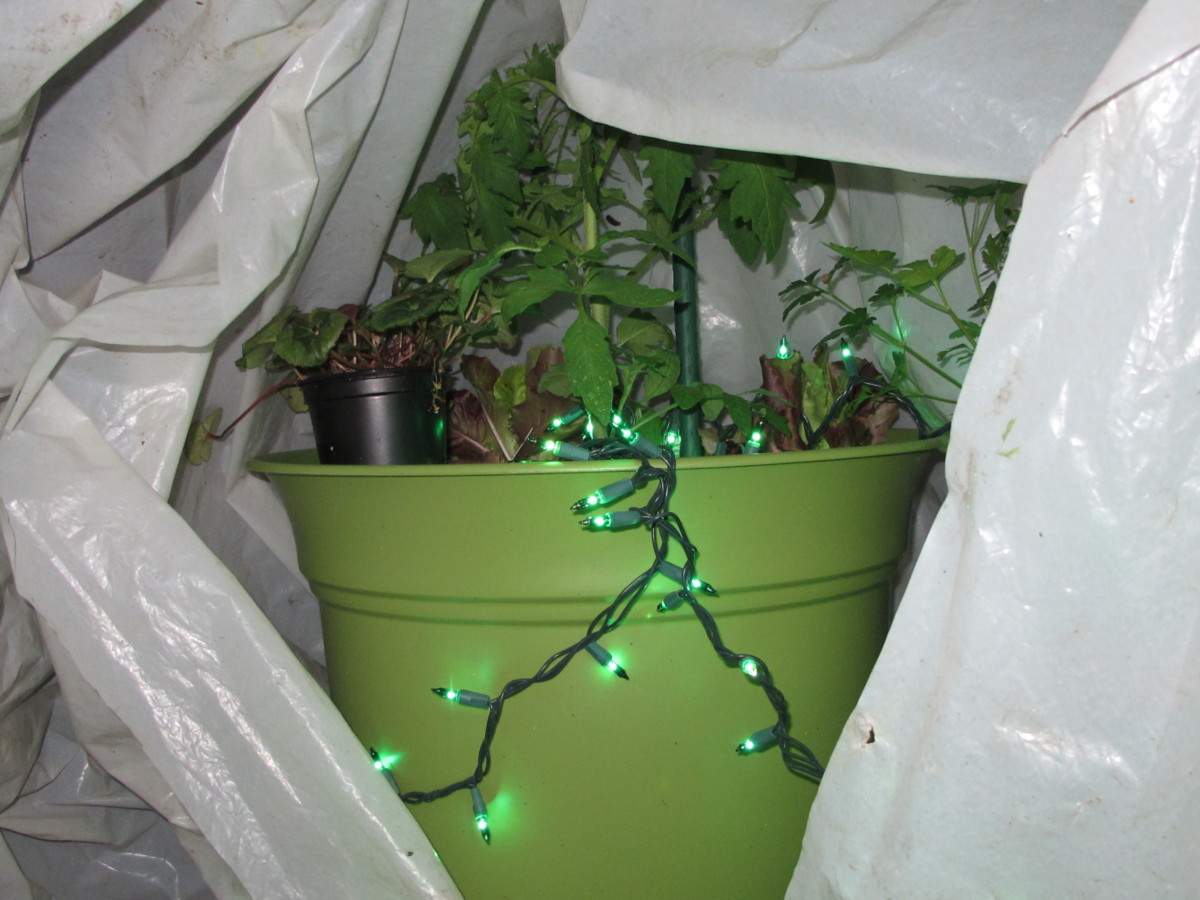
Tomatoes and other tender plants protected by a cover and mini lights.
Tip #7: I’ll Have a Double
No, not that kind. I mean a second layer of wires and clear plastic, which insulates cool season vegetables from cold temperatures better than a single layer would.
This works on the same principle as double-pane windows, adding dead air space between two layers of glazing. It’s the dead air space, not the panes of glass themselves, that add the insulating value in windows (without heat-reflective film). The difference that thicker plastic or thicker glass would make is negligible.
You’ve probably been in a greenhouse covered with two layers of plastic film separated by a layer of air. The space between the layers is kept inflated by a small fan, blowing air in. Where the plastic layers touch each other, as can happen when the fans are turned off, the effect is the same as using a single layer. And that’s costly in terms of utility use.
Headings:
Page 1: Ready For Fall?, Where There’s a Will, There’s a Way (The Advantage Of This Latitude), and Succession Planting: Warm, Then Cool Season Vegetables (Peas, Yummy!, Gather Information)
Page 2: Seed or Transplant? (Seeds, Temperature, Transplants, More Favorites), Crops With Ornamental Edible Leaves (Tender Leaf Kales), Crops That Form Heads, Soil Fertility (The Importance of Microbes), Nutritional Benefits, and Ready For the 10 Tips?
Page 3: Tip #1: Move Tender Plants Indoors, Tip #2: “Quick! Cover Up!”, Tip #3: The Hot Water Bottle, Tip #4: Low Tunnels, Tip #5: Deal with the Wind, Tip #6: Add Christmas Lights, Tip #7: I’ll Have a Double
Page 4: Tip #8: A Simple Cold Frame For Cool Season Vegetables, Tip #9: A Lean-To, Tip #10: The Greenhouse, Finally!