Page 2
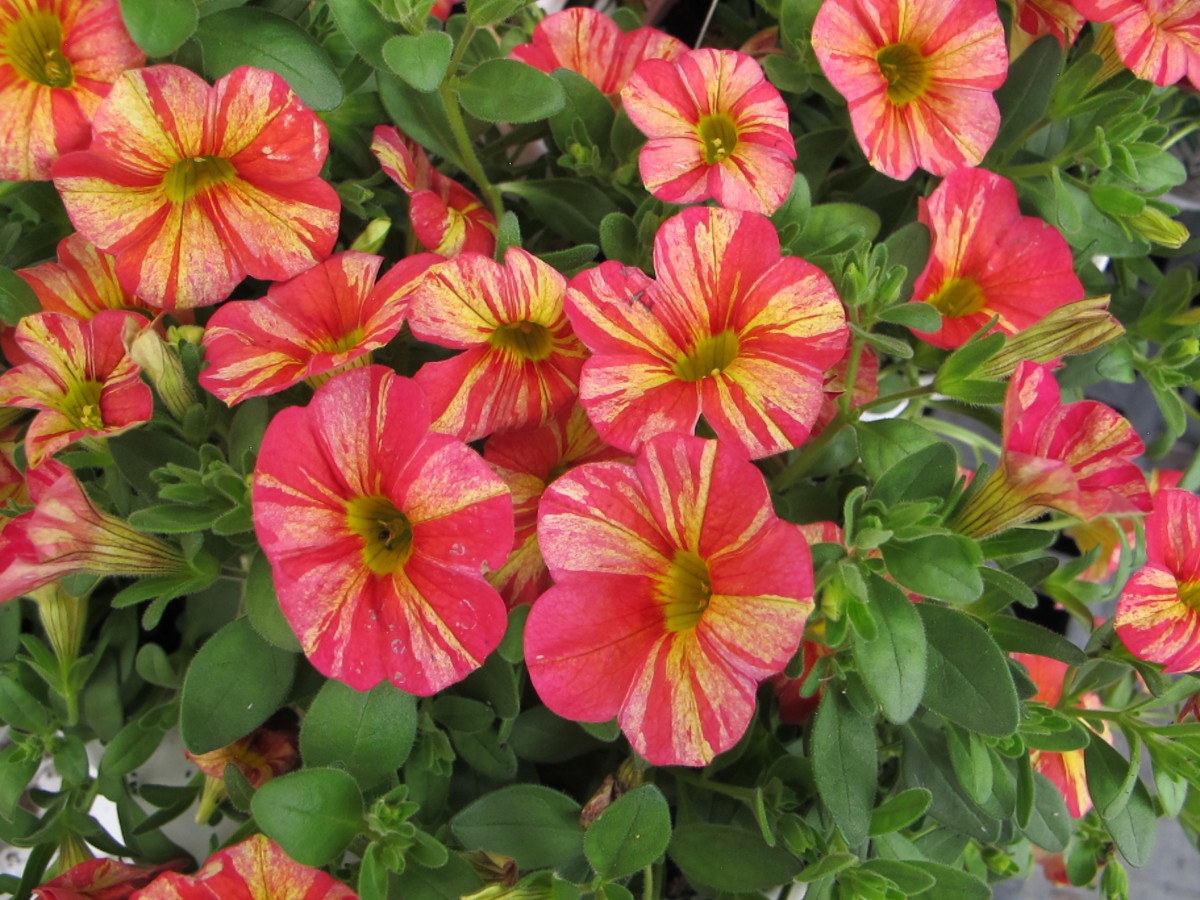
Calibrachoa, a smaller cousin of the petunia.
Ready to Start?
The liner’s in place, drainage holes have been poked through the plastic, and plants have been chosen.
Add dampened potting soil to within 2″ of the hanging basket’s rim. Firm it lightly so it won’t settle later.
With a high percentage of pine fines in the potting soil, consider adding compost, loam, or pre-moistened peat moss to the mix. These materials will help hold water in the root zone. A fast draining soil (lots of pine fines or perlite) might need water twice a day in hot breezy weather. Soil that holds more water needs it only once a day or every two days, depending, of course, on weather and density of foliage. If you’ve had good results with moisture-holding crystals, wet them first and then add to the soil.
Move the plants around, still in their pots, on top of the soil until you arrive at a harmonious arrangement. Place upright or large-growing plants in the center. Next come the mounding plants, and then the trailers go next to edge of the pot. You’ve probably heard them called “thrillers, fillers, and spillers”. Read the labels (“height” and “spacing”), so the shorter, wider plants go toward the edge.
Repeating the plants so there are 3 each of 1 or 2 kinds of trailers will result in a pretty and balanced arrangement. Three points define a circle, so I prefer to use 3 plants per variety instead of 2, around the edge of a larger pot.
Large pots, of course, allow more diversity. But large hanging baskets are heavy, so that’s an important factor to consider.
Happy with the arrangement? Now, move the plants to the work table, maintaining their relative positions in the design. Or take a picture of it.
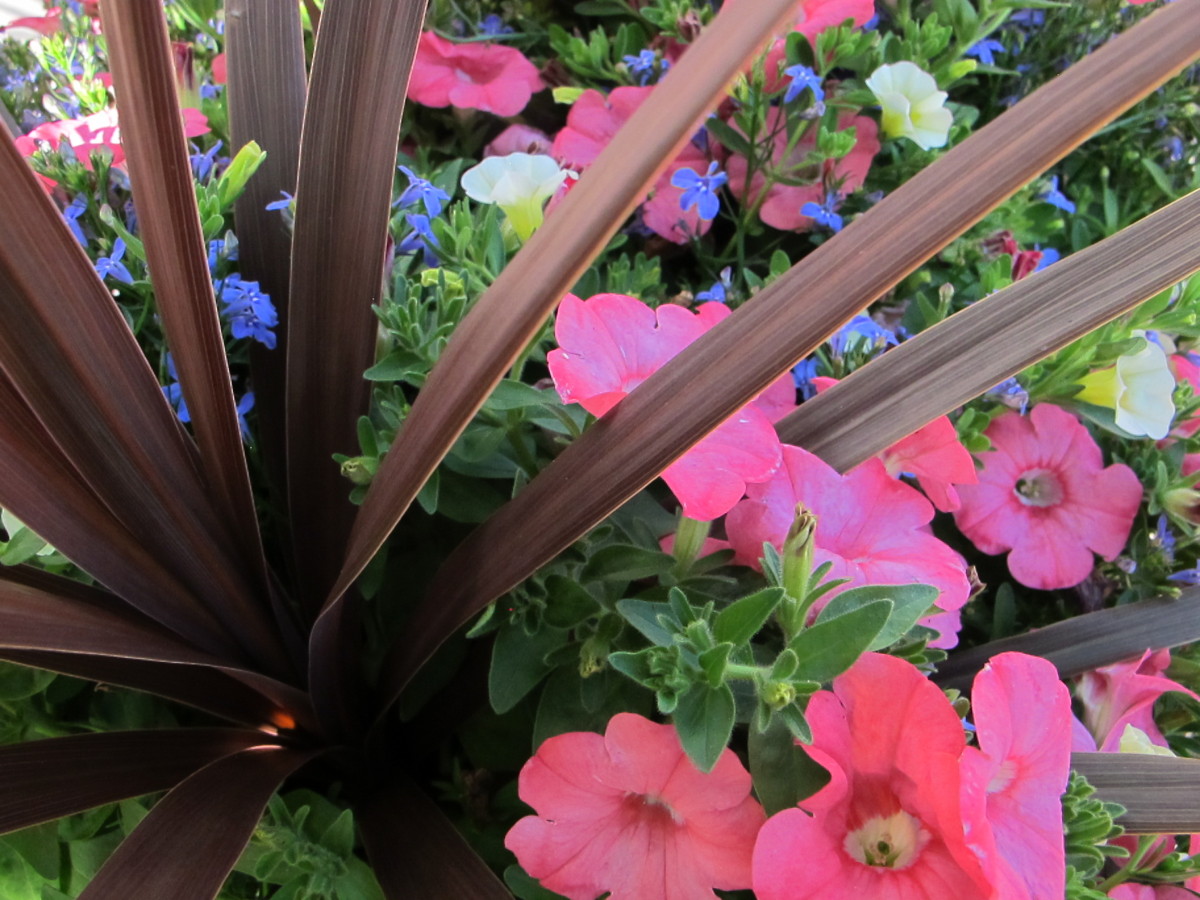
Maroon Cordyline, coral petunia, white calibrachoa, blue lobelia in a patio pot.
Time To Play In the “Dirt”

Scoring the root ball.
Remove the first plant from its pot and score the outside of the root ball. Begin with the central plant. Use a knife or a stick and simply draw a line about 1/4″ deep, a few times, from the top to the bottom of the root ball. Do this for everything you transplant!
Slightly injuring some of the roots stimulates the plant to quickly send new roots into the soil.
Dig a hole and set the plant in place. Firm the soil around the roots. You should be able to see the top of the root ball at the soil surface.
Repeat for the remaining plants. Check to make sure the stems are not buried in new soil. If they are, raise up each plant so the original soil level is flush with the surrounding soil level. Most plants rot at the stem if they are planted too deeply.
If the level of the soil surface is lower than an inch below the rim of the basket, consider adding more soil. That will require lifting the plants and tucking in some extra soil underneath their roots.
The more soil volume in the basket, the more extensively the root systems will grow. In addition, the soil will hold more fertility and will dry more slowly, resulting in big, beautiful plants. If you have 10″ hanging baskets, limit the number of plants to just a few, and use smaller cultivars.
Timed-Release Fertilizer
Timed-release (also called slow- or controlled-release) fertilizer can be added at this time. These little prills release a small amount of fertilizer every time water is applied. If you tend to forget to fertilize your plants, this product will keep your plants looking healthy and growing properly all summer. There are many formulations you can choose from; find one that is recommended for flowering annuals.
The fertilizer releases faster at high temperatures and in rainy weather. For example, a 4-month formulation will be exhausted in 2 1/2 or 3 months at 85°, although it probably will last the full 4 months at 65° or 70°. Look for a product that claims to last 6 months or longer. Or add another dose 2 or 3 months after potting up to get the plants through the rest of the summer.
Use fertilizer at the recommended rate on the package. Most growers using a timed-release product incorporate it into the soil or simply lay it on the surface. Nutrients in prills near the bottom of the container, where roots have not yet grown, will be leached away with the next rainstorms. And those on the surface can be washed out of the pot.
Prills exposed to sunlight heat up and release nutrients faster. So, I prefer to place a small amount of fertilizer in several spots, 1-2″ below the soil surface.
Final Touches
Attach the wires or lift the chains up, being careful not to dislodge the plants. Trim the plastic liner to just below the rim of the coco liner.
Add a 1/2″ layer of shredded hardwood mulch or pine fines to slow evaporation and to help cool the soil. Avoid placing it next to the stems.
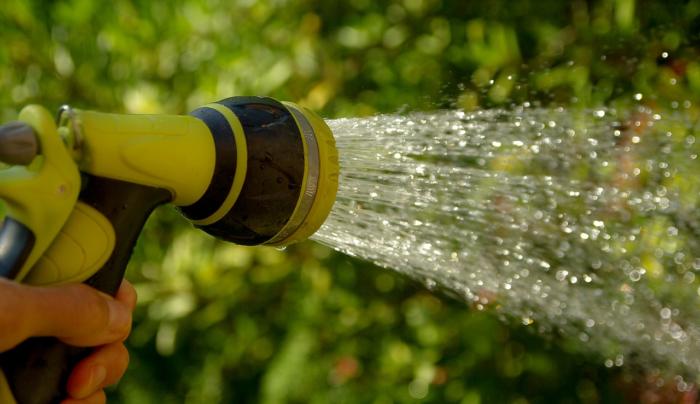
Water the hanging basket. Be careful when using the garden hose if it has been sitting in the sun. The first water to come out the end could be very hot—too hot for plants! Test it first.
You can personalize the hanging basket by adding bits of things found around the yard, such as grape vine, colorful or shapely twigs, Spanish moss, or your grandchildren’s little gnomes left behind from their last visit. Add patriotic ribbon for your Memorial Day or Fourth of July barbecue.

Maintaining the Hanging Basket
Water
 Full-grown hanging baskets in hot, sunny locations likely will need water every day. I keep a couple of filled gallon jugs handy, in the shade, for this purpose if I don’t want to drag out the hose. Water thoroughly. A large basket can take more than a gallon of water. If you don’t see any drainage, add more water.
Giving the hanging basket a light watering will cause roots in the lower levels of soil to dry out and die. The plants will not reach their full potential under these conditions because of the limited root system. And the plants will be more susceptible to death by drought on that one day that you delay watering. These stresses also invite disease and insect pests to move in.
Water that drains immediately upon watering found a channel where soil was not compacted. Press down the soil around the inside of the liner and between plants. Add soil if necessary to fill in the gaps, but again, don’t add soil over the original root ball.
See if you can arrange with a neighbor to water the plants when you’re out of town. Maybe it would be easier to move them temporarily to her back yard. And let her pick the produce in your garden or trade some other favor.

Warm colors of calibrachoa.
Soluble Fertilizer
Fertilize with a liquid synthetic formulation designed for flowering plants if you decided against the controlled release product. Organic products also are available, usually in lower concentrations, so you’ll need to fertilize more frequently. Read the label recommendations.
Roots in confined spaces do not have the ability to venture farther out into the soil in search of nutrients. Plants, therefore, depend entirely upon us to provide what they need.
Fertilizing every 2 weeks with a soluble product will make a huge difference in the basket’s appearance. It doesn’t take long for a healthy basket to start looking “hungry”, especially one with fast growing plants. Plants consume the starter charge of fertilizer included in most potting soils within 3 weeks.
Lack of fertility explains a plant’s failure to thrive. A few years ago, in mid spring, I bought a beautiful 12″ combination basket, and wanted to see how long it would last without fertilizer. In 3 weeks, it had declined to the point where it had to be cut back hard. And fertilized. Yes, it did recover.
The PH of the Soil
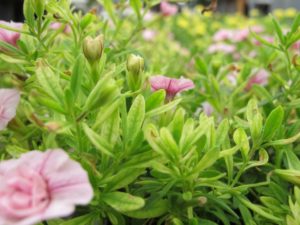
Calibrachoa with chlorosis from high pH.
Soil pH, a measure of hydrogen ions in the soil, is another variable we shouldn’t overlook. Soil with a pH of 7.0 is neutral on a scale from 0 to 14. Below 7.0, soil is acidic, and above 7.0, it is alkaline. Minerals become available to plants when the soil measures within a limited pH range.
Petunias, calibrachoas, and cool season pansies and violas need acidic soil. If the soil runs alkaline, the leaves develop a pale yellowish tint or prominent green veins on a light background. This chlorosis is especially noticeable on new growth (photo, right).
Iron and certain other minerals are soluble in acidic soil, but not in alkaline soil. They bind with soil particles and can’t be absorbed by the roots at a high pH. Foliage needs magnesium, iron, and other elements to form chlorophyll, the green pigment in leaves.
Let It Rain
I often collect rainwater for plants that stay indoors year-round. That helps adjust soil pH, which tends to rise over time when using only tapwater.
Plants grown outdoors that receive a good rain now and then usually don’t have this problem. Rain tends to be quite acidic and helps restore proper pH.
Deadheading
Pinching off faded flowers, or deadheading, improves the appearance of the hanging basket. It also removes seedpods that form as a natural part of the plant’s life cycle. A plant that can’t set seed will continue to flower in order to achieve its mission to procreate.
Those varieties of flowers labeled “self-cleaning” will drop the old petals as the flowers fade. Some, though, might not entirely cooperate, and will grow seedpods anyway, after they shed their petals.
New Varieties
Plant breeders have worked over the decades to tame wild features and enhance the good ones in many species. We’ve seen fantastic cultivars that we never saw 20 or 30 years ago. They were considered weeds or wild prairie plants back then!
New varieties of black-eyed Susans, goldenrods, coneflowers, Silene, Gaillardia, asters, and some of the ornamental grasses are a few that have become stars in the perennial garden.
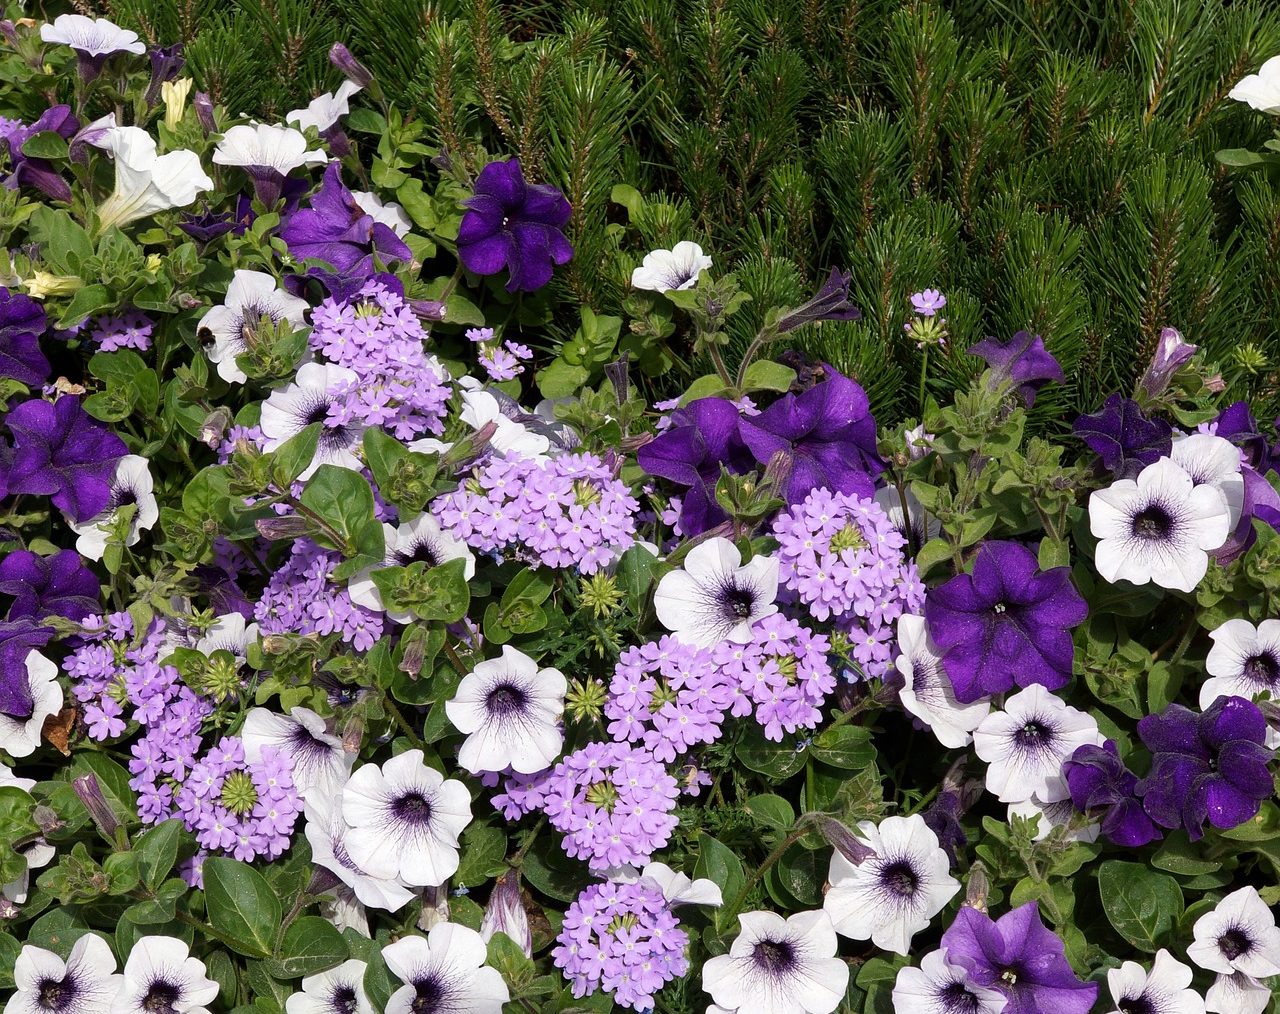
A pretty combination using purple and purple-eyed white petunias, and lavender verbena.
In addition to the perennials, new varieties of annuals have come to the market after nationwide trials have proven them worthy. With an enormous number of cultivars found at garden centers, farmers’ markets, and hardware stores, or started from seed at home, the menu of possibilities is almost endless.
Look for those that will comfortably fit in your containers. The pink petunia called ‘Vista Bubblegum’, for example, will outgrow a 10″ basket seemingly overnight. Save that one for very large planters, or, better yet, for the landscape.
Plants native to the hot Australian Outback, in drier regions of Africa, or in humid tropical jungles of South America and Asia have prompted extensive breeding programs. Plant breeders have brought an astonishing array of new material to the marketplace.
Pruning Your Hanging Basket
Within reason, most annuals grown at nurseries are suitable for containers. But when one grows a little too aggressively for its more delicate neighbor, you can either remove one or prune the larger one.
Petunias grow more densely after pruning a few of the longest stems every now and then. We’ve all seen how they eventually end up—with blooms near the ends of long leafless stems. Cut a few of those stems down to 2″ stumps. With a healthy level of moisture and nutrients in the soil, petunias will quickly resume growth. The rest of the stems can carry on blooming…until it’s their turn.
All plants that grow long stems will benefit from an occasional cutting back. Licorice vine, sweet potato vine, lysimachia (golden creeping jenny), vinca vine, English ivy, petunia, calibrachoa, and lobularia are a few. Cut the longest stems almost all the way back to the soil.
-

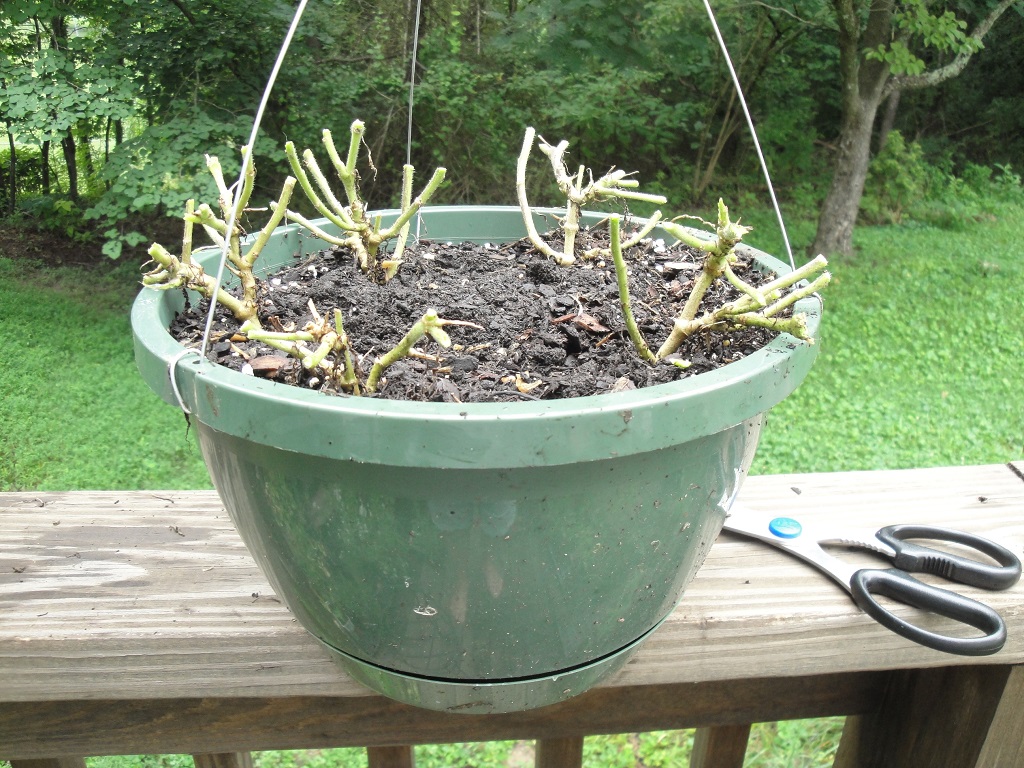
- A 10″ petunia basket, cut back hard.
-
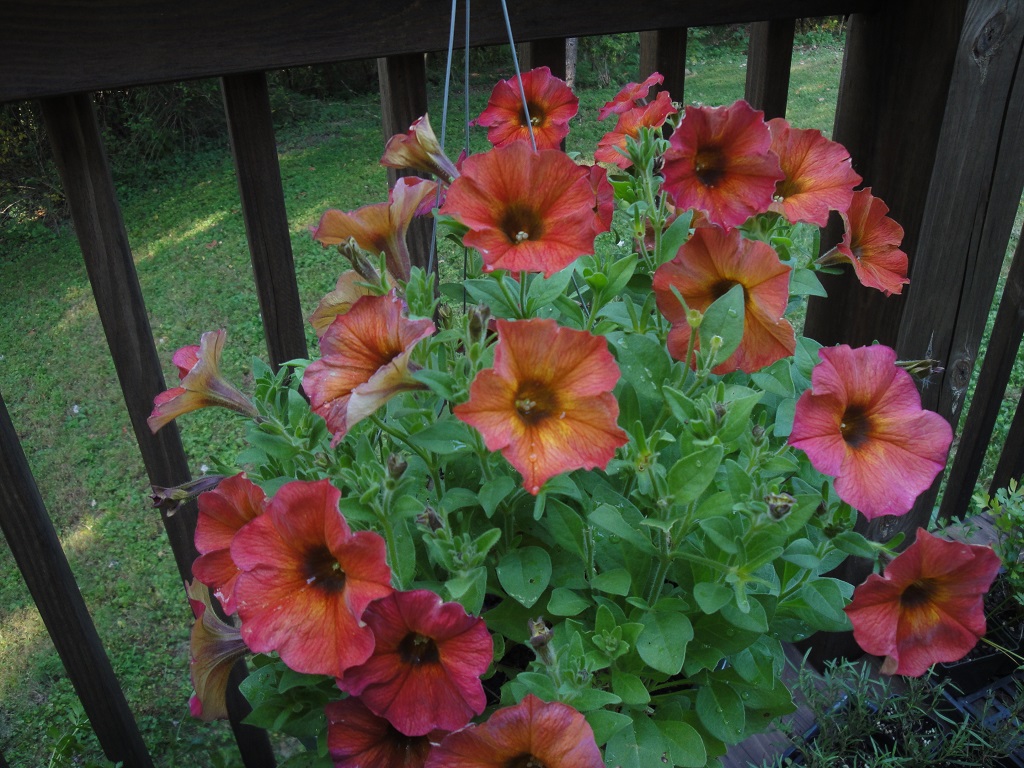
- A few weeks later.
Why To Cut Some Stems Instead Of All
There is the option, of course, of cutting back the entire plant. But this will result in a conspicuous absence of blooms for a while (photos, above). Pruning a portion of the planting sacrifices a few flowers, but there’s always something else in bloom. With adequate nutrients in the soil, summer annuals bounce back incredibly fast.
Insects and Spider Mites
Aphids, thrips, spider mites, and sometimes mealybugs, caterpillars, and white fly can cause problems on our annuals. A strong stream of water from the hose will wash off most of the insects and mites. But, with heavy infestations, pruning the heavily damaged stems is the best option.
Plants that are stressed by adverse conditions (hot or cold, dry, windy, overplanted, potbound, compacted soil, low nutrient levels) attract pests more often than those growing in a favorable environment.
Always read label instructions, and avoid spraying or applying chemicals when pollinators are active. Don’t dispose of these products down the drain or where they can pollute bodies of water. Instead, mix only enough to do the job.
Horticultural Oil
If needed, spray with a horticultural oil solution, carefully following directions. Pay particular attention to the bottoms of the leaves, where many insects and mites congregate. Don’t apply oil during hot weather; wait for cooler evening hours. Horticultural oil also kills eggs of insects and mites, which insecticidal soap does not do.
Bt
Bacillus thuringiensis, or Bt, is a naturally occurring bacterium that infects and kills larvae of moths and butterflies. It does not affect other pests, although certain strains target some of them. Caterpillars, cutworms, and cankerworms are a few larval insects killed by Bt.
Systemic Insecticide
For those hanging baskets that have suffered an onslaught of insects, use a systemic insecticide as a last resort. This is available in both granular and liquid forms. Do not use systemics on herbs and vegetables. The chemical solution absorbed by the roots or the foliage translocates in the sap throughout the plant. Insects feeding on the sap over the next few weeks will ingest some of the chemical, and then die.
Natural Predators
When your property hosts a wide variety of beneficial predators, spraying usually is not necessary. Spiders, birds, lizards, ladybugs, green lacewings, braconid wasps, and hoverflies are just a few of our garden helpers.
Keeping a wide variety of plants that flower in our gardens at different times of the year encourages the beneficials to take up residence. Spraying chemicals every time you see an insect (bad or good?) in the garden prevents populations of beneficials from becoming established. Avoid stressing the plants and avoid spraying chemicals in order to build a healthy, inviting environment.
Slugs
If you thought your hanging baskets were safe from slugs and snails because they’re “up there”, guess what? These mollusks move around at night, climbing everything in sight in search of tender growth. They’ve disappeared by the time you make the morning rounds. The slime trails and holes in the leaves and flowers, though, are telltale indications they’ve been around.
After rainy weather, take a flashlight outside at about 9:00 or 10:00 p.m., and shine it over the tops of the garden plants and hanging baskets. See lots of slugs out there?
Scatter some organic Sluggo pellets in the area, and reapply during rainy weather or when frequently watering plants. Add a few granules to the hanging baskets.
Another option is to lay a board on damp ground, which attracts slugs looking for a safe place to slumber. In the morning, with old knife in hand, turn over the board and squish the snails and slice the slugs in half…done…fast…final. Others swear by the beer in a bowl solution, but don’t use salt in the garden.
Deer!
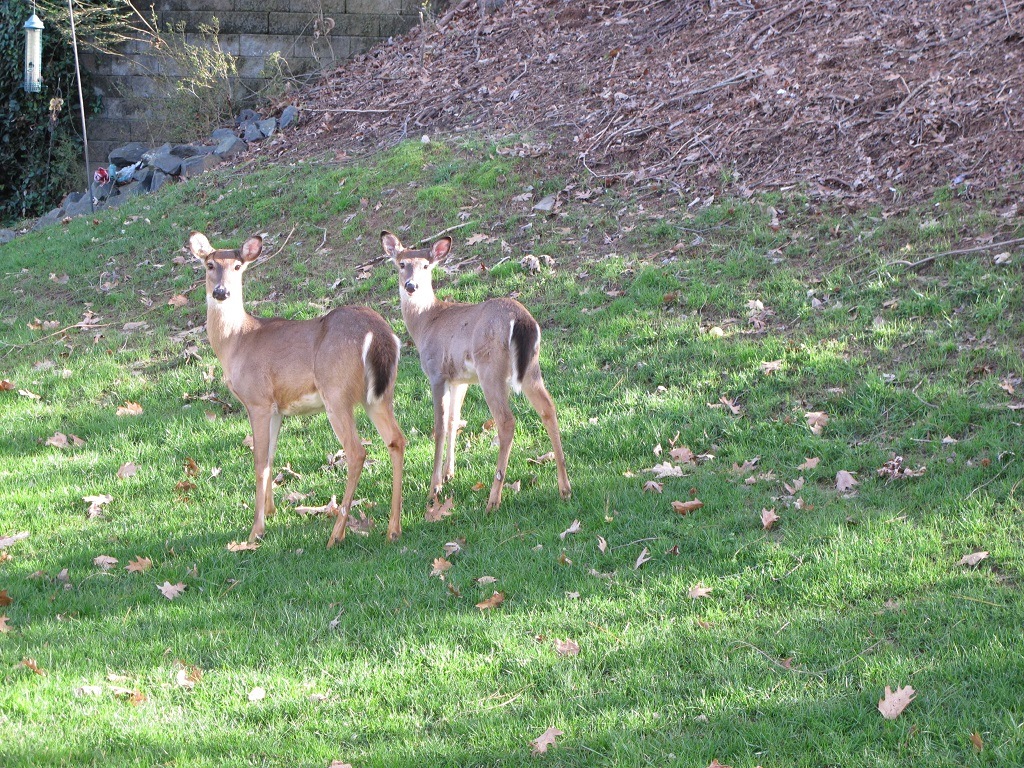
Deer are happy to help prune your plants, night after night. Their preferences seem to be local, so the ones that eat petunias, torenias, and calibrachoas here might leave yours alone.
Deer Stopper, Liquid Fence, and other deer repellents should be applied monthly. When we finish a gallon of milk, I swish some water in the bottle and splash it onto tomatoes, violas, and the hanging baskets. Deer, and often rabbits, too, dislike the fatty acids in dairy. You also could drape the basket with almost inconspicuous bird netting at night, or leave it on all the time.
Enjoy designing your hanging basket.
If it isn’t quite right, you can or add or delete plants as necessary. Sometimes it’s a simple matter of rearranging the plants. Check the colors, growth habits, textures, and pot size.
Look at pre-made combination pots at the garden center and use ideas that appeal to you. And, no…no one will fault you if you decide to buy that beautiful hanging basket that’s begging to go home with you.
Headings
Page 1: Tips For Planting a Wire Hanging Basket, A Few Preliminaries (Can I Reuse Old Potting Soil In the New Hanging Basket?, Refresh/Reuse, Line the Liner), Where To Place the Hanging Basket (Sun Or Shade?), and Choosing Plants For Your Hanging Basket (Consider These Color Combinations)
Page 2: Ready to Start?, Time to Play In the “Dirt”, Timed-Release Fertilizer, and Maintaining the Hanging Basket (Water, Soluble Fertilizer, Deadheading, New Varieties, Pruning Your Hanging Basket, Insects and Spider Mites, Slugs, Deer!)