Page 2
Planting the Strawberry Jar
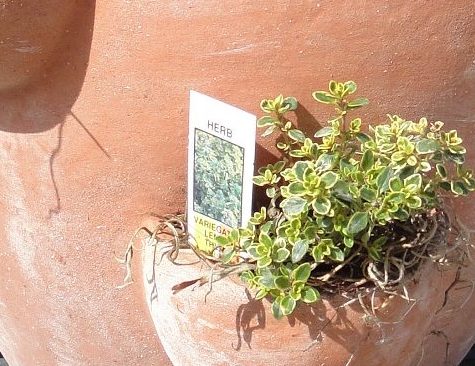
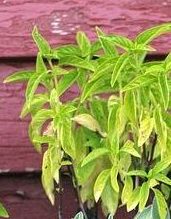
Variegated lemon thyme, with Spanish moss.
Pots with openings barely an inch wide are nearly impossible to plant. But you can fill the pot with soil, firm it well, and insert small rooted cuttings. You might pay more for a “wide mouth” strawberry jar, but it is worth considering.
Use plants that can tolerate full, hot sun on the south (northern hemisphere) and west sides of the container. In the east- and north-facing pockets, use plants that prefer less intensity during the hottest hours of the day. The pot should be turned now and then for even growth but be careful with the sun-sensitive plants.
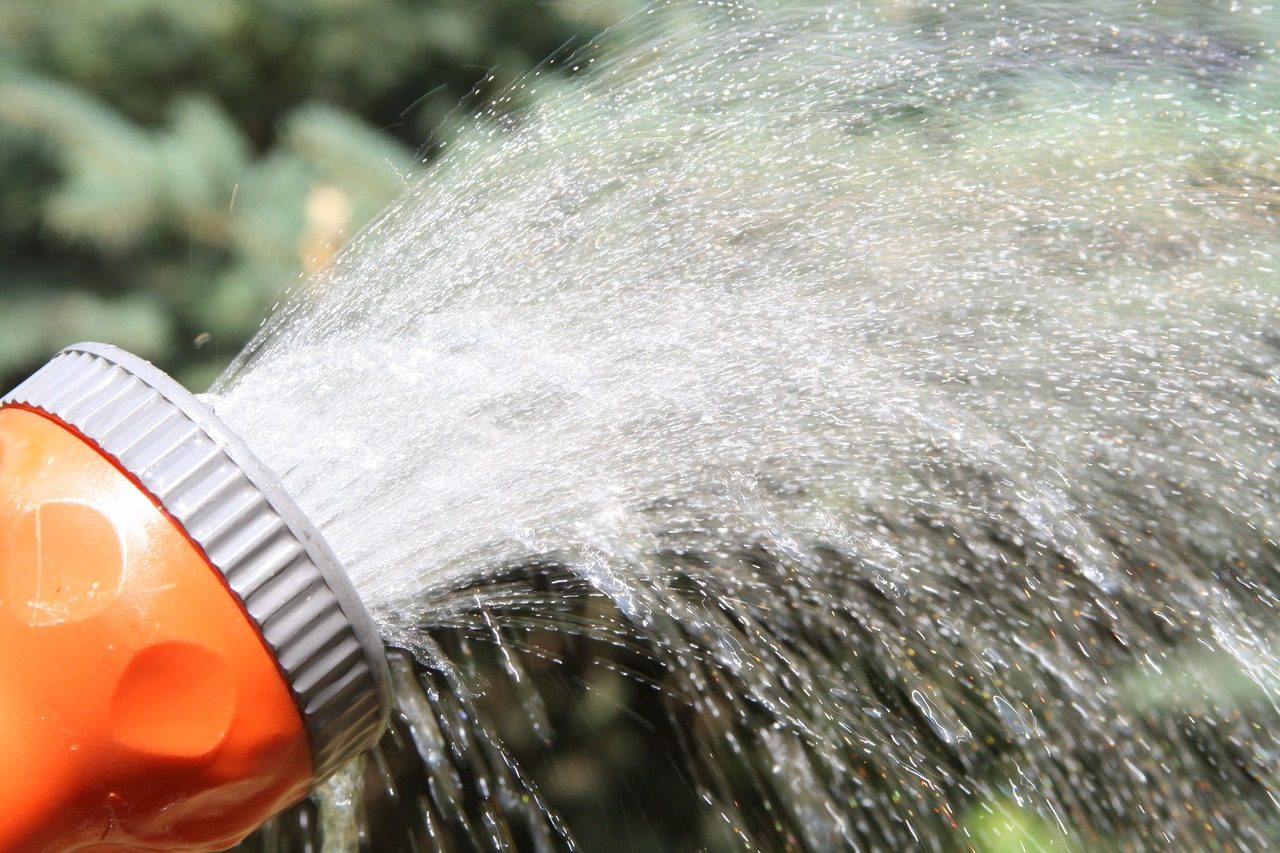
Be prepared to water annuals and herbs every day in warm weather. Soil in a full and leafy strawberry jar dries rapidly. Some gardeners insert a perforated tube down the center of the pot to get water all the way to the bottom, but I prefer potting soil all the way through.
You’ll need to refill the reservoir at the top a few times in order to moisten the entire depth. Be sure to leave enough space there, at least 1½”. In addition to watering the top, fill the pockets with water. It helps to also add water to the saucer until the soil is thoroughly moistened.
The Process
- Start with a clean, empty pot. It must have a drainage hole in the bottom.
- Compose the plant arrangement before planting. Plan for future growth, putting the larger trailing plants near the bottom and mounding plants in the middle tier. Upright growers go in the top. No firm rules here; experiment!
- Cover the drainage hole with a wad of polyester fiberfill. This synthetic material doesn’t rot, and effectively holds all the soil in the pot while allowing water to freely drain through. It is reusable.
- Fill the pot to the bottom of the lowest pocket with pre-dampened potting soil. Loosely filled soil will settle over time, dragging the plants lower into the pot, so firm it well, paying close attention to the curved sides.
Now, Add the Plants
- Remove the first plant from its pot. Remove excess soil from the root ball.
- “Do I plant it from the outside or from the inside?” That depends on the size of the pockets. If you can, slip the roots into the pocket from the outside. A narrow or small pocket, though, is difficult to fill from the outside without damaging the roots…
- …so, in one hand, fold up the foliage into a condensed bunch. Then, lower the plant into the pot.
- Gently feed the foliage through the hole, from the inside, using your other hand to pull the leaves through the pocket. Continue to push the root ball up into the pocket with one hand while carefully working the foliage from the outside. Plant so the top of the root ball is about 1/2″ below the rim of the pocket.
- Remove damaged leaves. Some losses are inevitable, so start with small plants or remove some of the foliage before planting. For hens and chicks, insert small divisions or offsets from the outside.
- Add more soil under and around—but not on top of—the roots, firming it as you go.
- Also, add soil to fill gaps around the roots inside the pocket, and firm it well. This is easier to do with a chopstick or a wooden dowel.
Continuing…
- Fill the pot with more soil, again packing it firmly as you proceed to the next level of pockets.
- Add the rest of the plants, and check for gaps that could use more soil. Again, firm the soil inside the pockets.
- Here’s a little detail that adds to the charm—a small handful of Spanish moss. Use an old knife to push some fibers into the soil on the inside of the pocket so it stays in place. Let it cover the soil and dangle from the pocket (photo, top of page). This is cute, yes, but it also helps prevent erosion until the pocket fills with roots. Most of it will decompose over time. Don’t clump it around the base of the plant because that would hold moisture there. And don’t use much moss, if any, with the succulents.
- Happy with the result? Now, place the pot in its summer location and water carefully. If plants wilt, provide dappled shade for a day or two while the plants recover.

Maintaining the Strawberry Jar
Light
Place the pot where it will get enough sunlight. Most herbs need full sun, at least 6 hours per day, and the hens and chicks need more than that. Annuals and houseplants vary, so ask someone at the garden center for advice. Trying to make full sun plants grow in only 2 hours of sun will be disappointing.
Water
The roots of most plants in strawberry jars need to be damp to moist, particularly those in terra cotta containers. The first indication that the plants are underwatered is wilt. Water thoroughly, and they often recover.
Cut back damaged plants that haven’t plumped up. There’s less pressure on the root system to provide water to a smaller plant than to one that’s fully leaved. Replace them if necessary. Make sure the plant’s crown (where roots meet the above-ground parts) has not been buried in the soil.
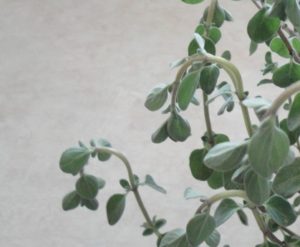
Wilting marjoram ‘Compactum’.
Pick up the pot now and then and learn to judge the soil’s condition by the weight of the pot. Or feel the soil in a few places, a couple of inches into the pot, if you can.
It might help to keep a few gallon jugs of water near the plants, in the shade so the water won’t overheat. Cap them to prevent mosquitoes or mice from getting in. This makes it easier to attend to a dry pot the moment it’s noticed.
An inch of water in the reservoir at the top of the pot might moisten only 3-4″ of the depth. Repeat, and repeat again, and again! If using the garden hose that’s been sitting in hot sun, check the temperature of the water before giving it to plants. Water the pockets and the saucer, as well.
When Soil Becomes Too Dry
When water immediately rushes out of the pockets or the bottom, it’s following an air channel through the pot. This happens with loosely packed soil, or if the soil dried out and contracted from the wall of the pot. When potting up the strawberry jar, use damp soil, which packs better than dry soil.
Soil shrinks away from the inside of the pot as it dries, and dry soil might resist absorbing water. You’ll need to water repeatedly to make it expand. Or, add more soil and use a wooden dowel to fill the gaps. Adding sand or making a thick slurry (a watery mixture of soil) might help fill the spaces.
All those curved surfaces provide opportunities for water to flow through the gaps. Although I wouldn’t pack the jar with soil as tightly as possible, not firming it enough will cause problems later.
Place a saucer under the pot, and refill with water until it no longer gets absorbed. Water will rise by capillarity up to a certain point, where gravity prevents it from rising farther, so also water from the top. Once the soil has been thoroughly moistened, empty the saucer.
Fertilizer
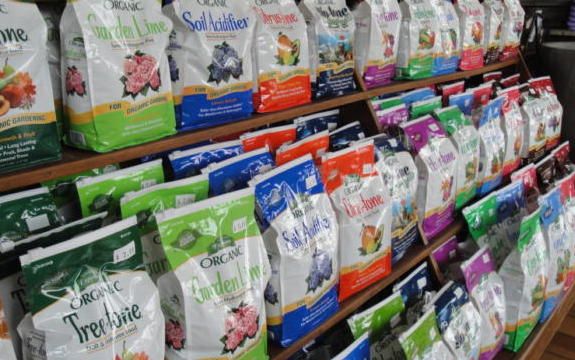
A selection of organic fertilizers.
All plants in containers need fertilizer within a few to several weeks of potting up. Because many plants are confined in a limited volume of soil, they’ll require regular applications of nutrients.
Use more diluted solutions (¼ to ½ strength) for succulents and hens and chicks, perhaps every 6-8 weeks during the growing season, starting 1½ to 2 months after potting up. Avoid getting water on the foliage.
Basil and lack of nitrogen.
Herbs and annuals need more frequent fertilization to keep them in top condition. There are many organic products, if you prefer, at the garden center. An established pot should be fertilized every 2 to 4 weeks, depending on the plant species and the analysis of the product.
Pale green or yellowish bottom leaves on basil (photo, right) usually indicate lack of nitrogen. Poorly colored basil tastes terrible. But basil can also become yellow from lack of water or basil downy mildew.
One option for fertilizing includes incorporating controlled release fertilizer when planting the strawberry jar. Look for a formulation that claims to be effective for 6 months or more. This will get the planter through most of the growing season, although you’ll probably need to fertilize by late summer. At high temperatures, the prills release nutrients faster.
Pruning
Regularly clipping herbs yields fresh, fragrant cuttings as needed in the kitchen. Most herbs with healthy root systems in fertile soil can be cut back to only a couple of inches if they’ve become leggy. When rejuvenating an overgrown thyme or oregano, for example, you can cut it down most of the way and dry the clippings for future use. Plants regrow when cut above dormant buds in the stems.
Large growing annuals can quickly take over a small pot, so look for dwarf varieties and use a larger strawberry jar. Don’t hesitate when cutting back the annuals; they seem to have an innate drive to bounce back. For plants that grow several stems, cut back the longest ones when they begin invading the territory of other plants, and cut them almost all the way to the soil. The stumps will branch out and grow again.
Organic matter in potting soil decomposes over time, so, by the second year, you’ll see the soil mass settling lower in the pot. After removing the plants and dividing or cutting them back, dispose of the rest of the soil in your gardens or the compost pile. If you prefer to economize with this increasingly expensive material, reuse it in pots, but add a good portion of fresh, composted soil as well. Get some new plants, if necessary, and replant your strawberry jar.
Concluding
It seems that the most frequent complaints about strawberry pots result from not adequately firming the soil, or not providing enough water or fertilizer. Plant selection also is important.
I hope this article helped identify some of the difficulties you might have had in the past when planting a strawberry jar. Whether it was wilted plants or pale, sickly foliage, now you’ll know how to prevent or remedy these problems.
Have fun creating your own unique combination of plants!
Headings
Page 1: How To Grow Plants In a Strawberry Jar, Planting Succulents In a Strawberry Jar (When It Gets Cold, The Tender Succulents), Planting Herbs In a Strawberry Jar (Which Herbs?), and Other Plants for a Strawberry Jar
Page 2: Planting a Strawberry Jar (The Process), and Maintaining the Strawberry Jar (Light, Water, Fertilizer, Pruning)