Updated 1/17/2024
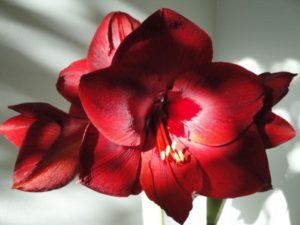
We’ve enjoyed this deep red amaryllis for many years.
While watering the gardens yesterday, I noticed that all the amaryllis pots next to the fence had been overturned by some middle-of-the-night visitors. Most likely raccoons were to blame, because the bird feeder was empty and the bird bath was dirty. Now is a good time to address the question,
“How do I get amaryllis bulbs to bloom again this winter?”
Most amaryllis plants are sold in 6″ or 7″ pots from Thanksgiving through winter. When garden centers and other growers order bulbs, they not only have a huge assortment of colors to choose from, but they also have the option of buying bulbs that are graded by circumference. The larger the bulb, the more flower stalks you can expect from it…and the more it costs. Many customers willingly pay several dollars more for a large bulb, knowing that it could produce 3 or 4 flower stalks instead of 1 or 2. But that’s worth the price, if you ask me.
A Brief History
Carl Linnaeus in 1753 named a flowering bulb probably from South Africa, but maybe from South America, Amaryllis belladonna. This plant was thought to be the South African Cape Belladonna. Elsewhere, the first named Hippeastrum species was dubbed the “Knight’s-star-lily” (origin unknown) by English botanist William Herbert. The confusion begins, although similar characteristics of both genera place them within the family Amaryllidaceae.
Hardy from USDA zones 6 to 8, true Amaryllis species have naturalized along the west coast of the United States, where conditions are similar to their native South Africa. Most of this article refers, however, to the genus Hippeastrum, the popular holiday amaryllis.
Breeding of the now familiar Christmas amaryllis began in 1799, when British watchmaker Arthur Johnson crossed Hippeastrum reginae with H. vittatum, two species collected in South America. By the mid 1800’s, his hybrids started showing up in the United States.
In the early 1800’s, British explorer and botanist Richard Pearce hybridized H. leopoldii and H. pardinum, two species he’d found in the Andes while employed by James Veitch and Sons Nursery. These crosses produced plants with large and mostly symmetrical flowers.
By 1821, Herbert had described 14 species of Hippeastrum and 3 species of Amaryllis in “The Botanical Register”.
Pearce’s Leopoldii hybrids were crossed with the best of Johnson’s Reginae strains into the mid 1800’s, in the Netherlands. These hybrids formed the basis for breeding most of the large-flowered Dutch hybrids available today.
Breeding continued as new species from South America were collected and sent to Europe. Reginae strains hybridized by Jan de Graaff and sons in the mid 1800’s were crossed with several Hippeastrum species and hybrids available in Europe at that time. Meanwhile, the common name “amaryllis” was loosely applied to plants in both the true Amaryllis and the Hippeastrum genera.
You Say Amaryllis, and I Say Hippeastrum
A pale yellow amaryllis.
Debate over use of the terms “Amaryllis” and “Hippeastrum” continued for 200 years. It wasn’t until 1987 that the taxonomy finally had been clarified. The 14th International Botanical Congress decided that “Amaryllis” is the correct name for the South African genus, not the South American genus.
Nevertheless, we still call holiday Hippeastrum plants by their common name, amaryllis. There are approximately 90 species of Hippeastrum native to tropical and sub-tropical areas of South America, from Argentina to Mexico and the Caribbean. More than 600 cultivars are available.
In hardiness zones 7b and south, amaryllis (meaning Hippeastrum) bulbs planted below the frost line in well-drained soil probably will perennialize.
Today, bulbs are grown in many countries, including the Netherlands, Israel, Peru, South Africa, India, Australia, and the U.S. New amaryllis cultivars periodically come to the market, adding to the huge variety of colors and forms: white, pink, peach, coral, orange, scarlet red, deep red, yellow, and bicolors. Flowers can be a single row of petals, or double, or triple, and they can be broad-petaled or spidery, rounded or pointed. Both miniatures and full-size plants are available.
Most modern cultivars have ancestry from several species, including H. aulicum, leopoldii, pardinum, puniceum, reginae, and vittatum. We also see hybrids in the species H. papilio and H. cybister.
Pollinating the Flowers

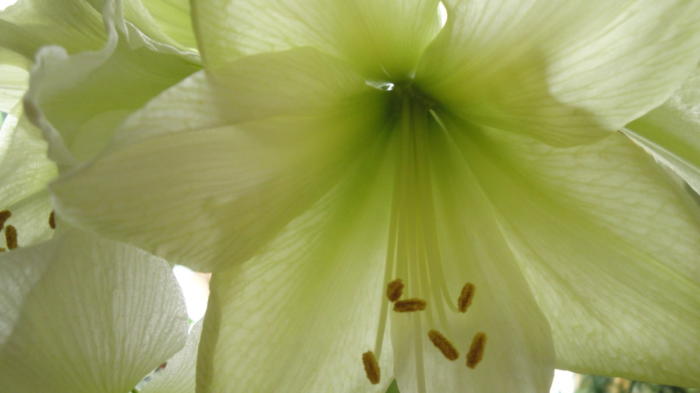
Anthers, and stigma at bottom of photograph.
The photograph shows pollen, in the male anthers, that’s transferred to the female part, the stigma, during pollination. Gardeners not interested in collecting seeds can remove the anthers before they mature and spill their dusty contents on the flowers.
Hobbyists can easily pollinate plants. The pollen and the stigma have to be mature for fertilization to take place. Seeds require many weeks to develop in the pods, and several years to get to flowering size. (***Update***: I’ve had good results when sowing the seeds shallowly as soon as they loosen from the seedpod. 12/2022)
The next generation—seedlings resulting from genetic recombination—will be a mixed bag of pretty, gorgeous, or pretty hum-drum flowers. You could come up with something unique!
Amaryllis plants are propagated not only by seeds but also by tissue culture under laboratory conditions. Tissue culture yields the largest number of plants and they’re identical to the original plant.
Bulblets growing at the base of the bulb can be separated and grown on for a few years before flowering begins. They’re visible when you dig up the bulbs at the end of the growing season. Separate and pot up the large ones, but let the small ones grow attached to the mother bulb for another year or two.
Other methods of propagation, called chipping, notching, and twin-scaling, involve cutting the bulb into smaller pieces. Dusted with fungicide and potted in vermiculite, small bulblets will grow, which later can be separated and grown on.
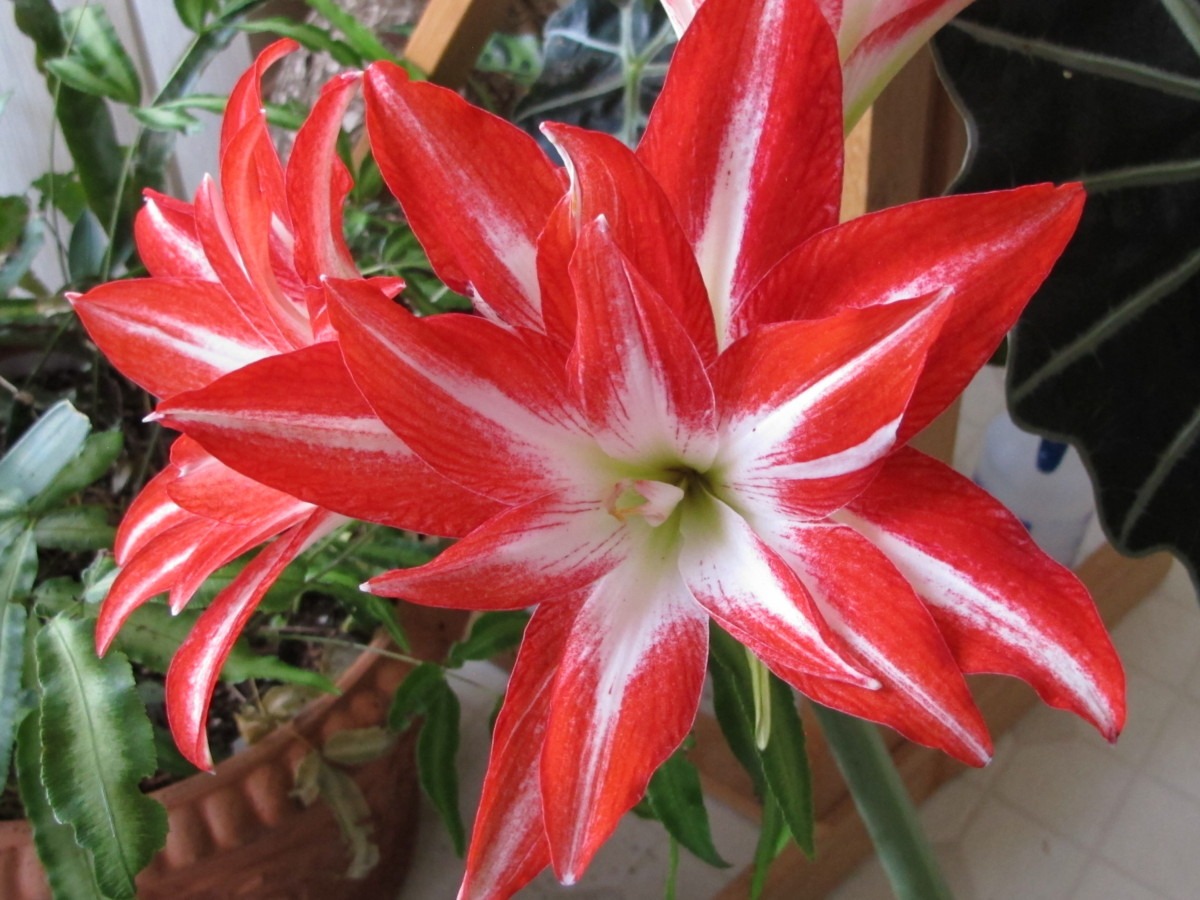
The first amaryllis to bloom indoors, late winter, 2019.
In the photograph above, notice that this flower has triple the normal number of petals. You might see, also, the absence of anthers and stigmas in the flower. This is common in petal doubling or tripling with many species of flowers. Consequently, these cultivars must be propagated vegetatively since they can’t set seed.
Amaryllis Seedpods
-
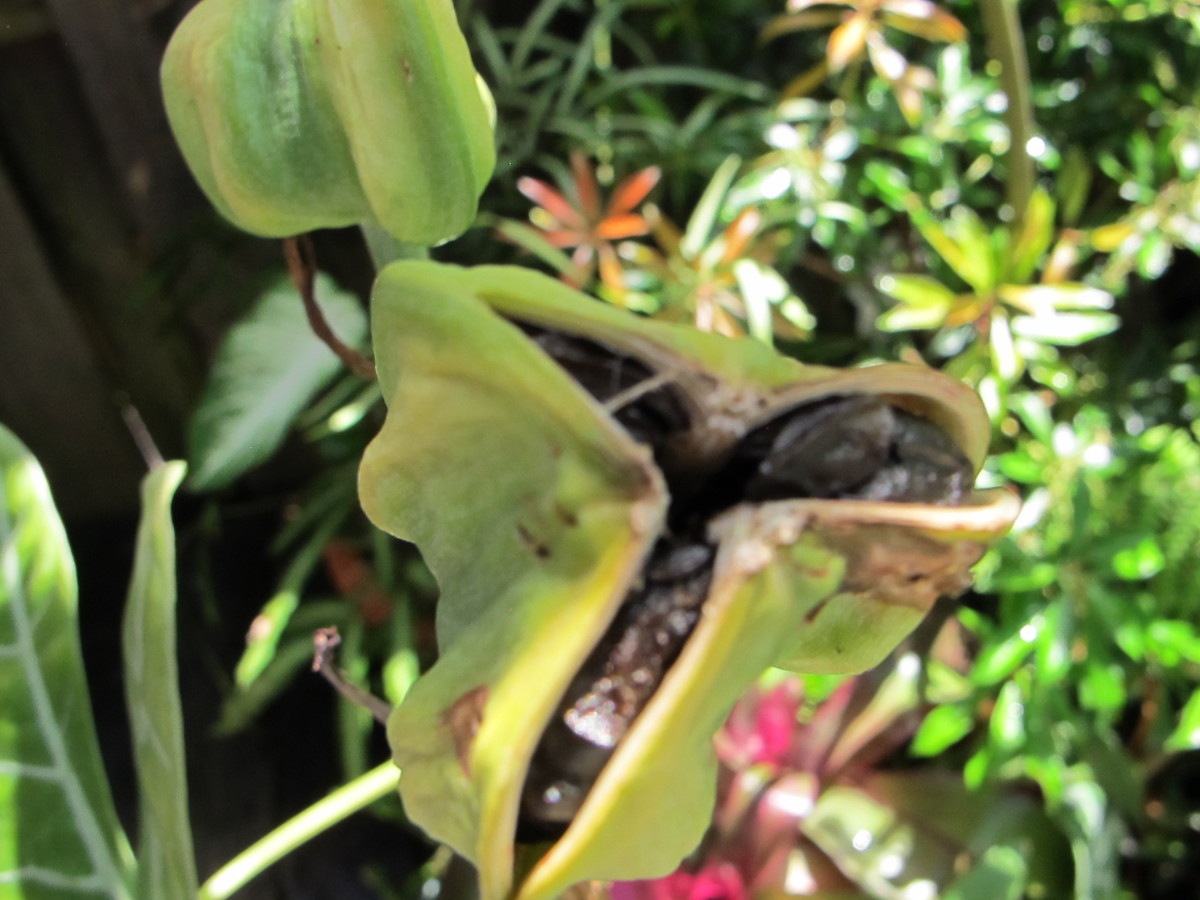
- 2 amaryllis seedpods, mid May, 2019.
-
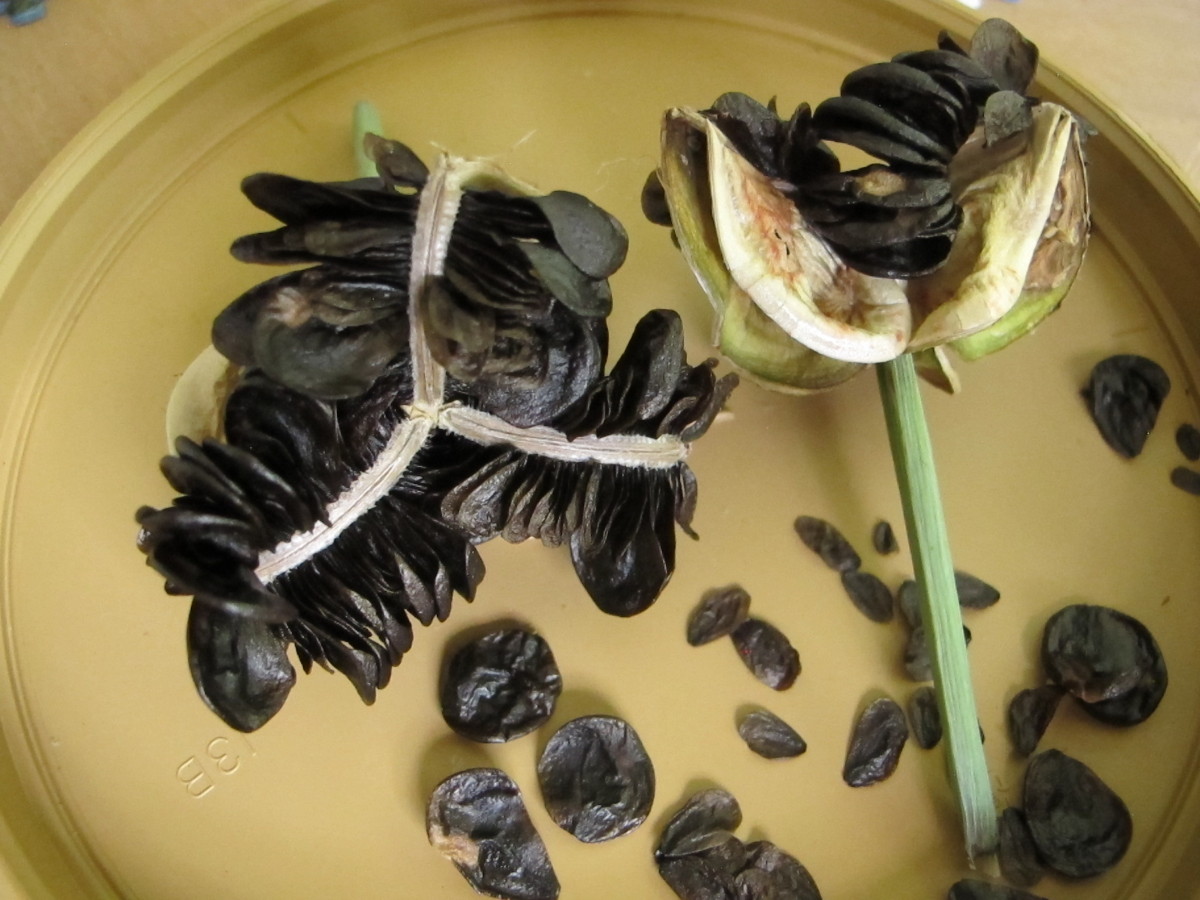
- Fully mature amaryllis seedpods, late May, 2019.
I hand pollinated some of the flowers in winter and harvested seeds about 3 months later.
As the tough, recurving Y-shaped membrane (a light color, in right photo) dries thoroughly, it forces the pod to open, revealing the black seeds. Mother Nature came up with this ingenious process that allows the seeds to dry and to be as separate from each other as possible, aiding dispersal.
What To Do With Your Plants Now
What prompted me to write about amaryllis were the tumbled and torn plants found in the back yard. They can be fixed. Ten pots bloomed from February through May; we enjoyed a succession of flowers for months! New soil will replace tired, old soil, with the neck and shoulders of the bulb remaining above soil level.
If your plants have been weakened after wintering indoors, plant them in well-drained composted garden soil for the summer months. Wait for frost-free weather to put them outside. Give them direct sun in the morning up to early afternoon. In hot regions, keep them out of direct sun in the afternoon, although dappled shade at that time is fine.
Don’t plant too deeply; keep the neck of the bulb above ground level. Plants that have been languishing indoors should be moved gradually into more sun, or the tender leaves will suffer sun scald. Even if they do burn, several new stronger leaves will grow. Amaryllis bulbs grown in garden soil usually recover faster than those growing in pots.
If the long strap-like leaves don’t stand upright, you can stake them gently to keep them off the ground. It wouldn’t hurt to sprinkle some Sluggo granules around them because slugs and snails can damage the foliage or the bulb.
Red Blotch
Before planting amaryllis in the ground for the summer, check them for red streaks or splotches. You might have noticed this disease as the flower stems emerged from the bulbs months ago. This condition indicates a fungal disease caused by Stagonophora curtisii. The disease infects bulbs, leaves, and flower stems. Affected cells die, but surrounding tissues continue expanding, causing leaves or the flower stem to bend.
Peel off infected outer bulb scales and leaves. Throw those parts into the trash rather than composting them, as the spores can spread to other bulbous plants. A systemic fungicide might help clear up the disease. Ask your agricultural extension agent for advice.
When summering amaryllis outdoors in the ground, plant with half of the bulb exposed to air. Avoid splashing water near the top of the bulb, where the disease could take hold.
Physical damage also can cause red or reddish-brown areas. Although those areas look diseased, the rest of the plant continues to grow normally. In this case, fungus is not the problem. However, pathogens can gain entry into the host through bruised tissues.
Headings
Page 1: “How do I get the amaryllis bulbs to bloom again this winter?”, A Brief History, You Say Amaryllis, and I Say Hippeastrum, Pollinating the Flowers (Amaryllis Seedpods), and What To Do With Your Plants Now (Red Blotch)
Page 2: As Amaryllis Plants Grow This Summer, The Process (The Growing Cycle Indoors, And Then Outdoors), and Potting Up New Amaryllis Bulbs (Step-By-Step, and Something’s Growing!)