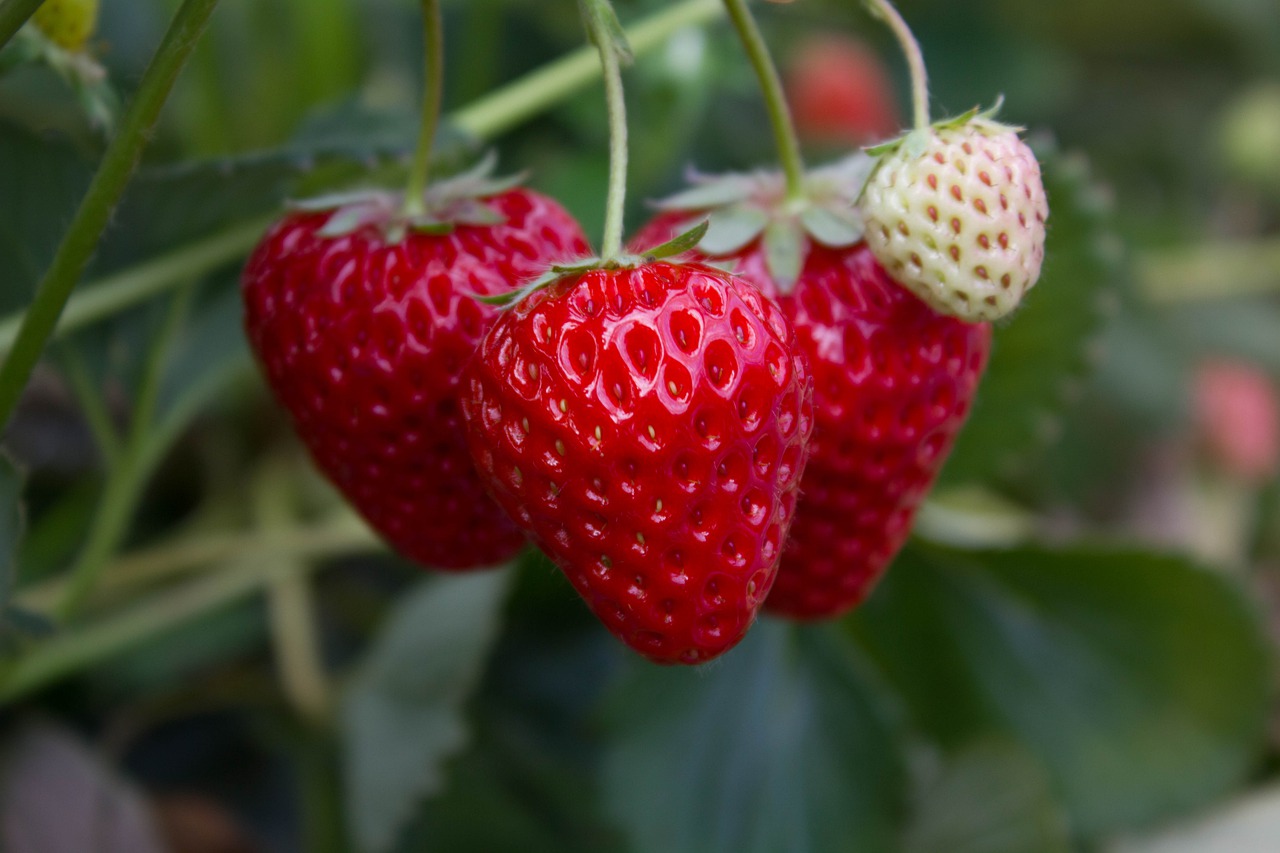
Strawberries!
Do you have an empty plot in the garden where you’ve wanted to plant something but aren’t sure what to plant? It’s too small for blueberries or raspberries. Tall plants will shade vegetables in the other raised beds, so you need something that stays rather short on this south side of the garden.
Here’s an option: strawberries!
Now that spring is in the air—and in your local garden centers—this is the perfect time to plant young strawberry plants. Nurseries are filling up with all sorts of temptations—hardy annuals, trees and shrubs, early greens and vegetables, and budded spring-flowering bulbs in pots. You might find young, well-rooted strawberries already leafing out.
Strawberry plants can be purchased from neighborhood nurseries and from specialty mail order companies. Some varieties are available as seeds, but most are bare-root plants sold in bundles or rooted plants in pots. Bare-root crowns are less expensive than potted plants but need to be planted right away. I don’t have room for 25 plants, so a few potted strawberries are good enough for now.
Strawberries, by the way, are not berries at all, but aggregate accessory fruits. Those little brown spots on the outside of the strawberry are the achenes, or ovaries of the flower, each containing a seed. The achenes are the true berries. The colorful part is an enlarged receptacle, the flower part that normally holds the ovary. But I’m quite sure no one will warm up to the term “strawreceptacle”.
U.S. per capita consumption of strawberries was a bit over 7 pounds in 2018, and that number is growing. North Carolina is third in the nation for strawberry production, after California and Florida. Among nations, top producers include the United States, China, Mexico, Turkey, and Egypt.
Types of Strawberries

Strawberry species are native to the Americas, Europe, and Asia. In the 1700’s, French botanists crossed the strawberry native to the eastern U.S. (Fragaria virginiana) with a Chilean species (F. chiloensis), yielding, eventually, most of today’s cultivars. That explains the “x”, representing an interspecific cross, in the name Fragaria x ananassa. Breeding efforts using genetics from several species have resulted in hundreds of varieties available today.
Strawberries grow within USDA zones 3 to 9. Some varieties prefer the cooler end of that range, and others need somewhat warmer climates. Most require at least 200 to 300 chill hours, when plants are exposed to cool temperatures between 32° and 45° F. Most strawberry plants stop fruiting above 75° or 80°.
Planting varieties that mature at different times prolongs the harvest, but place them in separate beds for ease of maintenance. Keep track of the varieties you’ll be growing in your garden.
There are 4 main groups of strawberries, with many varieties within each category. Look for disease resistance, and consider other characteristics, such as color, size of fruit, and time of harvest.
1. June-Bearing
These large-fruiting varieties bear heavily over a period of two weeks to a month in mid to late spring. They respond to a short daylength, having formed flower buds the previous autumn. The buds, though, stay dormant through winter, safely tucked inside the mulched plants.
For gardeners living in areas with a limited growing season, June-bearing strawberries are a good choice. Those who wish to preserve the fruits often select varieties from this group.
June-bearers develop many runners, or stolons, which root at the tips and grow new plants from there. The “matted row system” is commonly used on farms and in home gardens for this group of berries. Runners are permitted to roam about and root in at will, within the confines of the bed. Each year, the beds are thinned or renovated immediately following the harvest.
Because flowers will be snipped off over the first 4 to 6 weeks after a new planting, as recommended, June-bearers will have no fruits the first year. You can avoid this task by planting crowns of June-bearers later in the season, after they flower. They will bear fruits in the next spring season.
Although strawberries are short-lived herbaceous perennials, some commercial operations renew their stock every year, establishing young plants in a new location.
2. Everbearing
Everbearing strawberries have a large first crop, a smaller late crop (especially in areas with warm summers), and sometimes a few berries in between. They are not affected by daylength.
Berries in this group are smaller and not as abundant as June-bearing types. The total harvest is about the same as for June-bearing types, although it is spread out over time.
Remove flowers and runners the first 4 to 6 weeks after the initial planting. This will sacrifice the early harvest, but they will flower again and yield berries later in the season.
3. Day-Neutral
Day-neutral varieties produce strawberries through the growing season, and will flower regardless of daylength. Fruits are smaller and the plants don’t yield as heavily as the June-bearers.
As with the everbearers, remove flowers and runners that develop during the first 4 to 6 weeks after planting. They will flower again later and set fruits in the current season. Cooler temperatures might yield heavier crops in late summer.
4. Alpine
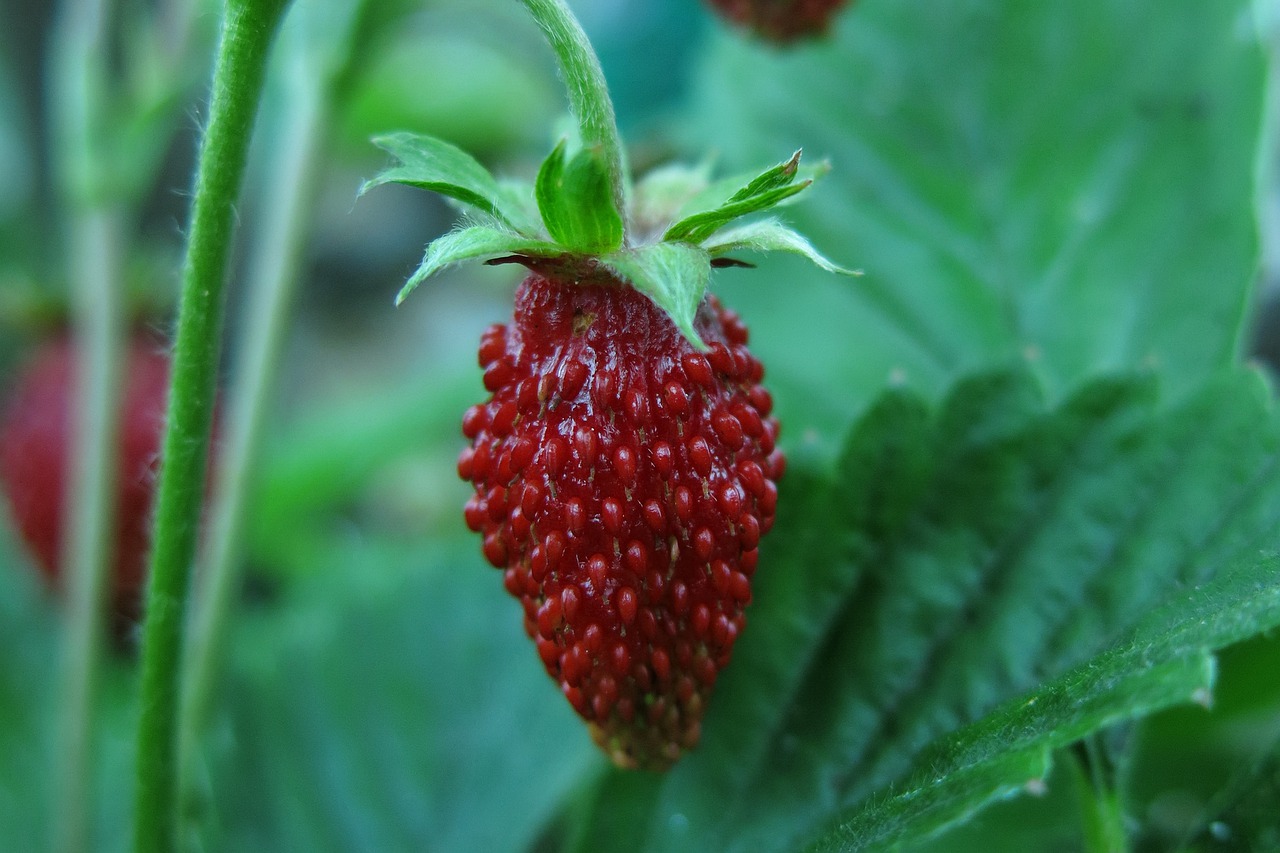
Alpine strawberry.
These are the smaller, oval-shaped berries carpeting the ground in their native northern hemisphere habitats. Sometimes called “fraises des bois“, French for “strawberries of the woods”, these strawberries often belong in the species Fragaria vesca, although several species of alpine strawberries are found around the world. They grow over a wide range of climates, in USDA zones 3 to 9.
Alpine strawberries tolerate some shade, and should be planted 24″ apart. They don’t grow a vigorous system of runners, but will propagate from seeds.
Some strawberry enthusiasts swear by these tiny morsels, and grow no others.
Preparing the Bed for Strawberries
 Find garden space that gets full sun for the best yields. Strawberries start growing before the end of winter, when the sun is still low in the sky. Take this into consideration when locating your garden. In partial sun, foliage and fruits might be plagued by diseases that will ruin the crop.
Avoid low spots. Locate the beds on higher ground where cold air won’t collect and freeze the flowers. Try growing strawberries in containers if you don’t have garden space.
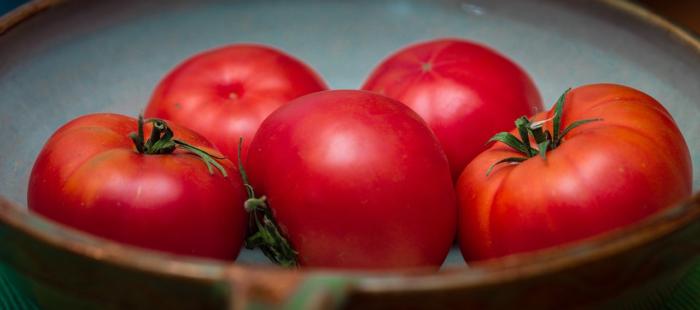
Don’t plant them where tomatoes, peppers, potatoes, or eggplants have grown in the past 5 years. Verticillium wilt disease from infected plants in the nightshade family (Solanaceae) can also infect strawberries (family Rosaceae).
Strawberries prefer sandy loam and must have well-drained soil. This is one reason you often see them growing in raised beds. Another benefit of raised beds is increased air circulation, which helps prevent diseases from spreading among the plants.
How To Configure the Beds
The Matted Row System
In the matted row system, strawberries are spaced 18″ apart down the middle of a 4′ wide bed. Spacing between the beds depends on the method of harvest and whether large tools (tiller, mower, wheelbarrow) will be required. For most home gardeners, 2′ or 3′ between beds serves that purpose.
June-bearing strawberries grow in matted rows, allowing their numerous runners to spread. Over the growing season, let plants fill in to a density of 4 or 5 plants per square foot. Heavy leaf canopy discourages weeds from growing in the bed, but overly congested growth encourages diseases.
The Hill or Mounded System
In this technique, crowns will be spaced in a zigzag manner 12″ apart, in mounds 8″ high. These hill systems are narrower than matted row systems, at about 24″ wide. This permits better air circulation and drainage around the plants. Disease prevention is of prime importance.
This method suits everbearing and day-neutral strawberries, which have fewer runners. In fact, websites recommend removing all runners in hills, forcing plants to grow lateral crowns next to the original plants.
Dig In!
-

- Pine fines.
-
- Compost.
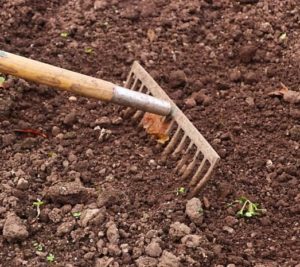
Loosen the Clay
First, remove all vegetation where the strawberries will be planted. They don’t compete well with weeds.
Loosen the existing soil, breaking up the clay to a depth of about 12″. This is easier to do if the soil is damp. Don’t work the soil if it’s wet, though; that will collapse the air spaces between soil particles.
Add Drainage Material
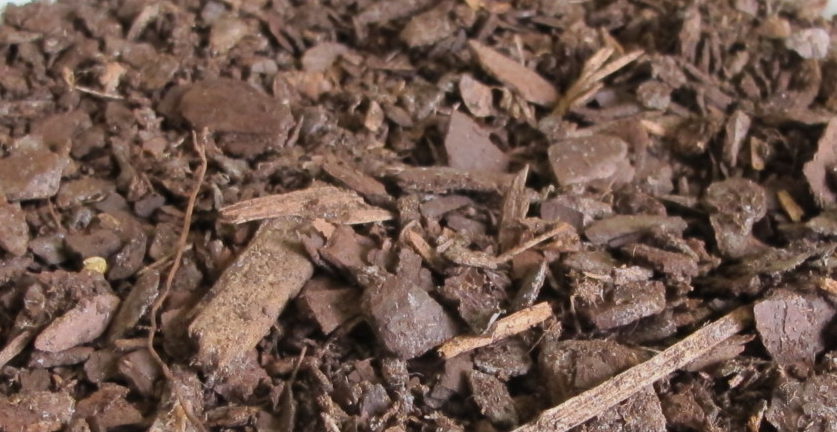
Now, incorporate (don’t layer) 2″ to 4″ of pine fines, sometimes called soil conditioner, into the loosened soil. Pine fines (photo, above) are partially composted small bits of pine bark. Because they decompose very slowly, they help keep the soil open, improving drainage. Pine fines might not be available everywhere. See if you can find bags of “soil conditioners” that include pine fines.
Strawberries also like large-grained coarse sand (not play sand) added at this time.
Adjust PH, Peat Moss
Strawberries need acidic soil, with a pH range between 5.5 and 6.5. One or two inches of pre-moistened peat moss incorporated 8″ into the bed will help lower the pH in alkaline soil.
Your local agricultural extension office can analyze a soil test and make recommendations about pH and fertilizers. Some gardeners apply 10-10-10 fertilizer with the initial soil preparation.
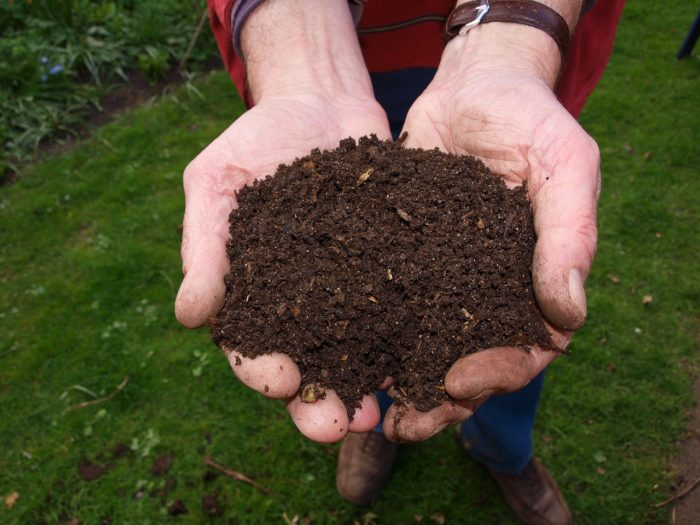
Compost
Next comes the nutrient-rich compost. Incorporate 2″ or 3″ of compost into the top 4″ of soil. Placing it deeper in the soil will put it out of reach of the strawberry’s shallow roots.
Compost provides nutrients for the strawberries as well as for the microbes living in the soil. Microbes, active during the growing season, break down organic matter, making nutrients available to plant roots in a usable form. These microorganisms derive the benefit of carbohydrates from this relationship. Microorganisms also help plants fend off soil pathogens and contribute in other ways that scientists are now researching. In healthy gardens, billions of microorganisms occupy a small handful of soil!
For sandy soil, add more water-holding amendments, such as peat moss, pasteurized loam, and compost.
Rake the soil, filling in low spots.
Planting the Strawberries
Strawberry ‘Ozark Beauty’.
If you received bare-root plants, trim long roots to about 6″. Place the roots in a bowl of water for an hour, in the shade.
Although a raised bed is an efficient method of growing strawberries, they can be planted in level gardens. Pay special attention, though, to slope, drainage, and air circulation.
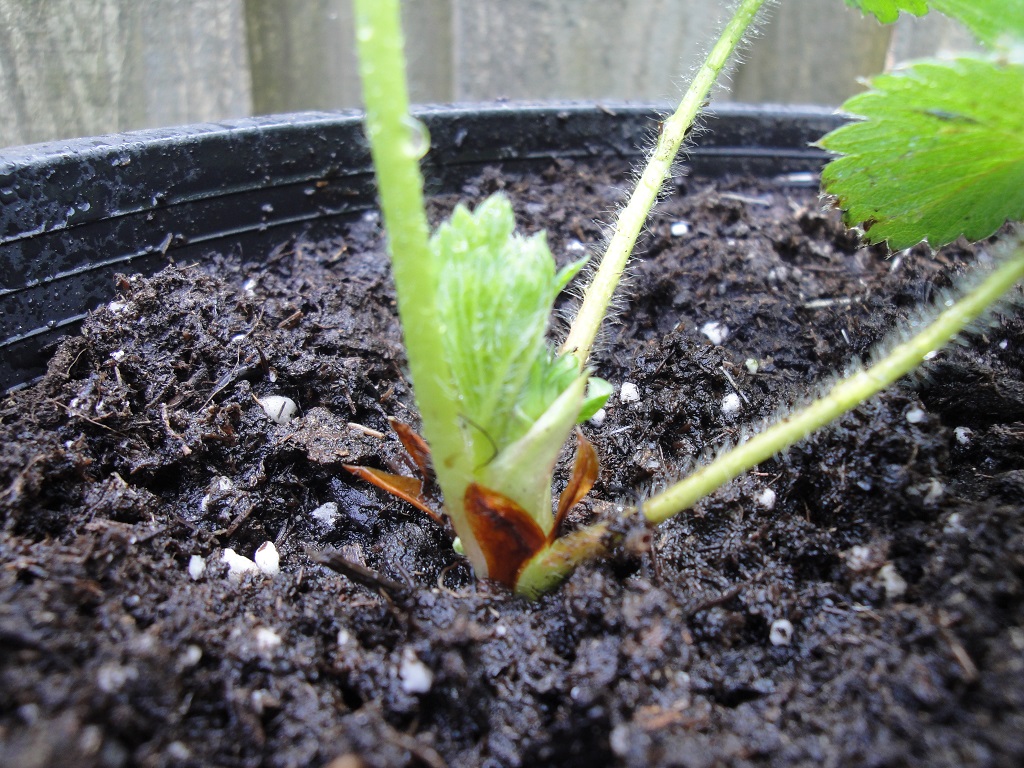
After preparing the soil, dig a hole for each plant, spreading out the roots and firming soil around them. The crown of the plant, where the leaves meet the roots, should be just above soil level.
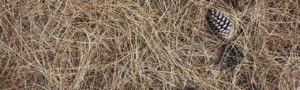
Mulch
 Once all the plants are in place, apply 2″ or 3″ of an airy mulch, such as pine straw or weed-free straw (photo, right). The traditional use of straw as a mulch might be where the term “strawberry” came from.
Don’t cover the crowns; give them space to emerge freely. This kind of material, rather than a heavier mulch, permits air circulation and lowers humidity around fruiting stems, helping prevent rot.
Mulch cools the soil, conserves moisture, and keeps the fruits clean as they grow. As it rots, it adds organic matter to the soil and will need to be replenished.
Using mulch in the growing season is optional, of course. In beds of June-bearing strawberries, a thick layer of mulch could hinder runners trying to root into the soil.
Another option used by many commercial growers and home gardeners is black plastic or fabric over the soil. This warms the soil rapidly in late winter and early spring. Commercial growers using “plasticulture” renovate the beds every year. If you’d rather not use plastic, you could use biodegradable black mulch. Using a soil cover might extend strawberry production. And weeds won’t stand a chance. Still, this is optional.
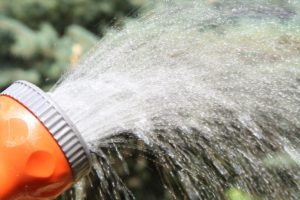
Water the bed, making sure the entire planting depth has been moistened.
In Their First Year
Most experts recommend removing all flowers during the first 4 to 6 weeks after planting. This concentrates energy in the roots and runners. For plants in the June-bearing group, however, there will be no harvest the first year if you planted them in early spring. But they should yield a bountiful harvest the next year.
Other groups of strawberries will develop more flowers in the months ahead. They will bear fruit later in their first season. For everbearing and day-neutral varieties, apply fertilizer after their first crop.
Water the beds every week if there isn’t substantial rainfall. Strawberries need 1″ to 2″ of water per week, most importantly after planting and during fruit set. Most of their roots are found in the top few inches of soil, so they are very susceptible to damage from drought.
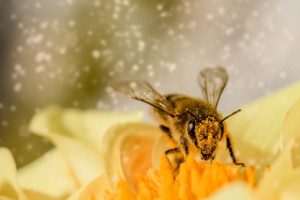
Pollination
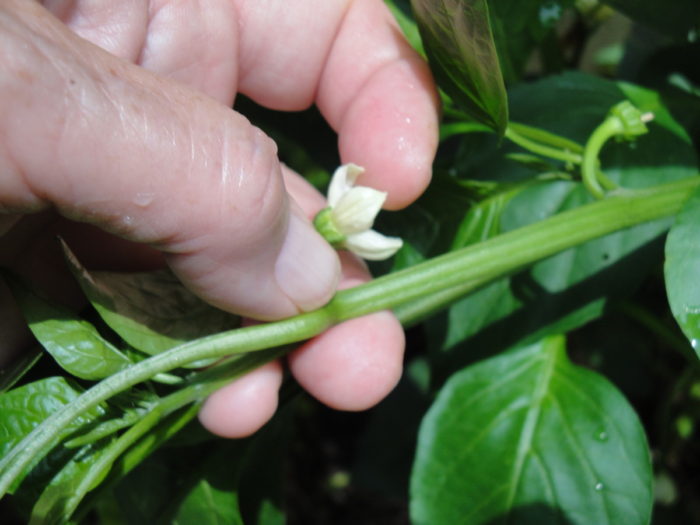
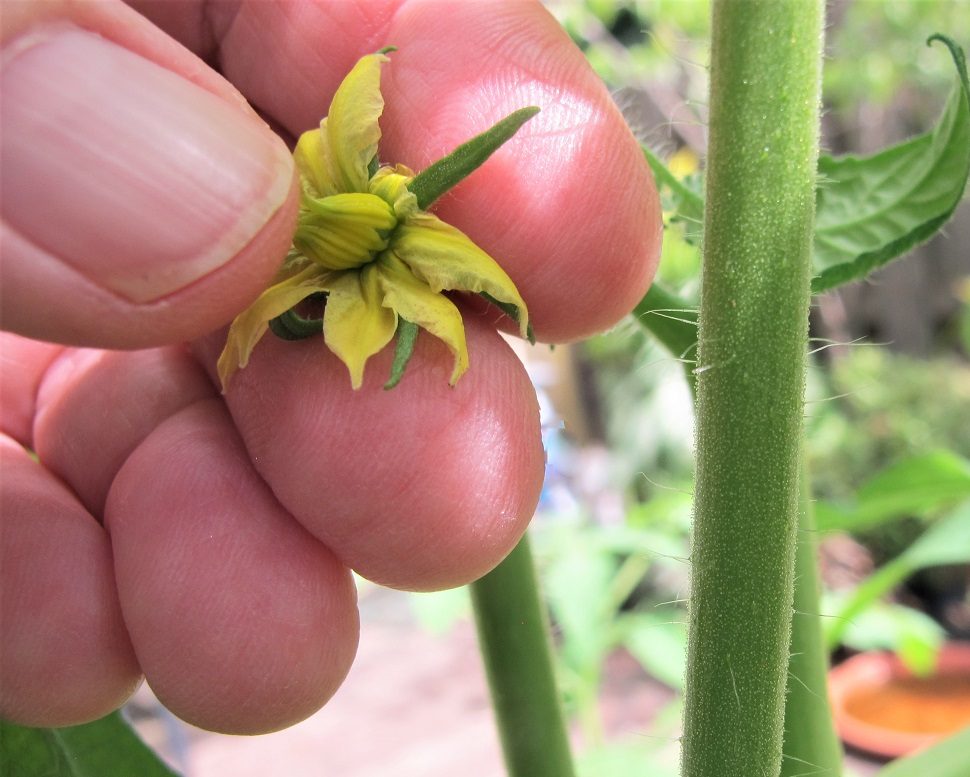
These early flowering plants attract bees and other pollinators. Strawberry flowers contain both male and female reproductive parts. Although they can self-pollinate or be pollinated by wind, strawberry flowers achieve more complete pollination from the activity of pollinating insects. This results in fruits that are plump and well-formed.
Headings
Page 1: Types of Strawberries (June-Bearing, Everbearing, Day-Neutral, Alpine), Preparing the Bed for Strawberries (How To Configure the Beds, The Matted Row System, The Hill or Mounded System, Dig In!), Planting the Strawberries, Mulch, and In Their First Year (Pollination)
Page 2: The Harvest, Renovating the Strawberry Bed, Varieties, Winter Protection, Potted Strawberries (The Pots and Potting Soil, Watering the Containers), Problems? (Insects and Mites, Slugs and Snails, Diseases), and Celebrate!
 The main crop that most home gardeners are concerned with is the tomato, although this could happen to peppers, eggplants, and other vegetables as well. When temperatures soar into the 90’s F, the pollen produced in the flower is “denatured”, or, essentially, killed. No pollen means no fruits!