Updated 2/17/2026
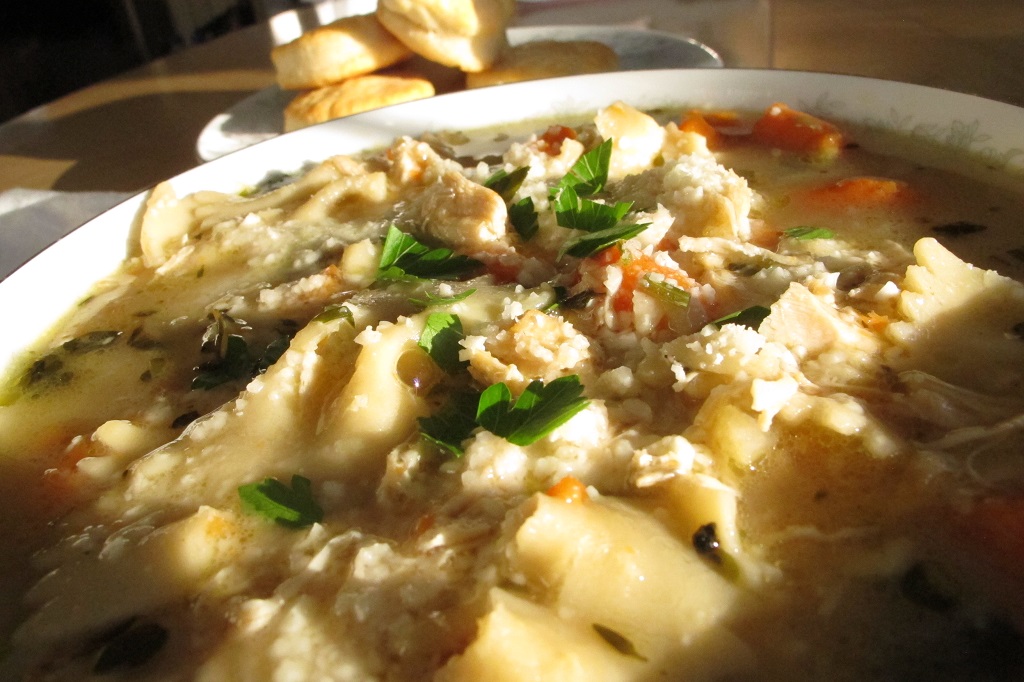
Homemade Chicken Soup
Please Pass Some Comfort Food
To say that the year 2020 was a tumultuous one is a grand understatement. From politics to pandemics, I don’t think I’ve seen a time with greater divisions among the population and even between family members. But let’s leave all of that behind for a while, and enjoy some homemade chicken soup.
Here’s a recipe for winter’s ultimate comfort food: Chicken Soup. While some cooks make soup with more broth or egg noodles, I like to add lots of vegetables and some cooked pasta. This is a must for anyone feeling hammered by a cold or the flu. Feel free to adjust the proportions of ingredients to suit your family. I make about a gallon at a time, and freeze portions for later use.
Ingredients for Chicken Soup
- 1 package of 2 large or 3-4 chicken breast halves, with skin and bones, rinsed, and with excess fat and skin removed.
- salt and pepper
- all-purpose unbleached flour
- butter and olive oil or vegetable oil
- 2 to 4 stalks celery, cut into slices
- 1 large or 2 small yellow onions, sliced or chopped
- 3 to 5 carrots, sliced
- 2 large cloves fresh garlic, crushed or minced
- several white button mushrooms
- 2 bay leaves
- 3 or 4 15-ounce cans of low sodium, no MSG chicken broth, plus 2 to 4 cans of water
- herbs: a handful of fresh Italian flat-leaf parsley (chopped), 2 to 3 tsp. Italian oregano (and some sweet marjoram if you like), and 1 tsp. French thyme. Measurements can vary, depending on your preference. If using dried herbs, use half as much as the amounts specified for fresh. Start with small amounts, and add more if desired. Parsley is always much better used fresh, and is widely available.
- 3-5 cups fresh greens, such as spinach, dinosaur kale, Swiss chard, arugula; chopped
- leftovers: vegetables and/or cooked rice or barley (optional)
- enriched pasta (mini farfalle, elbows, penne, broken spaghetti…), pre-cooked or cooked separately while the soup is simmering, drained
- grated Romano cheese
-
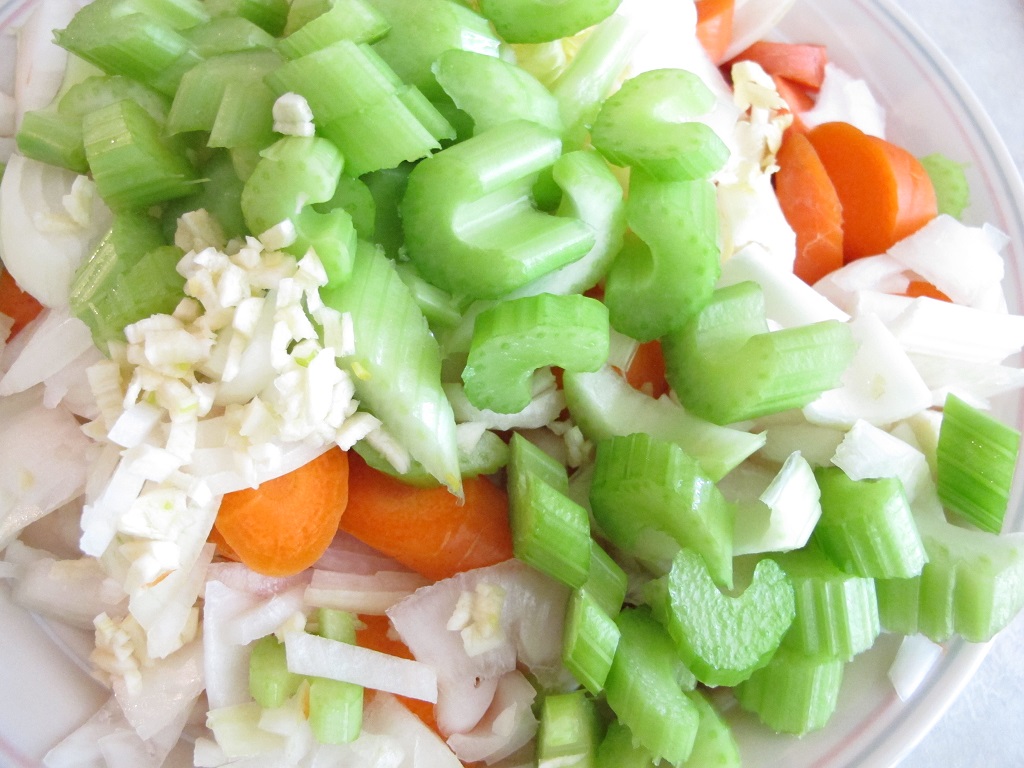
- Vegetables to saute.
-
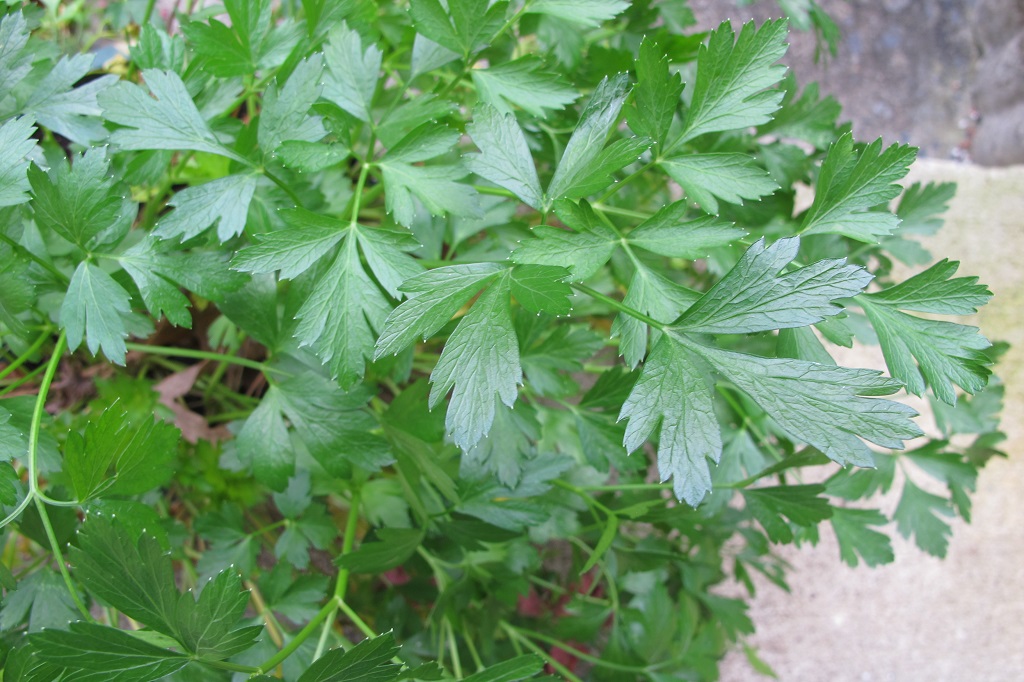
- Italian (flat-leaf) parsley.
The Process: Making Chicken Soup
Prepare the Chicken
- Place about 1 cup of the flour in a bowl.
- Add ½ to ¾ tsp. salt and ¼ tsp. black pepper. Mix well.
- Rinse the chicken well and pat dry with a paper towel.
- Add chicken to the bowl, coating each piece, pressing flour onto all surfaces.
Next…
- On medium heat, add a few T. oil and butter to a large heavy-bottomed stockpot.
- Add each piece of chicken, after flouring it, to the hot pot. Sometimes I spoon more of the flour mixture onto the chicken, and cook it some more. This helps thicken the broth just a bit. (Don’t save the leftover flour. Discard it to prevent contamination.)
- Sear the outside of the chicken, all sides, until it’s golden brown but not burned. Adjust the heat if necessary. It will not be done inside, but will continue cooking when added to the broth. Move the chicken around and turn it to prevent sticking. The brown residue adds flavor to the soup, so keep it in the pot.
- Once the chicken has browned lightly, remove it to a dish.
- Now, add the chopped or sliced fresh vegetables (celery, onion, carrot, garlic, mushroom)—but not the greens—to the pot, stirring often. The residue will loosen up, or use a wooden spoon to help it along. Sauté until the vegetables are lightly softened, but not browned.
And Then…
- Add the broth and water, and stir. Turn up the heat to a boil, then lower the heat to a low simmer.
- Add the bay leaves. Other herbs will be added later.
- Add the chicken and its drippings back to the pot. Keep it on a very low simmer, not a vigorous boil, for 40 minutes (smaller chicken pieces) to 60 minutes. Very low heat keeps the chicken more tender. (***Update***: Since I started using farmers’ market chicken, I won’t go back to store-bought. Not only is it organic and locally sourced, but it also can be simmered for a longer period of time while retaining its tenderness. It is more expensive, but I don’t eat chicken very often.)
- Remove bay leaves.
- 10-15 minutes before it’s done, add the thyme.
- Add salt and pepper to taste. Broth is often quite high in sodium, so don’t over-salt.
- 5-8 minutes before it’s done, add oregano, marjoram, and parsley.
- Remove chicken to a clean dish. You might want to use a large spoon to hold the pieces together; the meat could fall off the bones. Check the soup for tiny bones that might have fallen to the bottom of the pot.
- Discard the chicken skin. Cut the meat and add it back to the soup. I usually reserve and freeze about 1/3 of the chicken for stir-fry dinners or to use it (sautéed in butter) on salad greens.
- Add fresh greens and low simmer several minutes to wilt.
- Stir in cooked pasta.
- Add leftover vegetables (such as cooked peas, corn, green beans), if desired.
- Reheat and stir the soup, then serve. Top with grated Romano cheese and a sprinkling of fresh parsley.
-
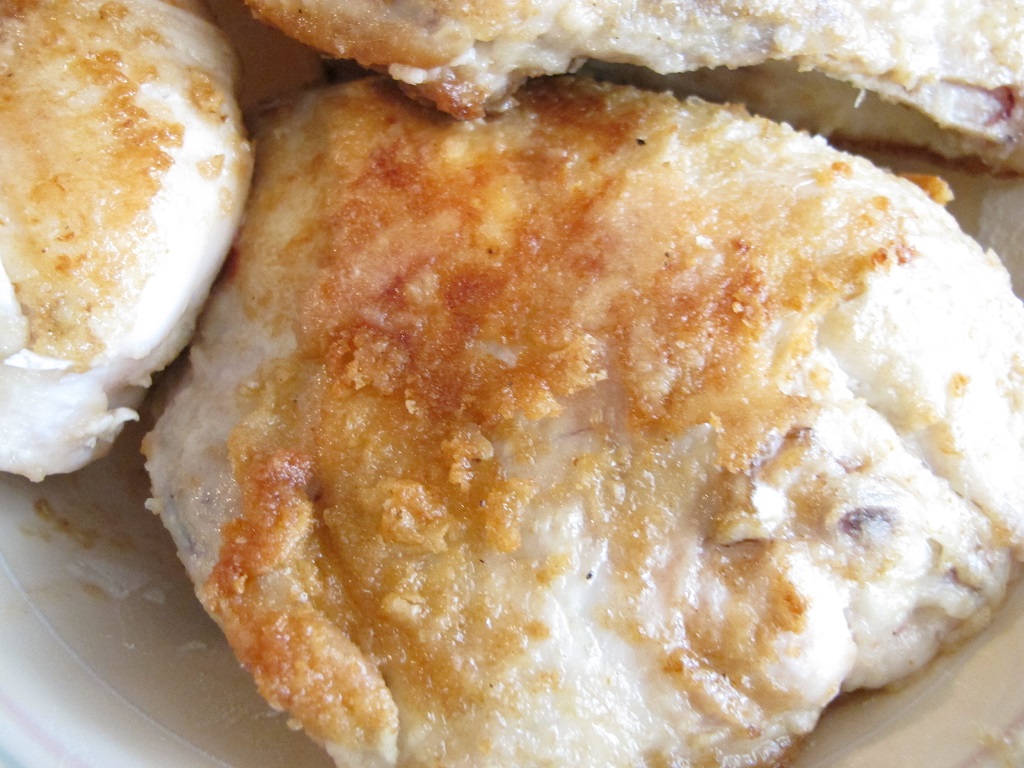
- Seared chicken.
-
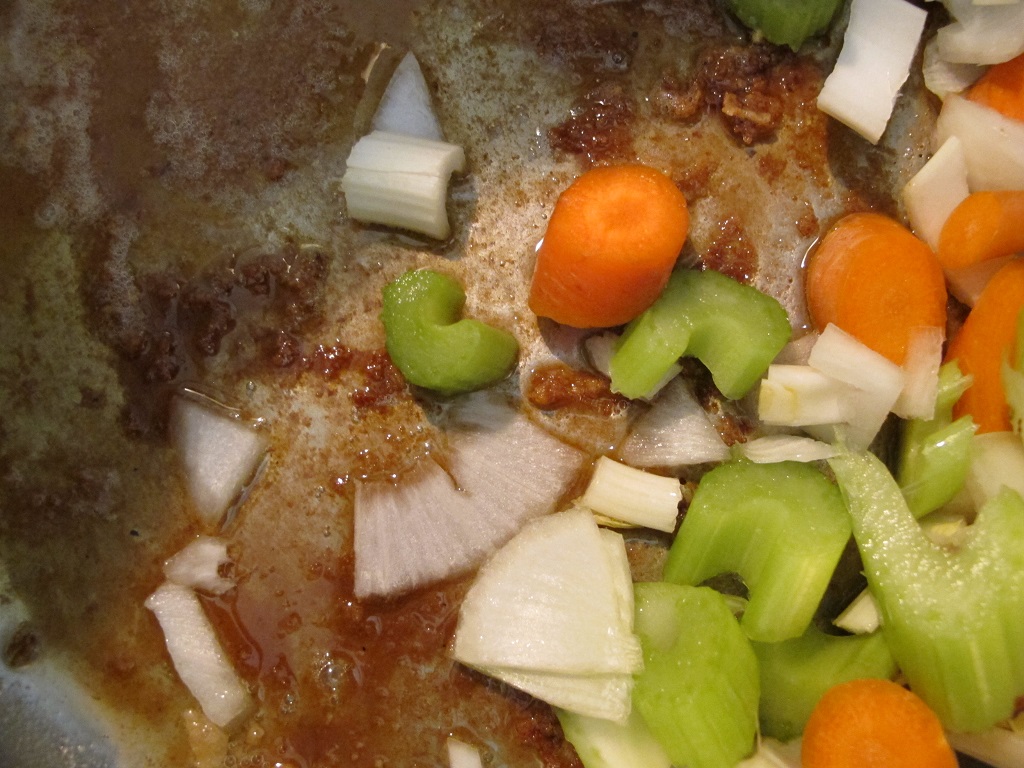
- Vegetables added to flavorful drippings.
-

- Mixed vegetables cooking.
-
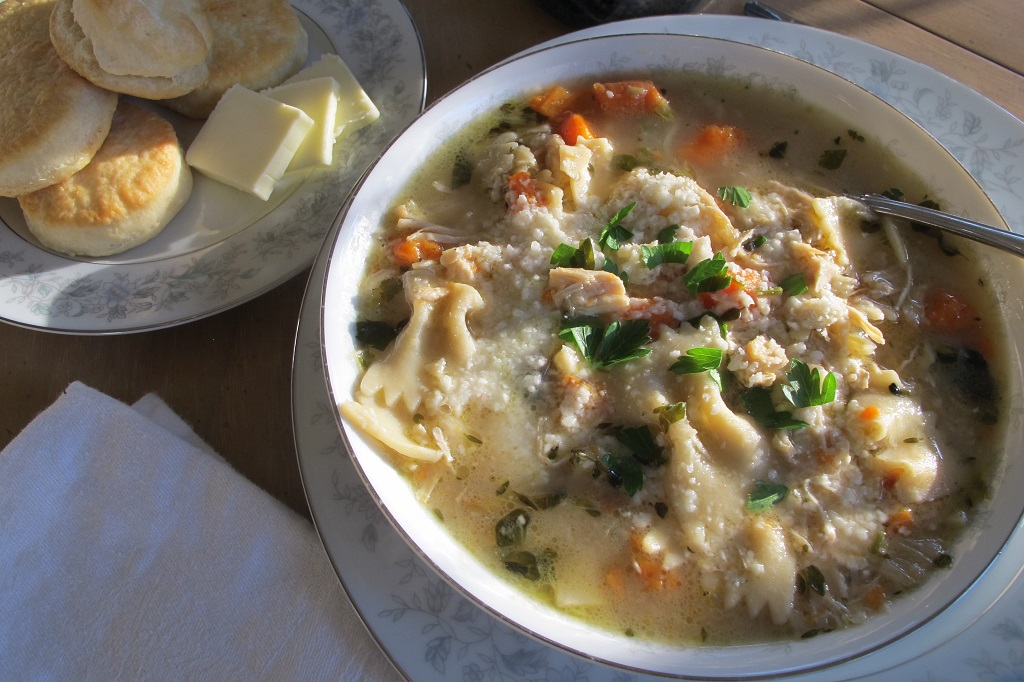
- Chicken soup and biscuits.
You also might enjoy homemade collards soup. It’s more comfort food for winter or for those not feeling so well. Most of the herbs and greens I use in cooking are started from seeds. At any time of the year, there’s something to pick for soups, salads, veggie omelets, and stir-fries.
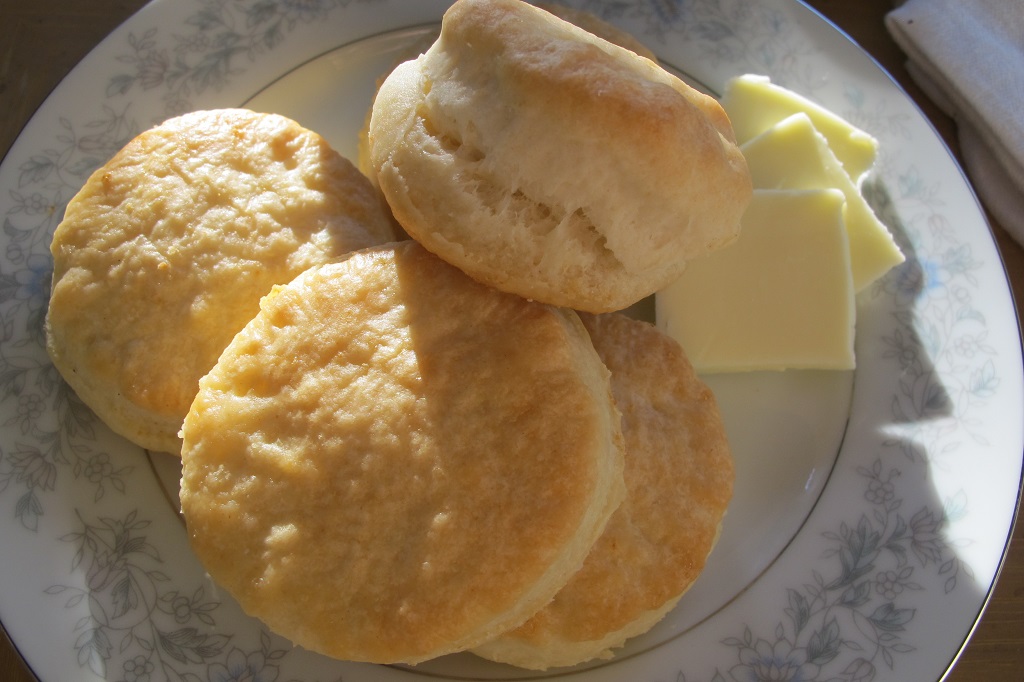
Easy Buttery Biscuits
I just started making these last month. They are so good! But, in an effort to not overindulge in carbohydrates, I won’t make them often.
Very simple:
- Preheat oven to 425º F.
- Melt 3 T. butter in a small pot.
- Prepare a baking sheet lined with parchment paper.
- Place 1¼ cups of self-rising flour into a bowl. This makes a dozen biscuits.
- Add a dash of salt (optional).
- Add about ¾ cup heavy cream to the flour. Mix well with a fork. Add more flour if it’s too sticky.
- Turn out onto a floured surface and knead for a minute.
- Use a rolling pin to flatten the dough to about 1/3″ thick or slightly thicker.
- Use a cookie cutter or a juice glass to shape biscuits and move them to the cookie sheet.
- The last bit of dough can be shaped by hand so none is wasted. It might come out lumpy, and that’s perfectly fine. Call it “rustic”.
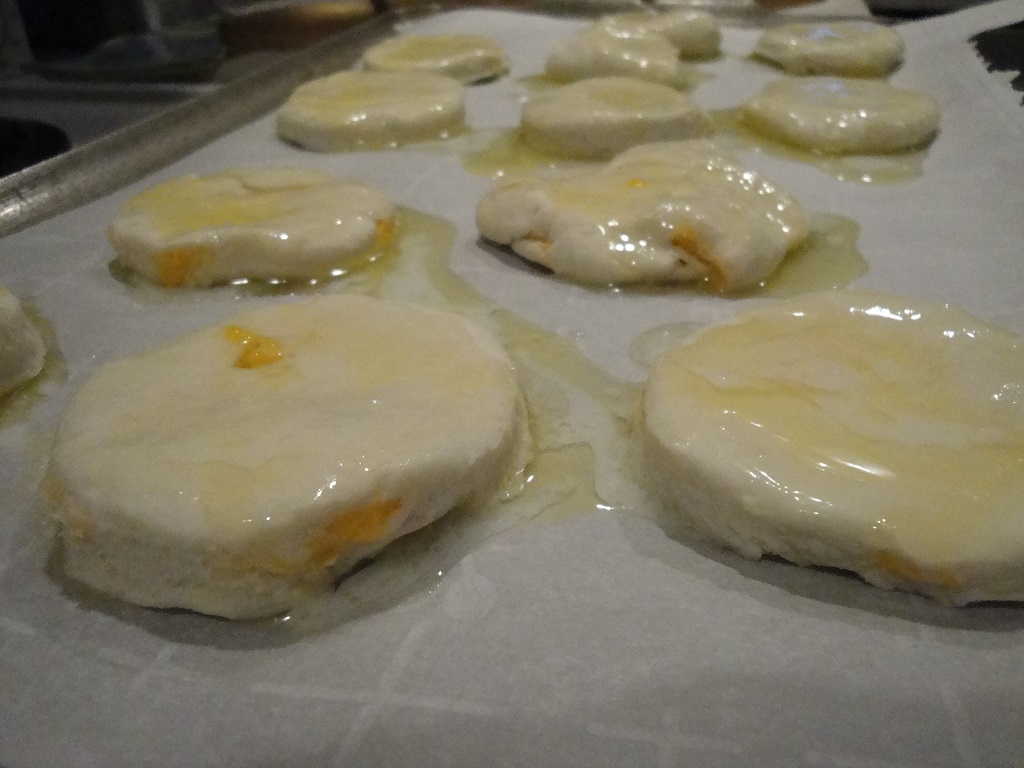
- Spoon melted butter over the tops, dripping down the sides. The dough will absorb the butter.
- Bake until the tops turn golden, about 15 minutes. Turn the sheet halfway through baking if your oven has a hot spot.
- Serve with more butter (optional, but…). Next time I might add some shredded cheddar cheese to the dough. (***Update***: Yesterday, I made a batch of biscuits, half with cheese and half without. For cheesy biscuits, add thin pieces of cheddar to half the dough, and fold the plain half over the cheesy half. Roll it gently, and proceed with recipe. I haven’t decided which option I like better; hmm…this calls for a taste test. January 27, 2021)
-

- Cheesy biscuits.
Enjoy, and be well!